
How-to replace the self-signed certificate on Nutanix Prism Element and Prism Central. The Nutanix web based management console is installed with a self-signed certificate which is not recommended for production environments.
When using the API functionality, it’s recommended to replace the self-signed certificate with local (own Certificate server) or 3rd party certificate.
This blog describes how to create a new certificate request, import and export (with private key), extract the exported certificate (PFX format) and import in Nutanix Prism.
Most blogs on the internet describes to create the request with OpenSSL. This blog describes the certificate request created with the Certificate Snap-in in Microsoft Management Console.
Create certificate request
Start the Microsoft Management Console.
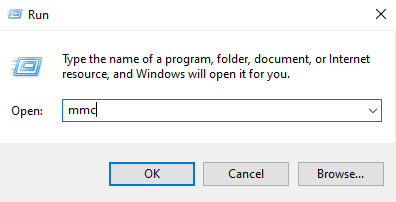
A new Microsoft Management Console opens.
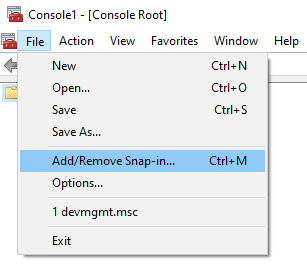
Choose File – Add/Remove Snap-in… from the menu.
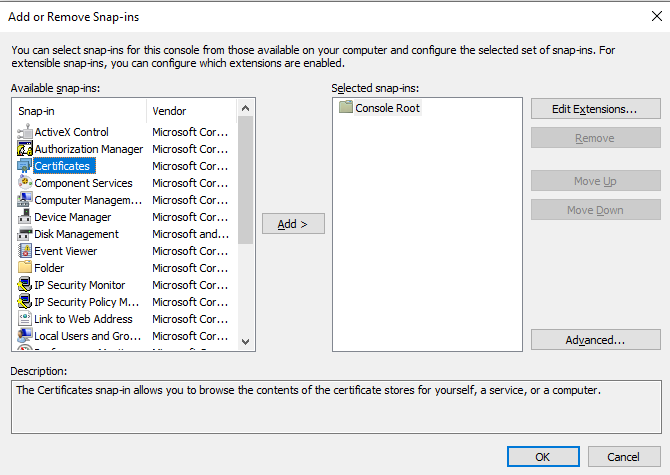
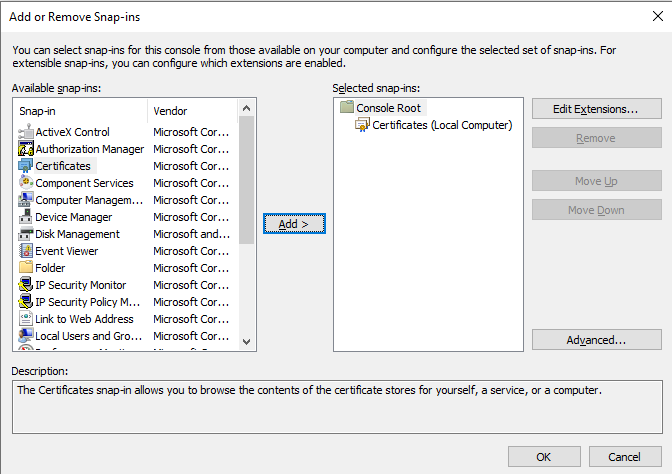
Select the snap-in Certificates from the list of available snap-ins. Select OK to continue.
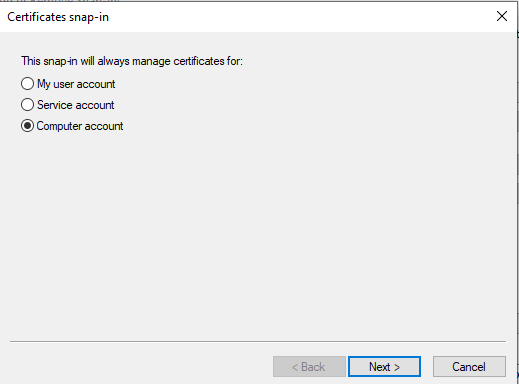
Select the option Computer account and select Next to continue.
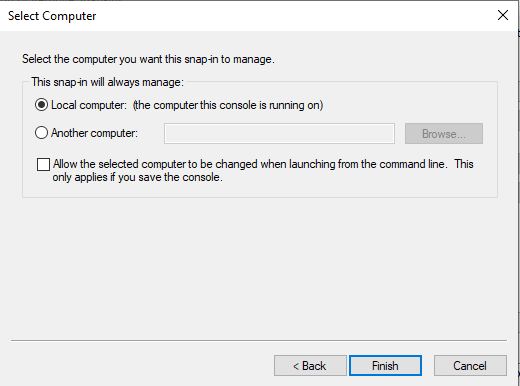
Select the option Local computer and select Finish.
Close the Snap-in window.
The Certificate Snap-in is imported and ready to use.
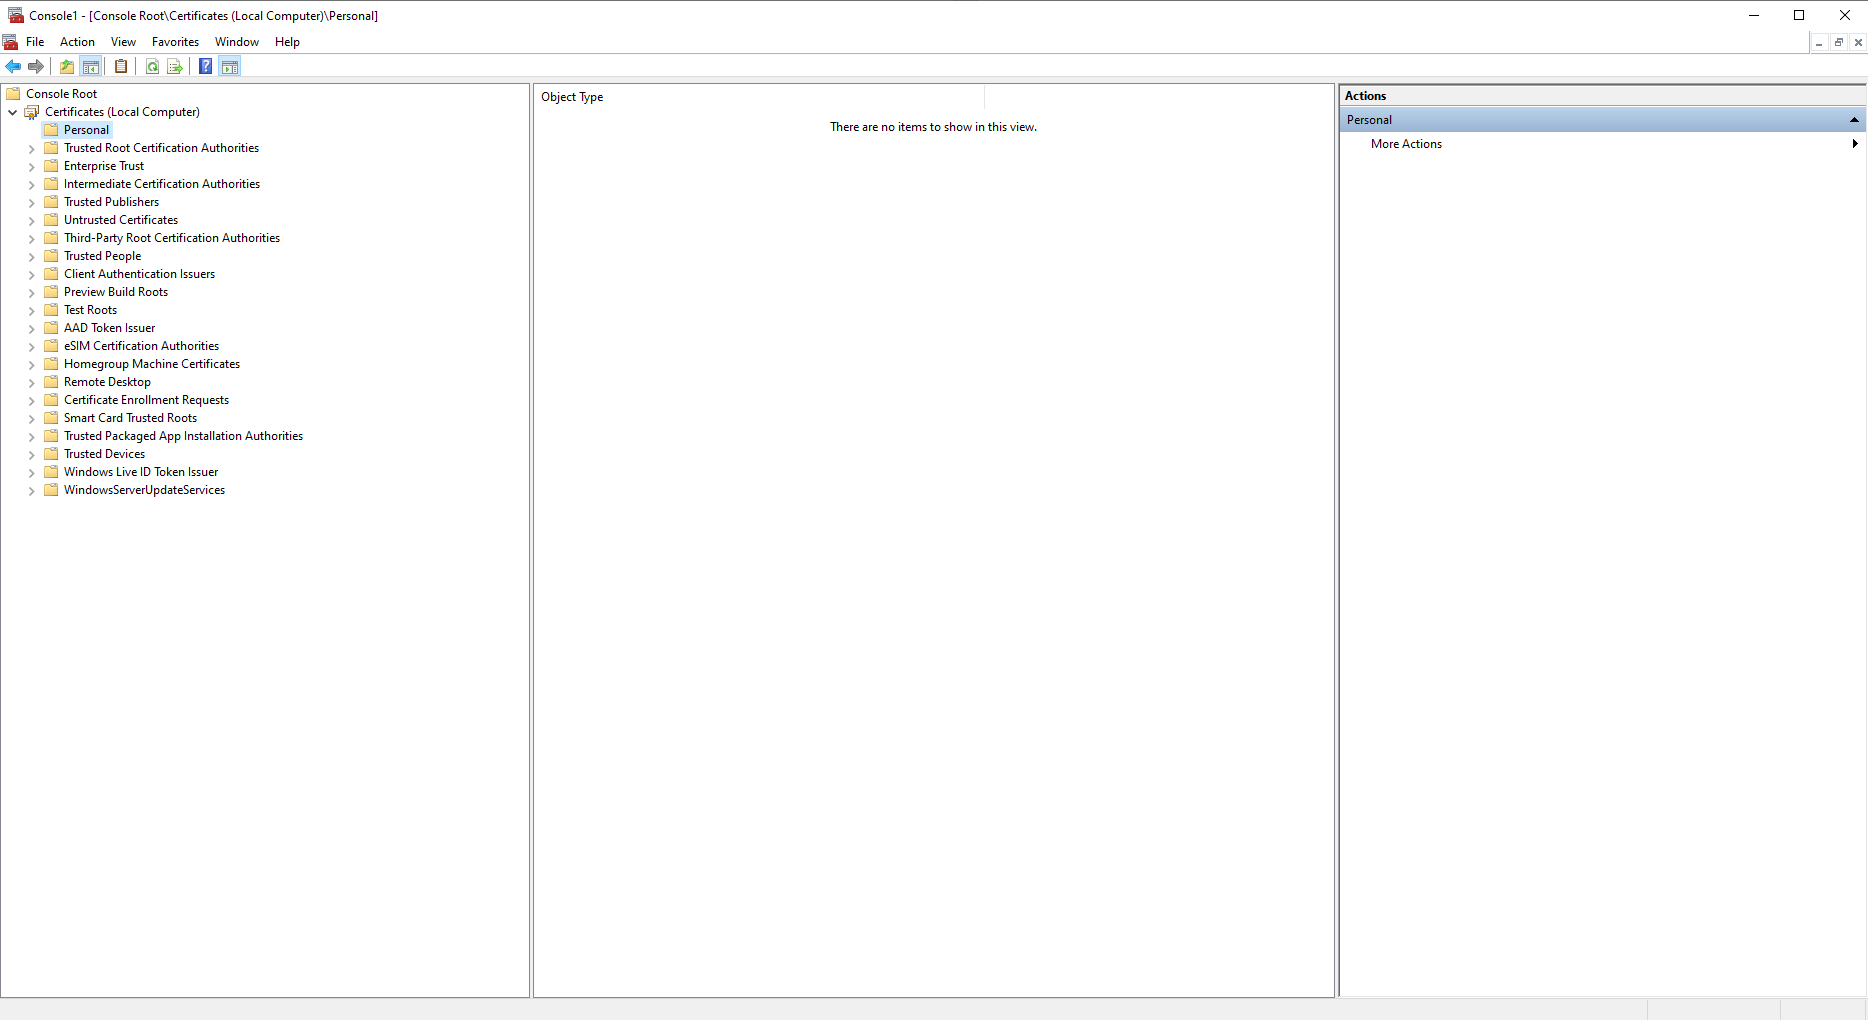
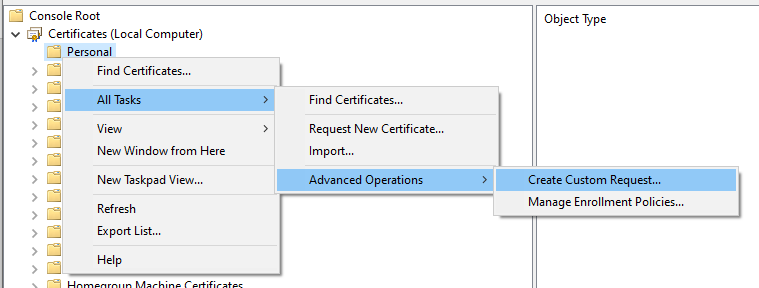
Right mouse click Personal and select All Tasks – Advanced Operations – Create Custom Request.
The Certificate Enrollment starts.

Select Next to continue.
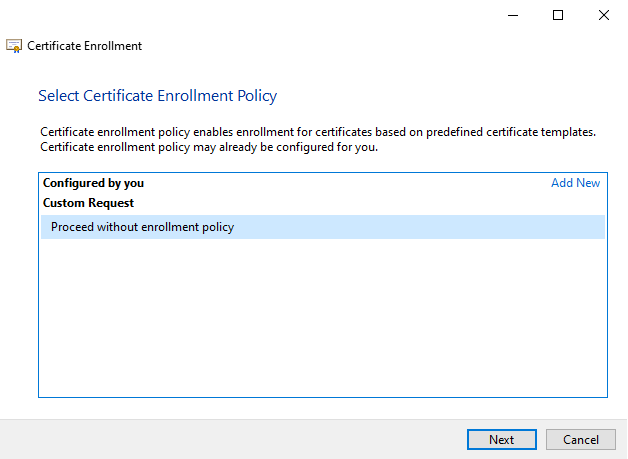
Select the Custom Request option and Next to continue.
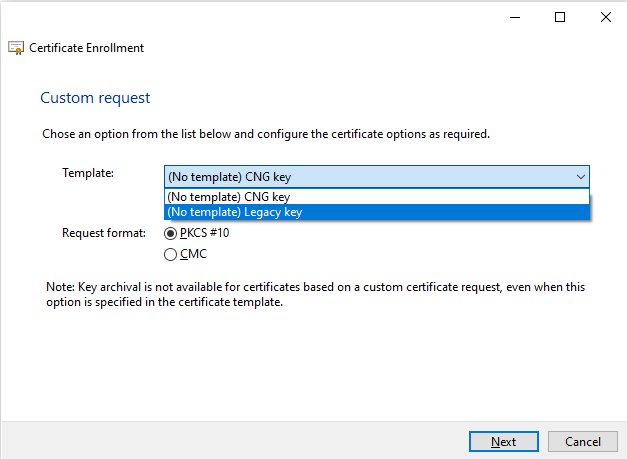
Select (No Template) Legacy key from the dropdown box. Leave the Request format on PKCS #10. Select Next to continue.
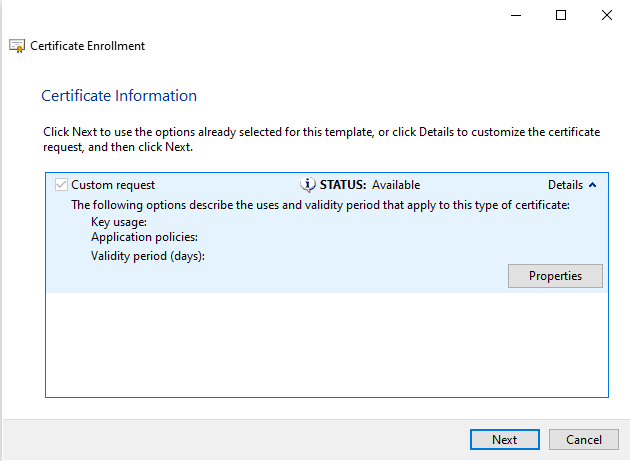
Select the Details to drop the Custom Request options and select Properties.
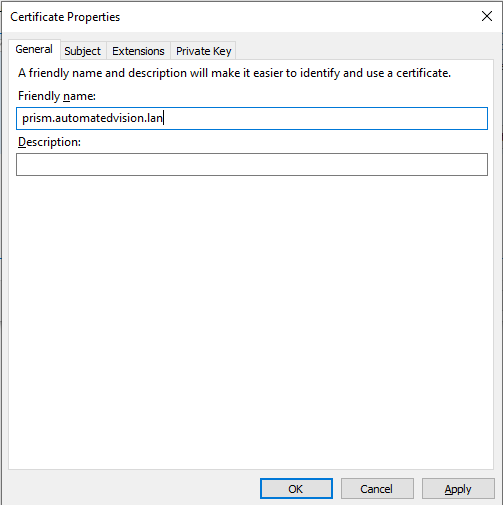
Enter the friendly name in the Friendly name. In this case: prism.automatedvision.info.
Click the Subject tab.
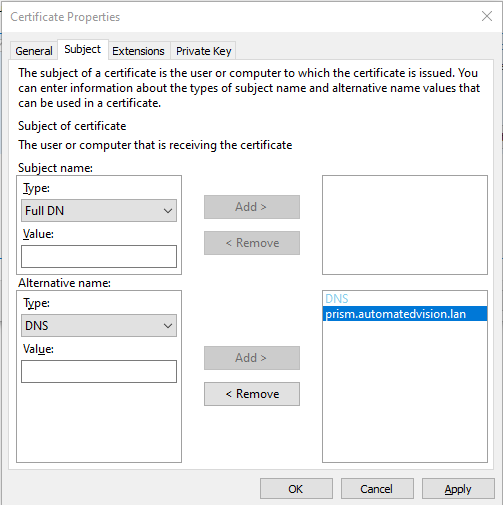
Only use the Alternative name. Select type DNS from the dropdown list and enter the hostnames. In this case:
prism.automatedvision.info
prism
This allows both FQDN (Full Qualified Domain Names) and short names to prevent certificate warnings.
When all DNS entries are entered select the tab Private Key.

Click the small arrow next to the Key options and select 2048 in the Key size dropdown list and select the option Make private key exportable.
When finished select OK to continue.
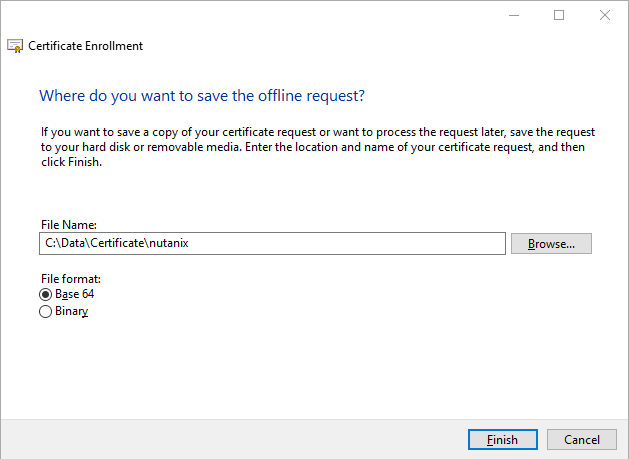
Save the certificate request in Base64 format.
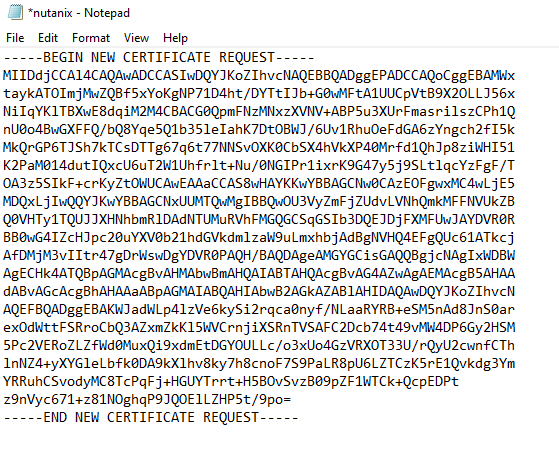
After saving the request the content of the file looks like below. Leave the file open because the content is needed when requesting a new certificate in the local CA server.
Request a new certificate
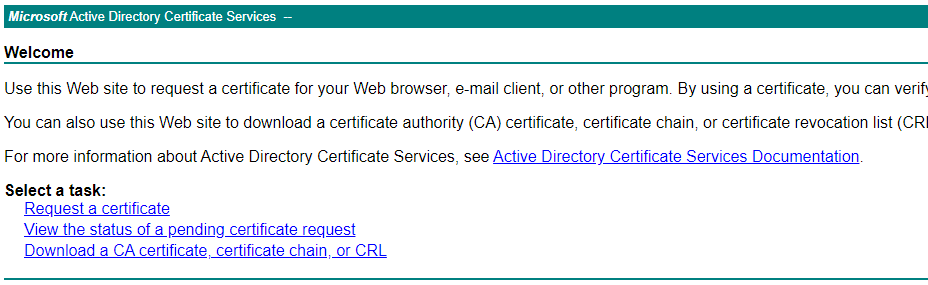
Open the CA website (i.e. https://<FQDN>/certsrv) and select the option Request a certificate.
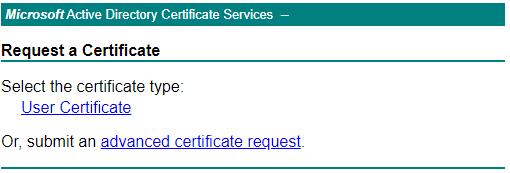
Select advanced certificate request.
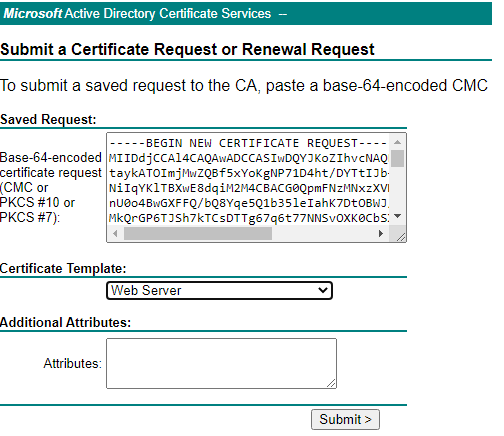
Copy the information from the certificate request in the Saved Request field and select Webserver in the Certificate Template list.
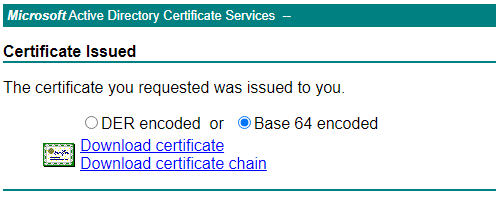
The certificate is created and must be downloaded. Select Base 64 encoded and select Download certificate.
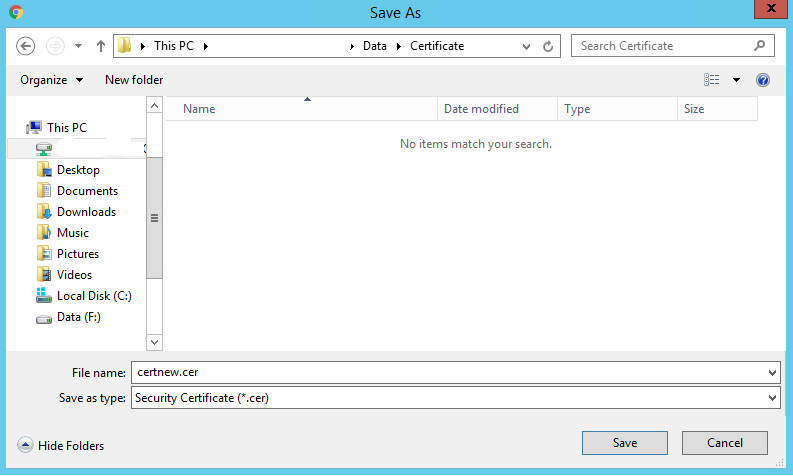
Save the certificate.
Importing the new created certificate
Now the certificate is created we need to import this in the Microsoft Management Console with the Certificates Snap-in.
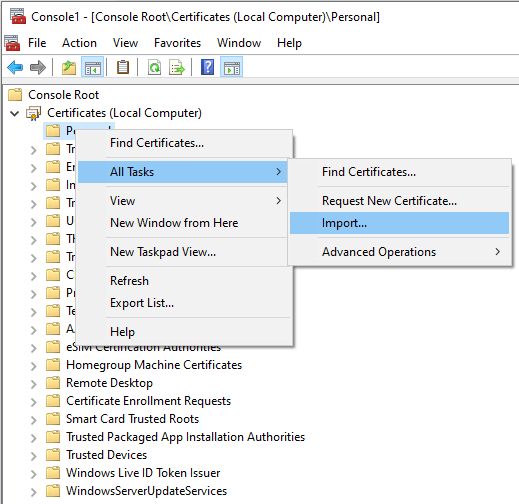
Right click on Personal and select All Tasks – Import.
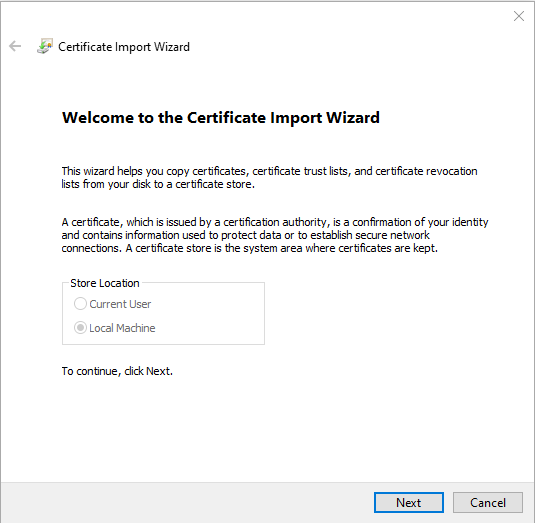
Click Next to continue.
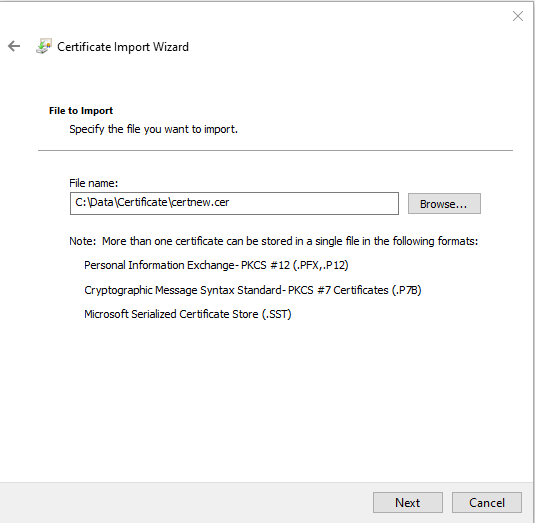
Browse for the new created certificate and select Next to continue.
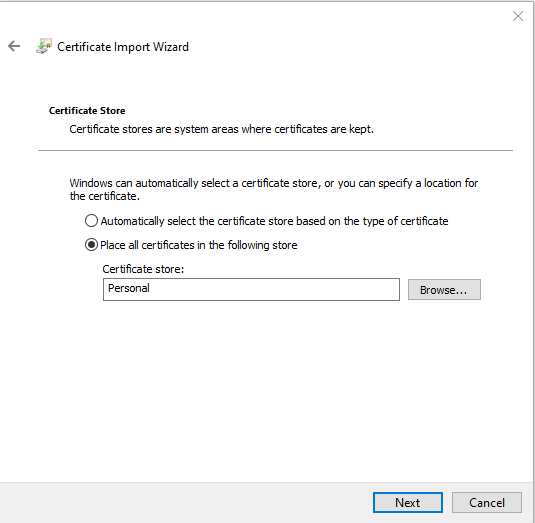
Select the Personal certificate store from the list and select Next to continue.

Check all settings and select Finish to import the certificate.
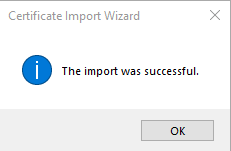
Certificate import successful finished.
Export the certificate
After importing the certificate, the certificate need to be exported to extract the root certificate, private key and client certificate.
Check if the imported certificate is shown in the Personal – Certificates list.

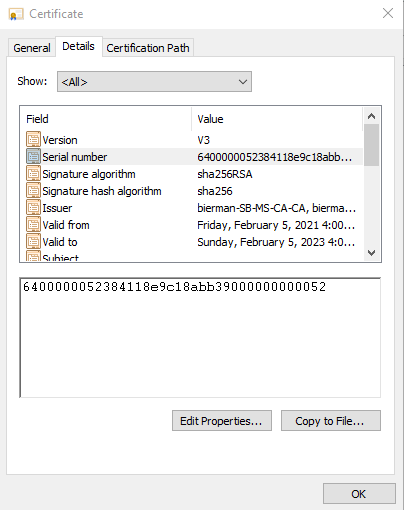
When the imported certificated doesn’t have the option export Private Key the following action must be executed.
Open the certificate and select the tab Details. Search for the option Serial Number and copy the information.
Next open een Command Prompt and enter the following command:
# certutil –repairstore my “<copied serialnumber>
 ”
”
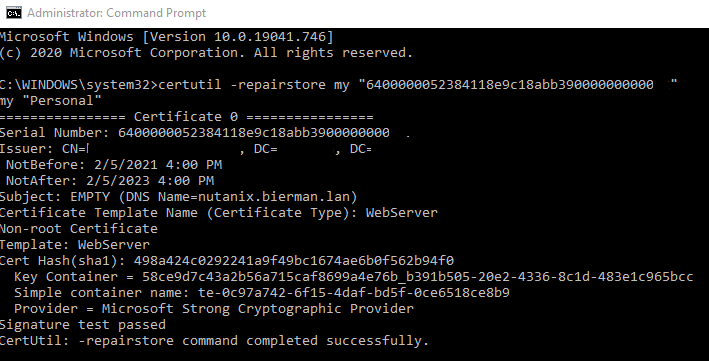
The certificate is now ready to exported with the Private Key.
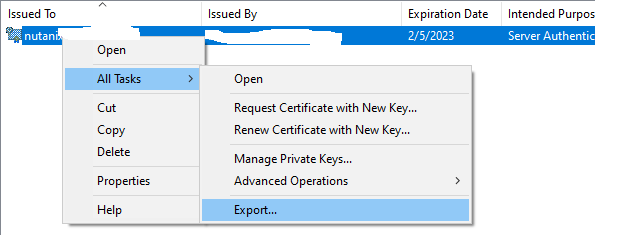
Right click on the imported certificate and select All Tasks – Export.
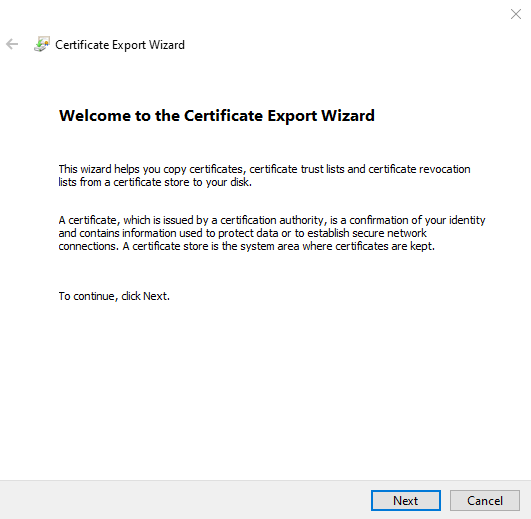
Click Next in the Certificate Export Wizard to continue.

Select the option Yes, export the private key and select Next to continue.
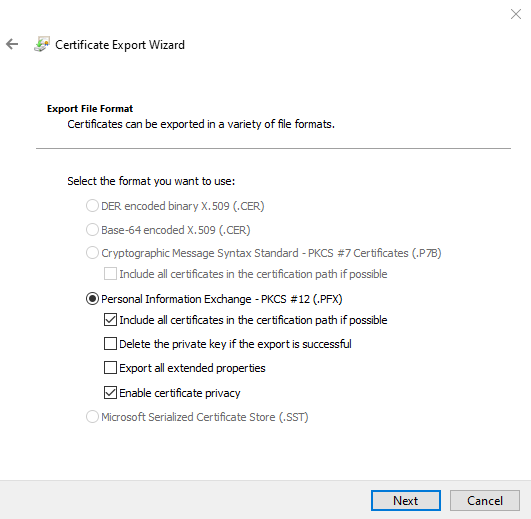
Export the certificate as Personal Information Exchange – PKCS #12(.PFX) and select the options:
- Include all certificates in the certification path if possible
- Enable certificate privacy
Select Next to continue.
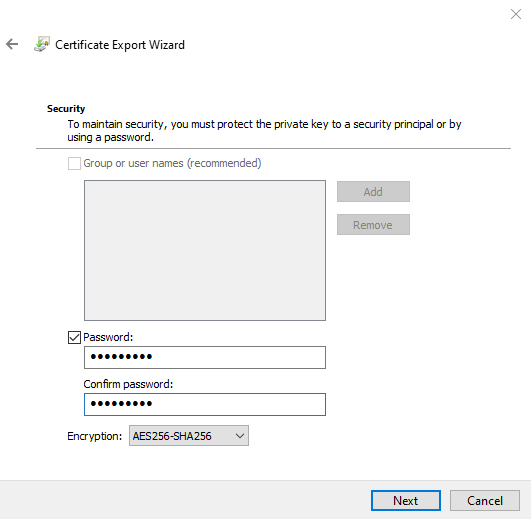
Use the option Password and enter a password (twice). Select Next to continue.
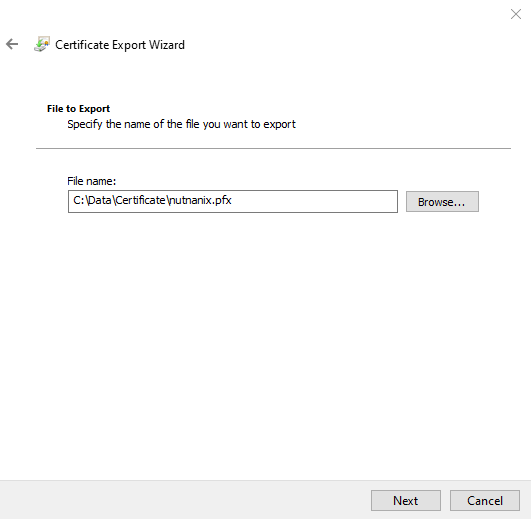
Select a folder to save the exported certificate and select Next to continue.
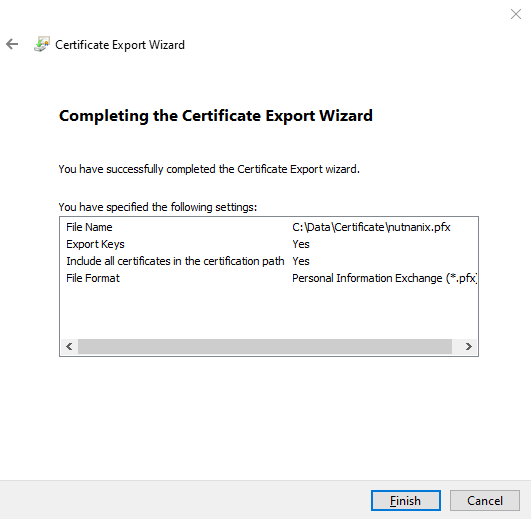
Check all settings and select Finish to export the certificate.
Export successful finished.
Split the exported certificate in Root, Private Key and Client certificate in PEM format
Splitting the exported certificate needs to be executed with OpenSSL. Check the blog about downloading and installing OpenSSL for Windows here.
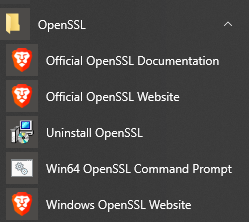
Open the Win64 OpenSSL Command Prompt from the start menu. For download and installation of OpenSSL for Windows check the this blog.
Move to the folder with the exported certificate.
First step is extracting the private key from the PFX file.
# openssl pkcs12 -in filename.pfx -nocerts -out key.pem


The import password is the password entered during the export of the certificate in the Certificate Snap-in. Enter a new password for the Private Key file.
Next step is extracting the client certificate from the PFX file.
# openssl pkcs12 -in filename.pfx -clcerts -nokeys -out cert.pem


Enter the password entered during the export. There is no need to enter a new password.
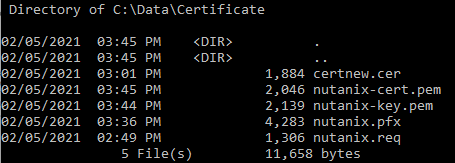
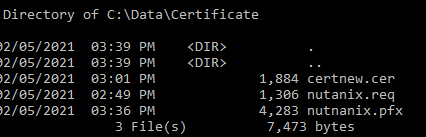
Check if the two files are created.
Next remove the just entered password from the Private Key file.
# openssl rsa -in key.pem -out server.key


Last step is extracting the root certificate from the PFX file.
# openssl pkcs12 -in filename.cer -nodes -nokeys -cacerts -out cert-ca.pem

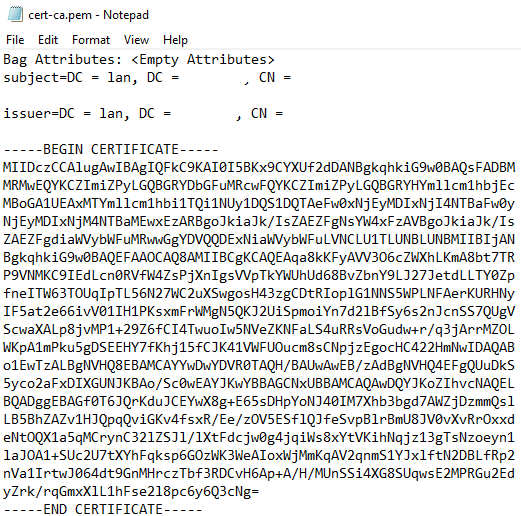
Check all created files and remove all the Bag Attributes and Issuer Information from the files.

Upload certificates in the Nutanix cluster
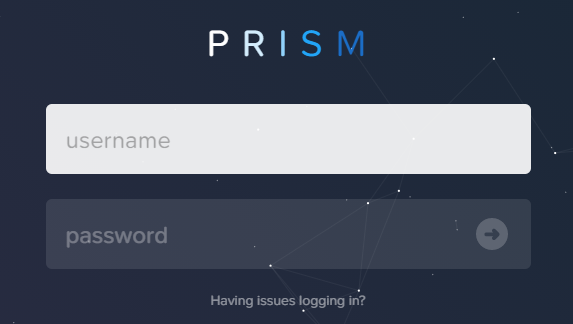
Open a webbrowser and open the Nutanix Prism Cluster and login.
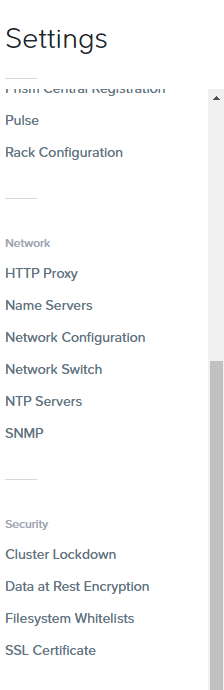
Go to Settings – SSL Certificate.
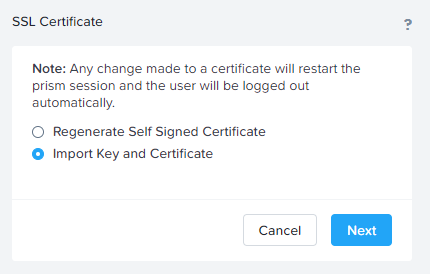
Select Import Key and Certificate and select Next to continue.
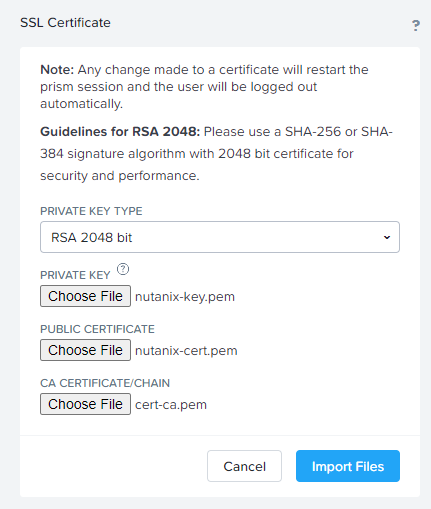
Select the option RSA 2048 bit from the Private Key Type list.
Select the Private Key, Public Certificate and Root certificate in the corresponding fields.
Select Import Files to continue.
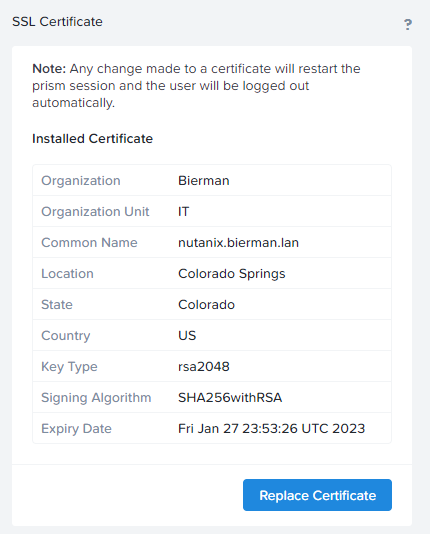
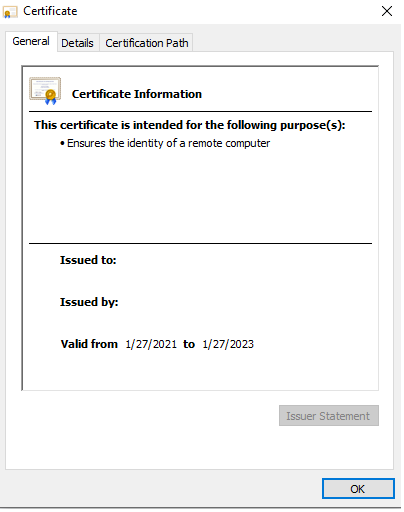
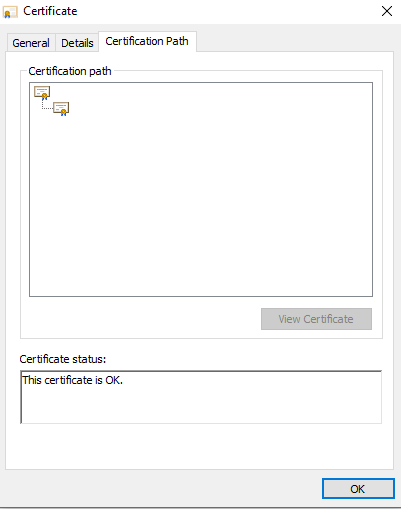
After importing the Nutanix cluster will restart. After restarting re-open the Nutanix Prism cluster in the browser and the certificate warning will not appear. In the browser a lock is in front of the URL.

When opening the certificate the information as below is shown.
Great article, thanks very much Sander. One observation to share with you; the step where we remove the password from the key, we end up with a key file rather than a pem file:
Next remove the just entered password from the Private Key file.
# openssl rsa -in key.pem -out server.key
Prism Central wants only PEM files so I assume this server.key file must be renamed server.pem?
Cheers,
* I assume this server.key file must be renamed serverKEY.pem
When I import the created PEM files, I get this error;
org.bouncycastle.pkcs.PKCS8EncryptedPrivateKeyInfo cannot be cast to org.bouncycastle.openssl.PEMKeyPair
Cheers,
Scott
Yeah, I get exactly the same!! Where does bouncycastle come from?