This blog describes how to change the Ivanti Identity Director Web Portal login from Windows User Account to User Principal Name. I wrote a blog how to use multiple Active Directory Forests/Domains which are connected with a two-way trust.
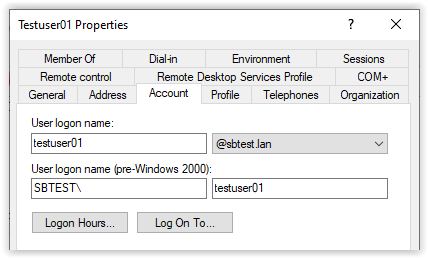
When users login from their domain they need to enter their domain name before the username. A Windows User Account looks like <Domain Name>\<Username>. When using multiple domains it could be confusing for the user.
User in the domain with the Ivanti Identity Director servers installed (i.e., domainA).
This user can login without the domain because Ivanti Identity Director is installed in the same domain.
User in a domain without the Ivanti Identity Director servers installed (i.e., domainB).
The user cannot login without the domain name.

To prevent users to add the Domain Name in the Username we can use the User Principal Name. Follow the steps below to add an Advanced Active Directory option to the Data Sources, add a new People Identifier, and map the UPN (User Principal Name) from the Data Source to the People Identifier in the Data Connector.
- Login to the server with the Ivanti Identity Director Setup & Sync Tool installed
- Start the Ivanti Identity Director Setup & Sync Tool
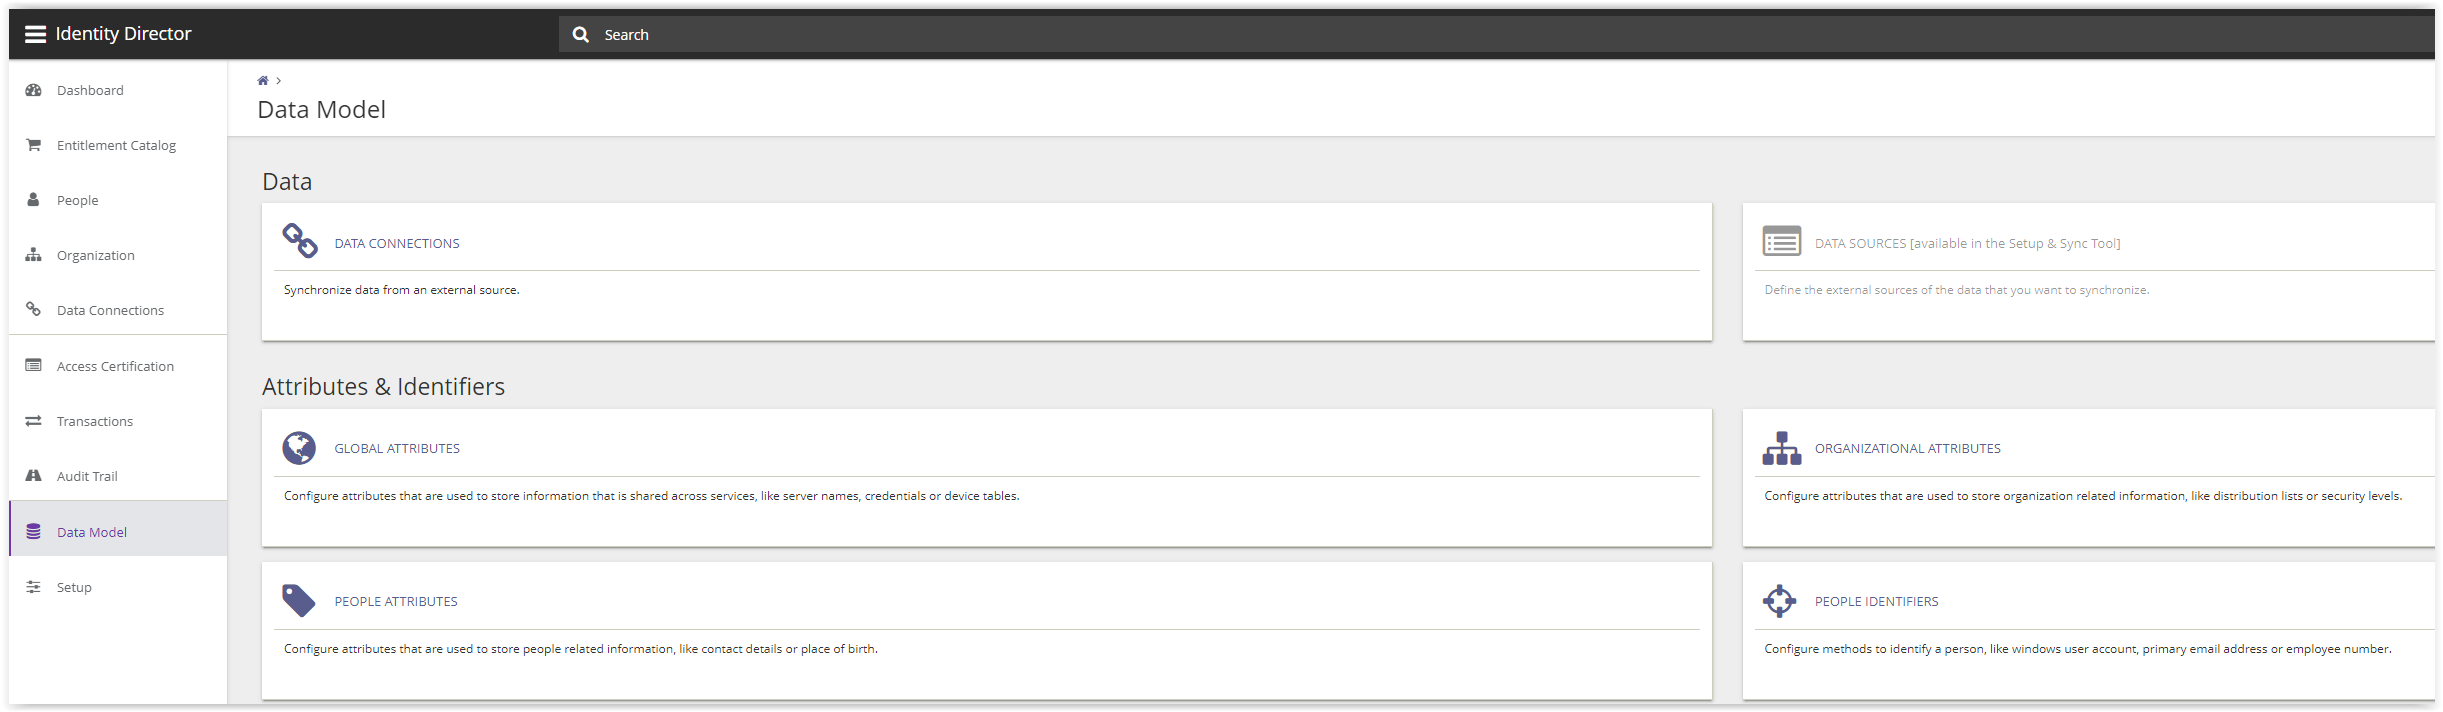
- Select Data Sources from the Data Model menu
-
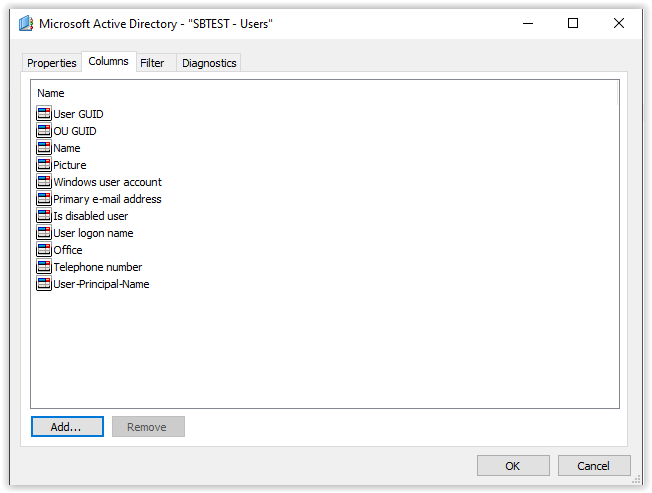
Select the Data Source with the domainB Users
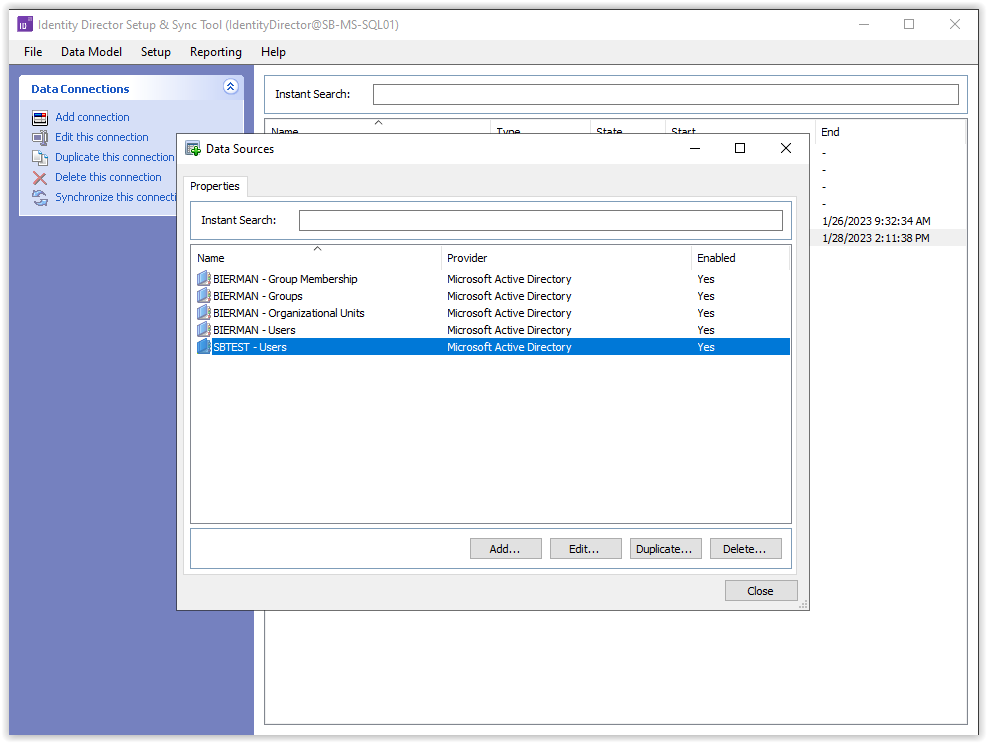
- Select Edit
-
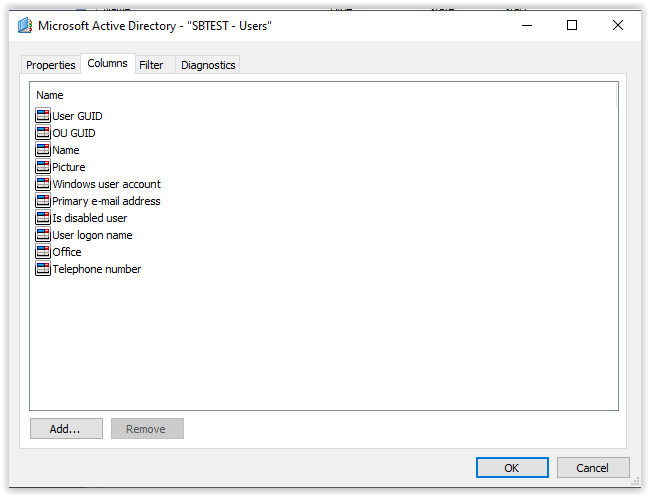
Select the Columns tab and select Add
-
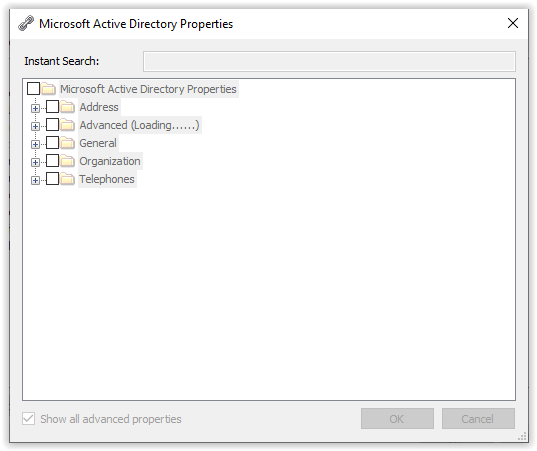
Select the option Show all advanced properties on the bottom and all Active Directory attributes are loaded.
-
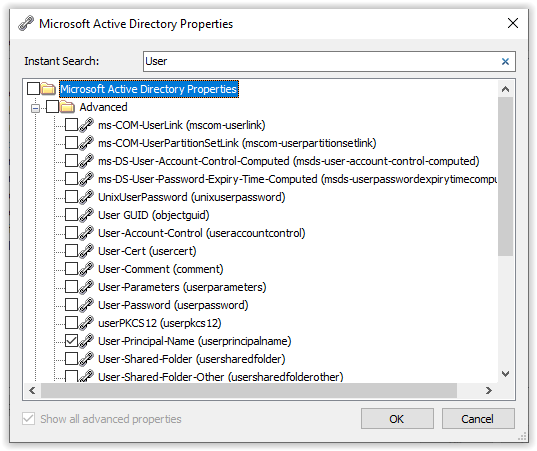
Enter User in the Instant Search field and search for the attribute User-Principal-Name (userprincipalname)
-
Select the option and select OK twice to add the new attribute to the Data Source and store the settings of the Data Source.
-
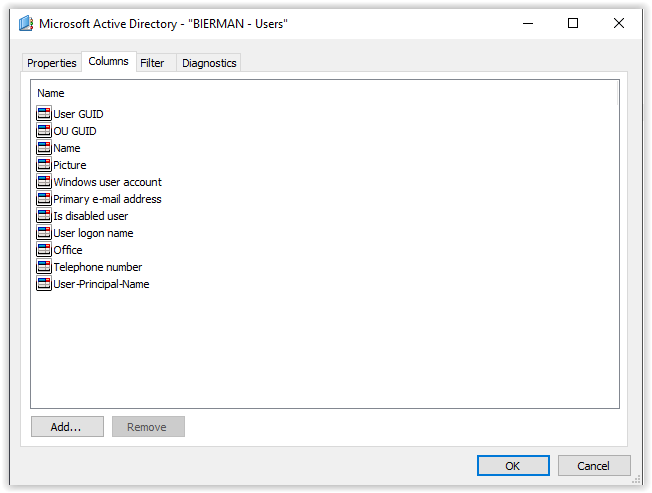
Execute the same action also for the domainA Users.
- Login to the Ivanti Identity Director Management Portal
-
Select Data Model from the menu and select People Identifiers
- Select Add on the bottom of the page to create a new People Identifier. The reason why to use a People Identifier is because the value needs to be unique for every single user. Which a User-Principal-Name is
-
Enter a name for the new person identifier (i.e., UPN)
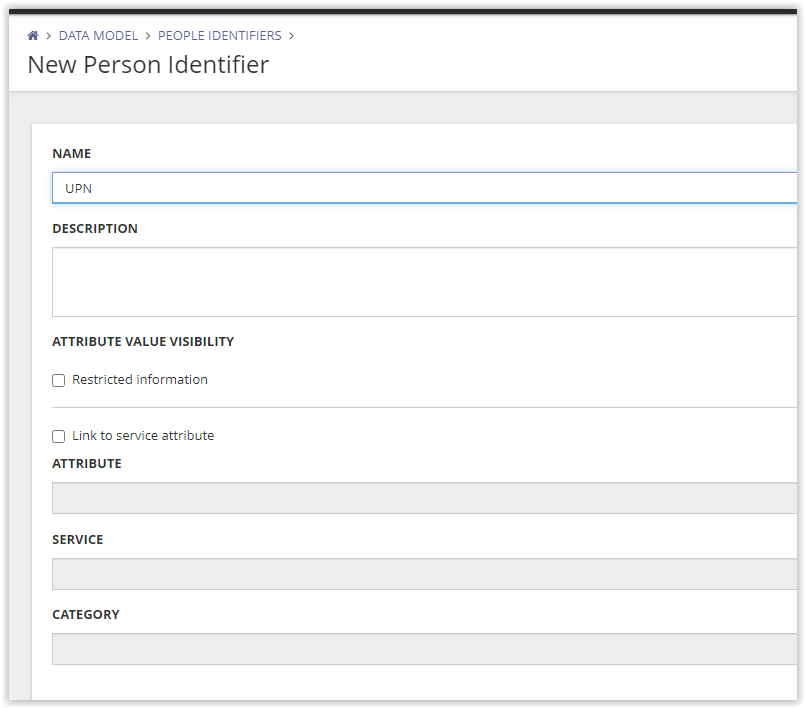
- Save the new Person (People) Identifier with the Save button on the bottom
- Move back to the Ivanti Identity Director Setup & Sync Tool
- Select the domainA – People and right-click the Data Connector
- Select Edit this connection
- Select the Mappings tab and search for the UPN People Identifier
-
Map the People Identifier to the User-Principal-Name Data Source

- Execute this also for the domainB – People and select OK to store the configurations.
-
Select both Data Connectors and select Synchronize theses connections

- After synchronizing the Data Connectors go back to the Ivanti Identity Director Management Portal
- Select People from the menu and select a user
-
Check if the UPN People Identifier is added and holds the data from Active Directory

- Select Setup – General
-
Select UPN from the People Identifier list and select Save on the bottom of the page to change the default People Identifier
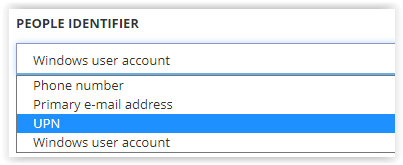
- By changing this value the default logon username in the Ivanti Identity Director Web Portal is changed from Windows User Account to UPN
-
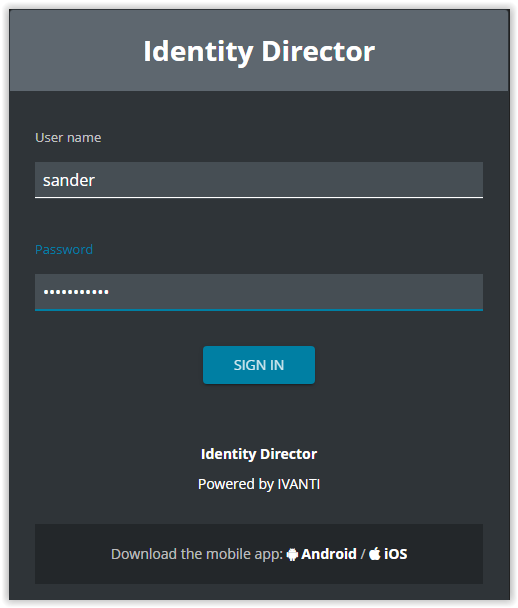
Open the Ivanti Identity Director Web Portal and test with a test user from domainA and domainB.
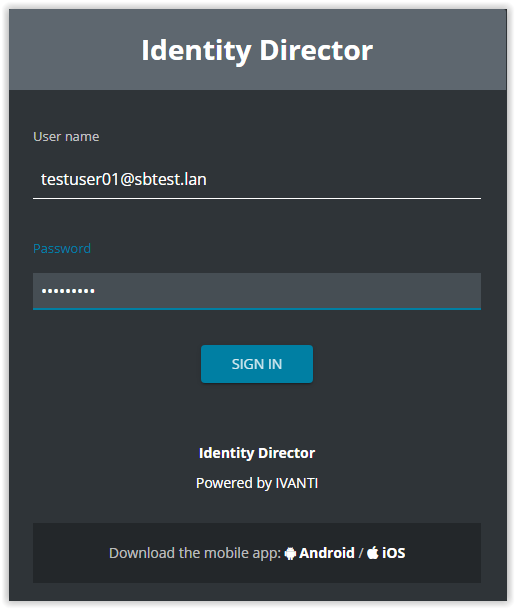
Users from both domains can now login to the Ivanti Identity Web Portal with their User-Principal-Name.