When I started scripting in PowerShell for customers I started to like scripting. So I also started learning C#. Ok this is a little bit harder to learn then PowerShell scripting.
When a customer requested an integration between Ivanti Security Controls and Nutanix I build a nice PowerShell script with API connections. When I showed this to the customer they were a bit disappointed because it was only script and not based on GUI.
After the demo I started working on the GUI around the scripts. With Visual Studio Code and the PowerShell integration from PowerShell Tools Pro from Ironman Software I was able to use Windows Forms for the GUI.
When I finished the application I needed to compile the scripts to an EXE file. With the PowerShell Tools Pro integration in Visual Studio Code this is an easy job. And the next part was creating an installation process. With the use of Advanced Installer this can be an easy job, but the options in Advanced Installer are limitless.
So I found an option to Digital Sign an application. I knew a little bit what this was but I never used it before. So I started investigating and Google is always your “best” friend.
So this blog will explain what Code Signing is, what is for and how to request and install certificates.
What is a Code Signing certificate?
Code signing is the method of using a certificate-based digital signature to sign executables and scripts in order to verify the author’s identity and ensure that the code has not been changed or corrupted since it was signed by the author. This helps users and other software to determine whether the software can be trusted.
Purpose of Code Signing
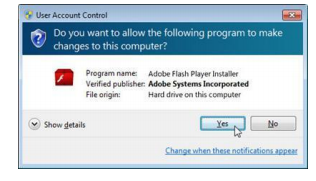
Because of the potential damage that an executable or script can cause to a computer system, it is important that users be able to trust code published on the Internet. If you know that an application is signed by Microsoft, Inc instead of WeHackYou, you’ll be much more likely to install it. There are two important ways that Code Signing increases trust:
- Authentication. Verifying who the author of the software is.
- Integrity. Verifying that the software hasn’t been tampered with since it was signed.
Another advantage that code signing provides is the ability to trust updates. If you release an update to a software application and sign it uses the same key as the original application, the update can be automatically trusted because it couldn’t have come from anywhere other than you.
To know if the software is trustworthy or not, some of the information which is displayed is:
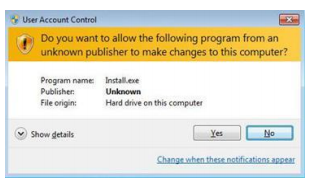
For untrustworthy it’s like:
What is a Code Signing Certificate?
A code signing certificate allows you to sign code using a private and public key system similar to the method used by SSL and SSH. A public/private key pair is generated when the certificate is requested. The private key stays on the applicant’s machine and is never sent to the certificate provider. The public key is submitted to the provider with the certificate request and the provider issues a certificate.
The code signing certificate acts as a digital signature. When you sign data, you include your digital signature with the data. A certificate contains information that fully identifies an entity, and is issued by a certificate authority (CA) after that authority has verified the entity’s identity. When the sender of a message signs the message with its private key, the message recipient can use the sender’s public key to verify the sender’s identity.
How does Code Signing Work?
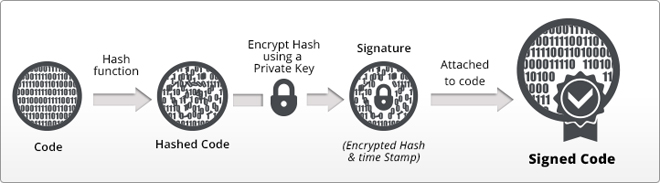
In order to sign a piece of code, an author goes through the following process:
- Applies for a code signing certificate from a code signing certificate authority
- Has his identity verified and receives a code signing certificate
- Generates a one-way hash of the software and uses the private key to encrypt this hash
- Bundling the hash and certificate with the executable
When a user receives the application, he verifies it by:
- Decrypting the hash using the public key in the certificate
- Creating a new hash of the downloaded application
- Comparing the new hash with the hash that was signed by the certificate
Code Signing is essential technology that allows the author of an application to be verified and allows software integrity to be verified. Though it doesn’t prevent malicious software from being distributed, it ensures accountability and software integrity. As long as a user recognizes and trusts the publisher of an application, he can safely run it without worrying about whether it has been tampered with.
But how do we request a Code Signing certificate? This blog describes 2 ways to create the request and 2 ways how to request the certificate.
Create the Code Signing Certificate Request
I discuss 2 options to create the Code Signing Certificate Request. The first option is by using the DigiCert Certificate Utility for Windows and the other option is with the Microsoft Management Console with the Certificate Snap-in.
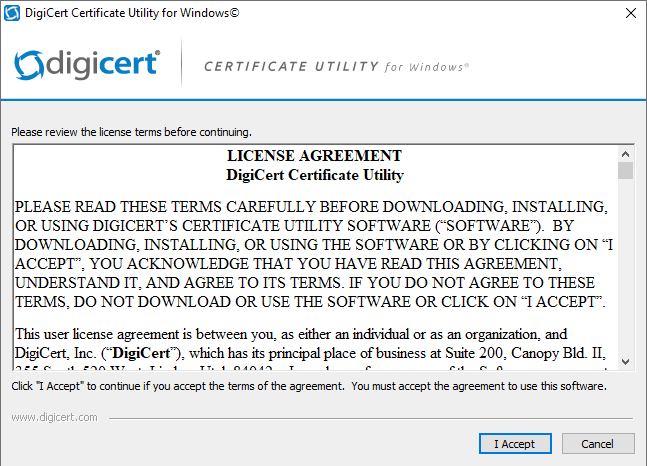
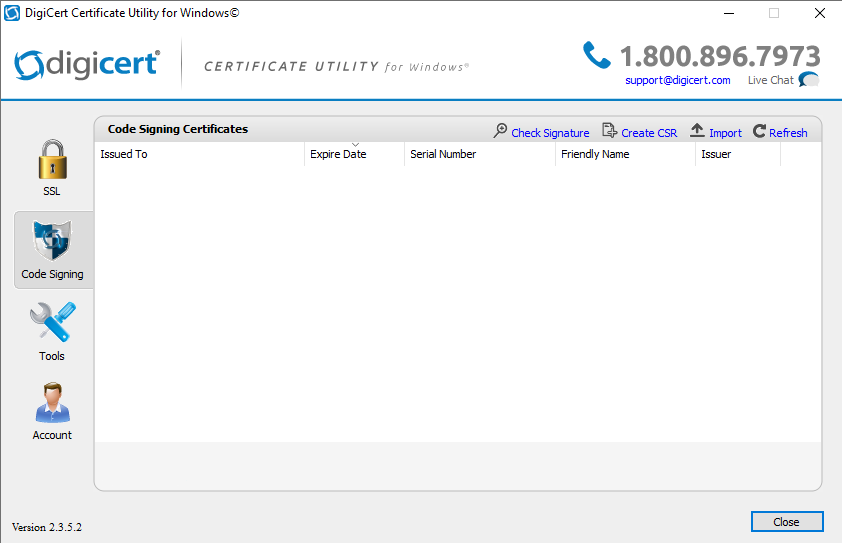
DigiCert Certificate Utility for Windows
The utility can be downloaded here. Extract the zip file and start the application. Accept the License Agreement.
If not already selected click on Code Signing and select the option Create CSR in the top menu.
In the next screen fill all the required information like below.
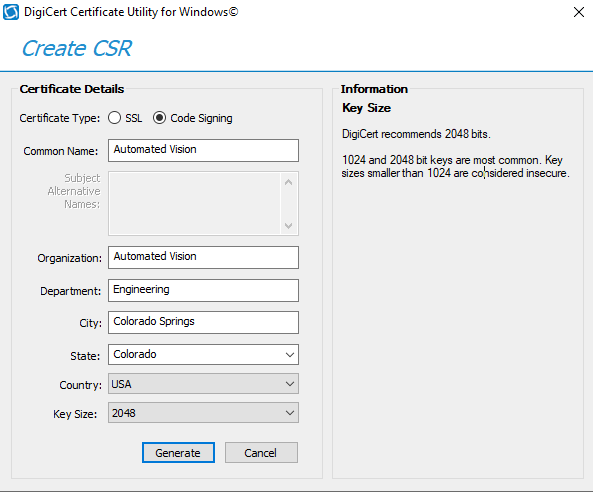
Important to select a Key Size of 2048 or higher. When finished filling the information select Generate to create the request information.
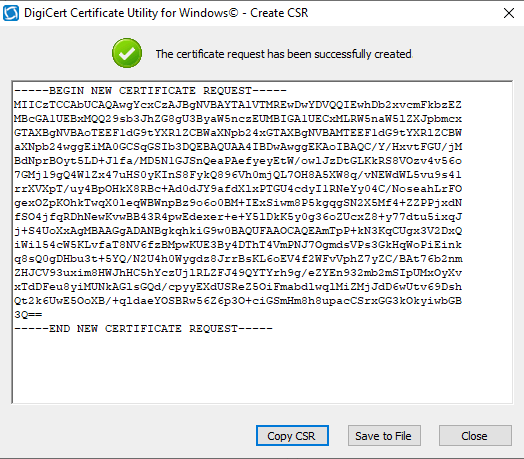
When using an internal Certificate Authority environment (only for internal testing) copy the CSR and paste this in the Certificate Request (this will discussed later in the blog).
Or Save to File and use the file when requesting the certificate local or at a 3rd party certificate provider. Some of the 3rd party certificate providers will discussed later in the blog. Because there are expensive but also cheaper options.
Create a certificate request with the Microsoft Management Console and Certificate Snap-in
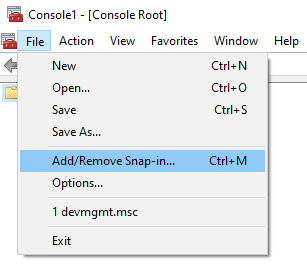
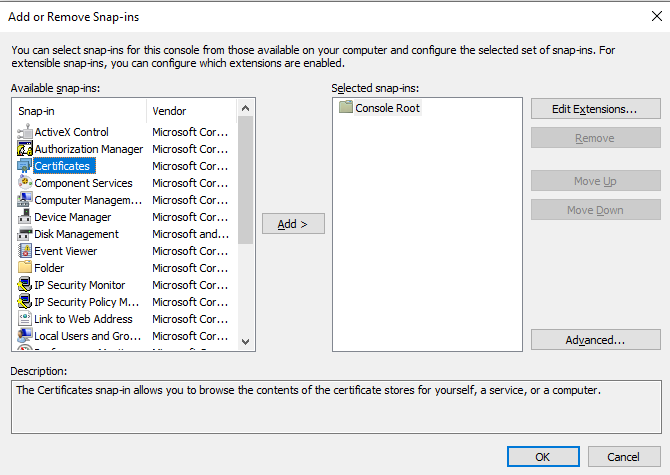
Go to the Start Menu – Run and type MMC followed by <enter>. Select the option Add/Remove Snap-ins from the File menu.
In the next screen select the Certificate Snap-in.
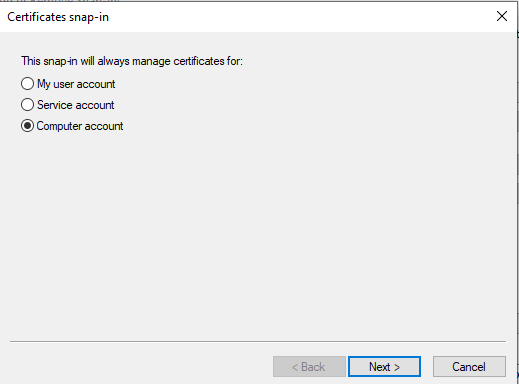
Add the Certificate Snap-in and select Computer account. Select Next to continue.
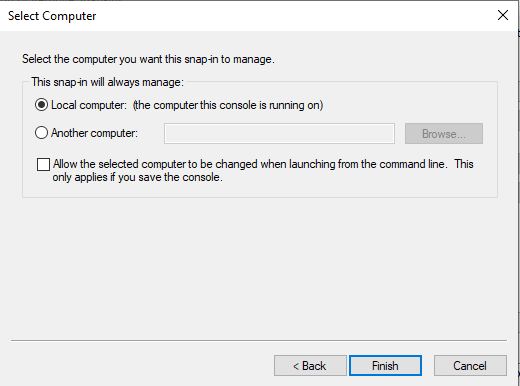
Select the Local computer and click Finish.
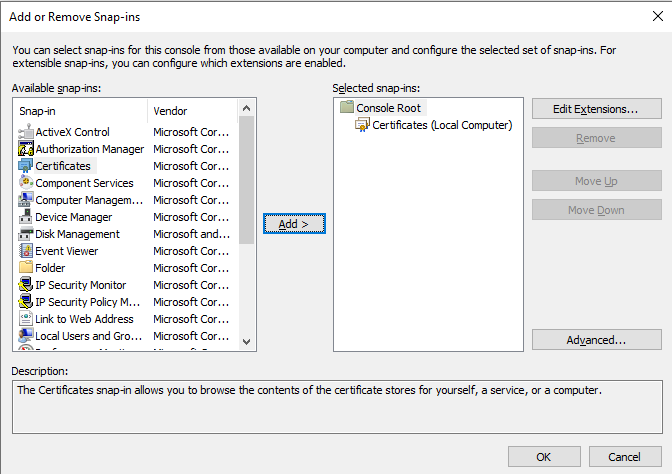
Click Ok to add the Snap-in.
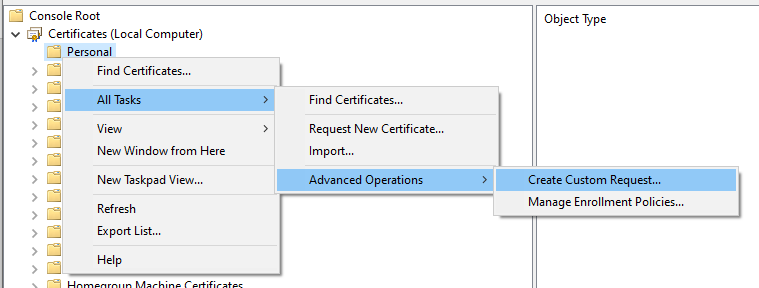
Right click on Personal and select Create Custom Request from All Tasks – Advanced Options.
Select Next to continue in the welcome screen.

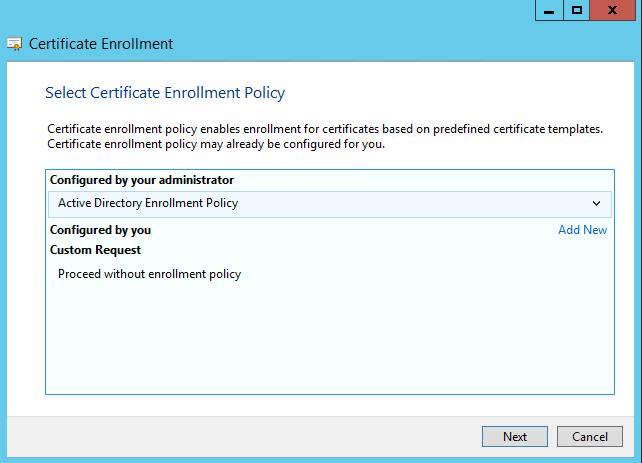
Select the option Custom Request – Proceed without enrollment policy. Use this option when the client can’t use the Active Directory Enrollment Policy. This option arrange the request and the automatic enrollment of a certificate.
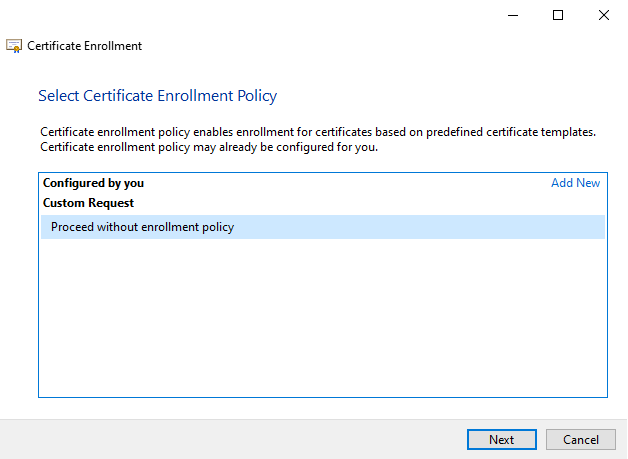
This blog describes only the Custom Request which is a manual action for the Certificate Request creation and requesting the certificate in the local Certificate Authority server.
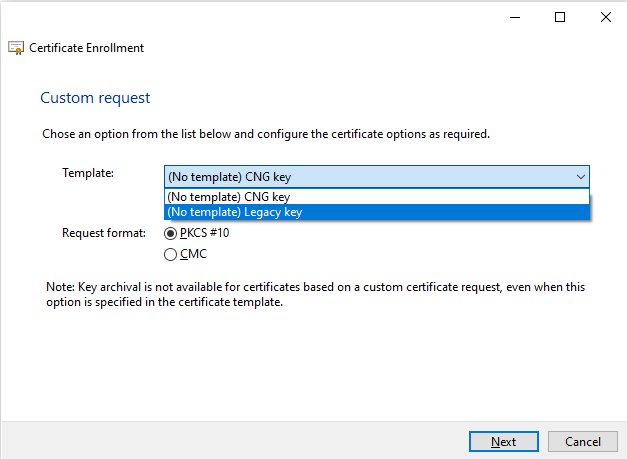
Leave the settings default. Template (no template) CNG Key and Request format PKCS #10. And select Next to continue.
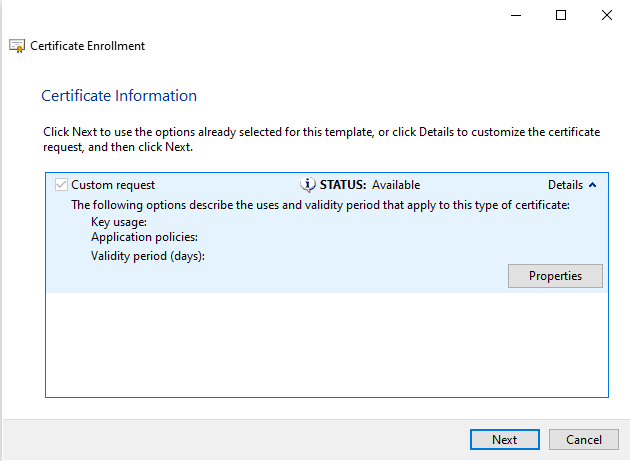
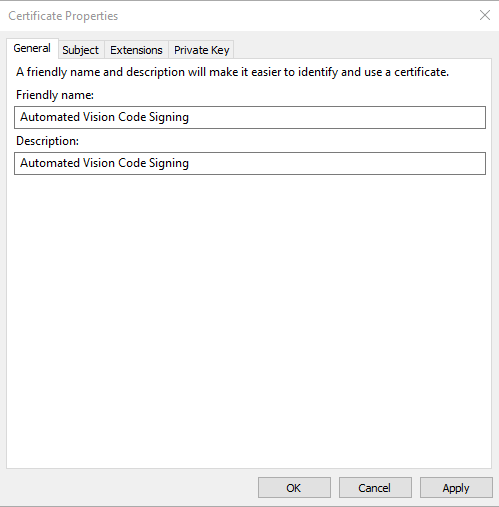
Click on the small arrow next of the Details and select Properties. Enter a Friendly name and description.
In the Subject tab enter the following information (select from the Subject name dropdown list):
- CN = Common Name (i.e. Automated Vision)
- O = Organization (i.e. Automated Vision)
- OU = Organization Unit (i.e. Engineering)
- S = State (i.e. Colorado)
- L = Locality (i.e. Colorado Springs)
- C = Country/Region (i.e. US)

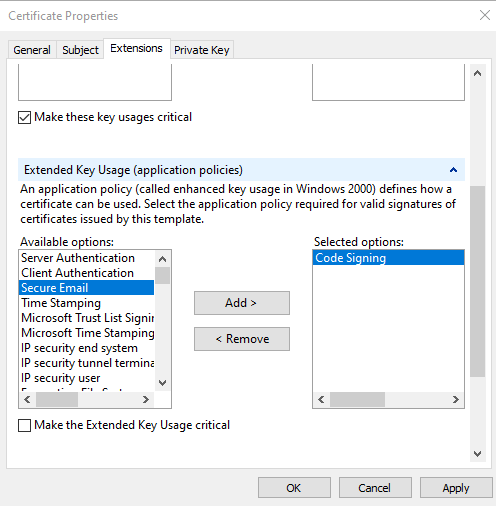
When finished select the Extension tab. Make sure the Digital Signature is added to the Selected options in Key usage and the Code Signing is added to the Selected options in Extended Key usage (application policies).

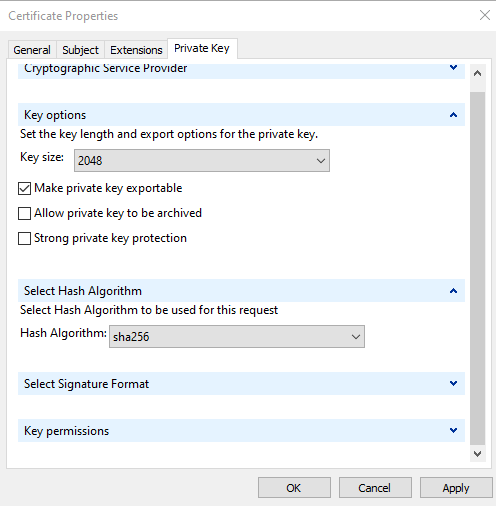
Select the tab Private Key. Select Key size: 2048 and check the option to Make private key exportable in the Key options.
Next select sha256 from the dropdown list in Hash Algorithm in the Select Hash Algorithm.
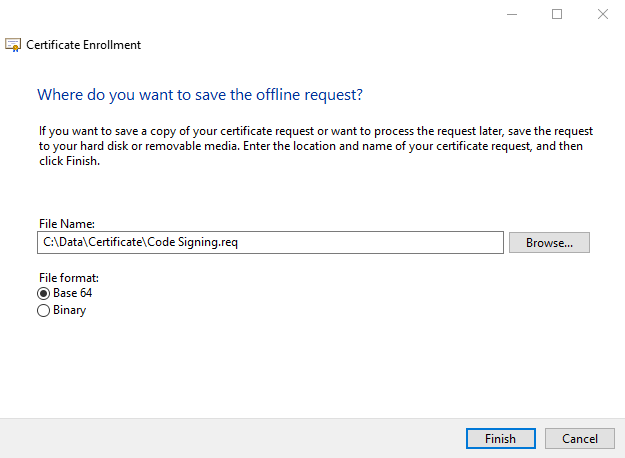
Select OK and Next to continue. Save the certificate request as Base 64 format.
Now we created two Code Signing Certificate requests, one with the free DigiCert Certificate Utility and one with Microsoft Management Console.
As we noticed the DigiCert Certificate Utility is much easier to use and the certificate request is quickly created. The reason why I also described the Microsoft Management Console (MMC) is because not everyone can or is allowed to download software from the internet.
Next step is requesting the Certificate.
Requesting the Code Signing Certificate
When testing applications on local systems we can request a certificate from a local Authority Server when available. But when the application is provided to customers a 3rd party certificate is needed. Because all the 3rd party providers have their own websites with different ways to request the certificate I will only discuss the certificate providers.
The following providers are available for Code Signing Certificates:
- Comodo
- Sectigo/Thawte
- DigiCert
- Symantec
I used https://codesigncert.com to find the cheapest prices for Code Signing Certificates. And Comodo and Sectigo/Thawte are the cheapest.
There are 2 kind of certificates available:
- Code Signing (cheap)
- EV Code Signing (more expensive)
What is an EV Code Signing Certificate?
EV Code Signing Certificate or Extended Validation Code Signing Certificate is a digital signing process. It provides security to your software or application products, thereby building trust and confidence of the users. It is similar to standard code signing certificates, but it comes with some additional benefits. EV code signing entails extensive vetting of the publisher. Due to this, it has a high reputation with Microsoft SmartScreen. Plus it has the additional security feature through two-factor authentication using the private key.
Requesting a code signing certificate on the local Certificate Authority server
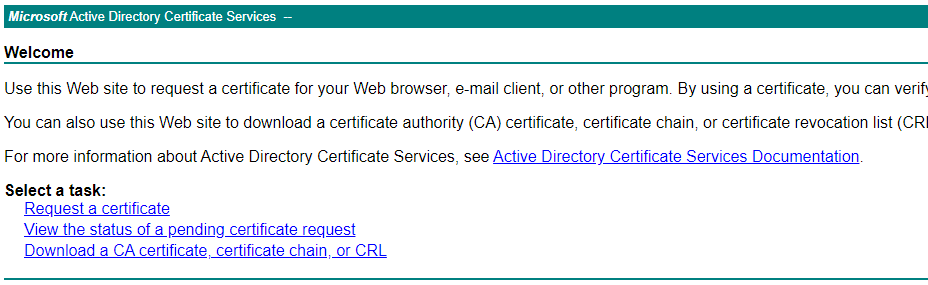
Open the Certificate Authority site (https://<FQDN/certsrv) and select Request a certificate.
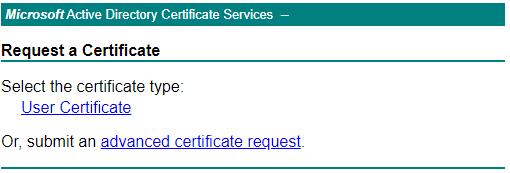
Select advanced certificate request.
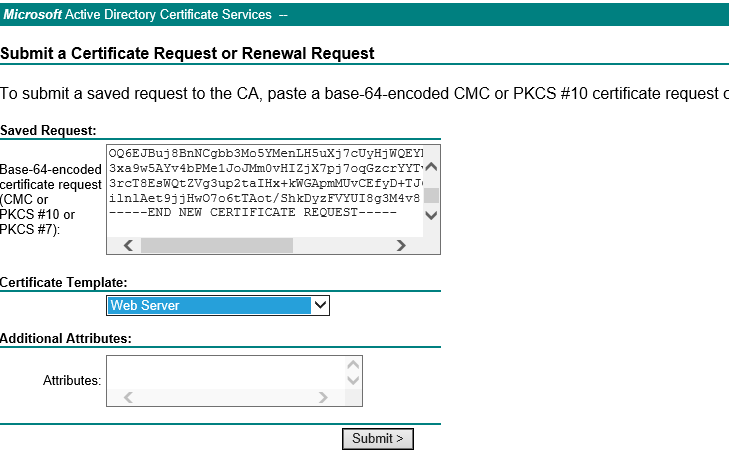
Select Submit a certificate request by using a base 64-encide or PKCS #10 file… .

Copy the content of the created request in the Saved Request field and select Web Server as Certificate Template. Select Submit to create the certificate.
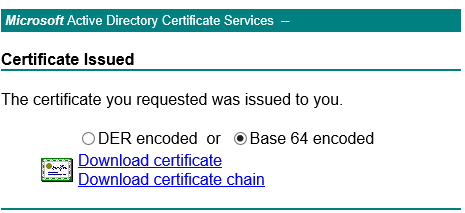
Select the Base 64 Encoded and select Download Certificate.
Import the Code Signed certificate
After downloading the Code Signing certificate must be imported. There 2 reasons to import the certificate. First reason is when using Advanced Installer the certificate can be selected from the dropdown list in the Digital Signature option when using Software Publisher Certificate.
The second reason when using the Microsoft SignTool to sign files the PFX file is needed.
Example specific for Comodo certificates:
SignTool sign /f "path to your PFX file" /p "your PFX file password" /tr http://timestamp.comodoca.com /td "path to the exe file you want to sign"
The SignTool can be found in the Windows 10 SDK tool. Software can be found here.
Go to the Microsoft Management Console with the Certificate Snap-in. Right click on the Personal folder and select All Tasks – Import.
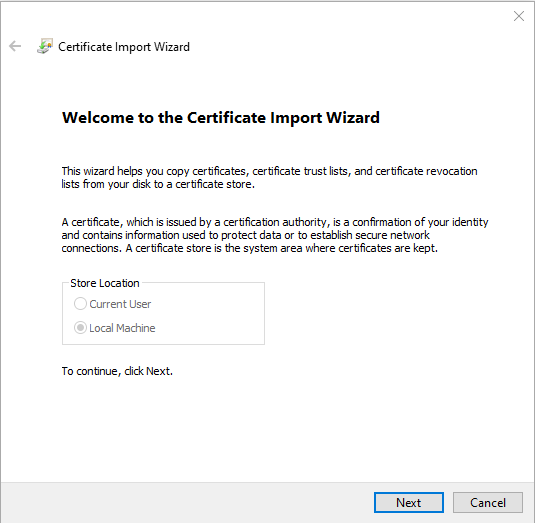
Select Next to continue.
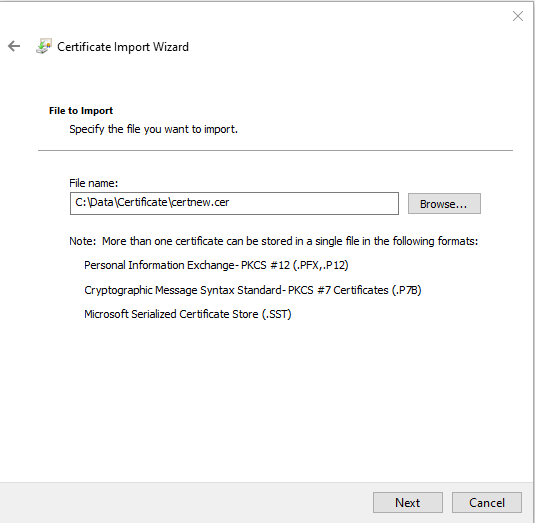
Browse to the certificate and select Next to continue.
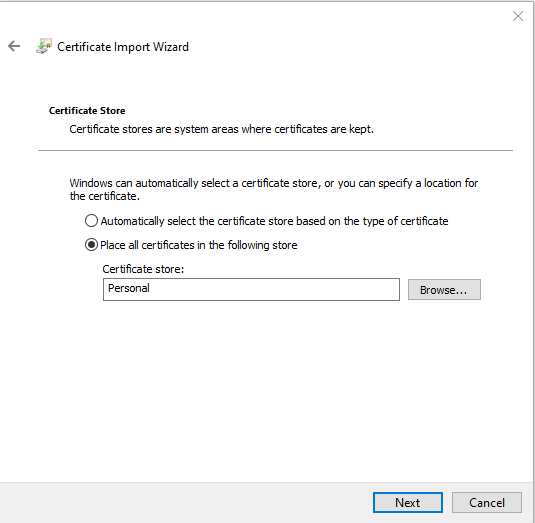
Select the store (mostly Personal) and select Next to continue.

Check all the settings and select Finish to import the certificate.
After the import check the certificate.
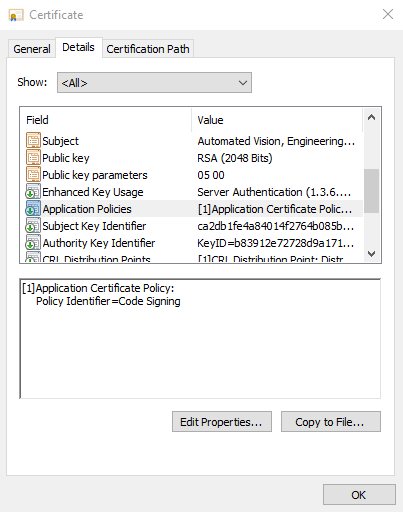
The certificate shows the policy identifier (Code Signing) which means with Advanced Installer installer files can be published with a certificate.
In my next blog I will discuss how to sign applications and or installation files with a Code Signing Certificate.