Ivanti offers many KB articles on how to Force Protocol Encryption between the Ivanti Automation components. This blog describes the 3 options available when creating a new environment and a new datastore. This will enable the Force Protocol Encryption between the Ivanti Automation Console and the datastore (Ivanti Automation database).
Prerequisites for using Force Protocol Encryption
Enable TLS 1.2 and disable TLS 1.0 and TLS 1.1 with the script below.
# Execute on both Ivanti Automation Console Server and Microsoft SQL Server
# Enable TLS 1.2
New-Item -Path "HKLM:\SYSTEM\CurrentControlSet\Control\SecurityProviders\SCHANNEL\Protocols" -Name "TLS 1.2" -Force
New-Item -Path "HKLM:\SYSTEM\CurrentControlSet\Control\SecurityProviders\SCHANNEL\Protocols\TLS 1.2" -Name "Client" -Force
New-Item -Path "HKLM:\SYSTEM\CurrentControlSet\Control\SecurityProviders\SCHANNEL\Protocols\TLS 1.2" -Name "Server" -Force
New-ItemProperty -Path "HKLM:\SYSTEM\CurrentControlSet\Control\SecurityProviders\SCHANNEL\Protocols\TLS 1.2\Server" -PropertyType dword -Name "DisabledByDefault" -Value "00000000" -Force
New-ItemProperty -Path "HKLM:\SYSTEM\CurrentControlSet\Control\SecurityProviders\SCHANNEL\Protocols\TLS 1.2\Server" -PropertyType dword -Name "Enabled" -Value "00000001" -Force
New-ItemProperty -Path "HKLM:\SYSTEM\CurrentControlSet\Control\SecurityProviders\SCHANNEL\Protocols\TLS 1.2\Client" -PropertyType dword -Name "DisabledByDefault" -Value "00000000" -Force
New-ItemProperty -Path "HKLM:\SYSTEM\CurrentControlSet\Control\SecurityProviders\SCHANNEL\Protocols\TLS 1.2\Client" -PropertyType dword -Name "Enabled" -Value "00000001" -Force

# Execute on both Ivanti Automation Console Server and Microsoft SQL Server
# Disable TLS 1.0 and 1.1
$protocol = Get-Item -Path "HKLM:\SYSTEM\CurrentControlSet\Control\SecurityProviders\SCHANNEL\Protocols"
If($protocol -eq "TLS 1.0"){
    New-ItemProperty -Path "HKLM:\SYSTEM\CurrentControlSet\Control\SecurityProviders\SCHANNEL\Protocols\TLS 1.0\Server" -PropertyType dword -Name "DisabledByDefault" -Value "00000001" -Force
    New-ItemProperty -Path "HKLM:\SYSTEM\CurrentControlSet\Control\SecurityProviders\SCHANNEL\Protocols\TLS 1.0\Server" -PropertyType dword -Name "Enabled" -Value "00000000" -Force
    New-ItemProperty -Path "HKLM:\SYSTEM\CurrentControlSet\Control\SecurityProviders\SCHANNEL\Protocols\TLS 1.0\Client" -PropertyType dword -Name "DisabledByDefault" -Value "00000001" -Force
    New-ItemProperty -Path "HKLM:\SYSTEM\CurrentControlSet\Control\SecurityProviders\SCHANNEL\Protocols\TLS 1.0\Client" -PropertyType dword -Name "Enabled" -Value "00000000" -Force
    }
If($protocol -eq "TLS 1.1"){
    New-ItemProperty -Path "HKLM:\SYSTEM\CurrentControlSet\Control\SecurityProviders\SCHANNEL\Protocols\TLS 1.1\Server" -PropertyType dword -Name "DisabledByDefault" -Value "00000001" -Force
    New-ItemProperty -Path "HKLM:\SYSTEM\CurrentControlSet\Control\SecurityProviders\SCHANNEL\Protocols\TLS 1.1\Server" -PropertyType dword -Name "Enabled" -Value "00000000" -Force
    New-ItemProperty -Path "HKLM:\SYSTEM\CurrentControlSet\Control\SecurityProviders\SCHANNEL\Protocols\TLS 1.1\Client" -PropertyType dword -Name "DisabledByDefault" -Value "00000001" -Force
    New-ItemProperty -Path "HKLM:\SYSTEM\CurrentControlSet\Control\SecurityProviders\SCHANNEL\Protocols\TLS 1.1\Client" -PropertyType dword -Name "Enabled" -Value "00000000" -Force
    }

# Execute on the Ivanti Automation servers (Console and Dispatcher)
New-ItemProperty -Path "HKLM:\SOFTWARE\Microsoft\.NETFramework\v4.0.30319" -PropertyType dword -Name "SchUseStrongCrypto" -Value "1" -Force
New-ItemProperty -Path "HKLM:\SOFTWARE\Wow6432Node\Microsoft\.NETFramework\v4.0.30319" -PropertyType dword -Name "SchUseStrongCrypto" -Value "1" -Force
More information about TLS 2.1 can be found in the two KB articles below.
Install the Microsoft OLE DB Driver 18 for SQL Server on the Ivanti Automation servers.
https://www.microsoft.com/en-us/download/details.aspx?id=56730
Note: Currently, Microsoft OLE DB Driver 19 for SQL Server is not supported.
New installation of Ivanti Automation
During the installation, the first component installed is the Ivanti Automation Console. After the installation, start the Ivanti Automation Console and a new window appears.
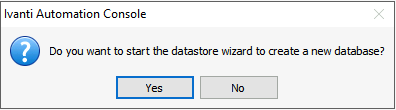
Select Yes to create a new database, and the Database Wizard is started.
Select Next to continue.
Enter the SQL Server DNS Name and a SQL Account, which is allowed to create the database.
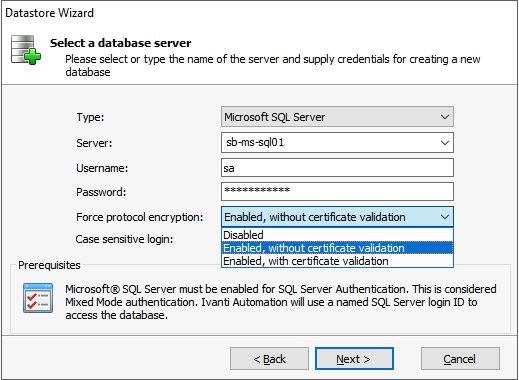
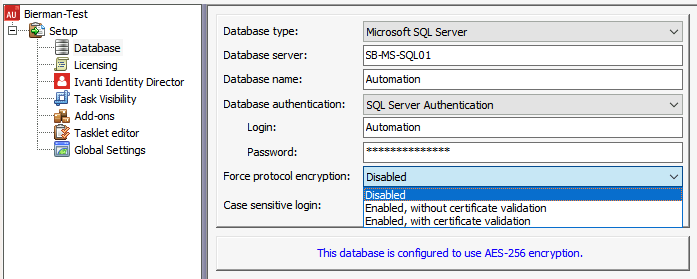
The Force Protocol Encryption shows 3 values when all prerequisites are correctly installed.
- Disabled
- Enabled, without certificate validation
- Enabled, with certificate validation
- Disabled will not use Force Protocol Encryption.
- Enabled, without certificate validation, enables Force Protocol Encryption and doesn’t require a certificate installed on the Microsoft SQL Server.
- Enabled, with certificate validation, enables Force Protocol Encryption and requires a certificate installed on the Microsoft SQL Server.
This blog below describes how to install a certificate on Microsoft SQL Server.
How to enable Force Protocol Encryption on Ivanti Automation Consoles without Force Protocol Encryption enabled.
The screenshot below shows that Database Encryption is not enabled for 2 servers.

Execute the PowerShell script described in this blog to enable TLS 1.2. Install the Microsoft OLE DB Drive 18 for SQL Server.
Open the console on the server which doesn’t have Database Encryption.
Move to Setup – Datastore and configure the Force Protocol Encryption setting.
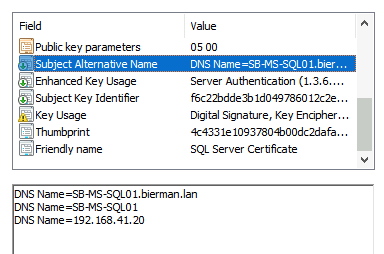
Note: depending on the DNS names (Subject Alternative Names), the name of the Database Server should be the Full Qualified Domain Name (FQDN), NetBIOS Name, or IP Address.
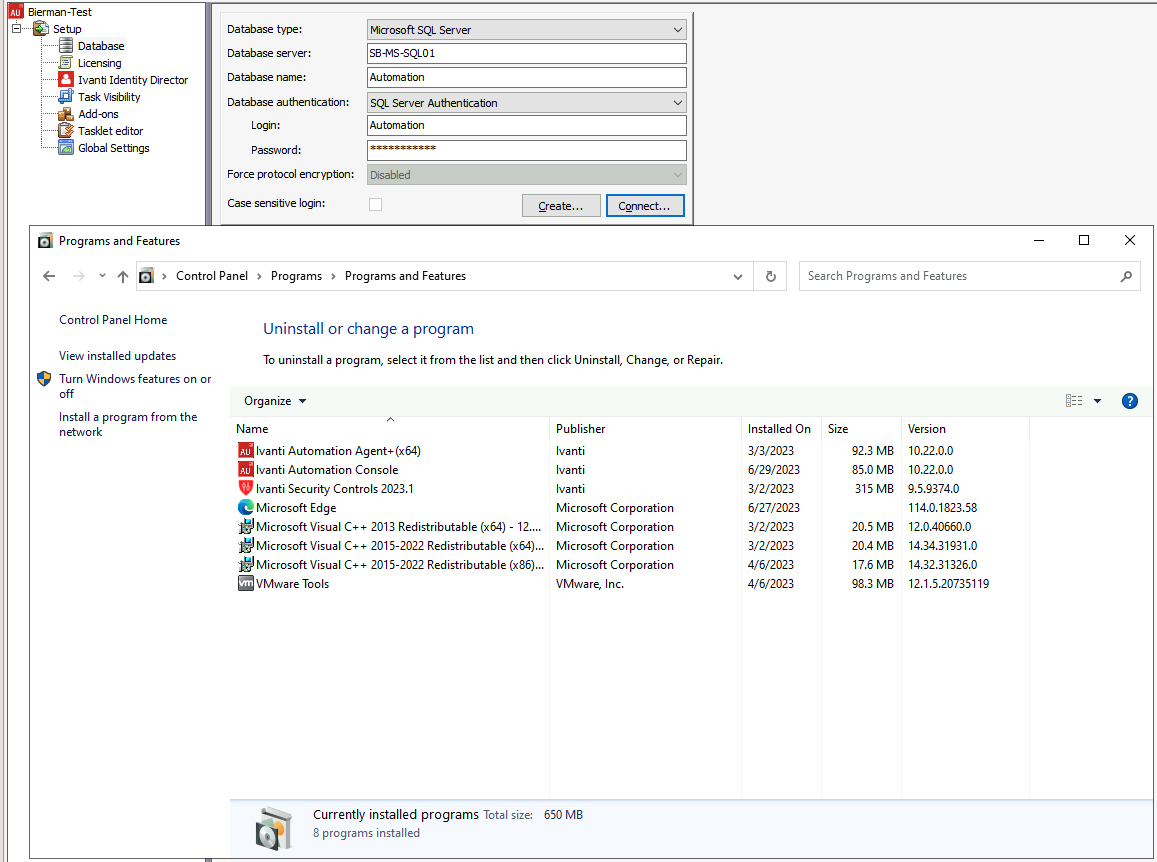
When the TLS 1.2 registry keys and the Microsoft OLE DB 18 Driver for SQL Server are not configured/installed, the option is grayed out.
The screenshot below shows that the Force Protocol Encryption is grayed out because the prerequisites are not configured/installed.
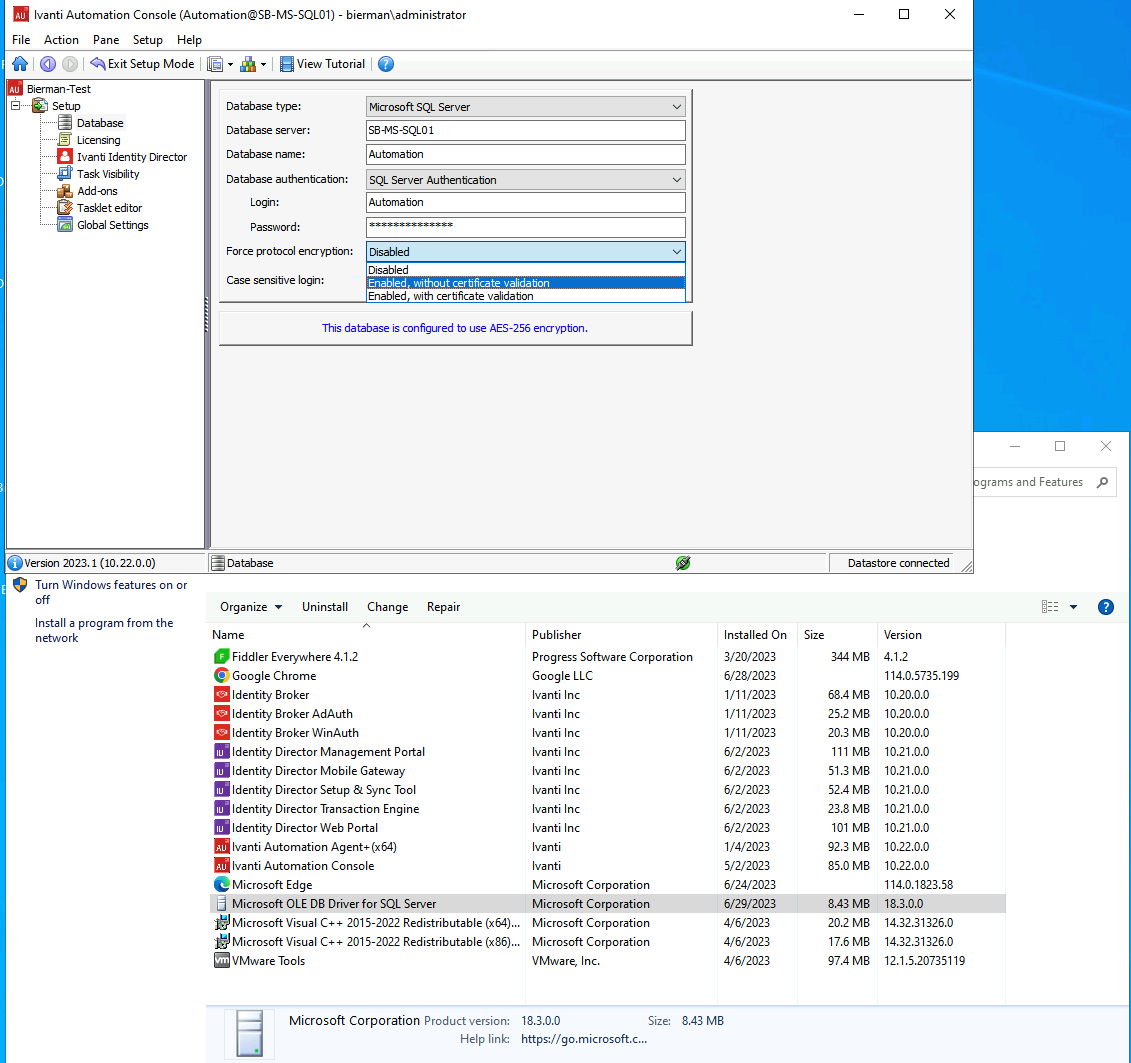
The screenshot below shows the prerequisites installed and the Force Protocol Encryption is available.
After re-configuring the datastore settings with Force Protocol Encryption, the Ivanti Automation Console restarts and shows a correct connection to the database is established and if the connection should be used.
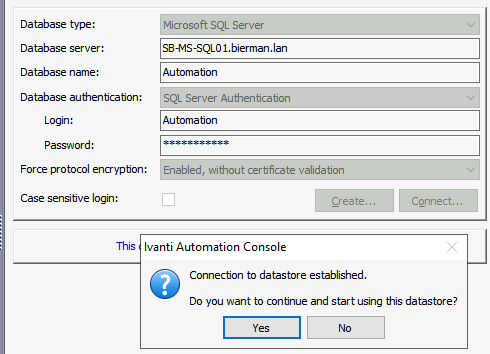
Select Yes to continue.
The Ivanti Automation Console is now using Force Protocol Encryption.

When using a Self-Signed certificate, make sure the certificate is exported from the SQL Server and imported on all servers/desktops which has the Ivanti Automation Console installed.
The certificate needs to be imported into the folder Trusted Root Certificates Authorities.
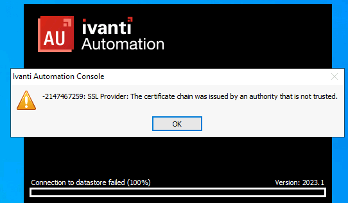
When the Self-Signed certificate isn’t installed, the following error message is shown when starting the Ivanti Automation Console.
Follow the steps below to export and import the Self-Signed certificate.
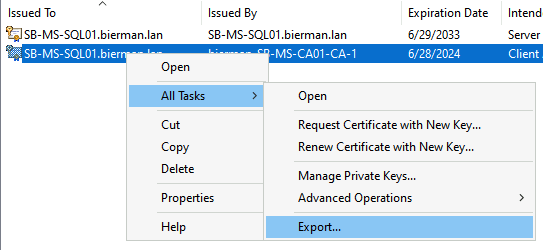
Open the Certificate Snap-In after starting the MMC. Select the Self-Signed certificate.
Right-click the certificate and select All Tasks – Export.
Select Next to continue in the Certificate Export Wizard.
Select Next with the option No, do not export the private key enabled.

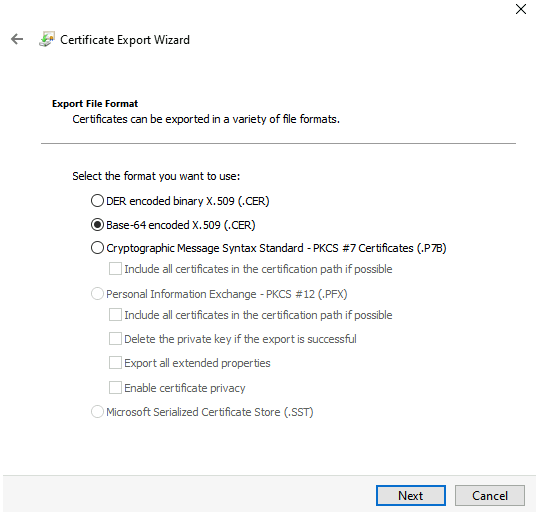
Select the option Base-64 encoded X.509 (.CER) and Next to continue.
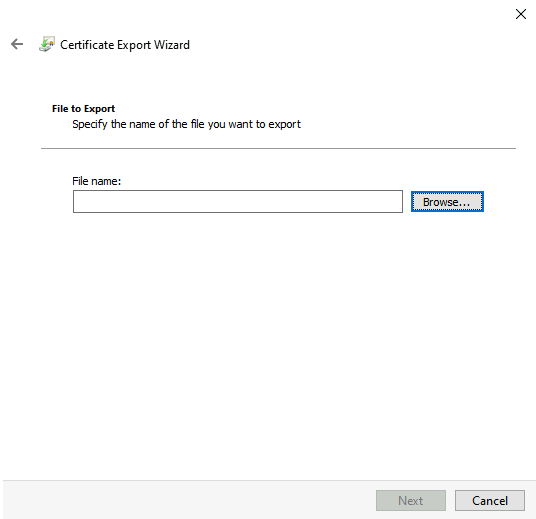
Select a location and name the file. Select Next to continue.
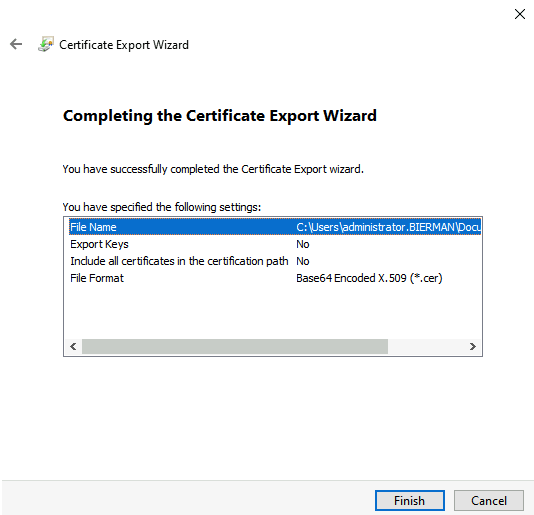
Select Finish when all settings are correctly configured.
Select OK when the export was successful.
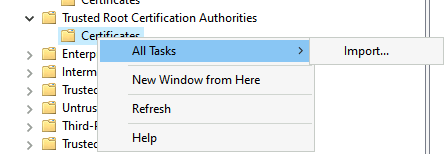
Move the server with the Ivanti Automation Console installed. Start MMC and import the Certificate Snap-In for Local Machine. Select the Trusted Root Certification Authorities – Certificates folder. Right-click and select All Tasks – Import.
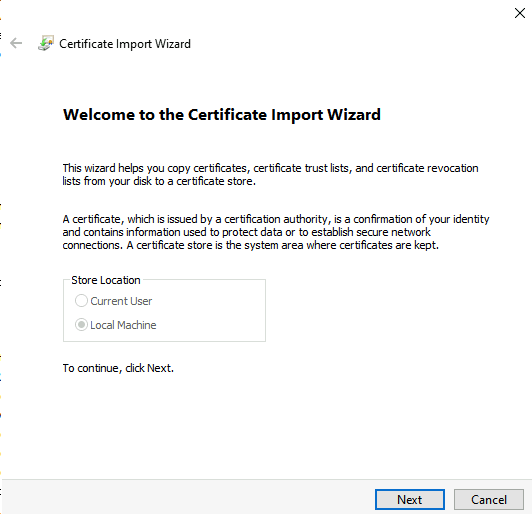
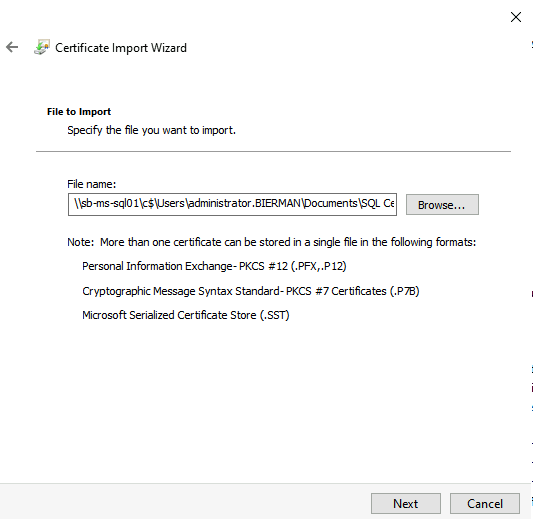
Select Next to continue in the Certificate Import Wizard.
Select the exported file and Next to continue.
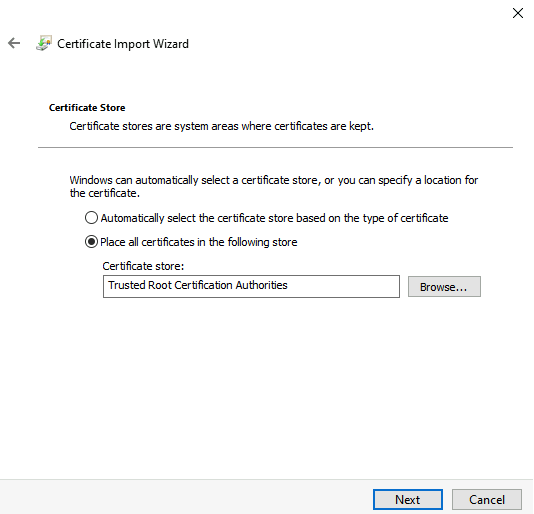
Make sure the certificate is imported in the Trusted Root Certification Authorities and select Next to continue.
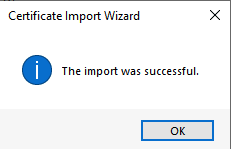
Select Finish to import the certificate. And select OK when the certificate is successfully imported.
Open the Ivanti Automation Console without SSL errors.