This blog describes how to install either a self-signed certificate or a certificate from a Certificate Authority Server.
Creating self-signed certificate
Use the script below on the Microsoft SQL Server to create a self-signed certificate.
$params = @{
    Type = 'SSLServerAuthentication'
    Subject = 'SB-MS-SQL01.bierman.lan'
    FriendlyName = 'SQL Server Certificate'
    DNSName = 'SB-MS-SQL01.bierman.lan', 'SB-MS-SQL01', '192.168.41.20'
    CertStoreLocation = 'Cert:\LocalMachine\My'
    HashAlgorithm = 'sha256'
    KeyLength = '4096'
    NotAfter = (Get-Date).AddYears(10)
    TextExtension = @(
        '2.5.29.37={text}1.3.6.1.5.5.7.3.1'
    )
    }

New-SelfSignedCertificate @params
The params variable creates the values for the certificate.
Type specifies the type of certificate. For the SQL Server, use SSLServerAuthentication.
Subject specifies the string that appears in the subject of the new certificate. In this example, using the DNS name of the Microsoft SQL Server SB-MS-SQL01.bierman.lan.
FriendlyName species a friendly name for the new certificate. In this example, using the value SQL Server Certificate.
DNSName specifies one or more DNS names to put into the subject alternative extension of the certificate. The first DNS name is also saved as the subject name when not used. This example uses the FQDN, NetBios Name, and IP Address.
CertStoreLocation specifies the certificate store in which to store the certificate. In this example, storing the certificate in Cert:\LocalMachine. This is the Personal – Certificate folder in the LocalMachine
HashAlgorithm specifies the name of the hash algorithm to use to sign the new certificate. In this example, using SHA256
KeyLength specifies the key’s length, in bits, associated with the new certificate. In this example, using value 4096.
NotAfter specifies the date and time, as a DateTime object, that the certificate expires. In this example, using 10 years before expiration.
TextExtension specifies an array of certificate extensions. In this example, use the value 2.5.29.37 to configure the Enhanced Key Usage and configure this value only for Server Authentication.
Server Authentication is value 1.3.6.1.5.5.7.3.1
Client Authentication is value 1.3.6.1.5.5.7.3.2
For more information about all the parameters available for the PowerShell command New-SelfSignedCertificate check the link below.
https://learn.microsoft.com/en-us/powershell/module/pki/new-selfsignedcertificate?view=windowsserver2022-ps
After executing the PowerShell script, the certificate is added to the Certificates. Execute Run from the Start Menu and execute MMC.
Add the Certificate Snap-In and make sure to select Local Machine.
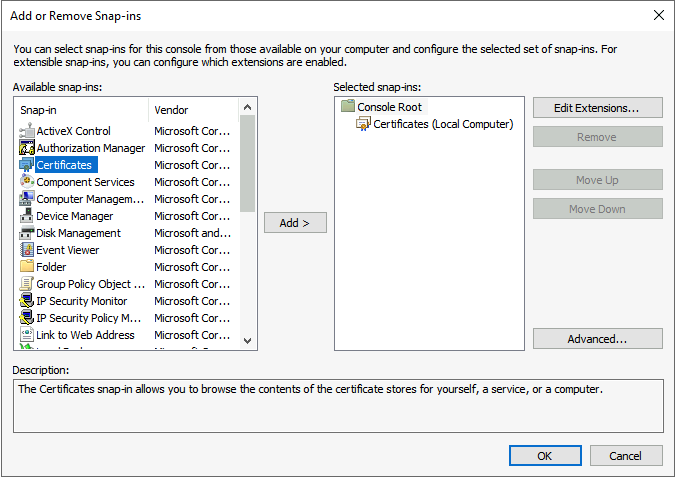
When finished, select OK to continue. Select Personal – Certificates and check if the new created self-signed certificate is added.

When opening the certificate by double-clicking the certificate, you will notice the certificate is not trusted by a Root Certificate.
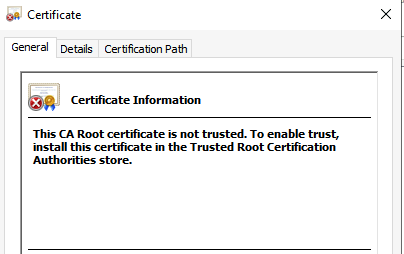
Close the Certificate properties, right-click the certificate, and select Copy from the menu.
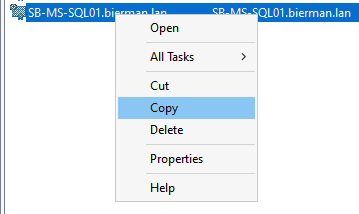
Move to the Trusted Root Certification Authorities – Certificates folder and paste the certificate.
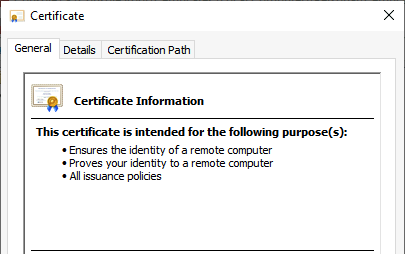
Move back to the Personal – Certificates folder and open the certificate. Check if the certificate is trusted.
Install a certificate from the Active Directory Certificate Service (AD CS)
When a Microsoft AD CS is available, the root certificate is transferred to all servers in the domain by Active Directory. Creating a new certificate doesn’t need to be installed in the Personal and Trusted Root Certification Authorities folders but only in the Persona folder.
There are multiple options to create a new certificate. This blog describes using the templates from the AD CS server, which are available from the Microsoft SQL Server.
Go to Start – Run and execute MMC. Add the Snap-In Certificates for Local Machine.
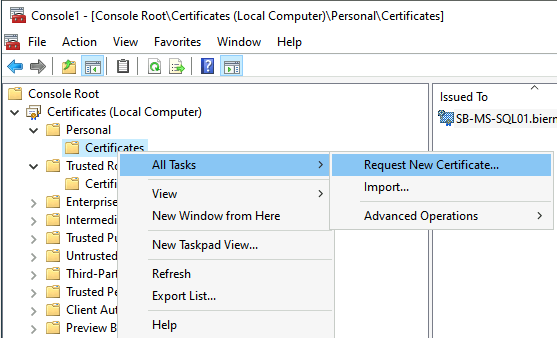
Right-click the Certificates folder and select the option Request New Certificate.
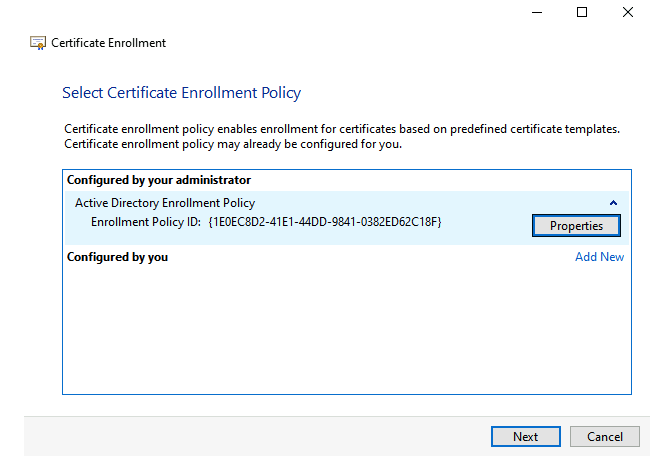
The Certificate Enrollment wizard is shown. Select Next to continue.

Select the option Active Directory Enrollment Policy and select Next to continue.
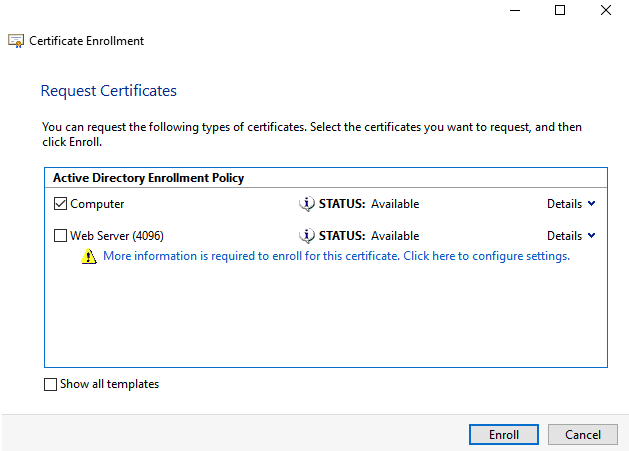
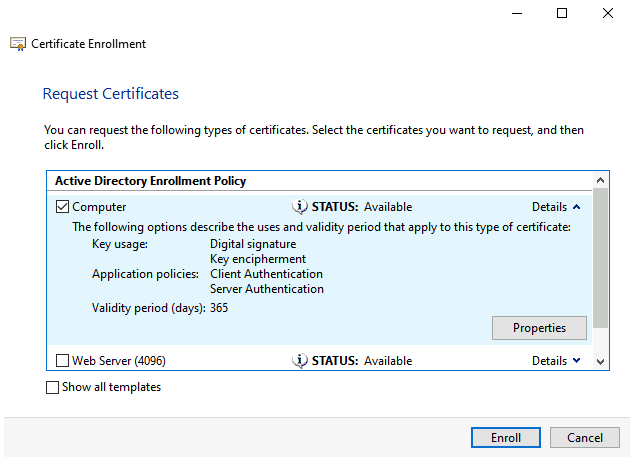
When the Computer Template is available, select this template.
Note: How to create new templates and how to make the templates available is discussed in a future blog.
Expand the Computer template by selecting the Details option. Select the Properties option to add additional values or change values.
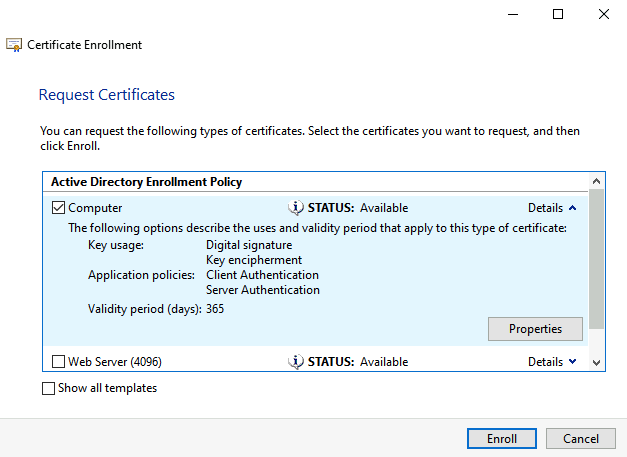
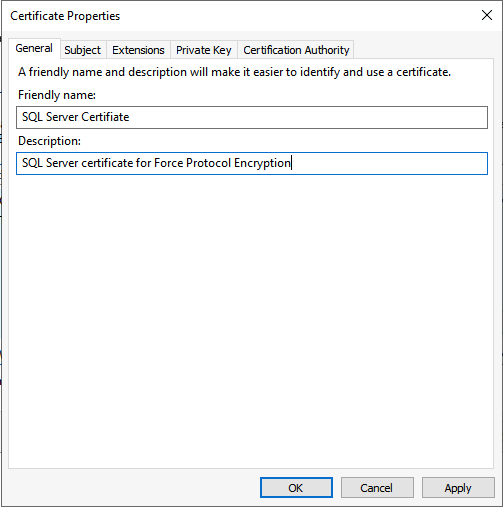
In the General tab, enter a Friendly name and description.
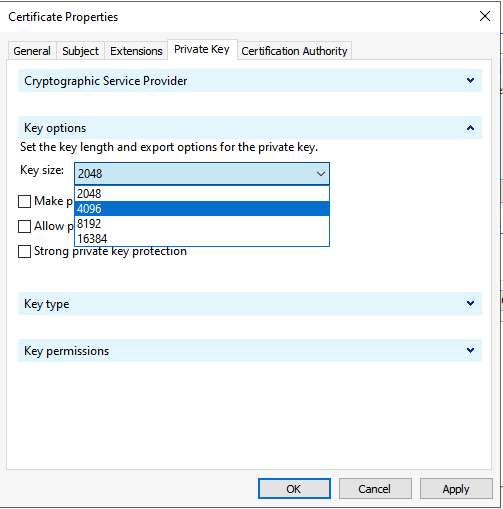
Select the Private Key tab and expand Key options. Set the Key size to 4096 from the dropdown list.
Select OK to continue. Select Enroll to create the new certificate created by the Certificate Authority.
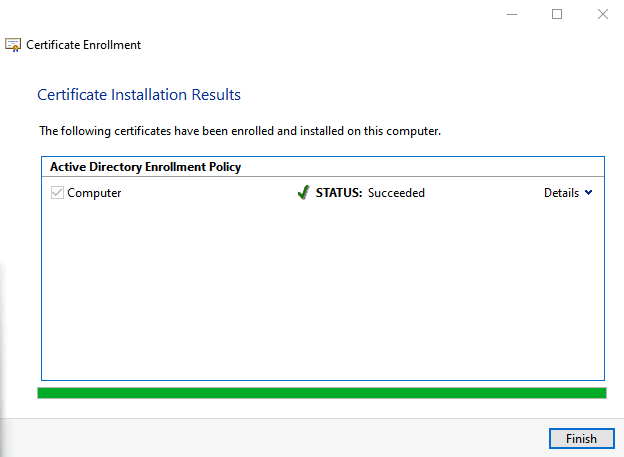
When the certificate creation is succeeded select Finish to close the Certificate Enrollment wizard.
When finished, the new created certificate is visible in the Personal Certificates folder.

Both certificates (Self Signed and Certificate Service) are available in the screenshot above.
Enabling Force Protocol Encryption on the Microsoft SQL Server
After creating the certificate specific for the Microsoft SQL Server we need to configure the SQL Server to use the certificate.
Start the SQL Server xxxx Configuration Manager from the Start Menu (xxxx depending on the SQL version). Seelct SQL Server Network Configuration.
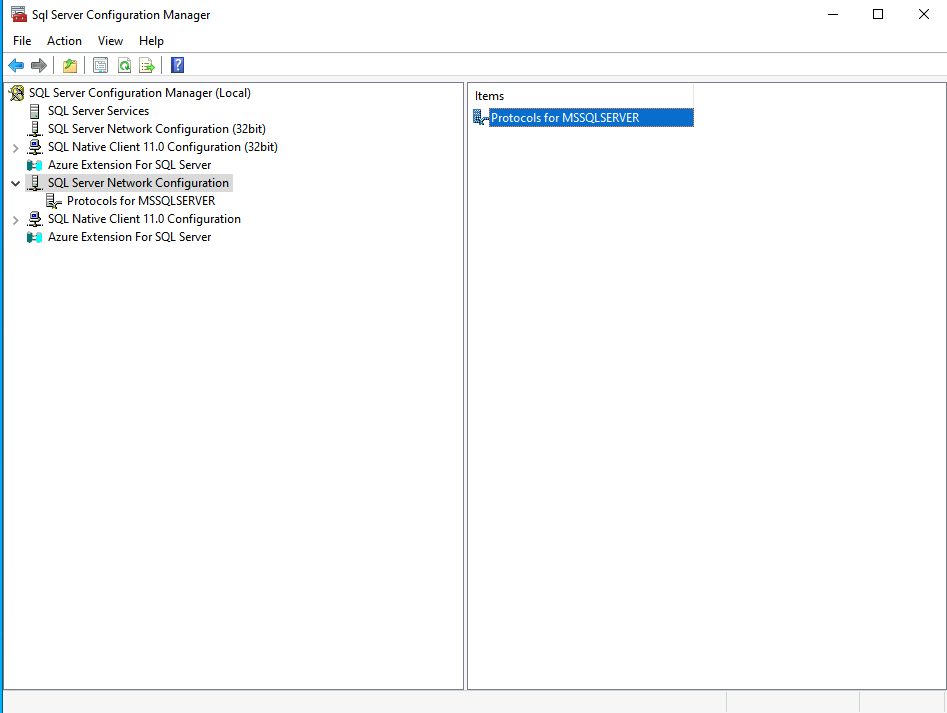
Right-Click the option Protocols for MSSQLSERVER (MSSQLSERVER value can be different based on the instance).
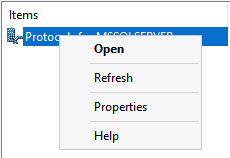
Select Properties from the menu.
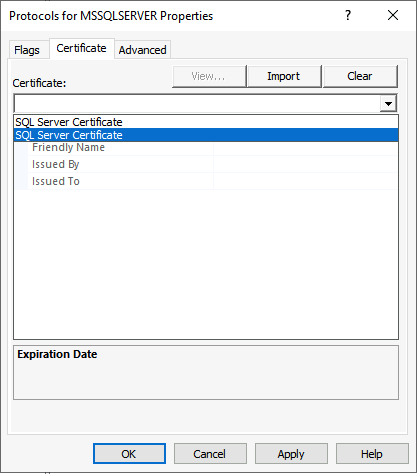
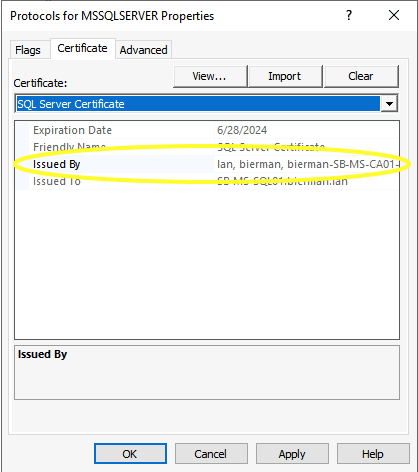
Select the tab Certificate and select the certificate from the dropdown list. In this example both certificates are available.
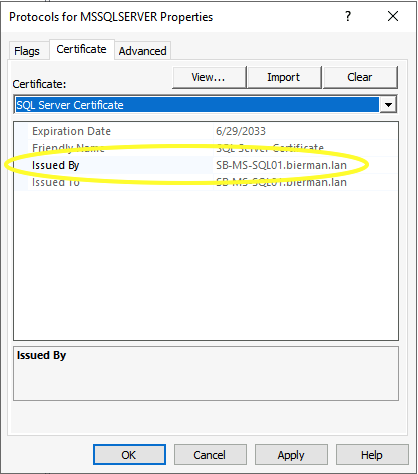
The first selected is the self-signed certificate which you can see in the Issued By option.
The second selected is the certificate enrolled with the Certificate Authority server.
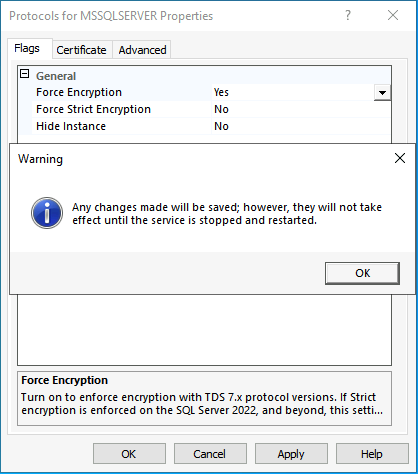
Select the tab Flags and configure the option Force Encryption to Yes.
After selecting Apply or OK, a popup explains to restart the Microsoft SQL Service.
Select the SQL Service Services and restart the SQL Server (Instance Name) service.
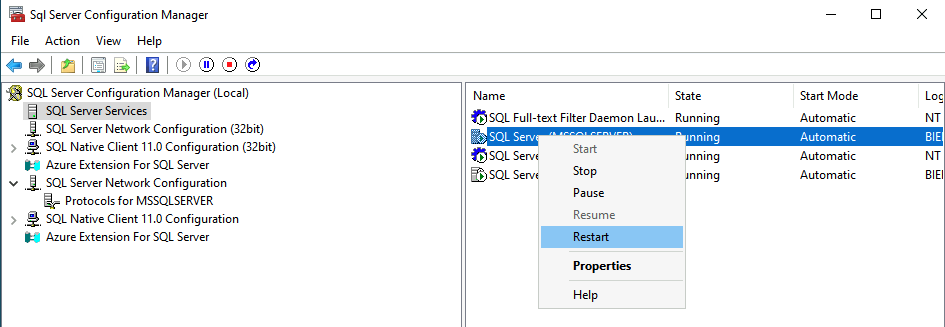
When the service is restarted, Force Protocol Encryption is enabled.
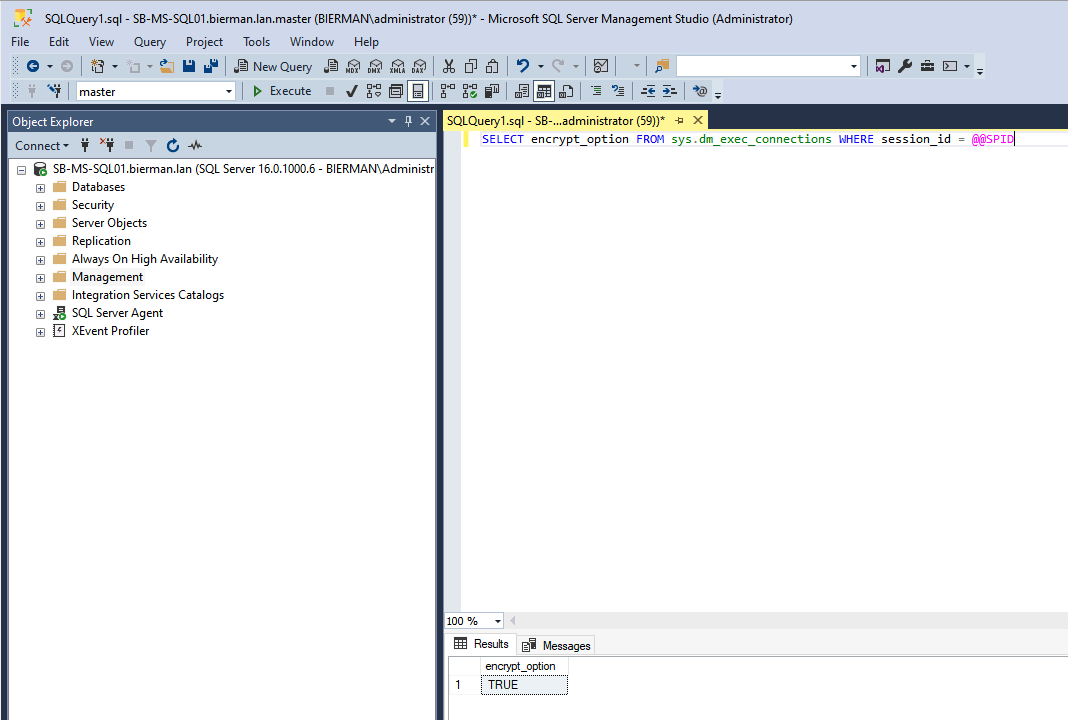
Use the SQL Query below to check if the Protocol Encryption is enabled.
SELECT encrypt_option FROM sys.dm_exec_connections WHERE session_id = @@SPID
Pingback: Enabling Force Protocol Encryption between Ivanti Automation Console and Database - Automated Vision