This blogs describes how to integrate Microsoft Azure AD users into Ivanti Identity Director. Ivanti Identity Director delivers 5 templates Microsoft Graph API and 2 templates for Workday.
In this blog we discuss the integration between Ivanti Identity Director and Microsoft Azure AD (also included in M365).
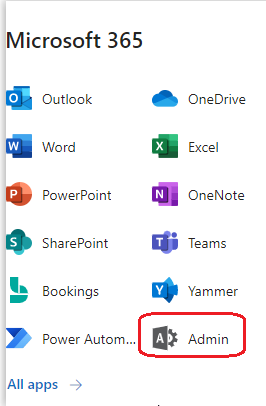
First step is creating an Azure AD App Registration. Login to Microsoft M365 and select the Admin option from the Apps menu.
Select Azure Active Directory from the Admin Centers.

Azure AD is opened in a new tab and select Azure Active Directory. 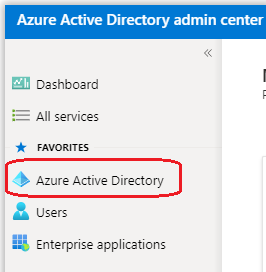
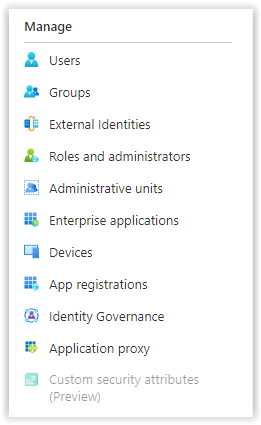
Select App Registrations from the Manage menu.
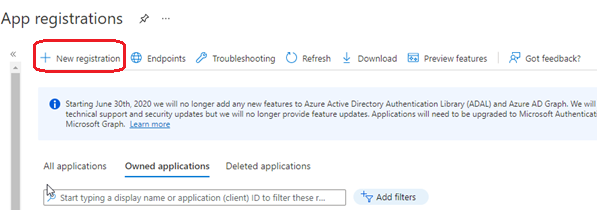
Select the option New Registration from the top menu.
Enter a name for the new app and select the option which accounts can use the application or access the API.
Select the Web option in the redirect API and enter a valid URL. This is only required when using the Ivanti Identity Broker.
I.e. https://store.testing.com/identitybroker/ids/azure

Select Register when finished.
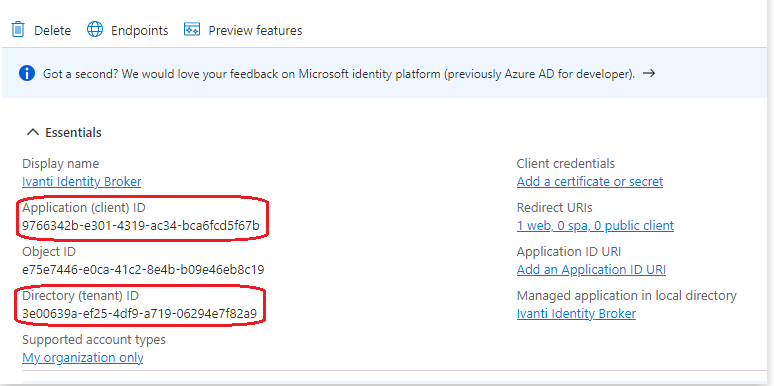
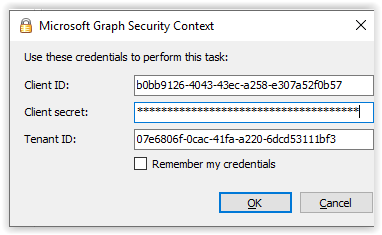
When finished the screen below shows one of the 3 values required. The Directory (tenant) ID and Application (client) ID are needed for the Security Context later in the document.
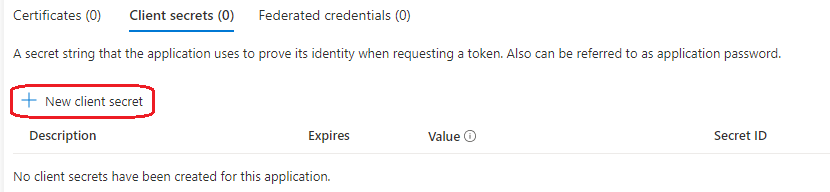
Next step is creating Client Credentials. Select Add a certificate or secret. Next select New client secret.
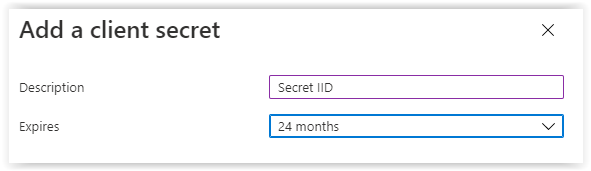
 Enter a name and select the months before expiring.
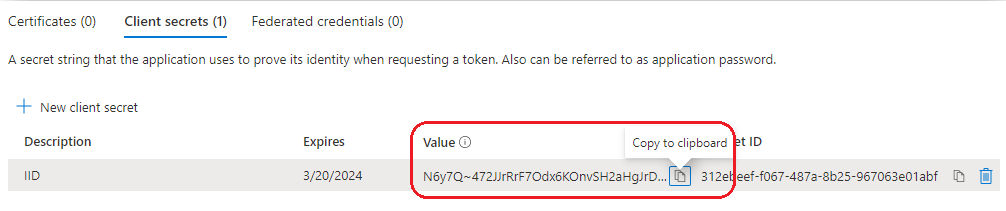
When select Add and save the Value as shown in below screenshot.
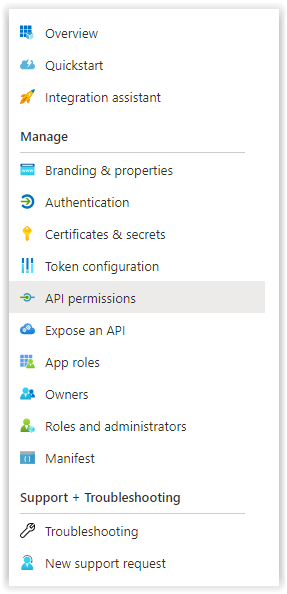
Last step is adding API Permissions to the new created application.
In the menu select API Permissions.
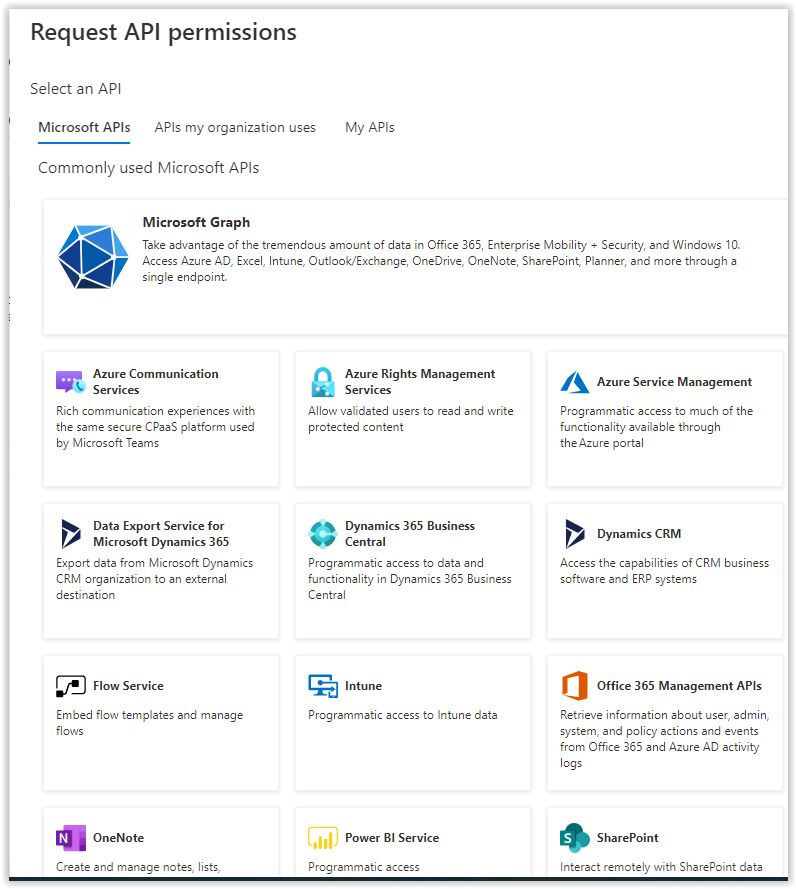
Select Add Permission.
In the menu on the right select the option Microsoft Graph.
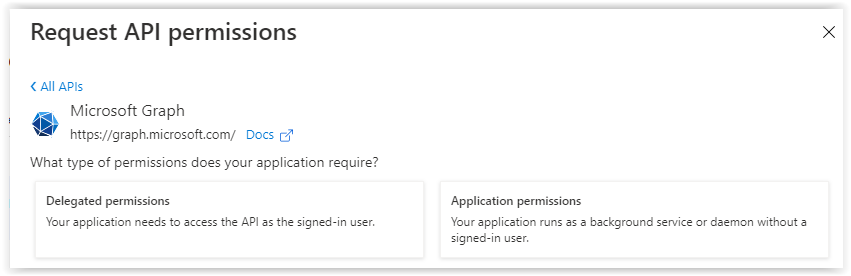
Select Application permissions to add one additional permission.
Enter Directory in de searchbar and open the Directory permissions. Select the permission Directory.Read.All and select Add Permissions.
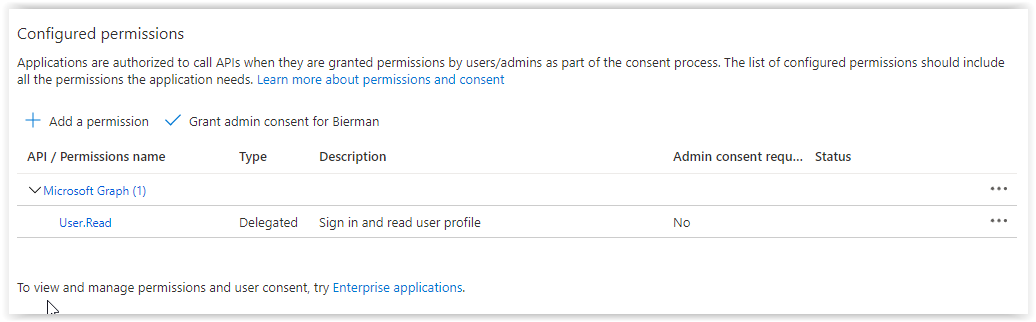
Last step in the API Permission is Granting the new permission. Select the option Grant admin consent for ….. When finished the permissions are granted.
Now the App Registration is finished and the Data Source and Data Connectors must be build.
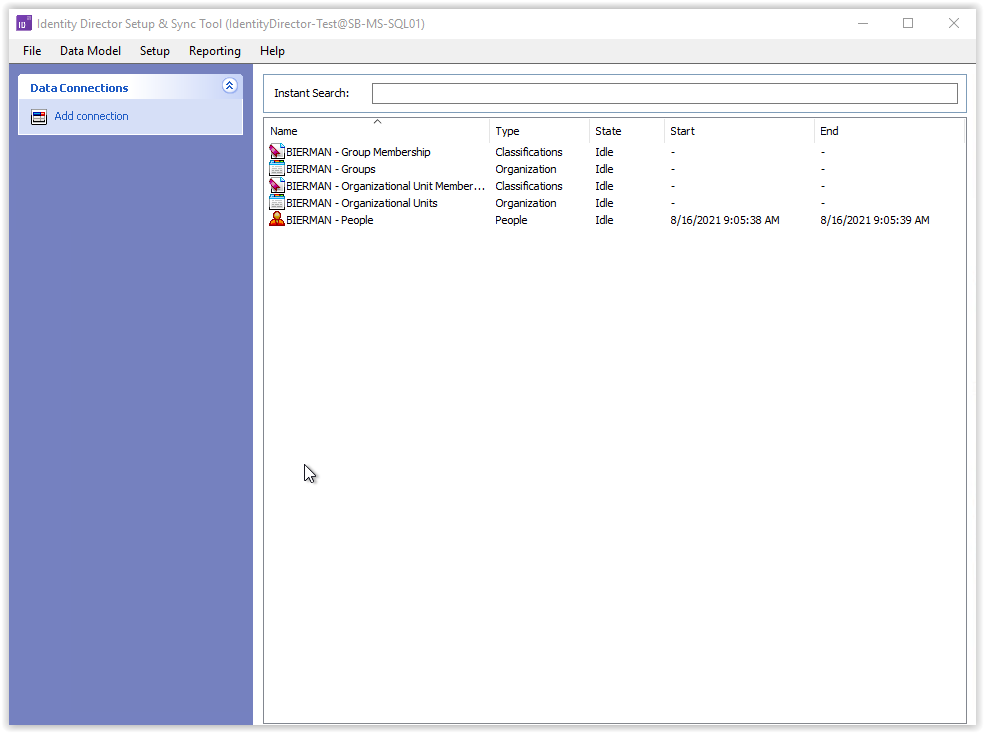
Ivanti Identity Director Setup & Sync configuration
Open the Ivanti Identity Director Setup & Sync Tool.
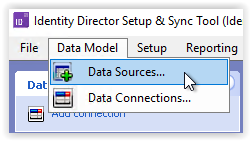
Select Data Model – Data Sources
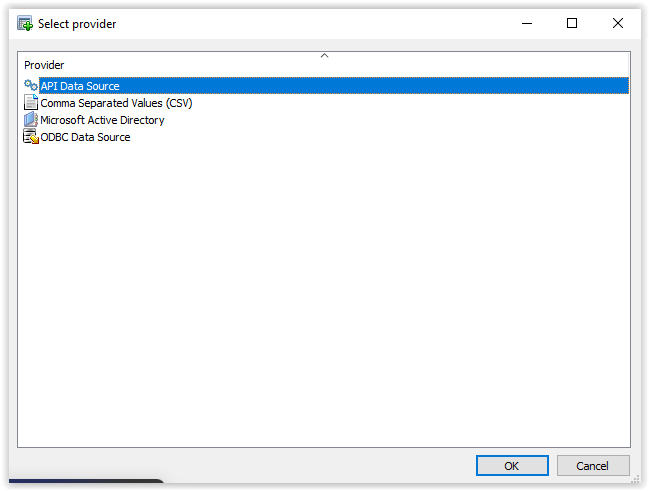
Select Add
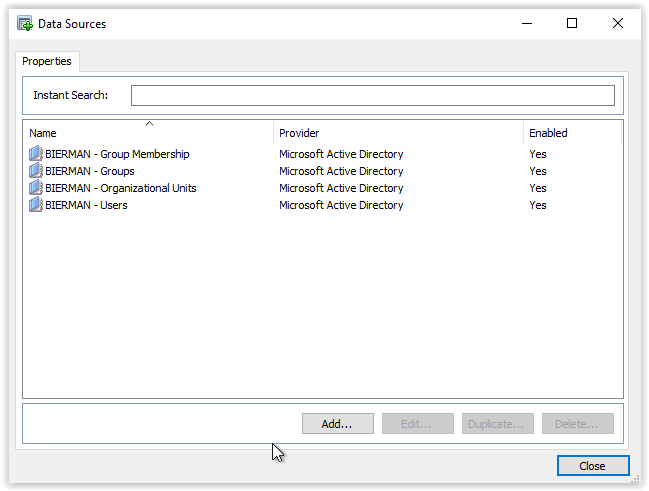
Select the option API Data Source
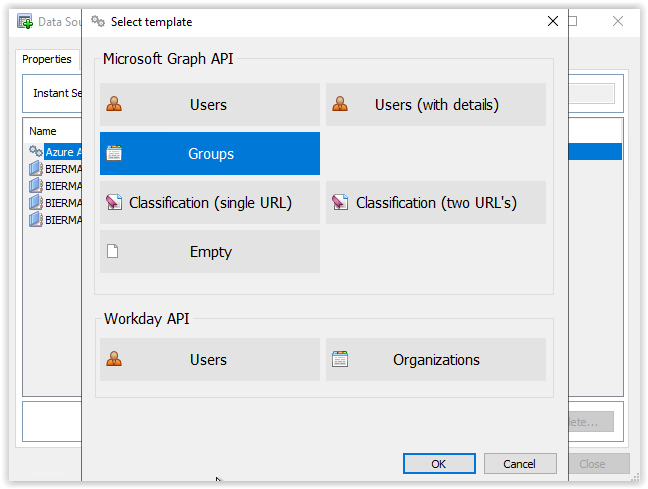
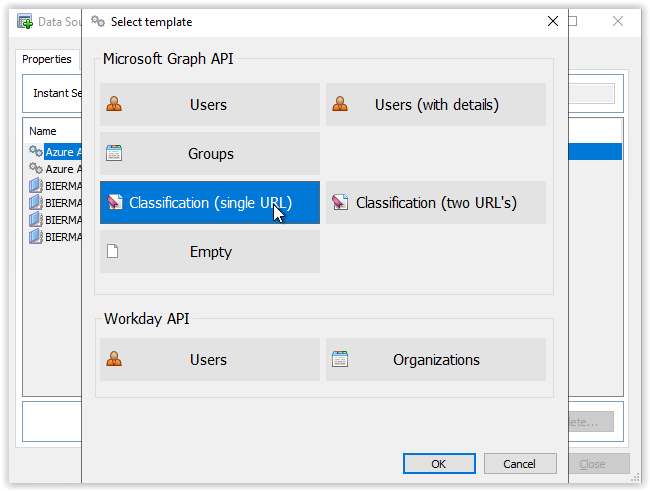
For Microsoft Azure AD 6 templates are available in the Microsoft Graph API.
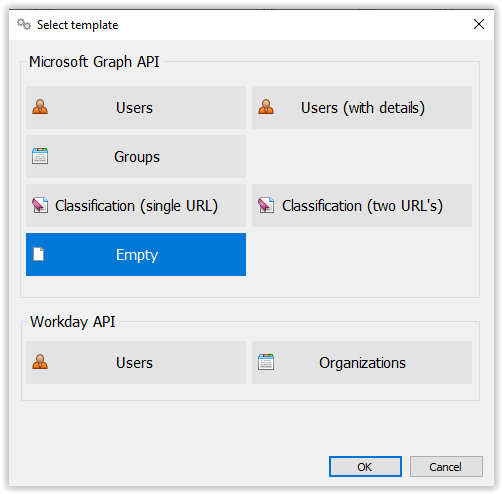
- Users
- Users (with details)
- Groups
- Classification (single URL)
- Classification (two URL’s)
- Empty
The Empty template has no values and all other templates have preconfigured fields. The preconfigured templates help you with synchronizing users, groups or adding of users in groups (classification).
Users add users to the People in Ivanti Identity Directory
Groups add AD groups to the Organization in Ivanti Identity
Classification add Users to the Organizations (Groups).
This blog discusses the Users (without details), groups and Classification (one URL).
After finishing the App Registration in Azure AD the next step is creating a User Data Source. Synchronizing is the first step in the process.
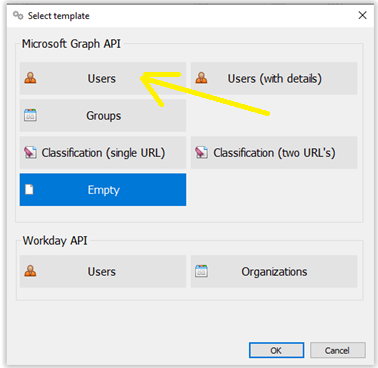
Select the Users option in the Microsoft Graph API.
In the next screen enter a name for the Data Source (i.e. AD Azure Users).
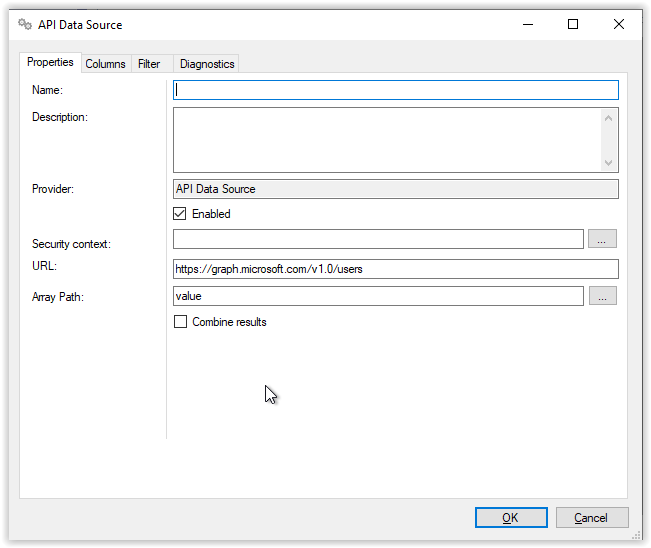
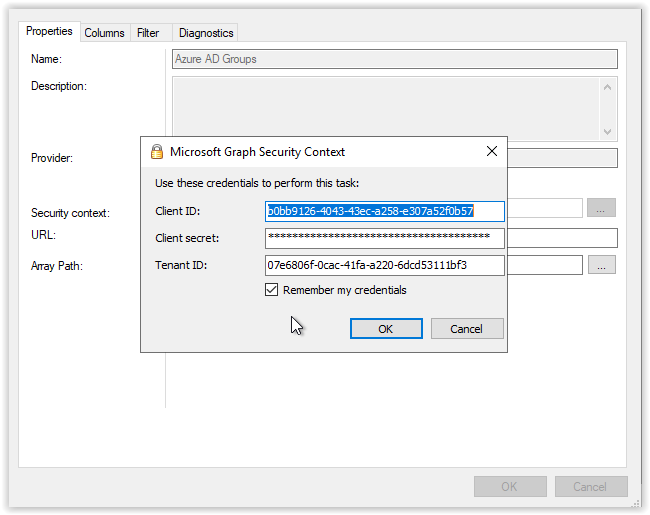
Select the 3 dots button behind the Security Context and copy paste the information from the App Registration into the 3 fields.
Tip: Make sure the option Remember my credentials is enabled. This helps you when creating the Group and Classification Data Sources. The credentials are already filled when creating the other Data Sources.
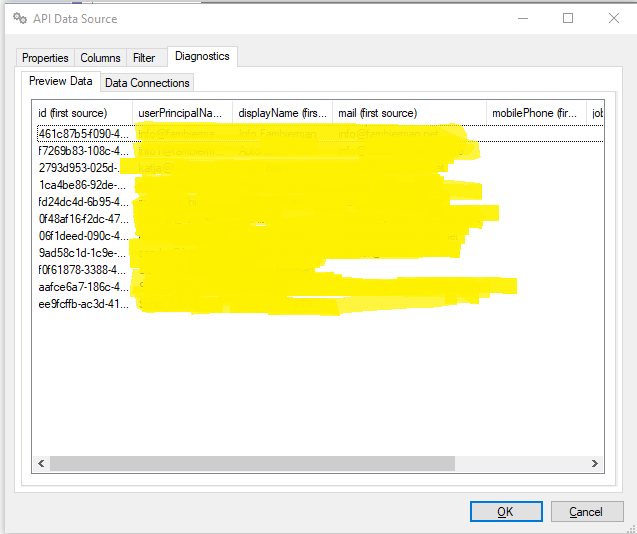
When all settings are filled select the tab Diagnostics and check if users are shown. When users are shown the API connection is enabled and working.
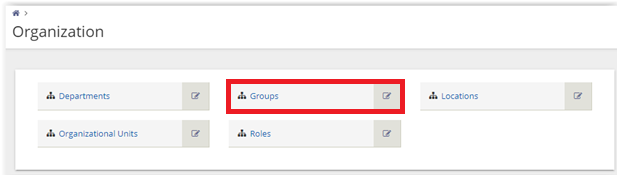
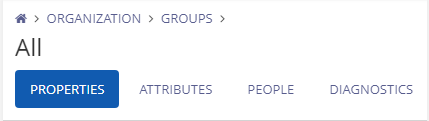
Next step is importing Groups. In the Ivanti Identity Director Management Portal you find a menu item Organization. When opening preconfigured values are available. In this example we will use the Organization Groups to add the Azure AD groups.
Go back to the Ivanti Identity Director Setup & Tool and create a new Data Source.
Enter a name for the Data Source (i.e. Azure AD Groups) and select the 3 dots icon behind Security Context. When the option Remember my credentials is selected when creating the User Data Source the information is already filled.
Test the Data Source by selecting the Diagnostics tab and check if data is shown. When data is shown the API is working.
Store the Data Source and start creating the last Data Source (Classsification). Create a new Data Source and select the option Classification (single URL).
Enter a name for the Data Source and make sure the Security Context is configured. Leave all other setting default.
When opening the Diagnostics tab, you see multiple identical users attached to different groups. This is later when classifying the users to the Groups.
The Data Sources are now created. Next step in the process is creating the Data Connectors. Before we can start with the Data Connectors we need to define some People Identifiers and People Attributes.
Difference between People Identifiers and Attributes are very simple. People Attributes are unique for every single user. Think about E-mail Address, Phone Number, UserLogonName, UPN (UserPrincipalName, etc). Because Azure AD doesn’t have Windows Logon Account (domain\username) we need to use the UPN value.
Go to the Ivanti Identity Director Management Portal and select the option Data Model in the left menu. Next select the option People Identifiers.
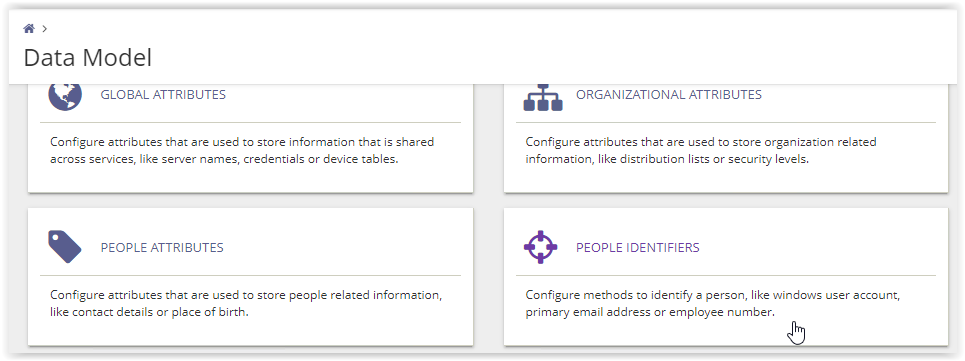
Select the Add button on the bottom. Enter a name (i.e. UPN) and select the Save button on the bottom. If you want more values, you can create more Identifiers of Attributes.
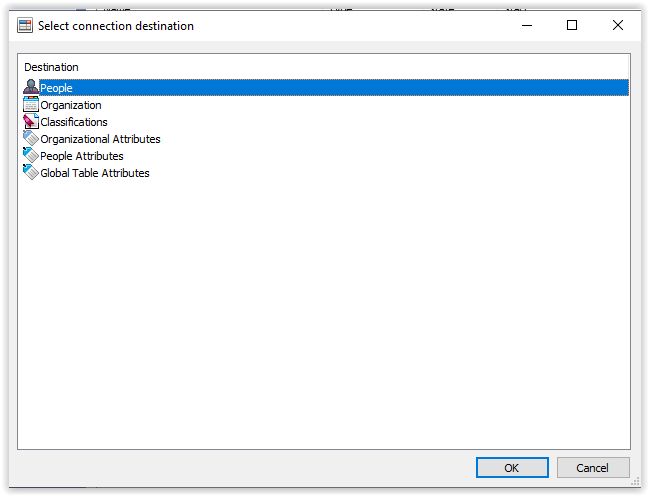
Go back to the Ivanti Identity Director Setup & Sync tool and select Add connection from the right menu. First step is importing the Users. Select People from the list.
Enter a name for the Data Connector and select the Data Source (Azure AD Users). `
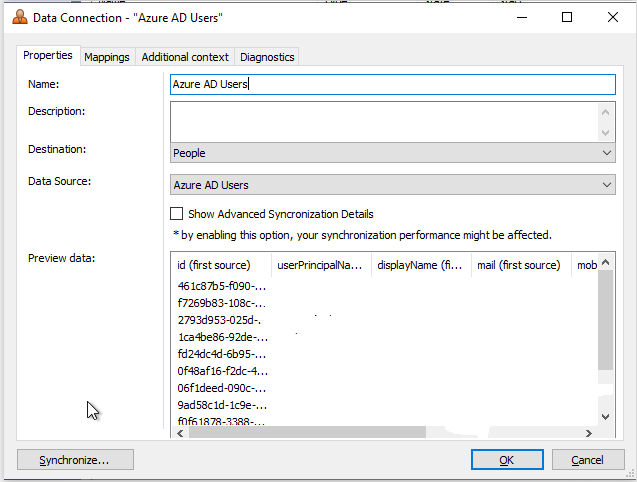
Next step is mapping the Azure AD field into Ivanti Identity Director People Identifiers or Attributes. Select the Mapping tab.
In the Look up people on select UPN from the list. Also make sure the mapping as below are created.
Primary e-mail address – People Identifier – mail (first source)
UPN – People Identifier – userPrincipalName (first source)
Person Name – People Identifier – displayName (first source)
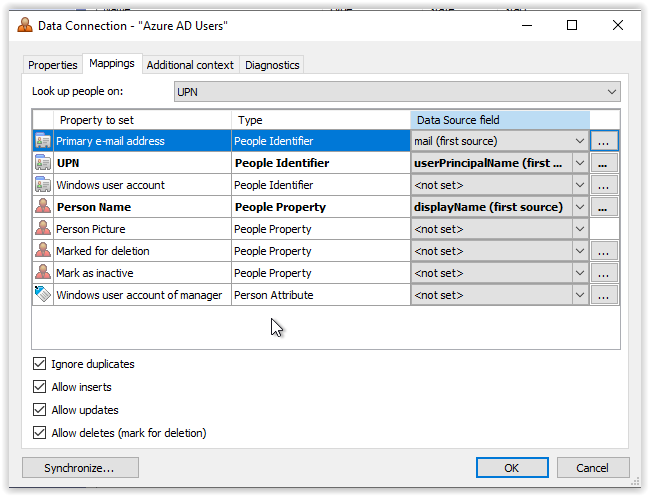
All other settings must be left default. When the mappings are finished select the Diagnostics tab and select Synchronize.

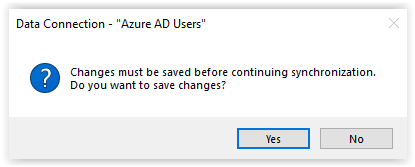
Sace the changes.
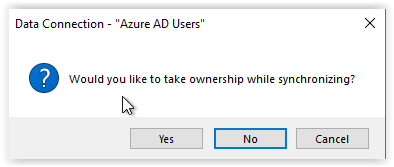
Select Yes to take owenership. More about Ownerships in a later blog.
When the synchronization is finished (depending on the amount of accounts this can take a while) the new users are added to the People list.
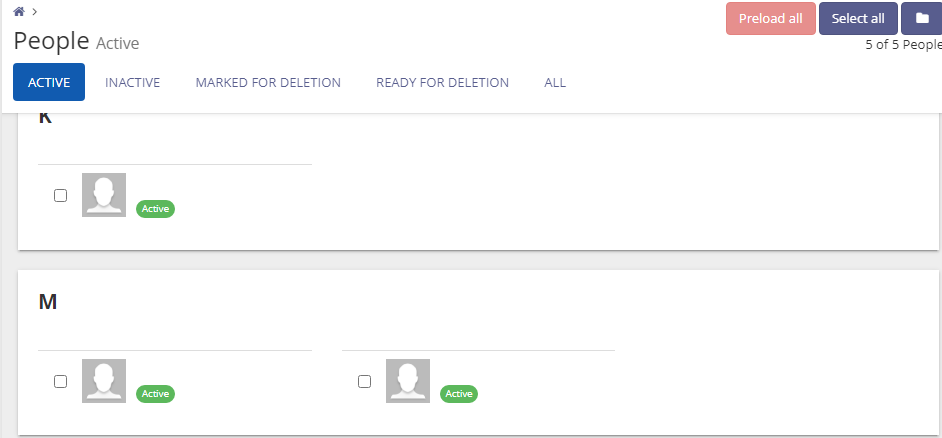
Let’s try if we can login with the user in the Ivanti Identity Director Web Portal.
Open the Web Portal and enter the e-mail address of the user and password.

After Sign In we see the following error.
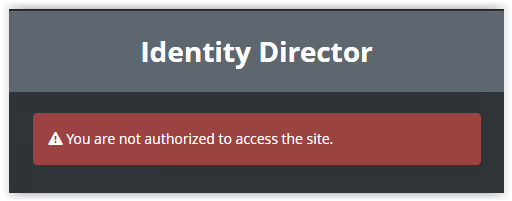
This is expected behavior because the People Identifier in the Ivanti Identity Director Management Portal is not configured for the UPN Identifier. The default value is Windows User Account.
Go to the Ivanti Identity Director Management Portal and select Setup from the left menu and General from the options.
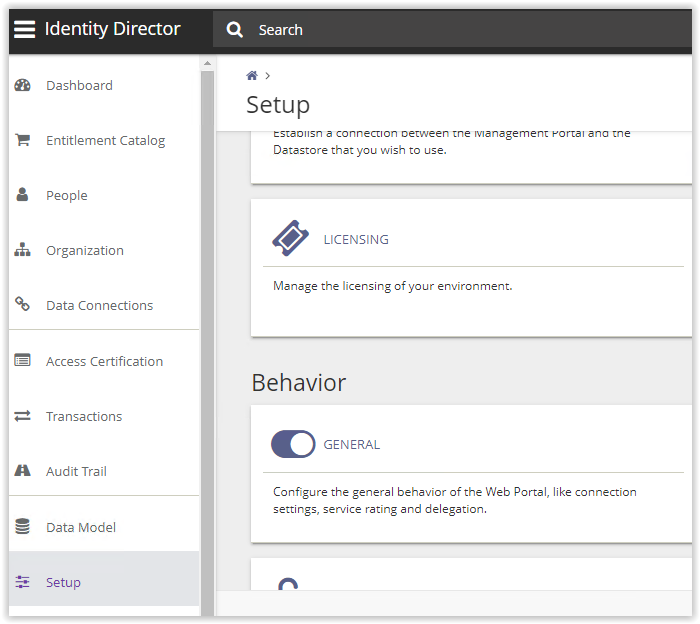
Select the value UPN from the list at the People Identifier option.

Go back to the Ivanti Identity Director Web Portal and try to logon again. Now the user can logon to the Web Portal.
Note: This is only available with Access or Enterprise licenses of Ivanti Identity Director.
Last step is creating the last Data Connectors for Groups (Organizations) and the Classifications.
Go back to the Ivanti Identity Director Setup & Sync Tool and select New connector and select Organization from the list.
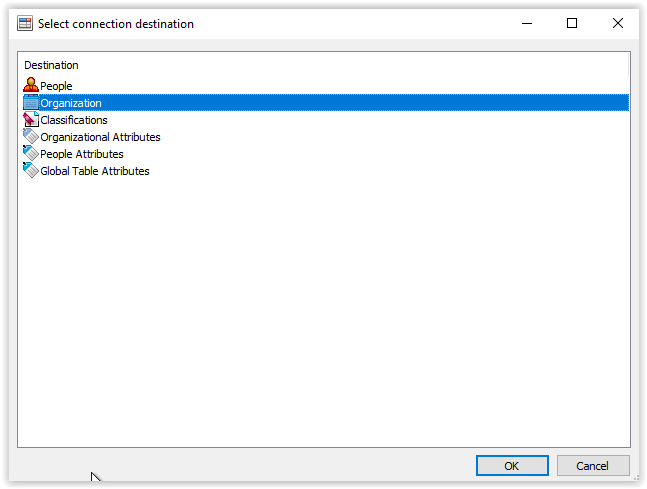
Enter a name and select the Data Source created. 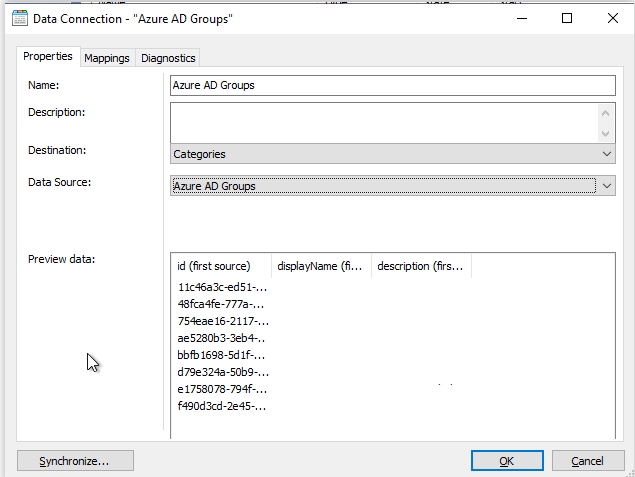
Next step is the mappings.
In the value Place in select the Organization\Groups as we described earlier. Make sure the option Look up on is set to Key.
Map the values as shown below.
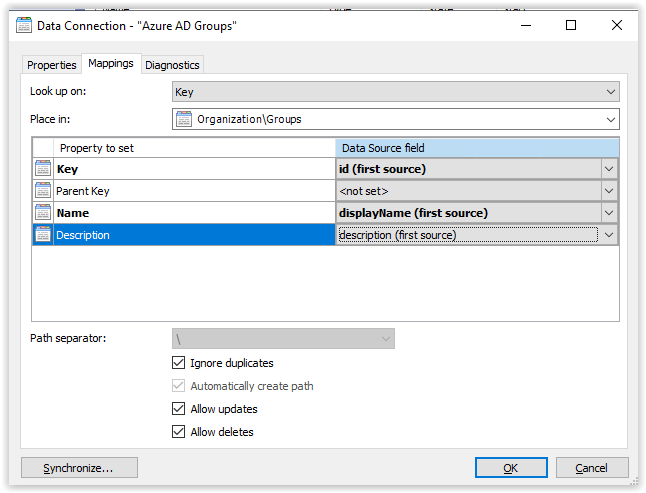
Key – id (first source)
Name – displayName (first source)
Description – description (first source)
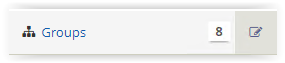
All other settings must be left default. Go to the Sychronization tab and synchronize the data. Save and take ownership. When finished in the Organization under Groups the Azure AD groups are added.

Last step is adding the users to the groups based on Classification.
Create a new Data Connector and select Classification from the list. 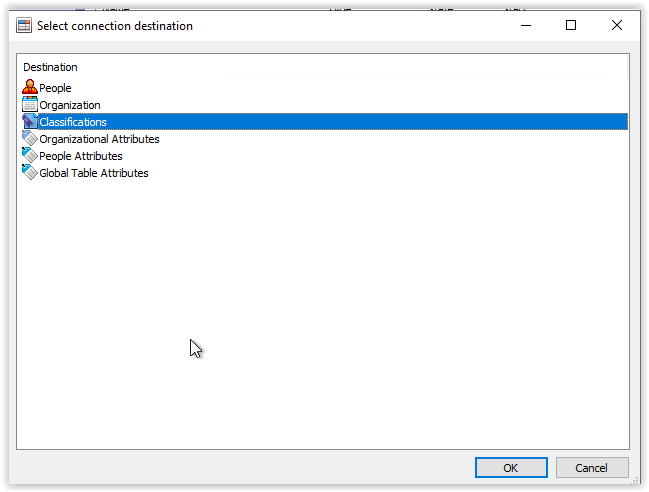
Enter a name and select the Data Source created for the classification.

Go to the Mappings tab and set the values as shown below:
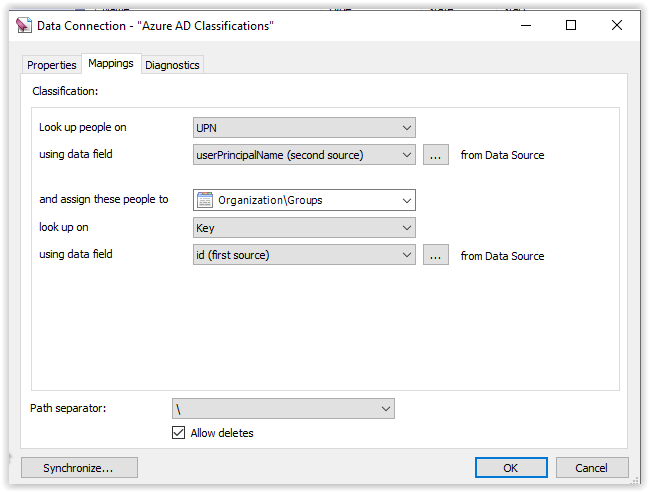
Look up people on – UPN
using data filed – userPrincipalName (second source)
and assign these people to – Organization – Groups
look up on – Key
using data field – id (first source)
Go to the Synchronization tab and select Synchronize. Save the Data Connector and take ownership. 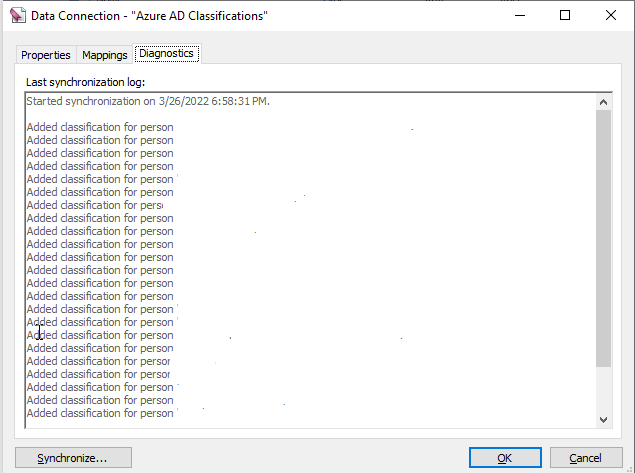
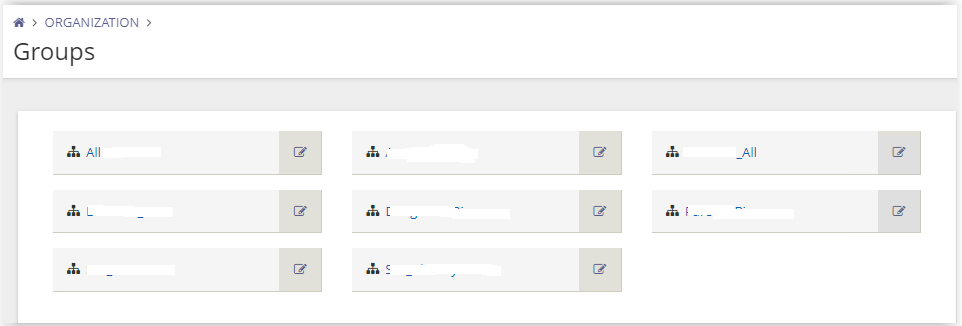
Check if the users are added to groups by selecting the pencil behind one of the groups (Organization)
Go to the People tab and check if the users are added.
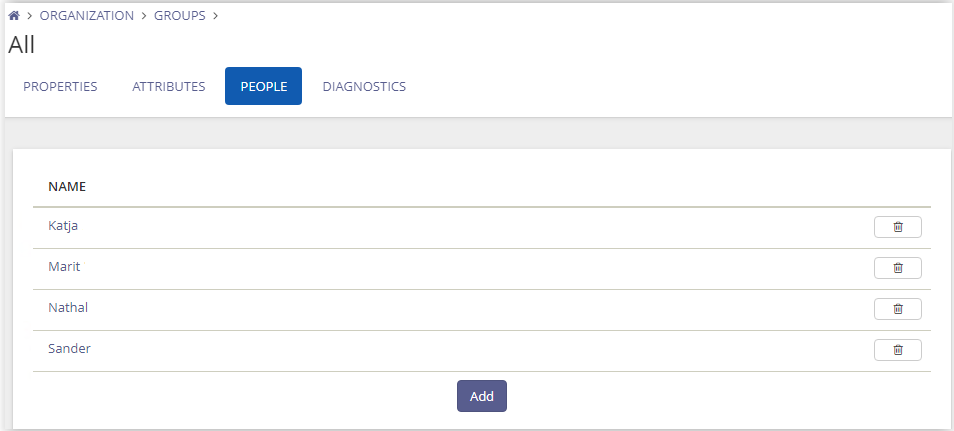
After the Users (People) are added to groups (Organization) the full process for importing Users, Groups and adding users to the Groups is finished.
Pingback: Installation of Ivanti Identity Broker - Automated Vision