AutomatedVision is happy to announce a new Ivanti Neurons for ITSM Utility connector. This connector is finally able to support multi-tenant environments.
Note: Ivanti Support does not support the connector. For support, please contact AutomatedVision.
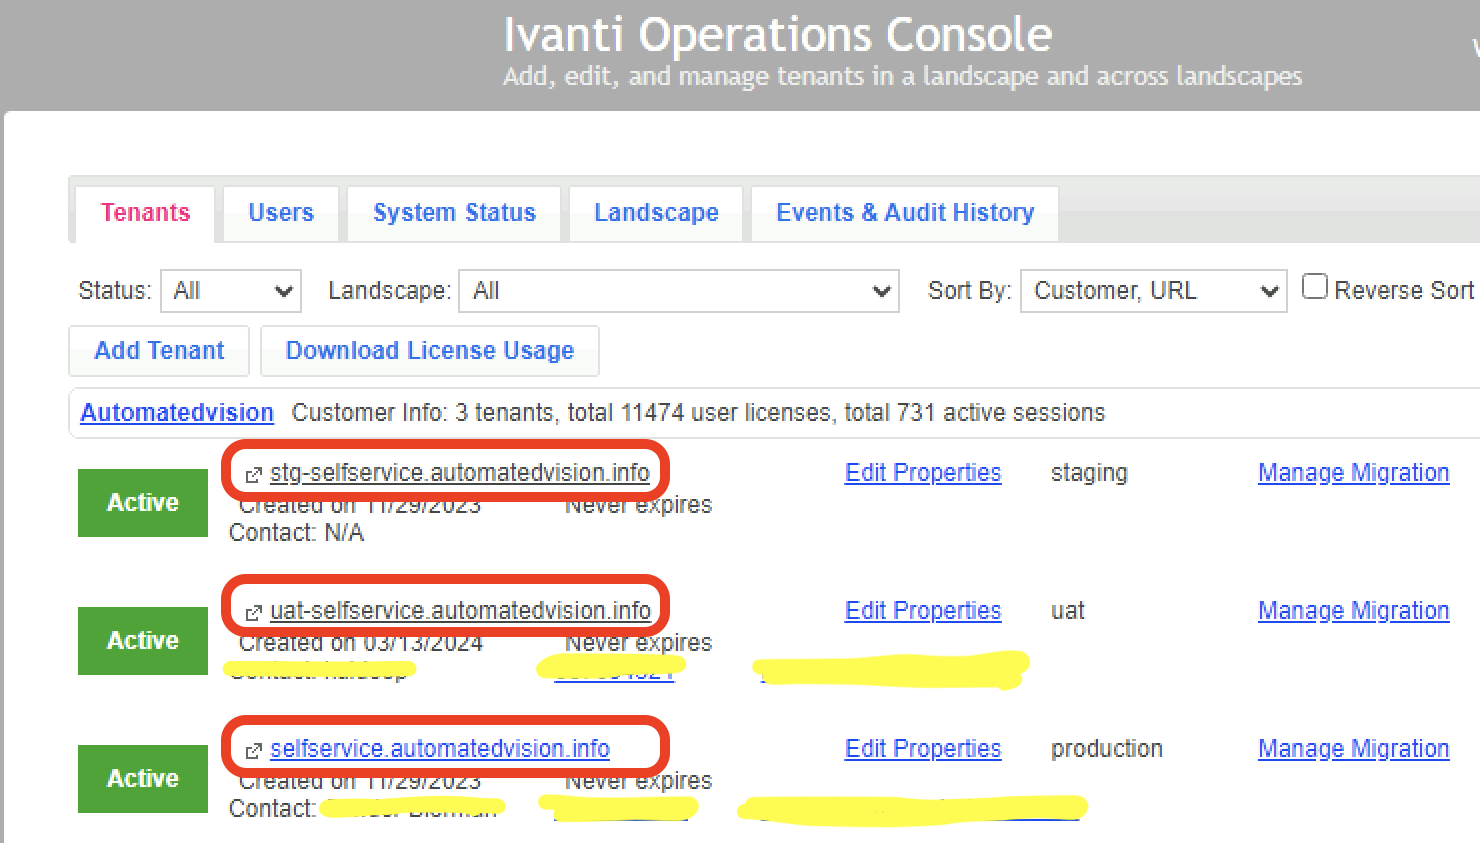
Ivanti Neurons for ITSM (ISM) includes an Enterprise installation that contains three tenants.
- Production (PRD)
- User Acceptance Testing (UAT)
- Staging (STG)
This link contains more information about the Ivanti Neurons for ITSM Enterprise installation.
The current Ivanti Service Manager Utility connector can only be used by one tenant. It is created with the four variables.
Variables:
- Ivanti Service Manager UserName
- Ivanti Service Manager Password
- Ivanti Service Manager Tenant
- Ivanti Service Manager Tenant URL
When using multiple tenants, the values of the variables need to be changed manually.
AutomatedVision created a new Ivanti Automation connector that can connect to the 3 tenants. The connector is based on the existing connector, but every tenant uses its own variables based on the 4 variables described above.

Note:
When using Ivanti Neurons for ITSM Onprem the variable Ivanti Service Manager Tenant URL needs /HEAT in the FQDN.
When using Ivanti Neurons for ITSM in the Cloud /HEAT must NOT be added.
Blog Bulk import Ivanti Automation Global Variables explains how to import bulk variables. Attached is a CSV file that contains all required variables created in 3 different categories.
After creating the variables or importing the variables, add the correct values.
Check the URLs for the three tenants in the Ivanti Neurons for ITSM Operations Console.
Let’s start by implementing the connector and configuring the existing modules and runbooks.
Download the new connector here.
Download the Ivanti Marketplace Solution Installer here. This is a requirement for installing the new connector.
Start Ivanti Marketplace Solution Installer.exe on one of the Ivanti Automation servers with the Ivanti Automation Console installed.
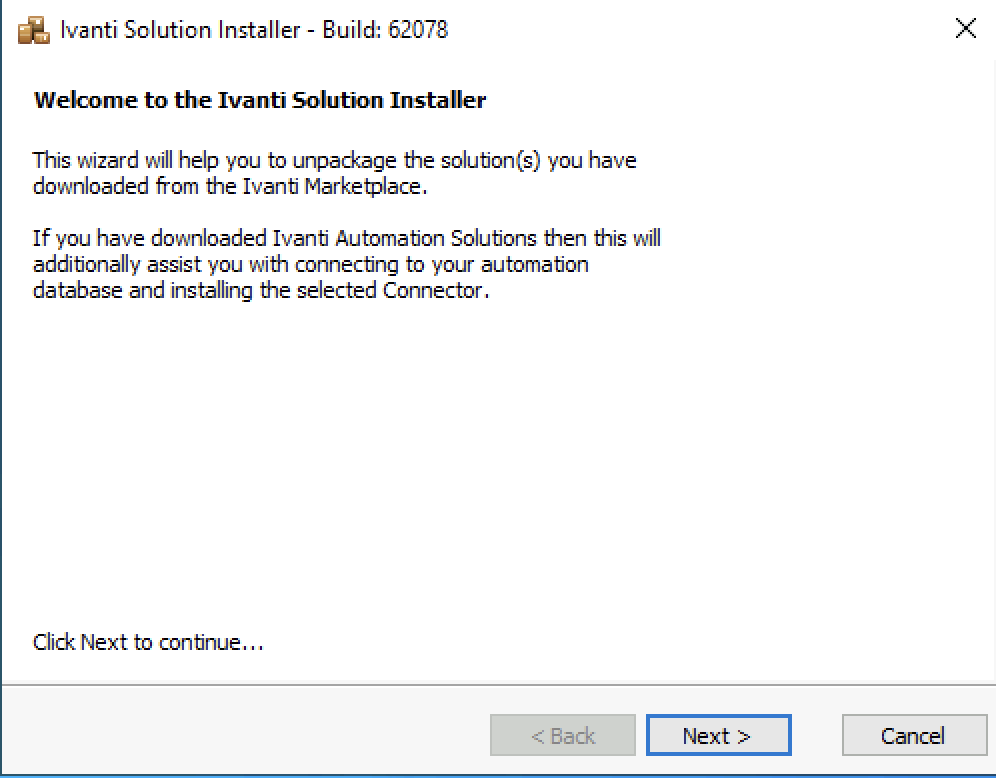
Select Next to continue
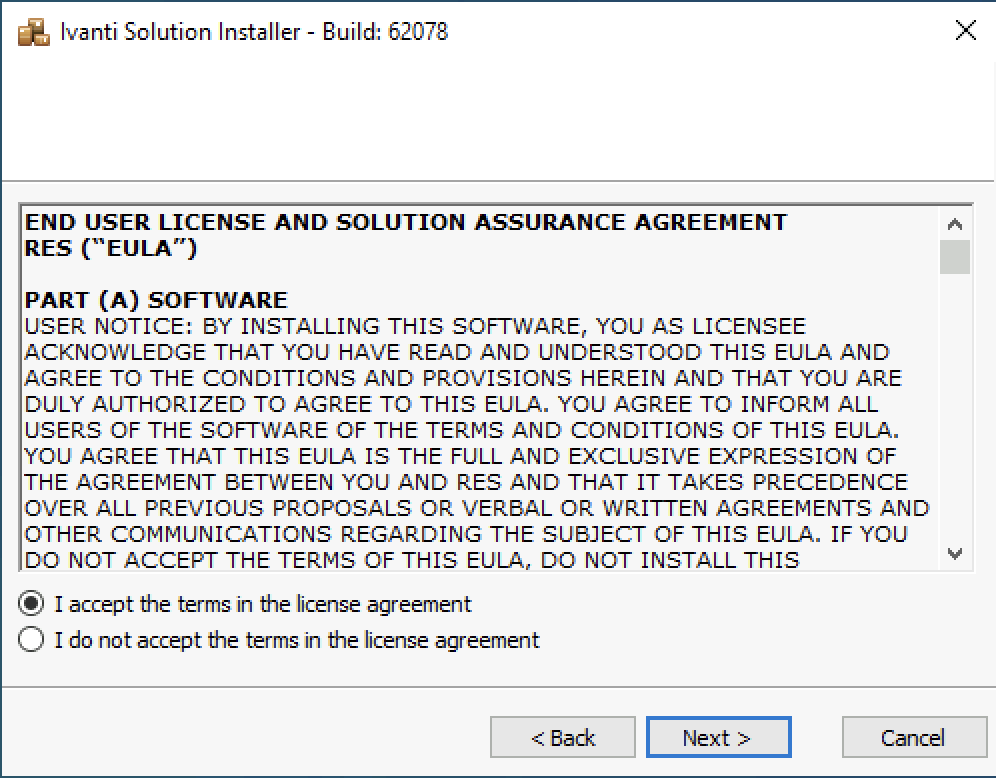
Accept the license agreement and select Next to continue.
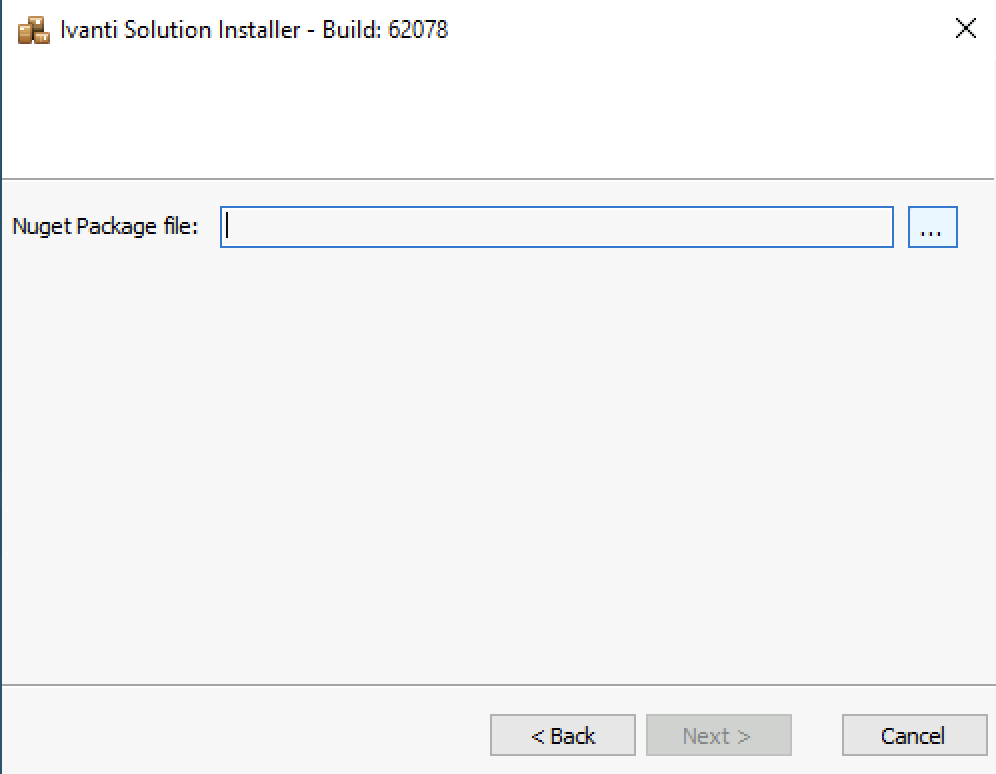
Select the button next to the Nuget Package file and select the downloaded connector.
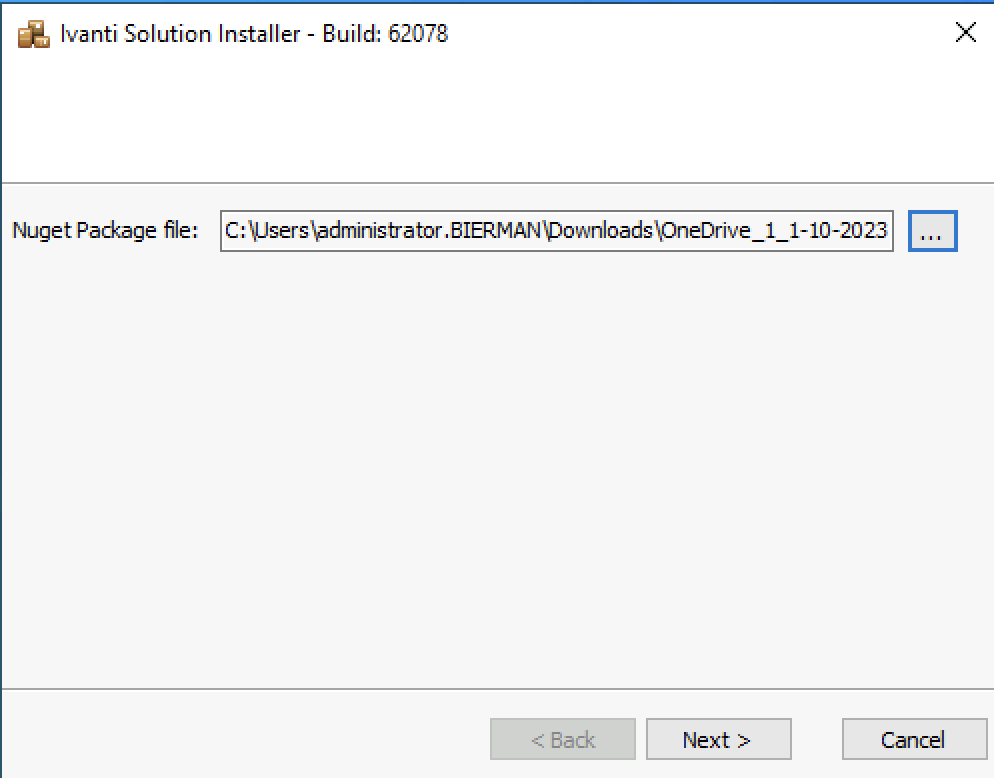
Select Next to continue.
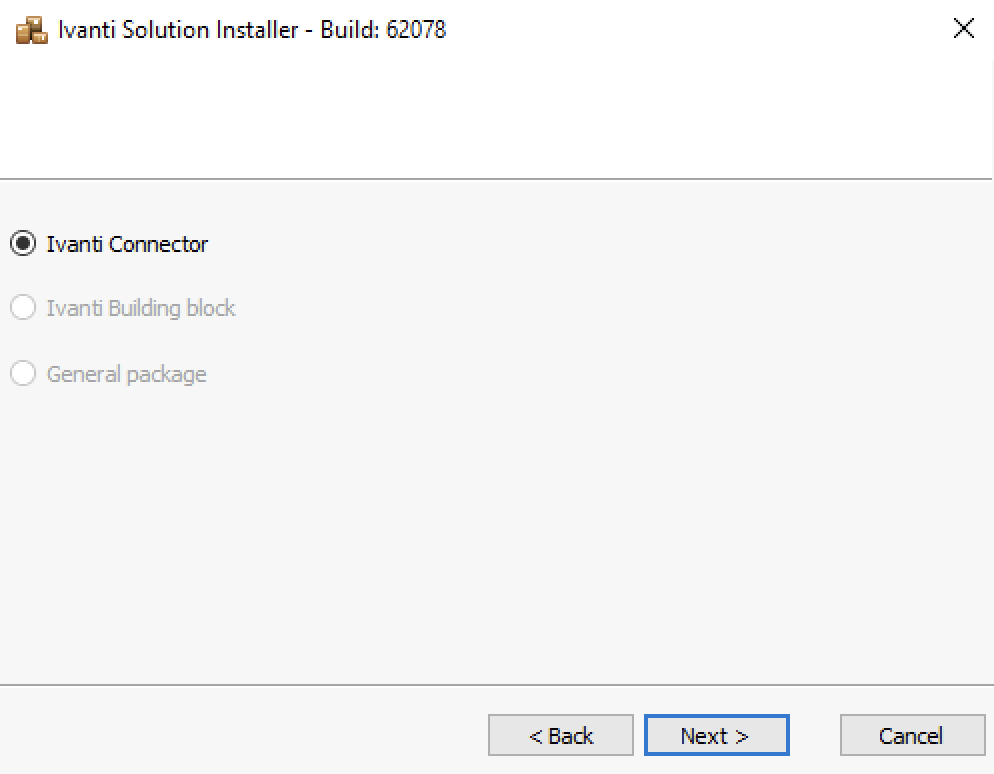
Because this is a connector, the option is already selected, and other options are greyed out. Select Next to continue.
The next screen shows an overview with the actions provided in the connector.
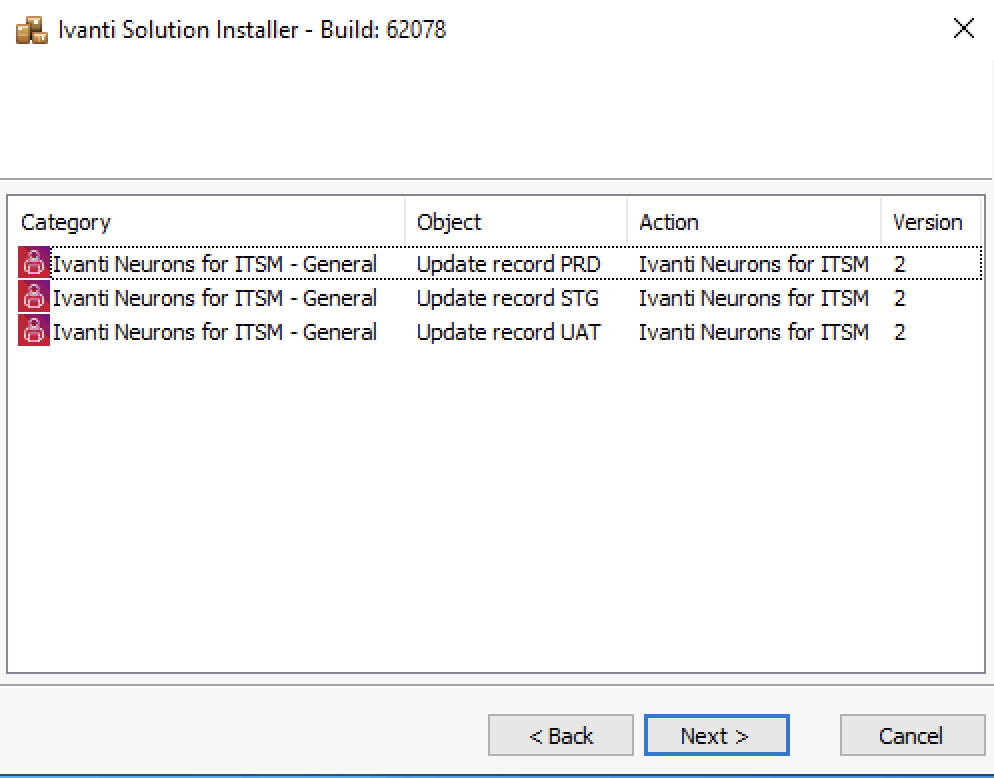
Select Next to continue.
Because the connector is stored in the database, a connection is needed. When using SQL Authentication enter the password.
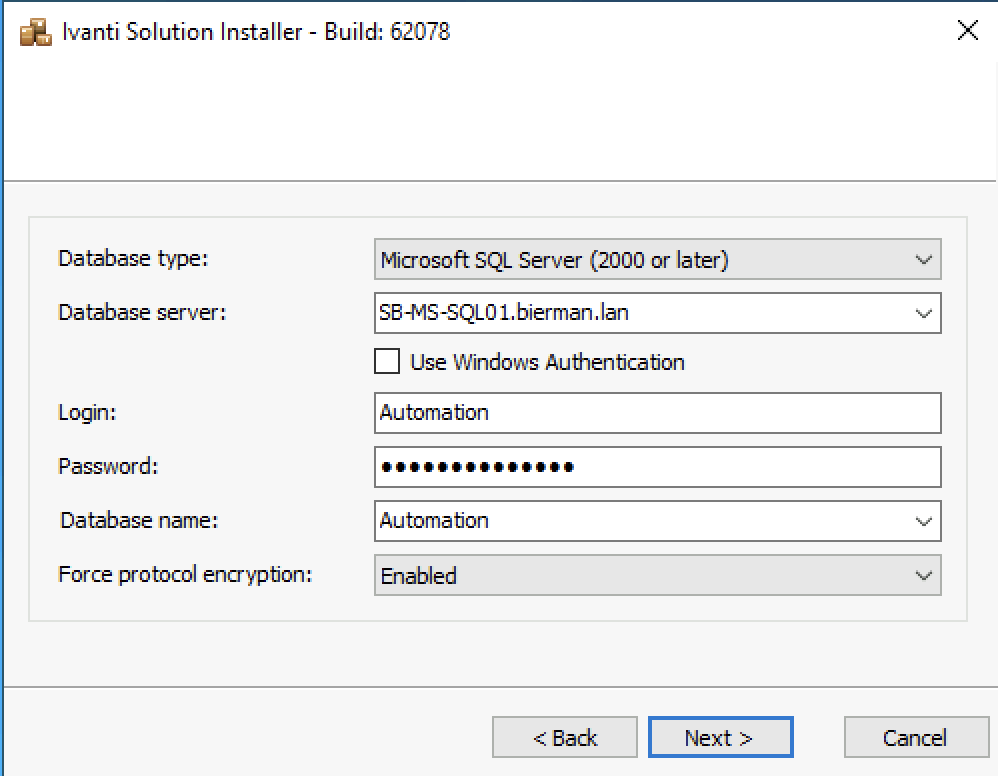
Select Next to continue.
The next screen shows an overview of what will be imported.

Select Upgrade to continue.
When finished, the screen below is shown.
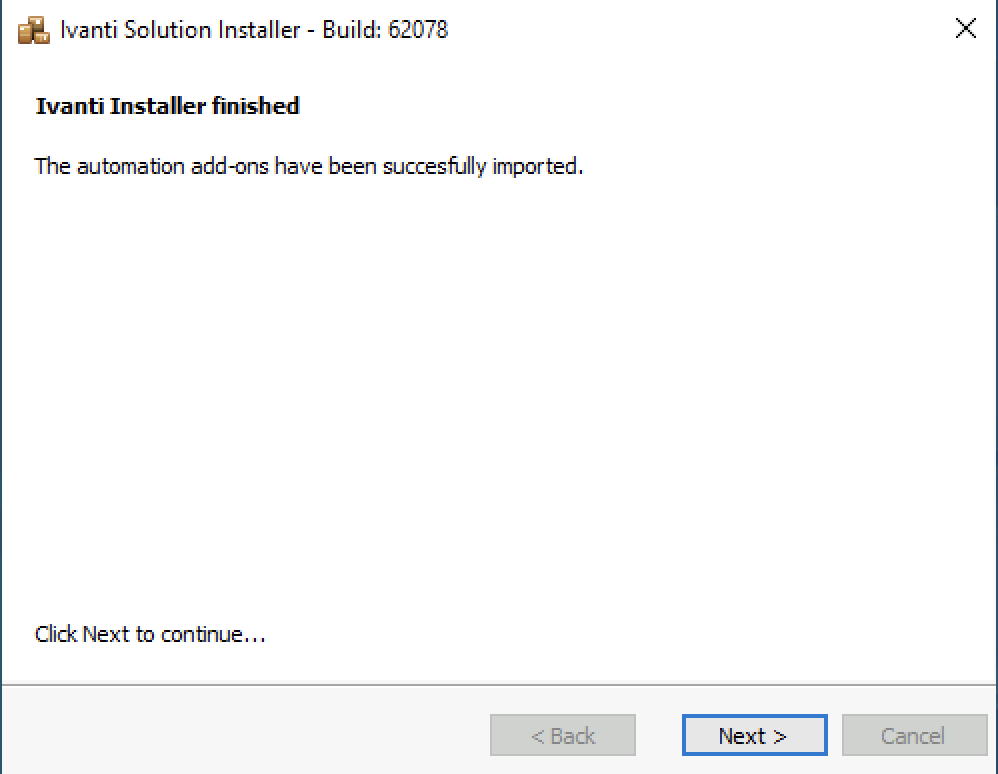
Select Next to close the Ivanti Solution Installer.
Open the Ivanti Automation Console
Go to Setup – Add-ons. The new connector is added.

Now we have the variables created with the values added and the connector installed. Let’s start by creating a simple task and the Return ISM modules. Return ISM is what I call the module for the Ivanti Neurons for ITSM connector because this action returns either Completed or Failed back to the Ivanti Neurons for ITSM environment and continues in the Request Offering workflow.
Open the Ivanti Automation Console
Go to Library – Modules
Create a new folder in Modules
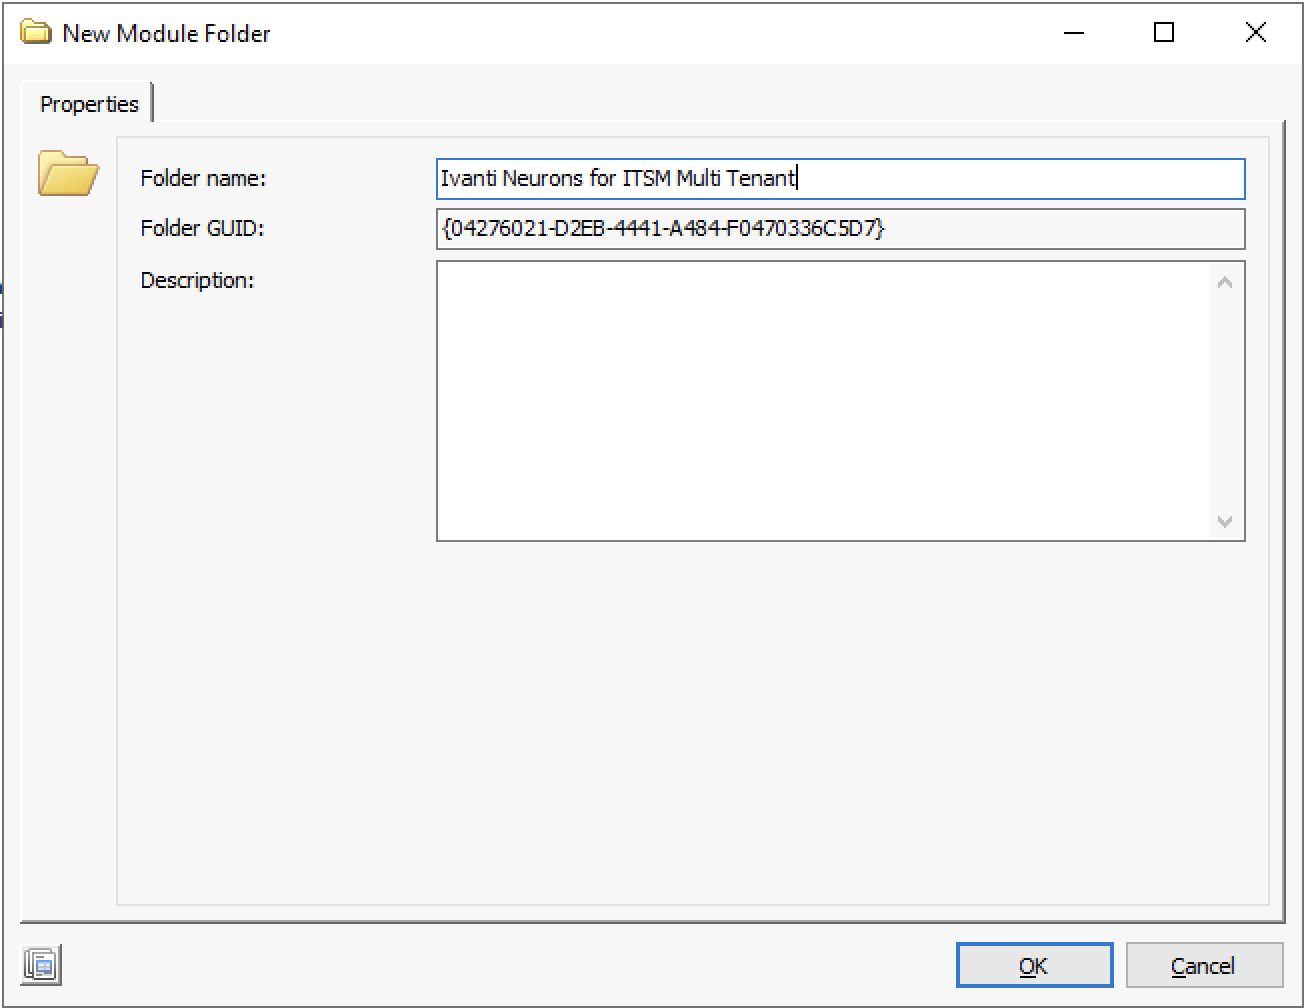
Give the folder a name and select OK to continue.
Open the new folder.
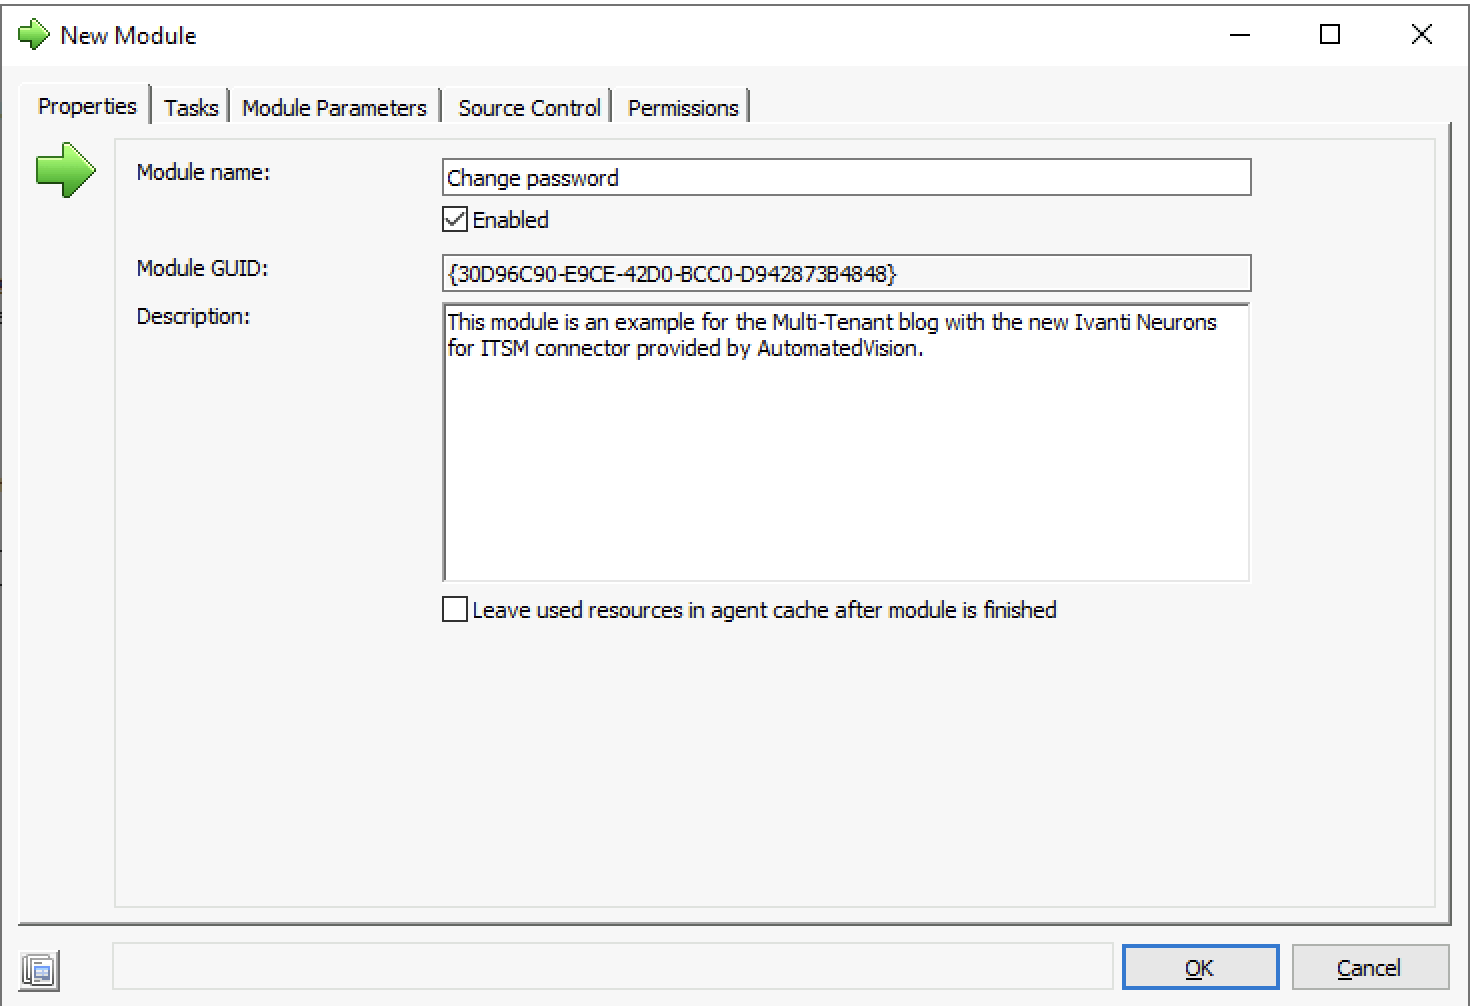
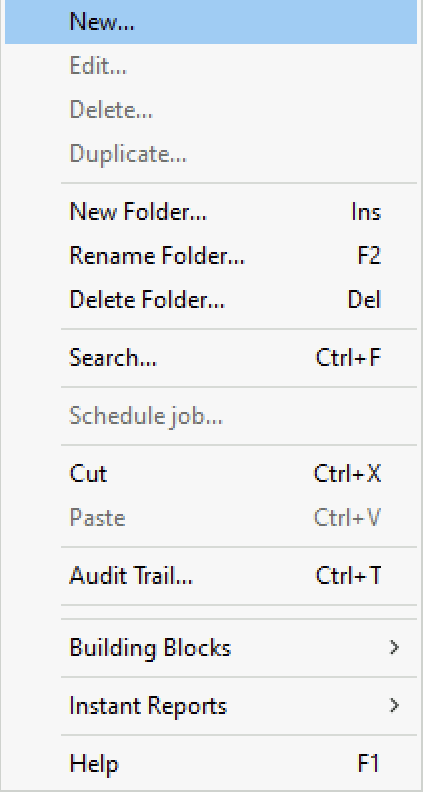
Right-click on the folder and select New.

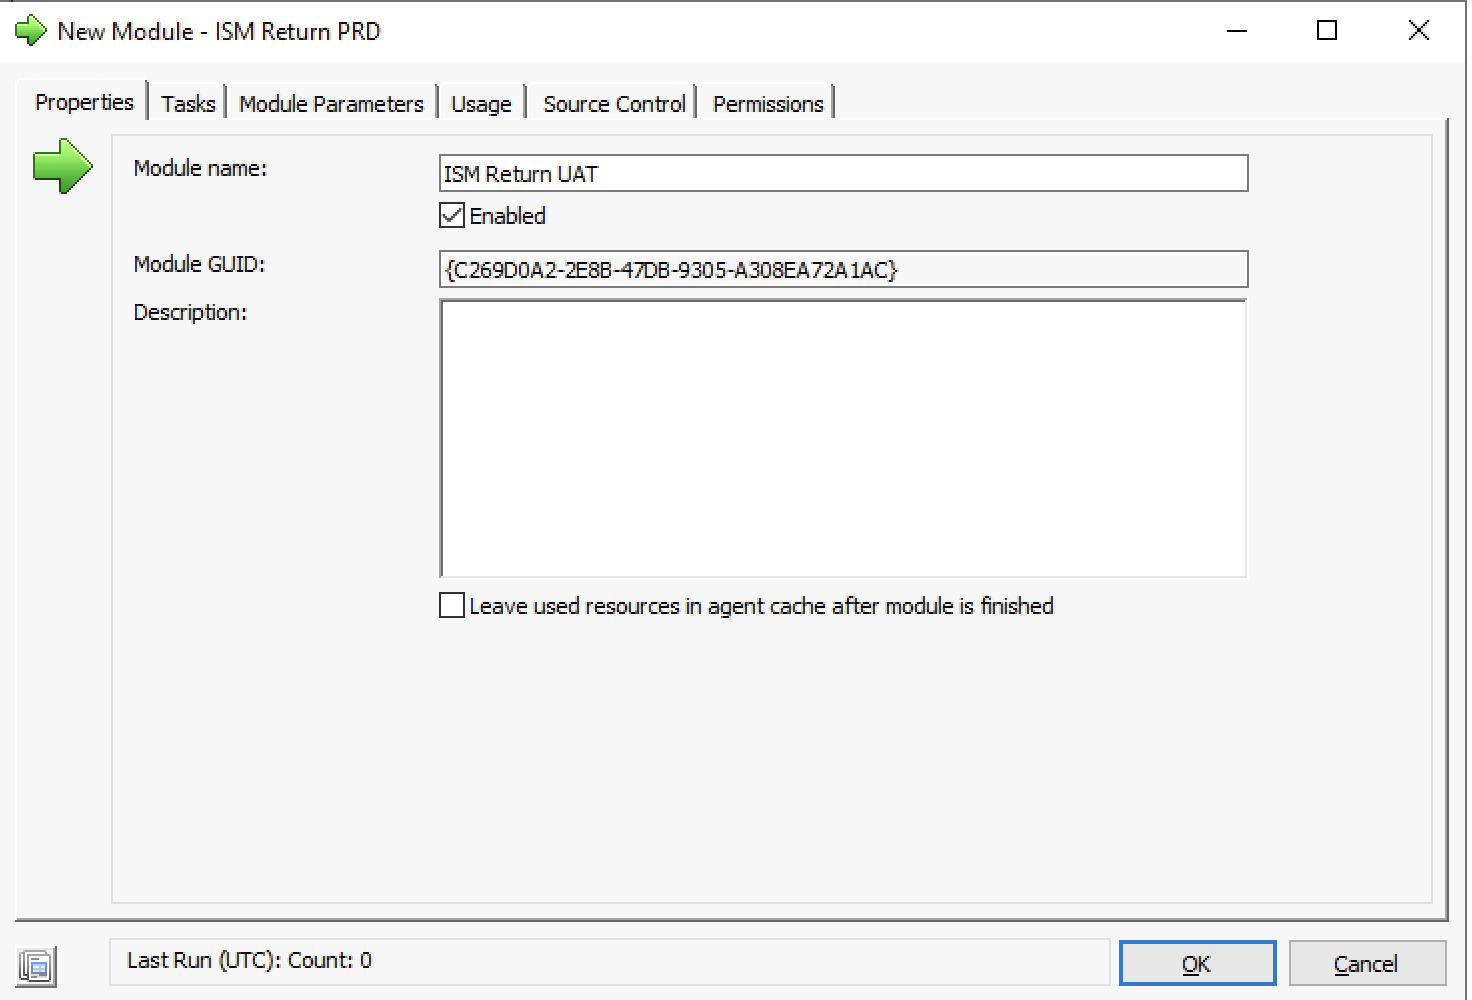
Give the Module a name and enter a Description.
Go to the tab Tasks and create whatever is needed. In this blog, we create a Reset Password with some additional Settings.
In Active Directory, I created 3 accounts:
- ism_user_prd
- ism_user_uat
- ism_user_stg
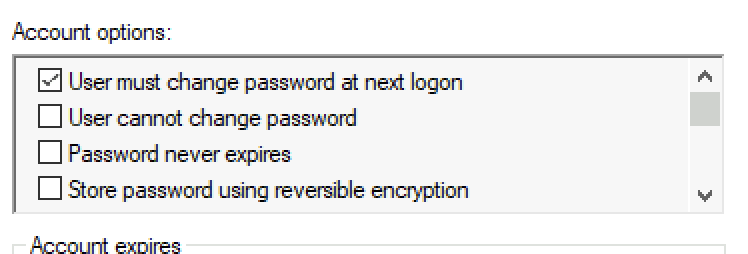
Users are created with a default password and Account Option Password never expires.
With the module we will change the password to a default password and change the Account Option to User must change password at next logon.
Because it’s impossible to change the Account Option in the same task when changing the password, we need to create two tasks in the Module.
Use the task Active Directory User Manage to configure the Account Option and reset the password. The configuration for this module will not be explained in this blog.
When the custom Module is created with the required tasks, it’s time to create the Return ISM modules. We need to create 3 different ISM Return Modules for each tenant.
Select the newly created folder, right-click, and select New.
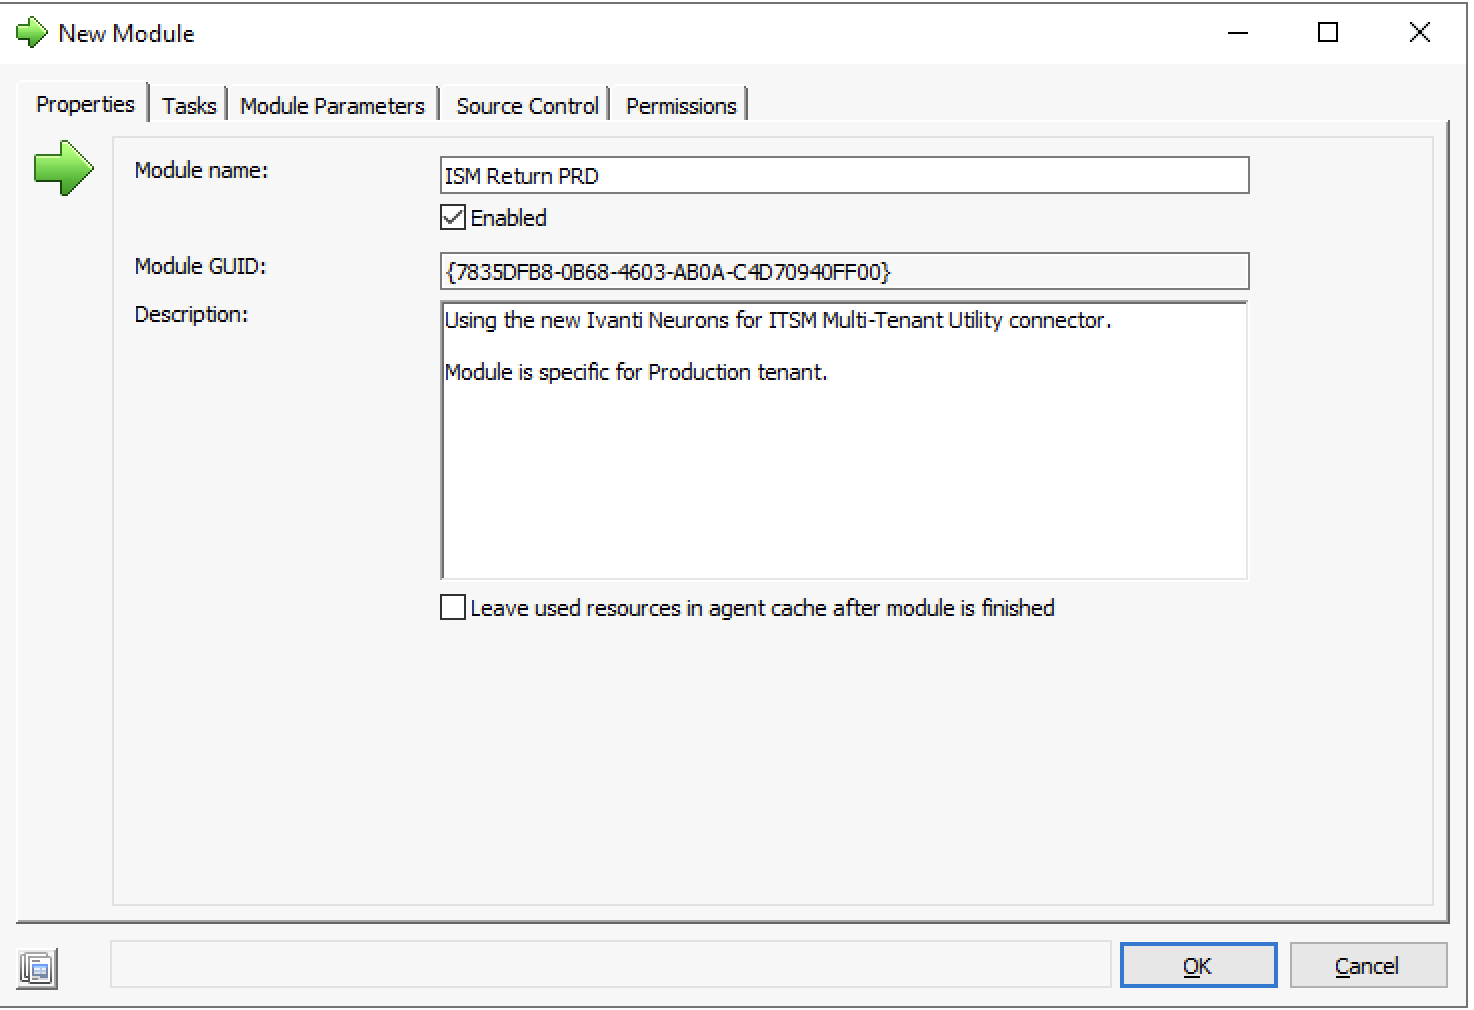
Give the Module a name (i.e. ISM Return PRD). Make sure to enter something like PRD or Production. Enter a Description (not required).
Go to the tab Tasks and select Add.
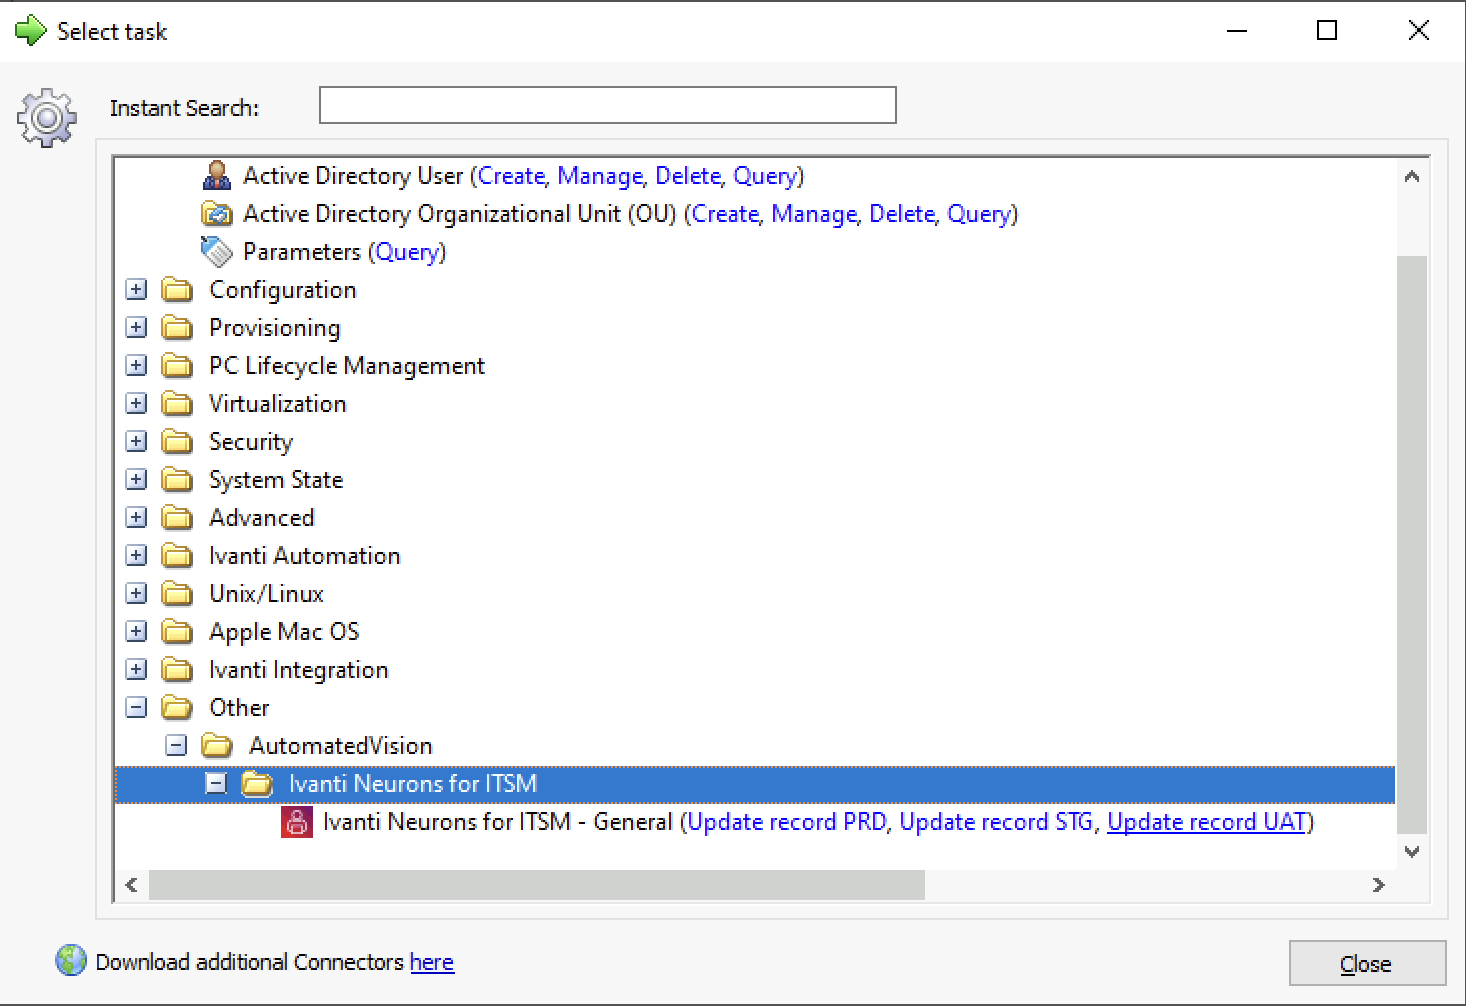
Select Others – AutomatedVision – Ivanti Neurons for ITSM.
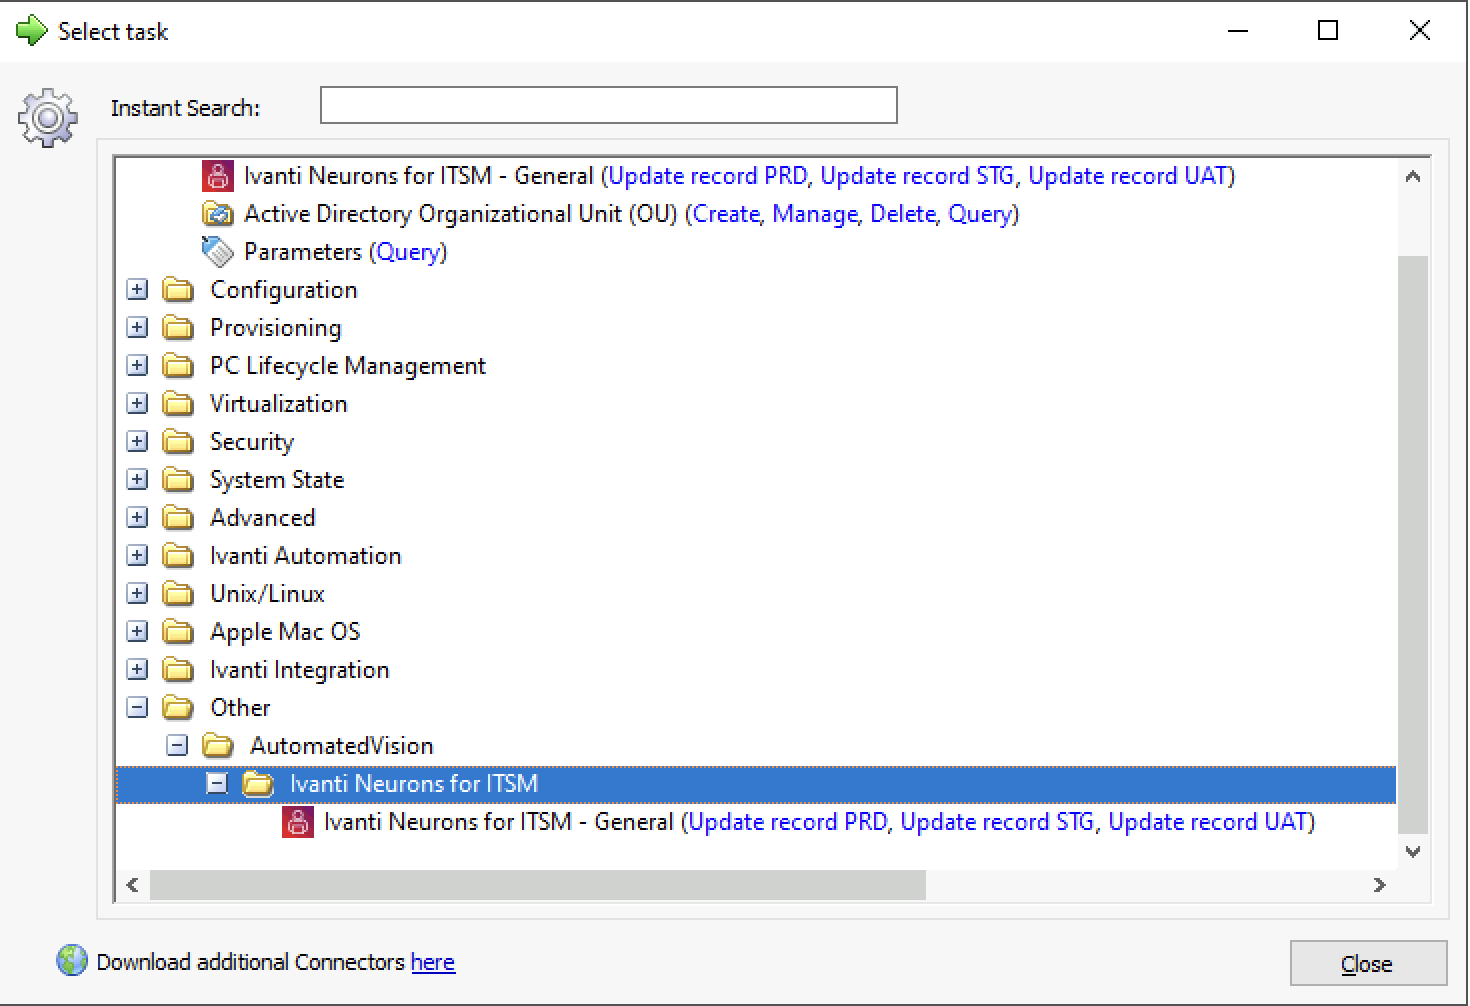
Select the task Update record PRD.
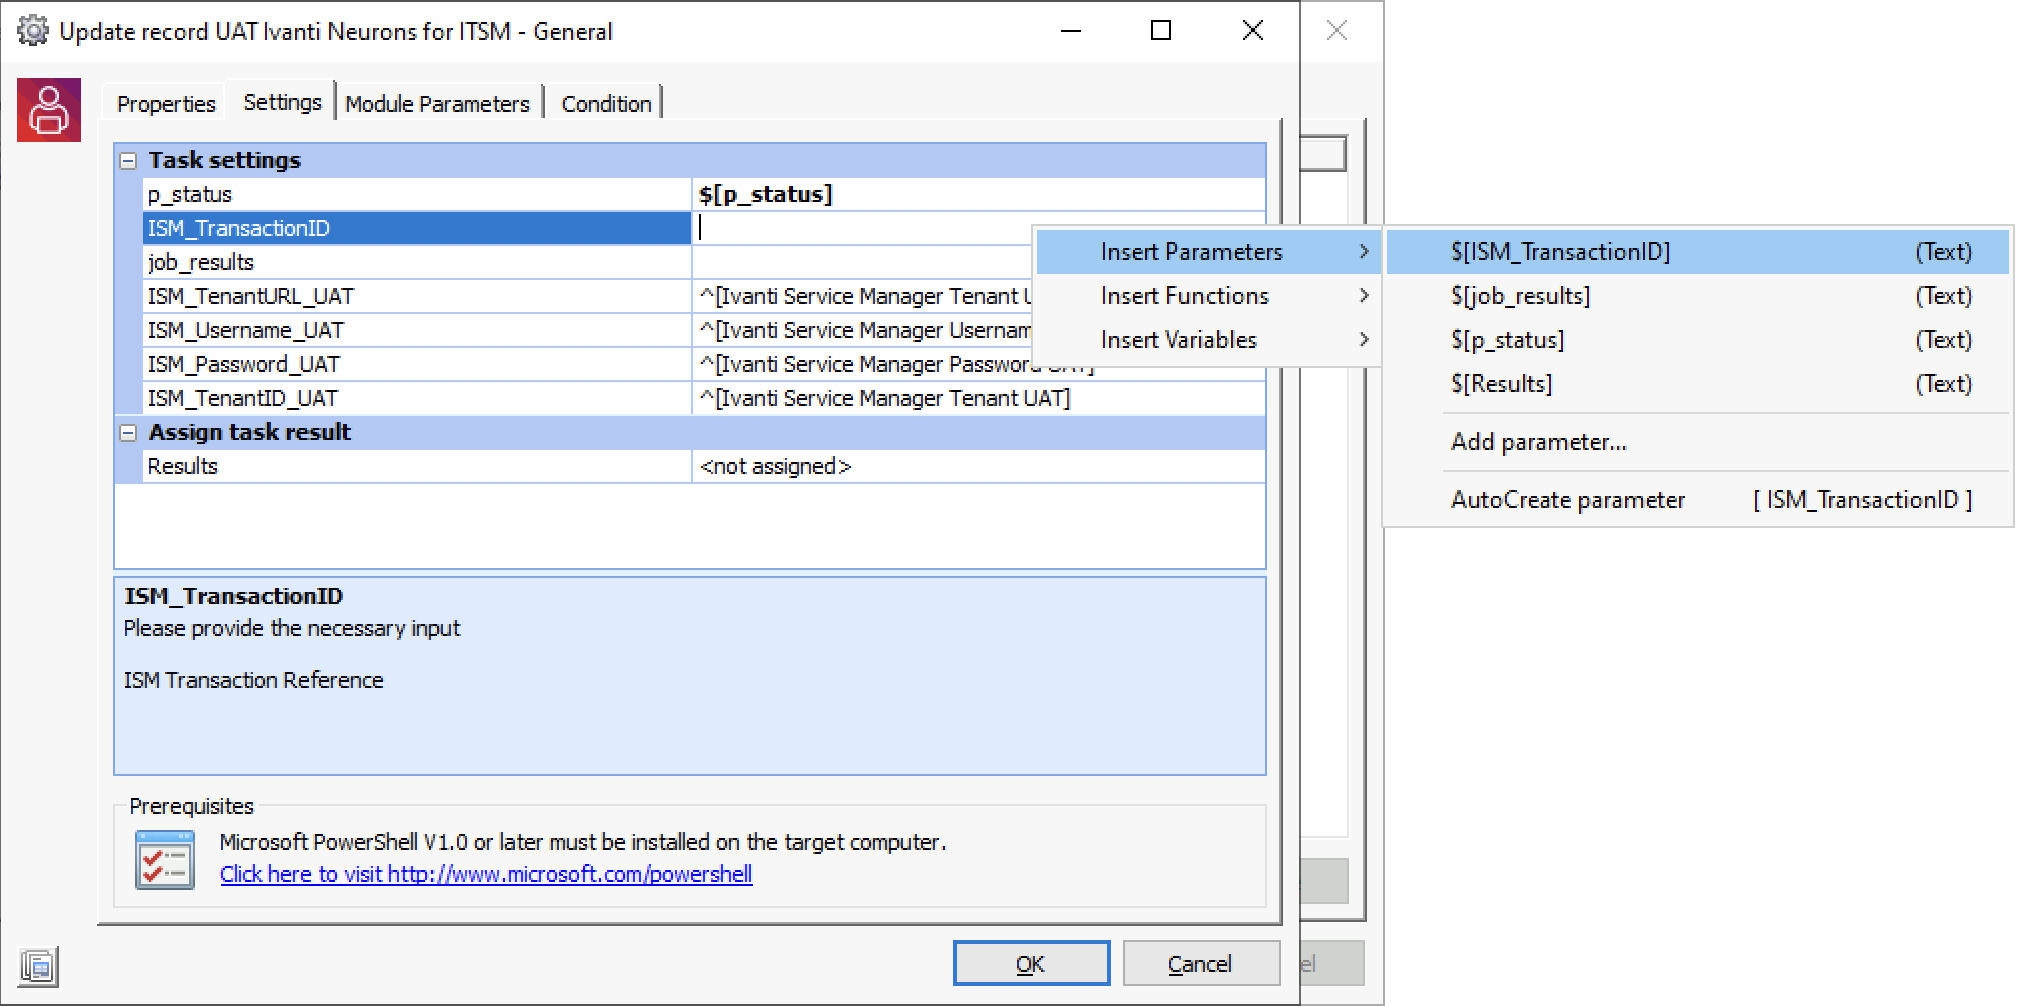
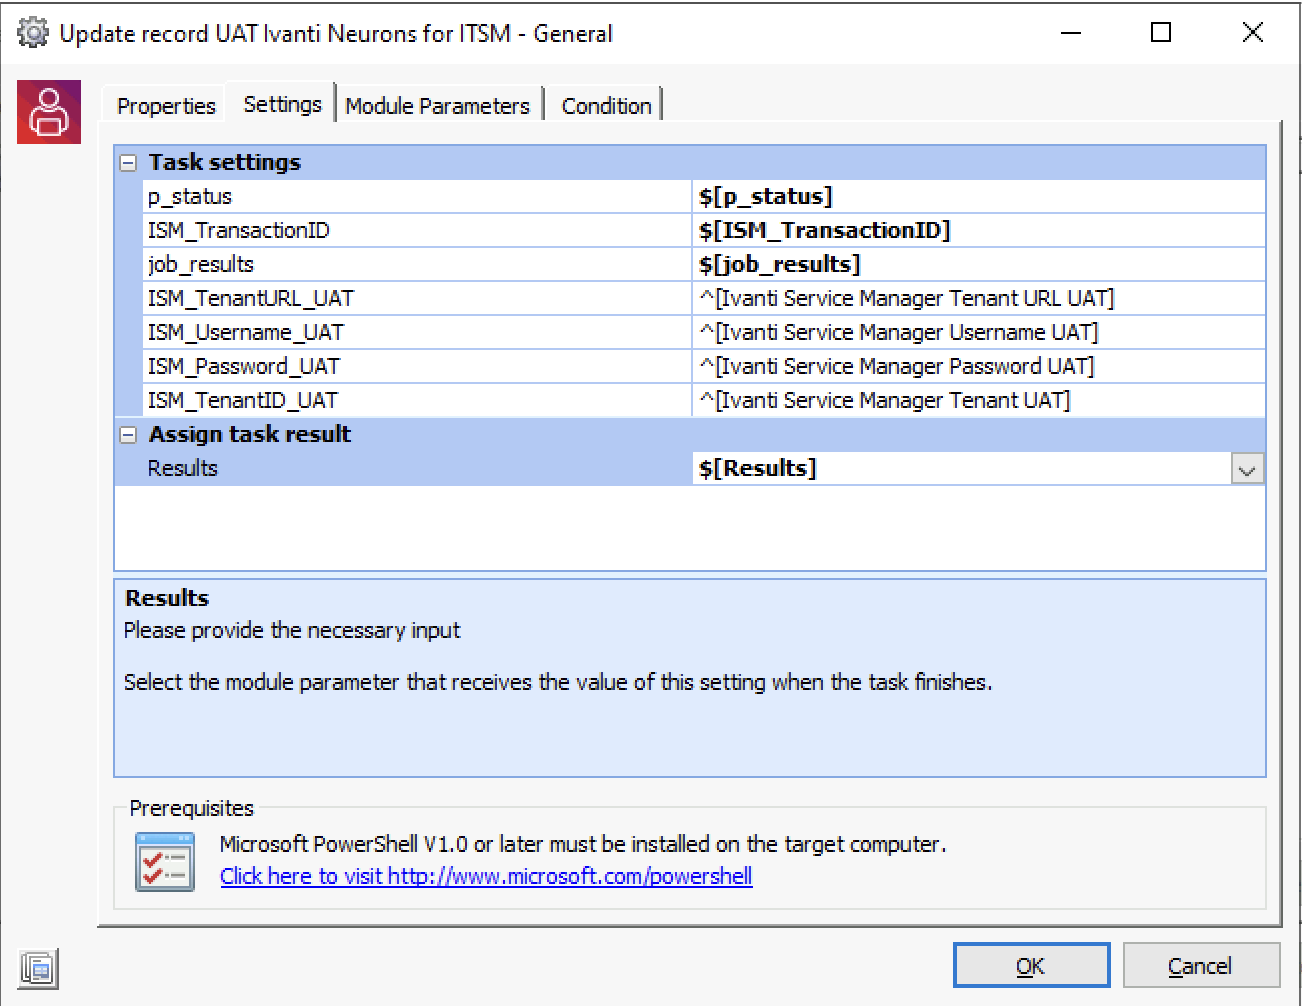
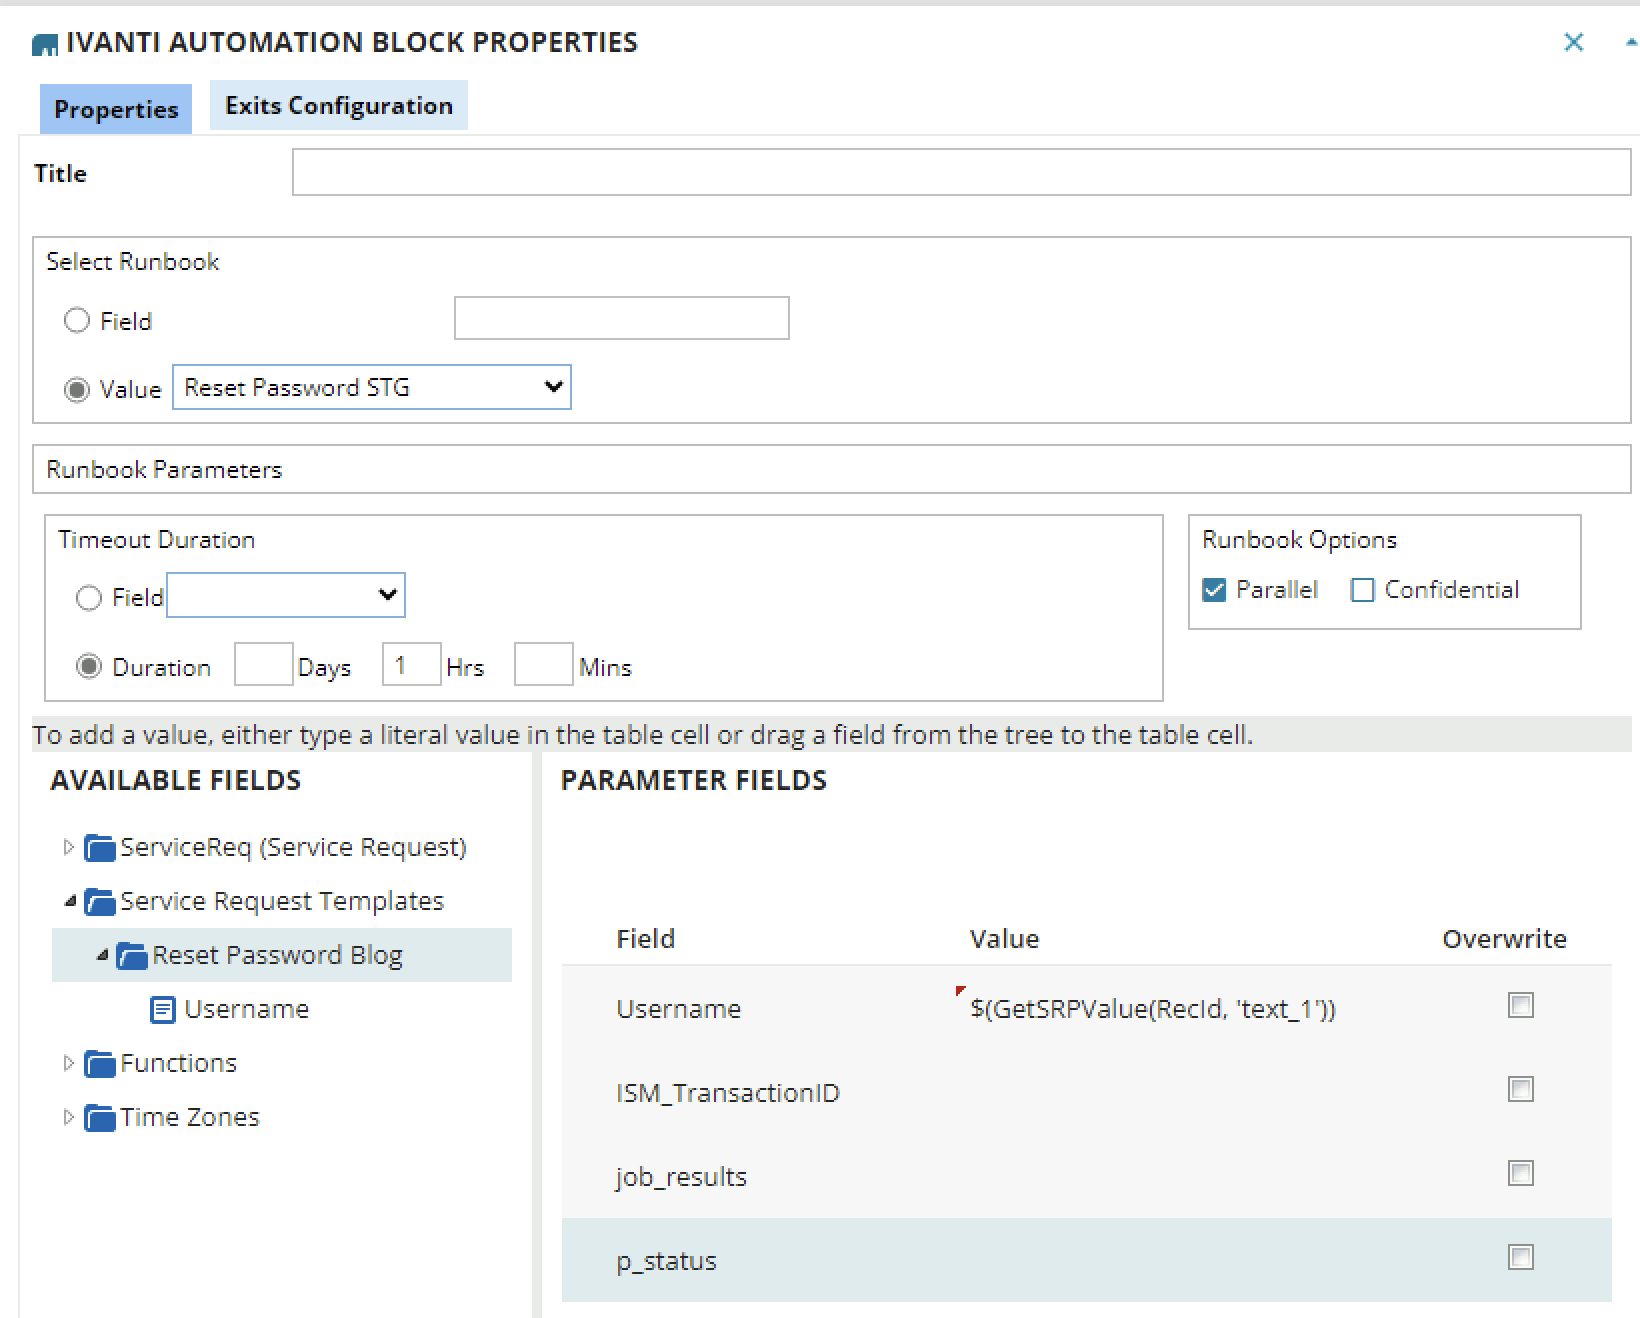
In the next screen, additional parameters need to be created. When the variables are created the variables will be visible behind the parameters.
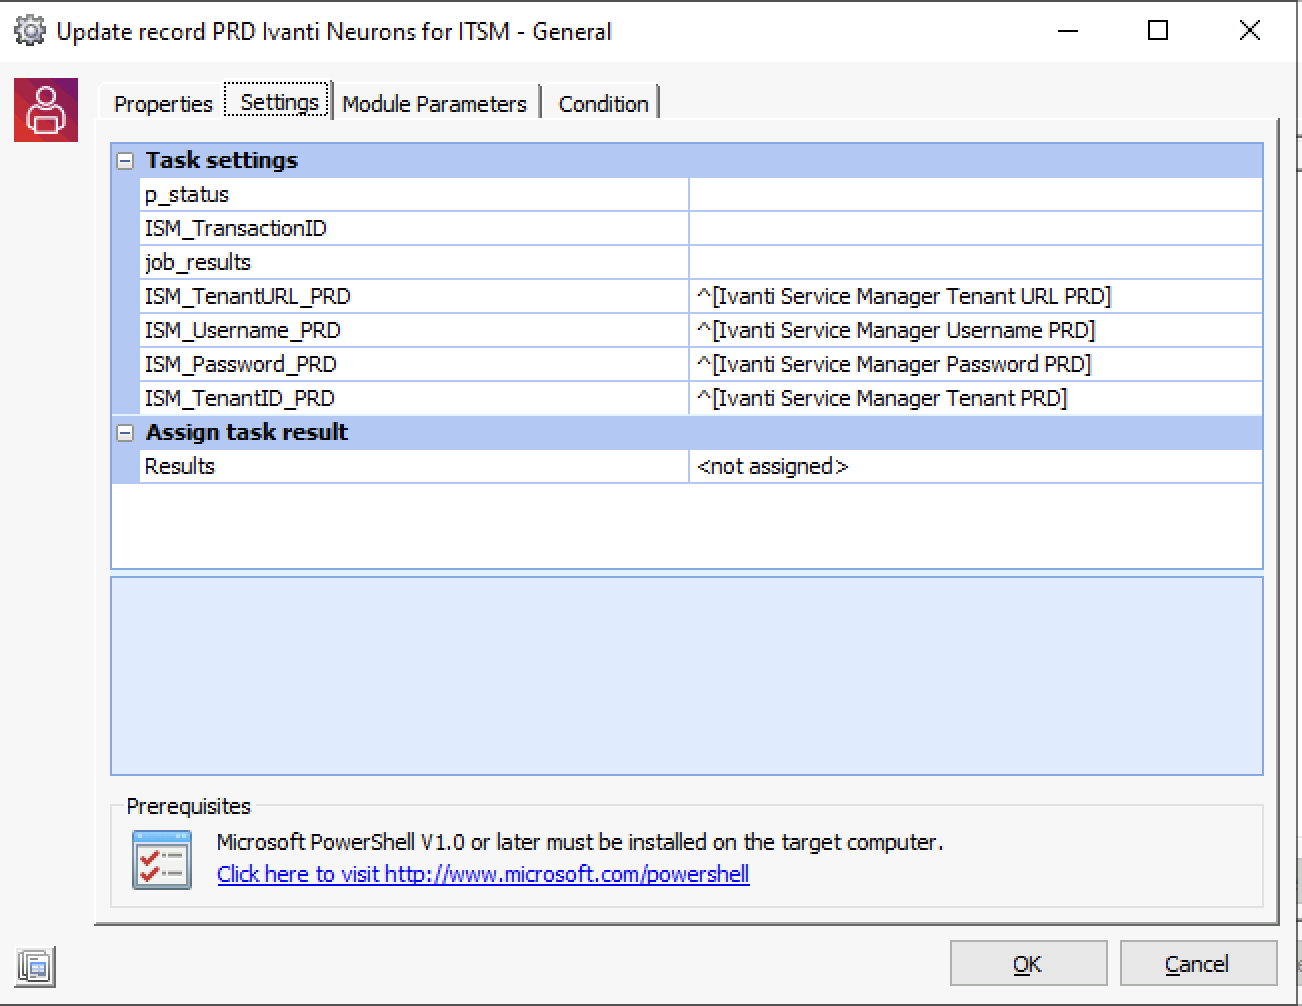
Create the following parameters:
- p_status
- ISM_TransactionID
- job_results
- Results
Right-click in the empty place behind the parameters.

Select the option Insert Parameters and select AutoCreate parameter. Execute this action for all other empty parameters.
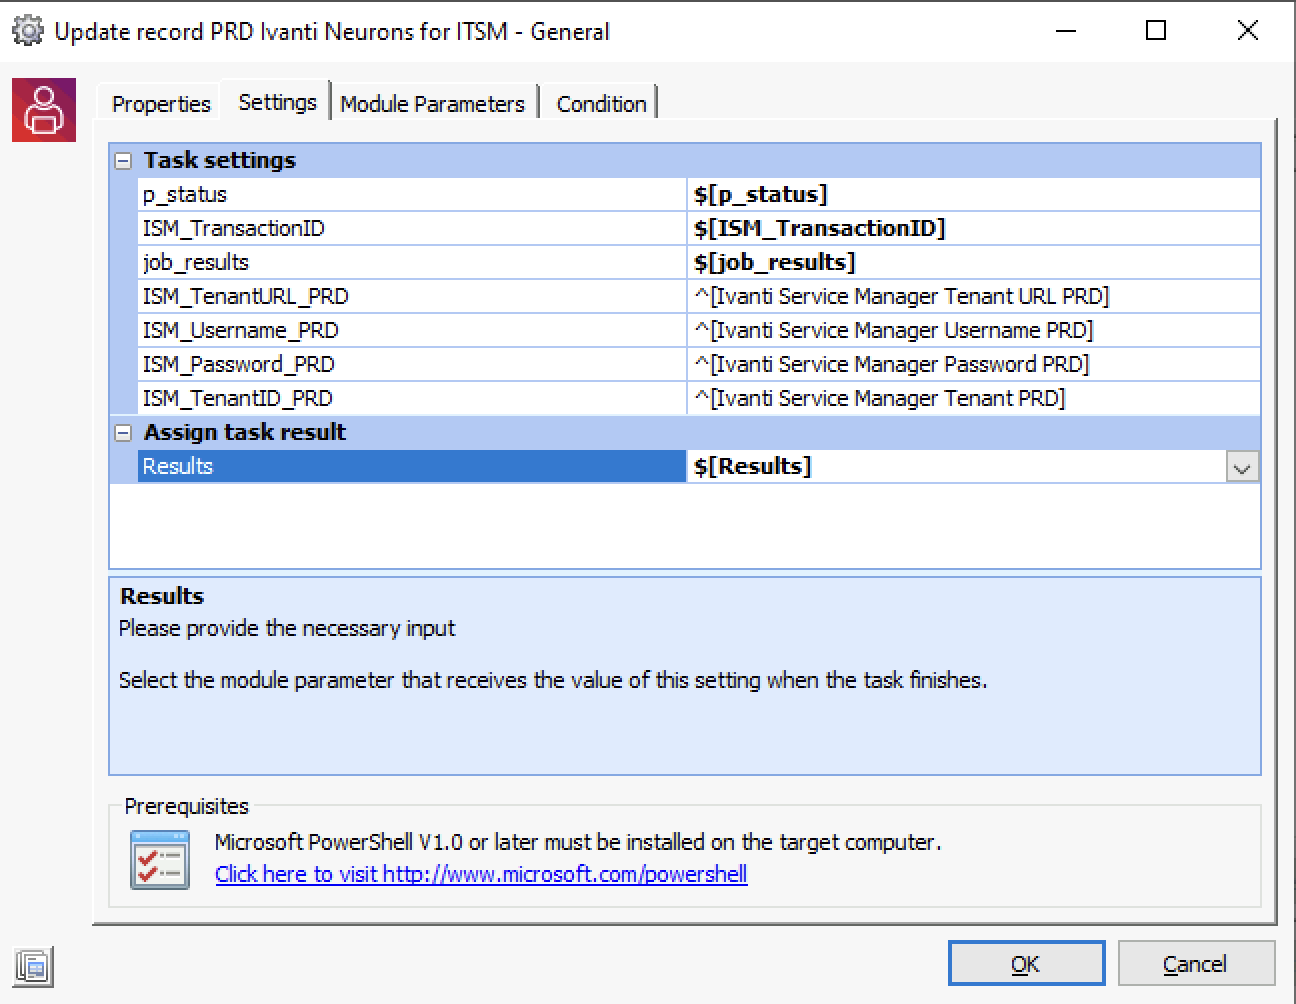
When finished, it should look like the above screenshot.
Select OK to store the Module by selecting OK.

When the task is added the Production Module is finished. Select OK to store the Module.
The next step is to create the same module for UAT and STG.
There are 2 options:
- Create a new one with the same steps as described above
- Duplicate the PRD Module and change the task.
I discuss the duplicate option below.
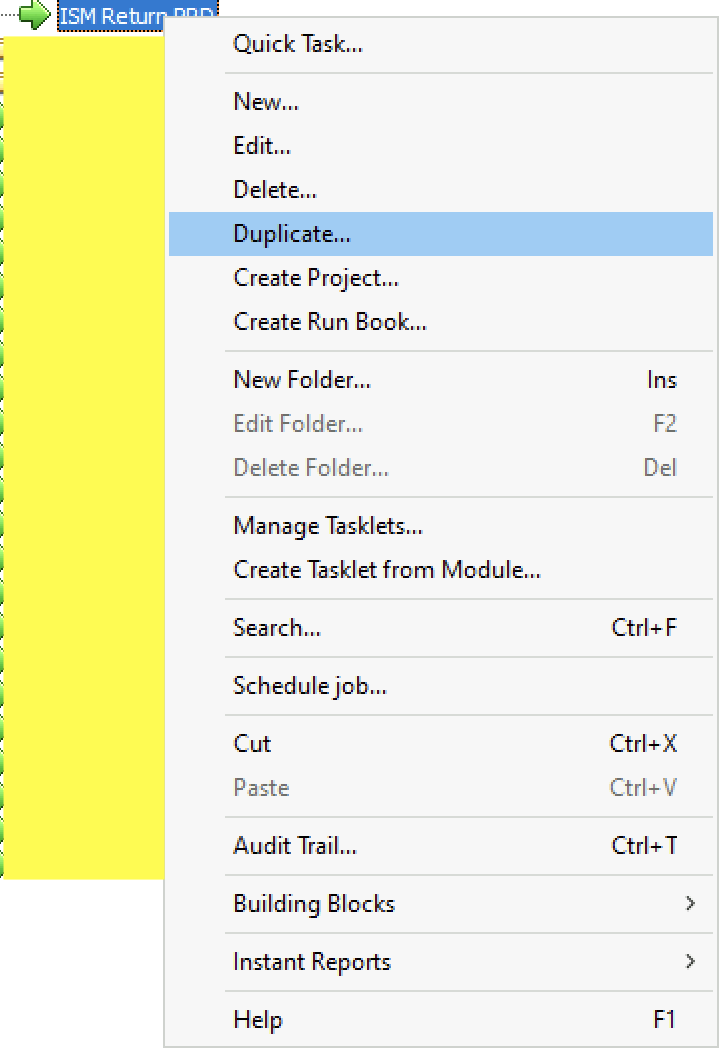
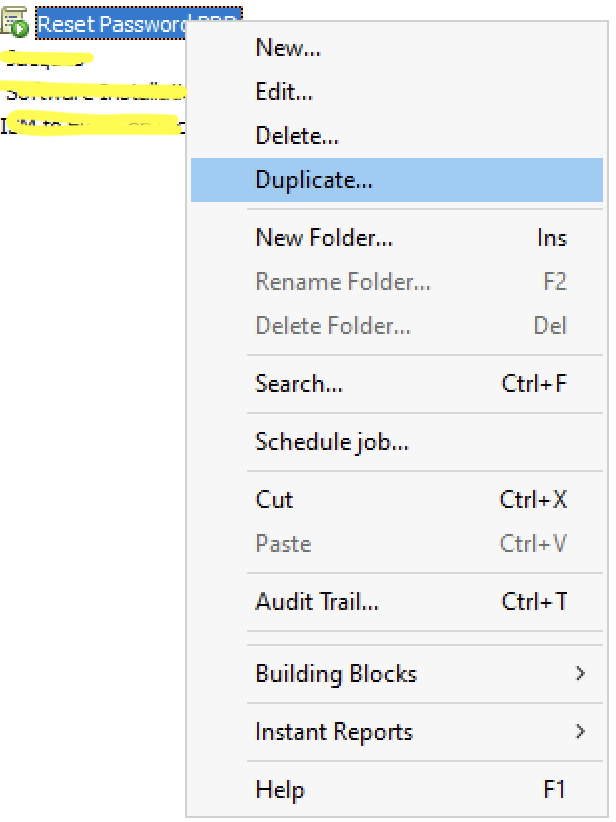
Select the newly created ISM Return ISM Module and right-click the Module.
Select Duplicate from the menu.
A new Module is created. In the name remove the Duplicate of text and change PRD to UAT.
Select the tab Tasks and remove the task.
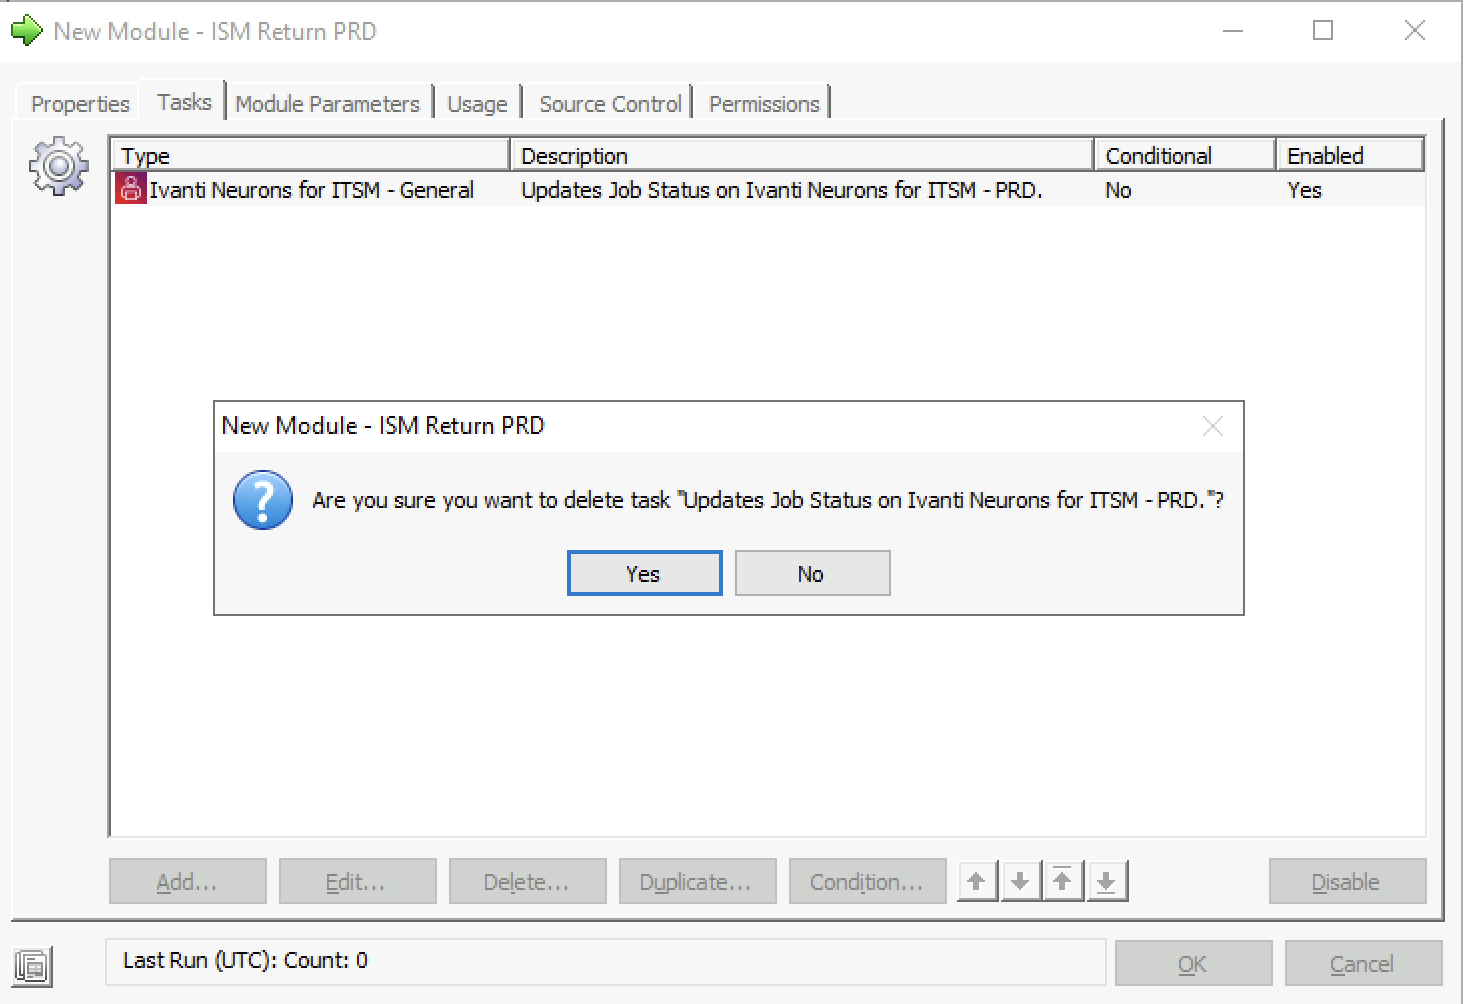
Select Yes to remove the current task.
Select Add to add the Update record UAT as a task.
Because of the duplicate action, the parameters are available. Make sure the parameters are connected.
When finished store the task and module.
Execute the same steps for STG.
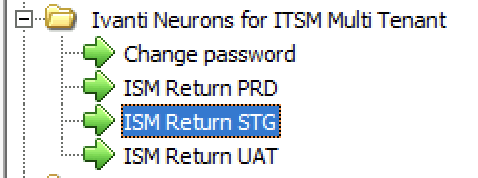
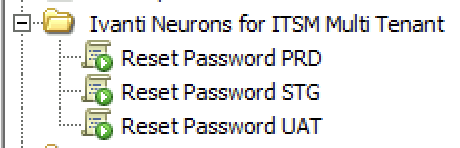
When all modules are created, they should look like the screenshot below.
The next step is creating three Runbooks. Every tenant needs his own Runbook.
Go to Library – Runbooks and create a new folder.
Give the folder a name (i.e. Ivanti Neurons for ITSM Multi-Tenant)
Right-click the folder and select New.

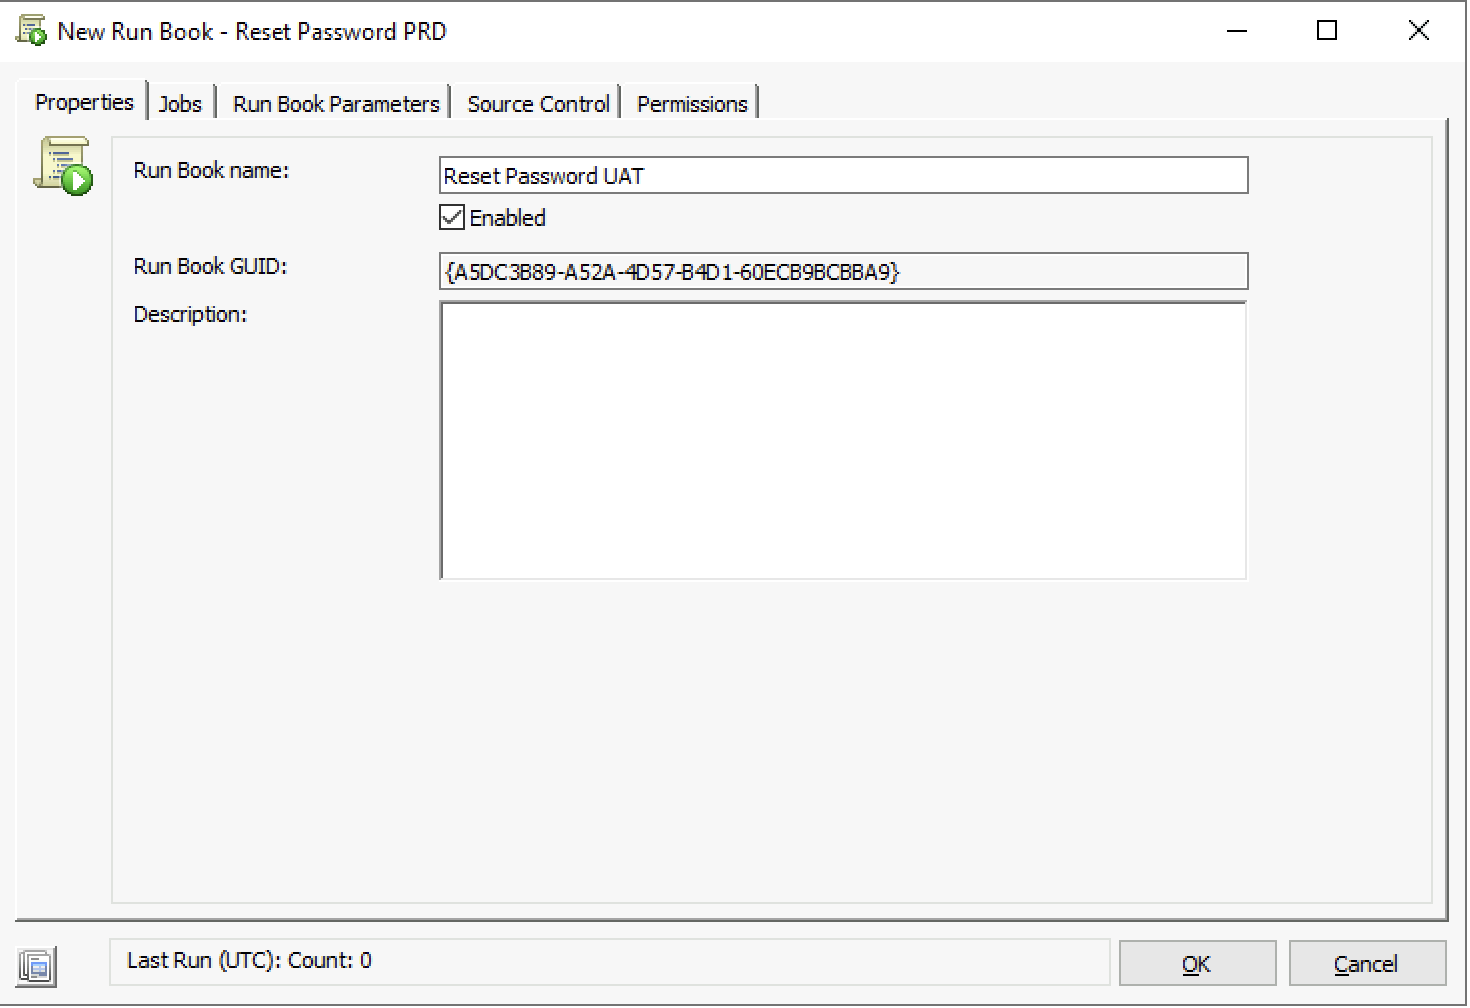
Give the Runbook a name. Make sure to add the tenant name (i.e. PRD).
Go to tab Jobs.
Select Add.
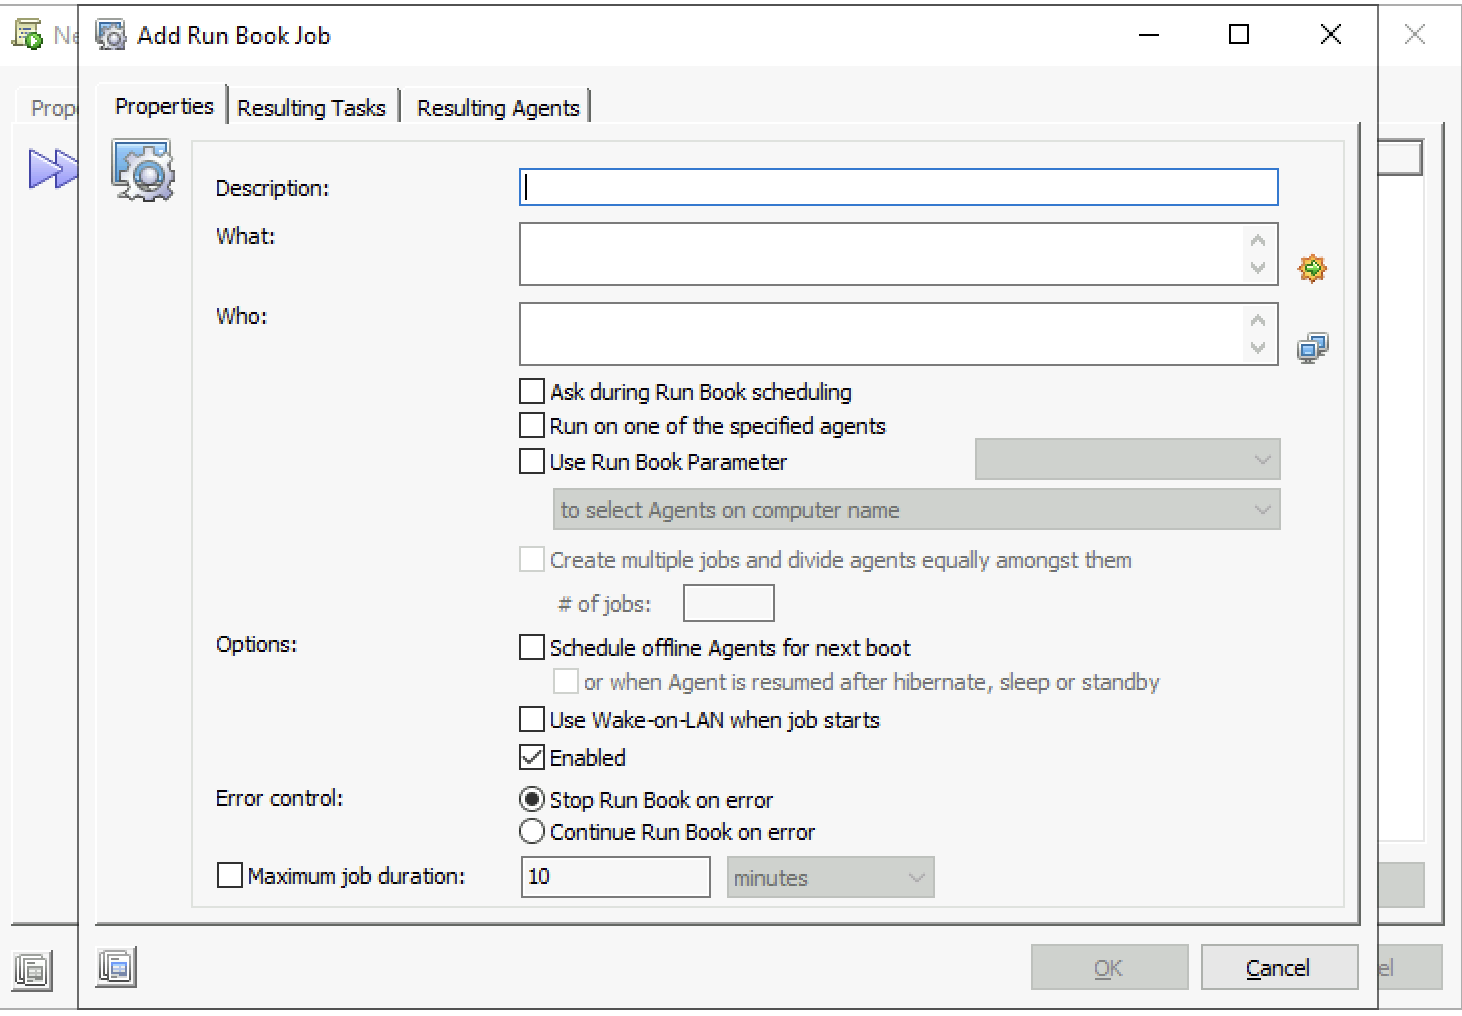
Click in the What field and select the Module that executes the Password Reset.
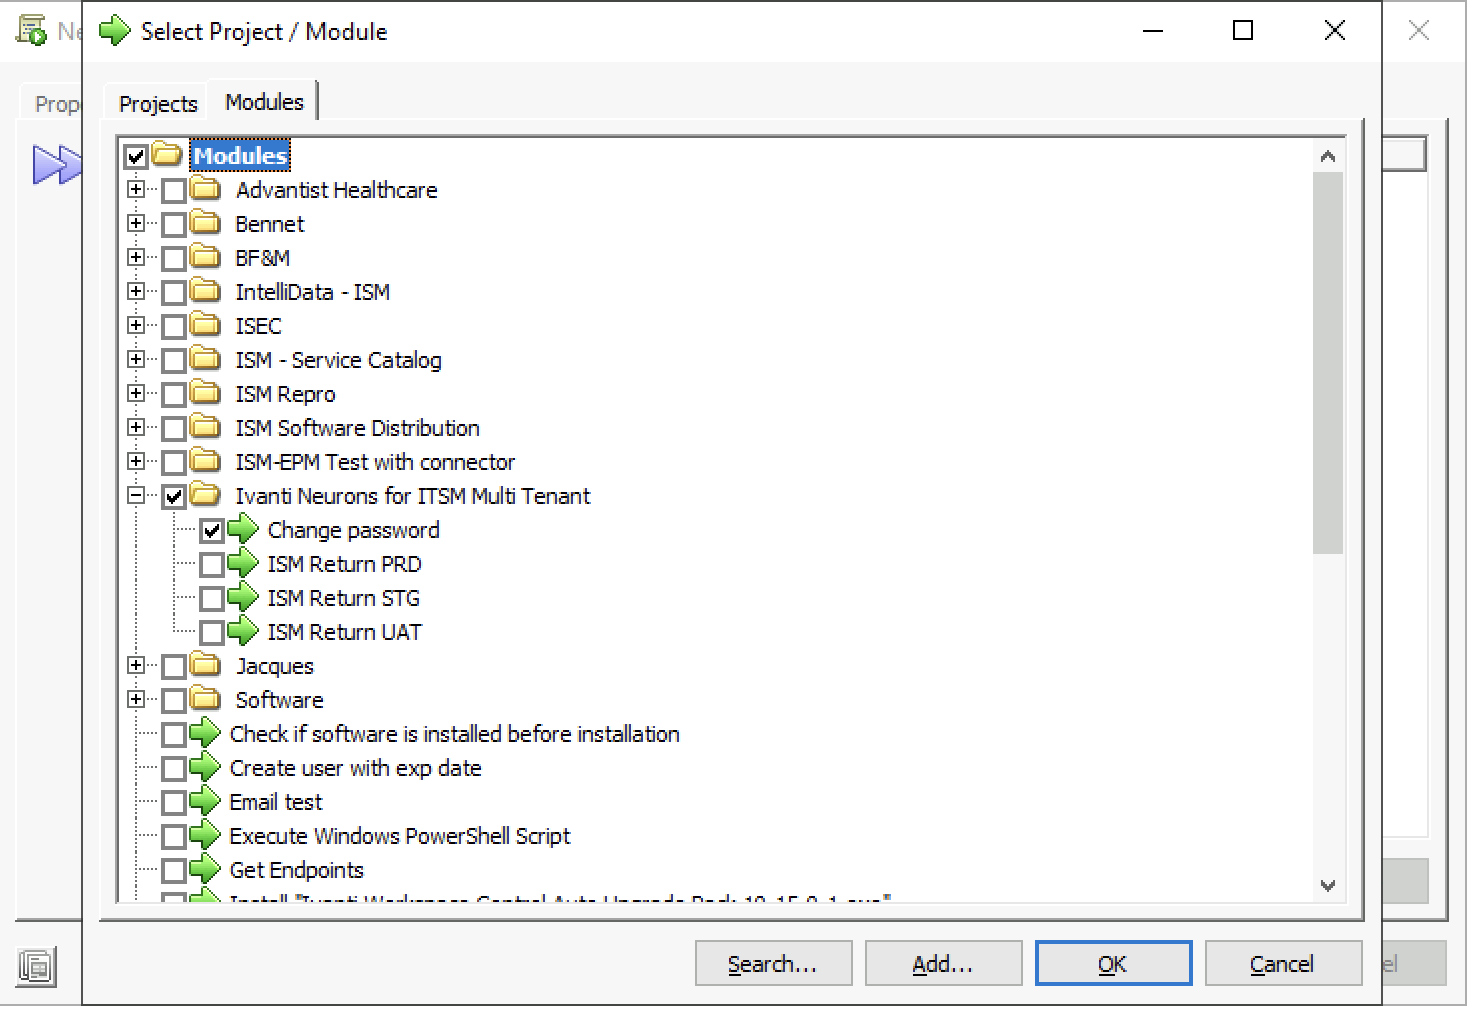
Select OK to add the Module.
Click in the Who field to add an Ivanti Automation Agent to the module. This is the Agent who executes the Task.
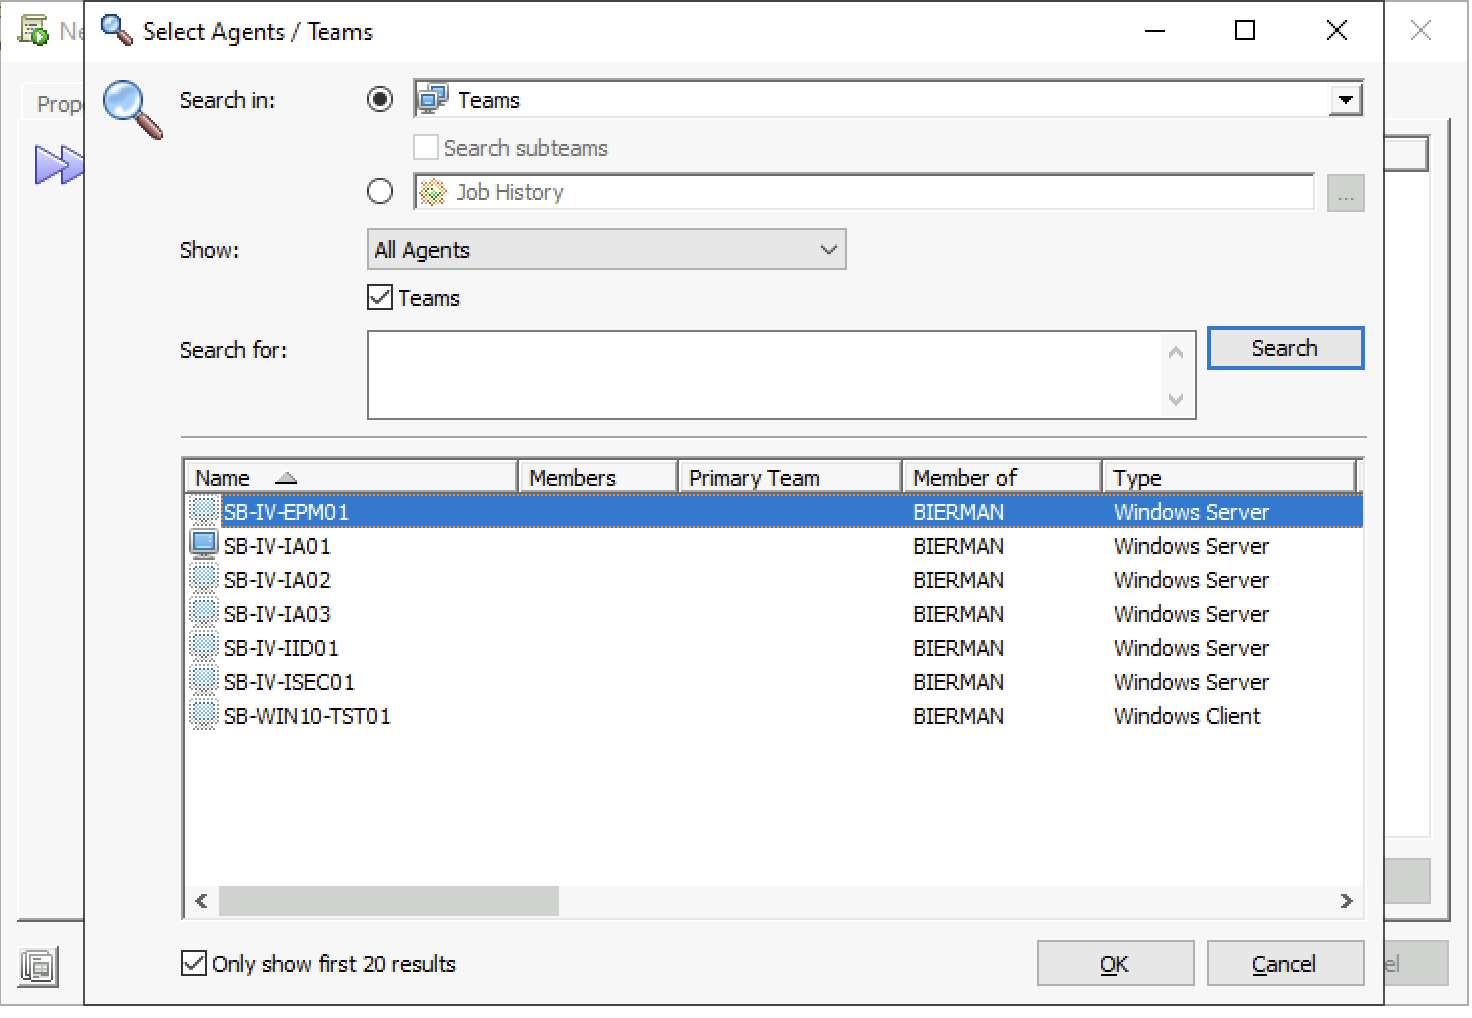
Select OK to continue.
Make sure the Continue on error is configured in the Error Control.
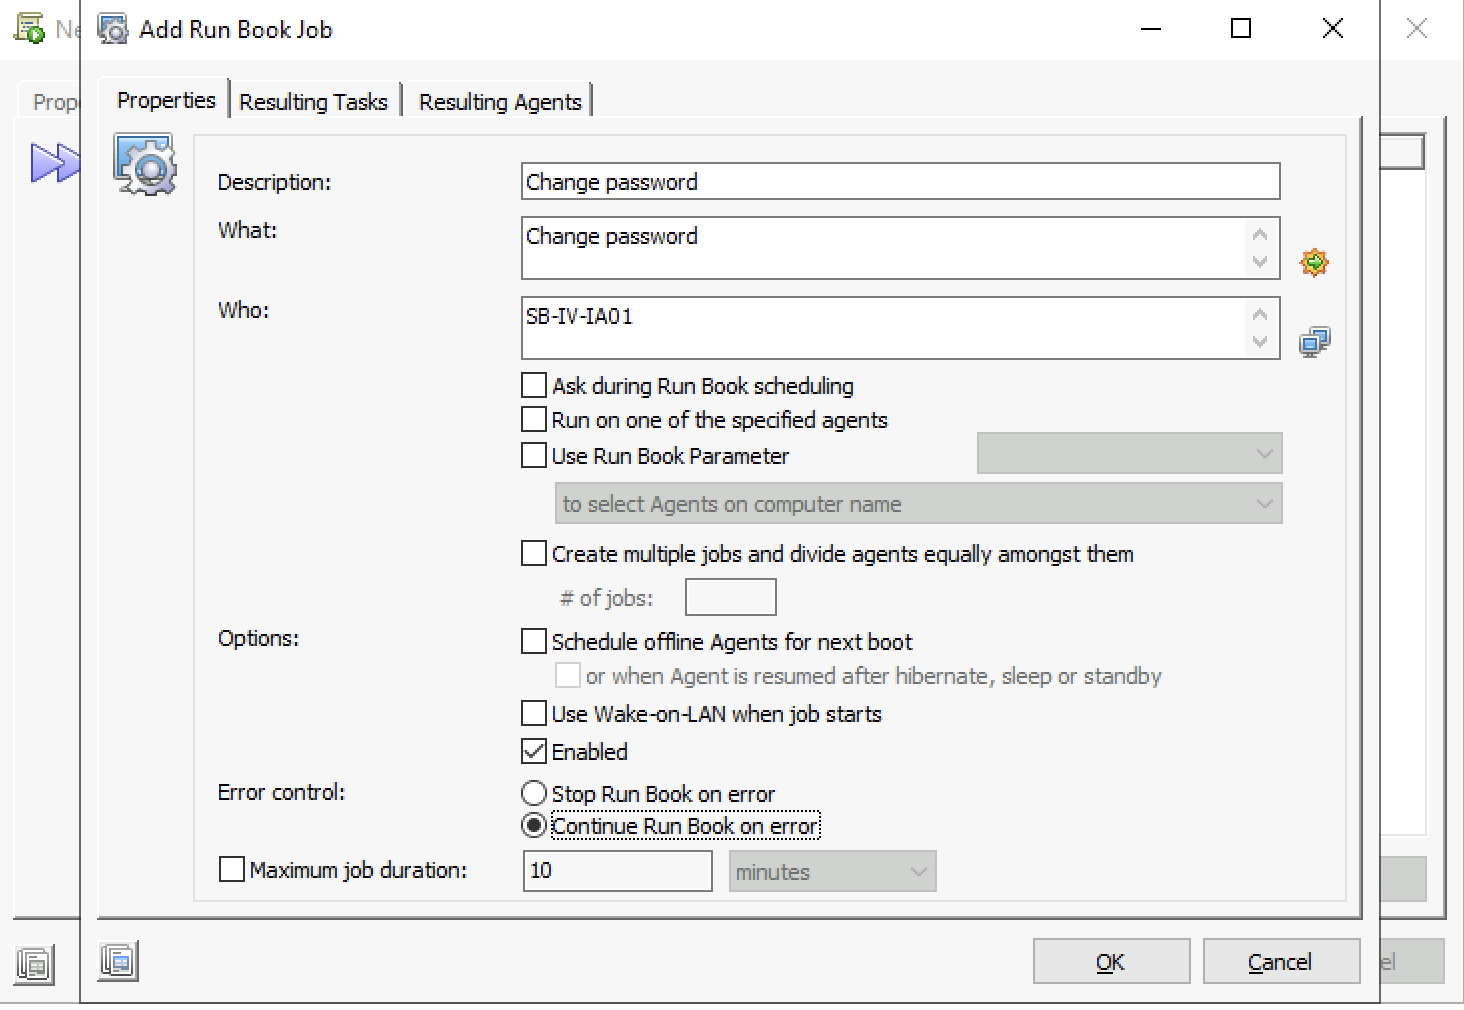
When finished select OK to add the Module to the Runbook.
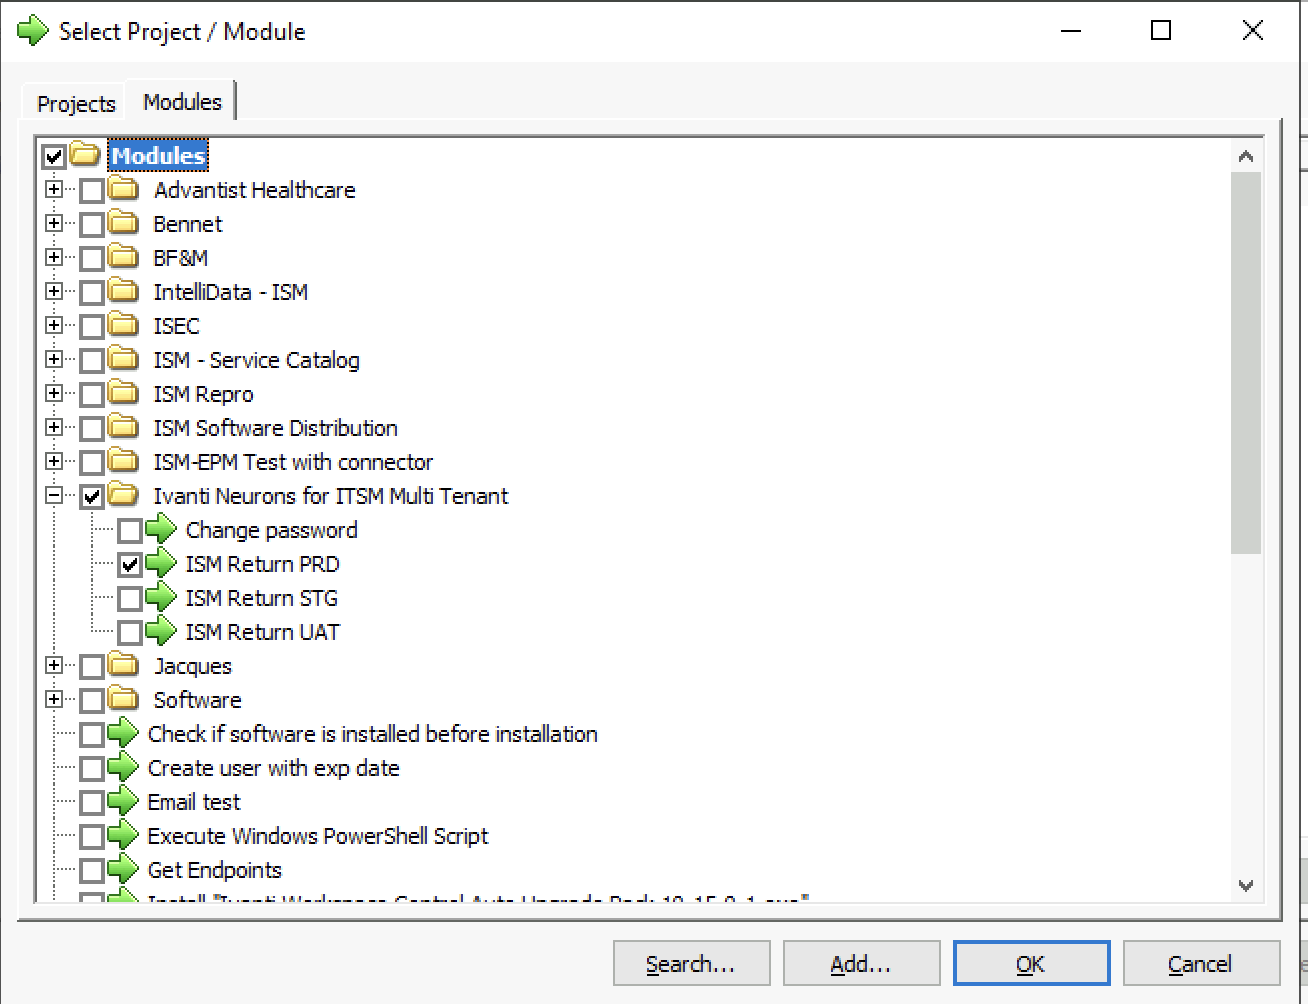
The next step is adding the ISM Return module. Starting with the PRD module.
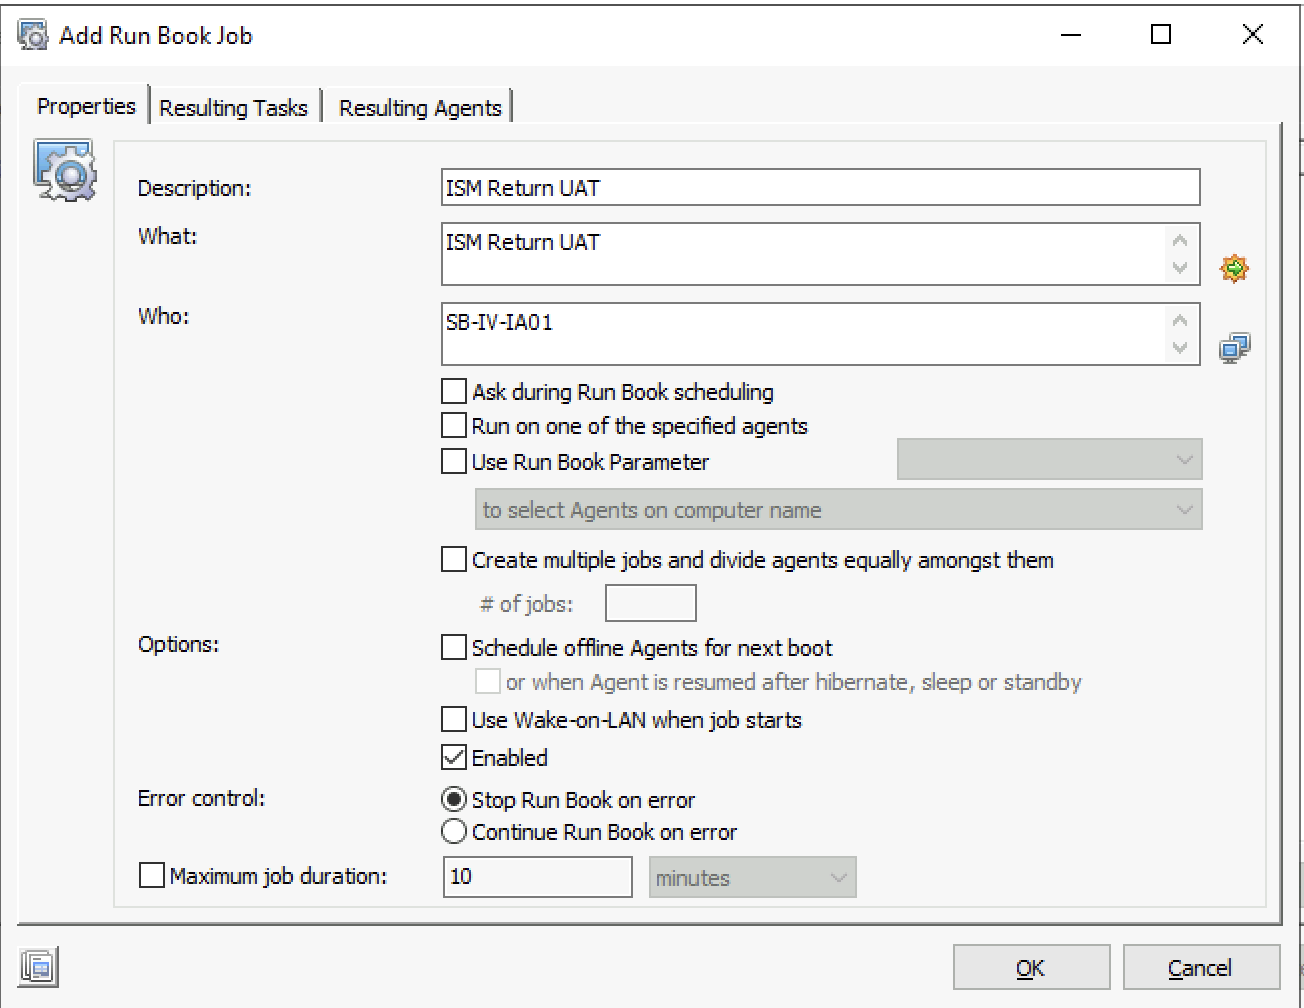
Add the Ivanti Automation Agent to the module.
Error control needs to be configured on Stop on error.
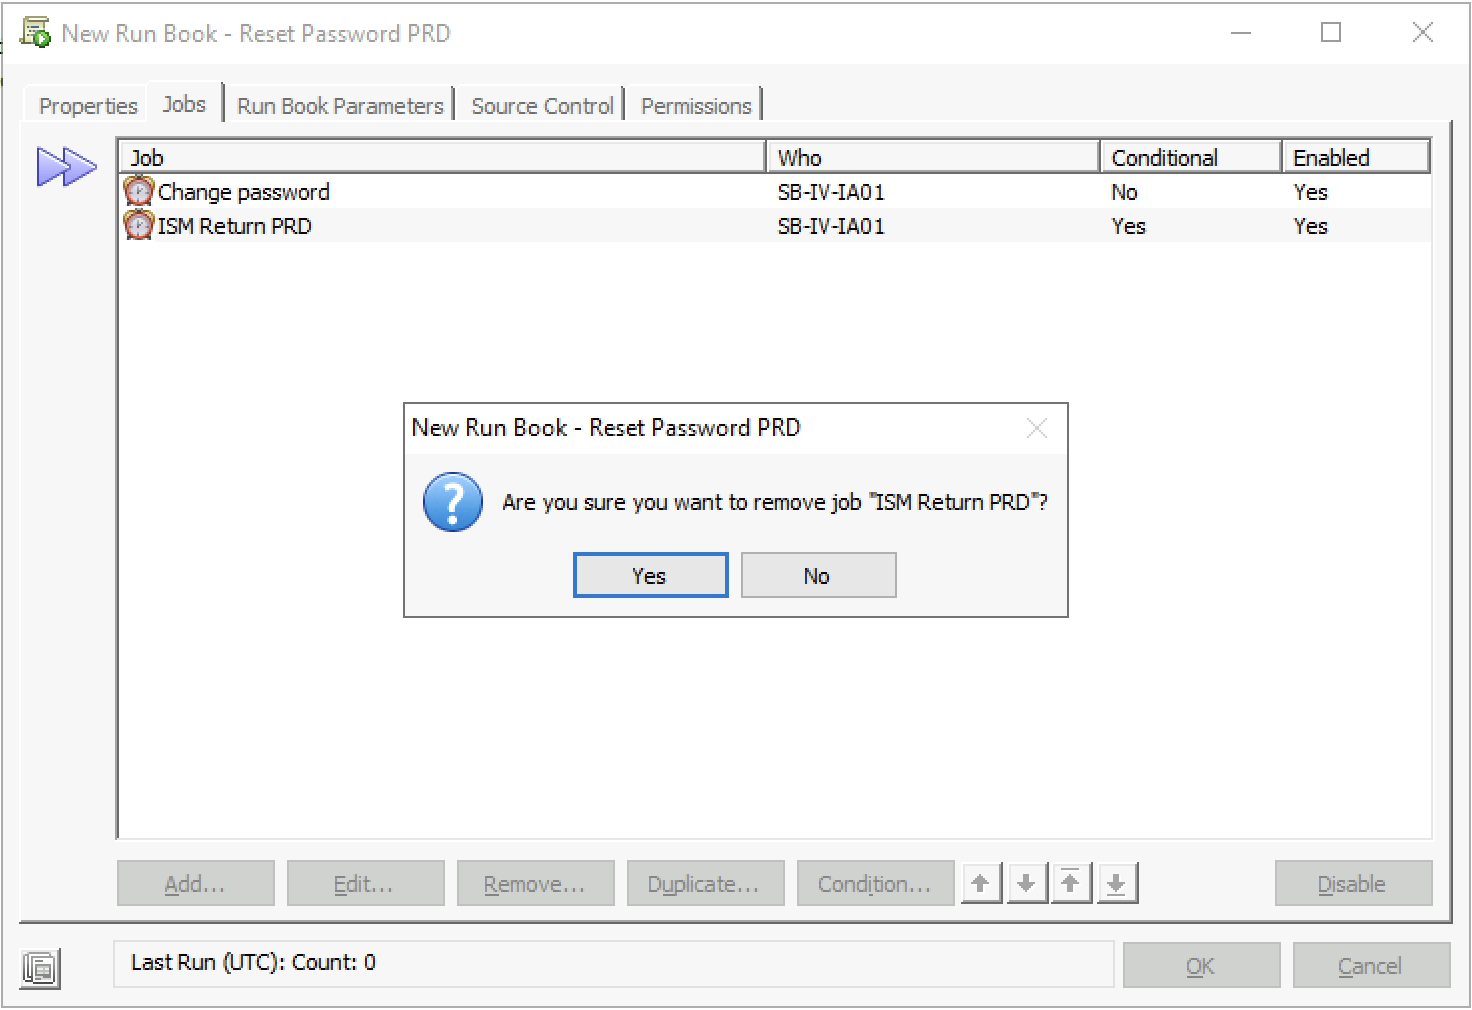
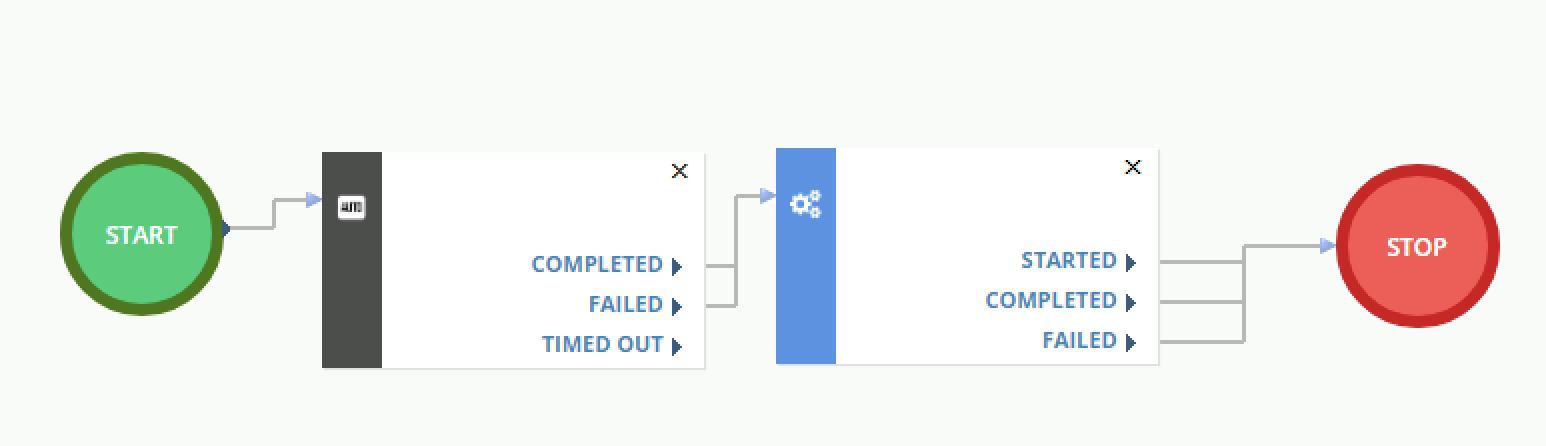
When both modules are added the Jobs should look like below screenshot.
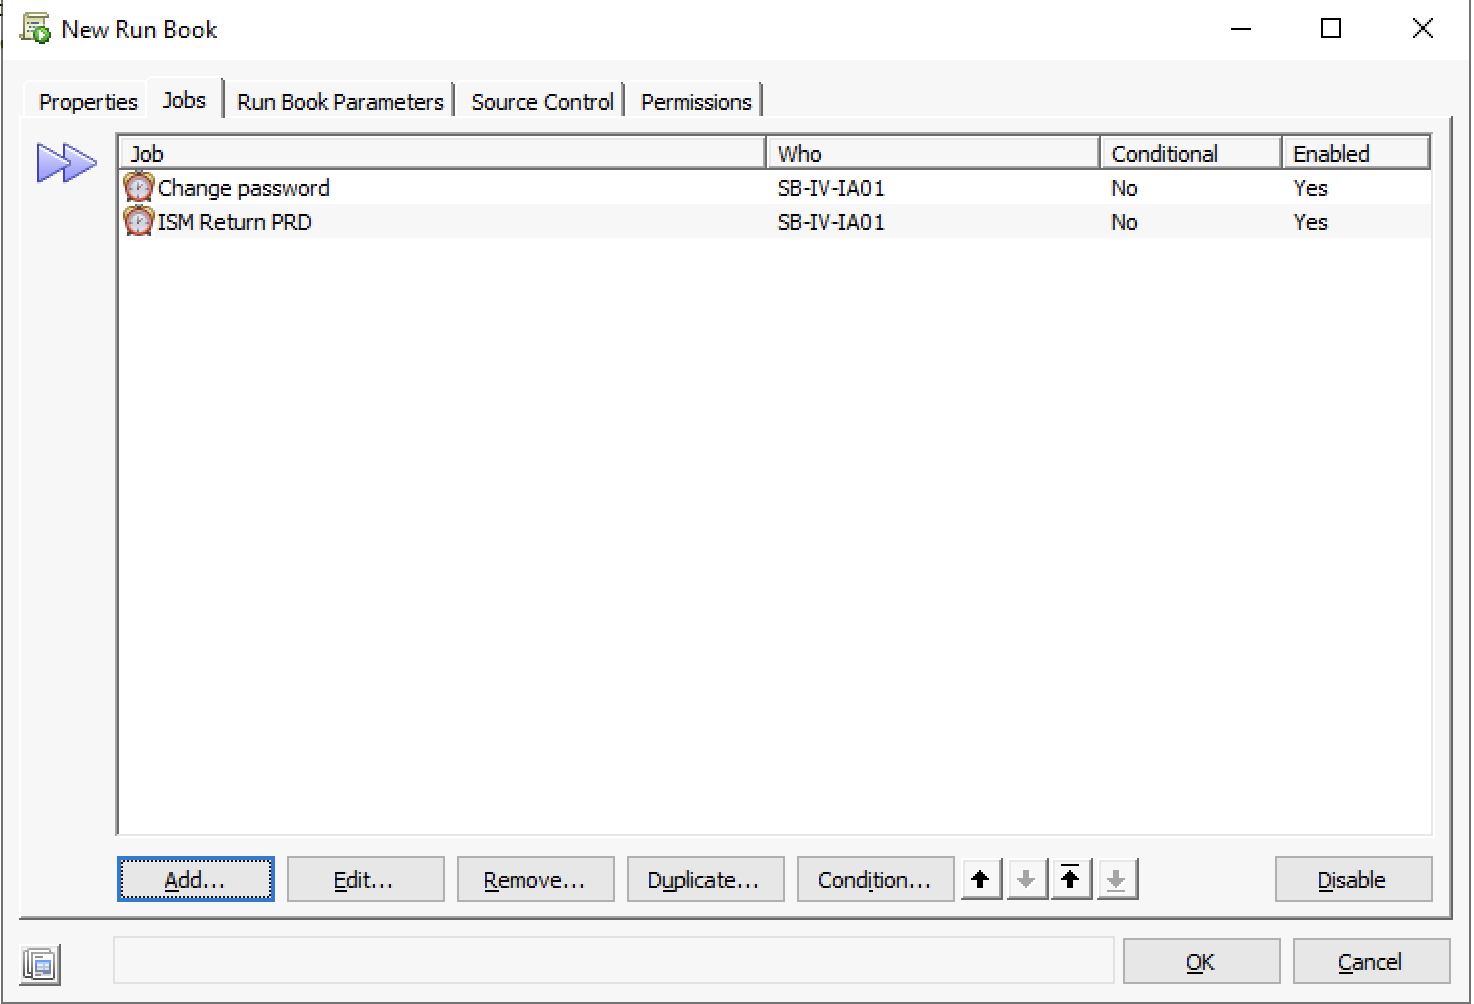
Next, the parameters from both Modules need to be created and linked.
Go to the tab Run Book Parameters. This should be empty.
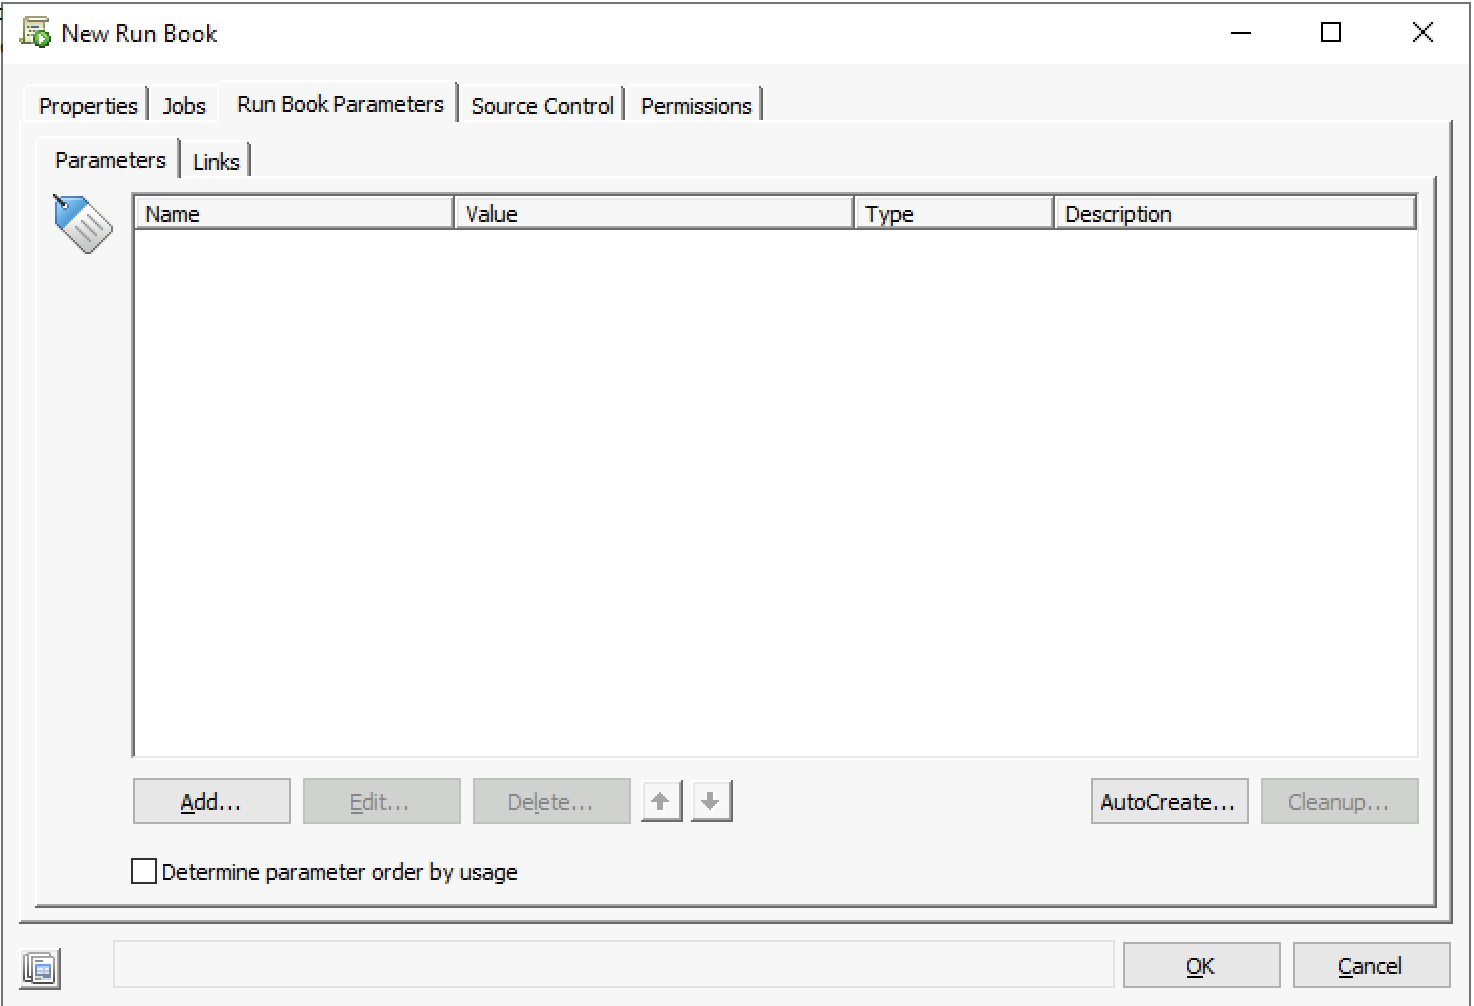
Select the option AutoCreate and select Yes for AutoLink.
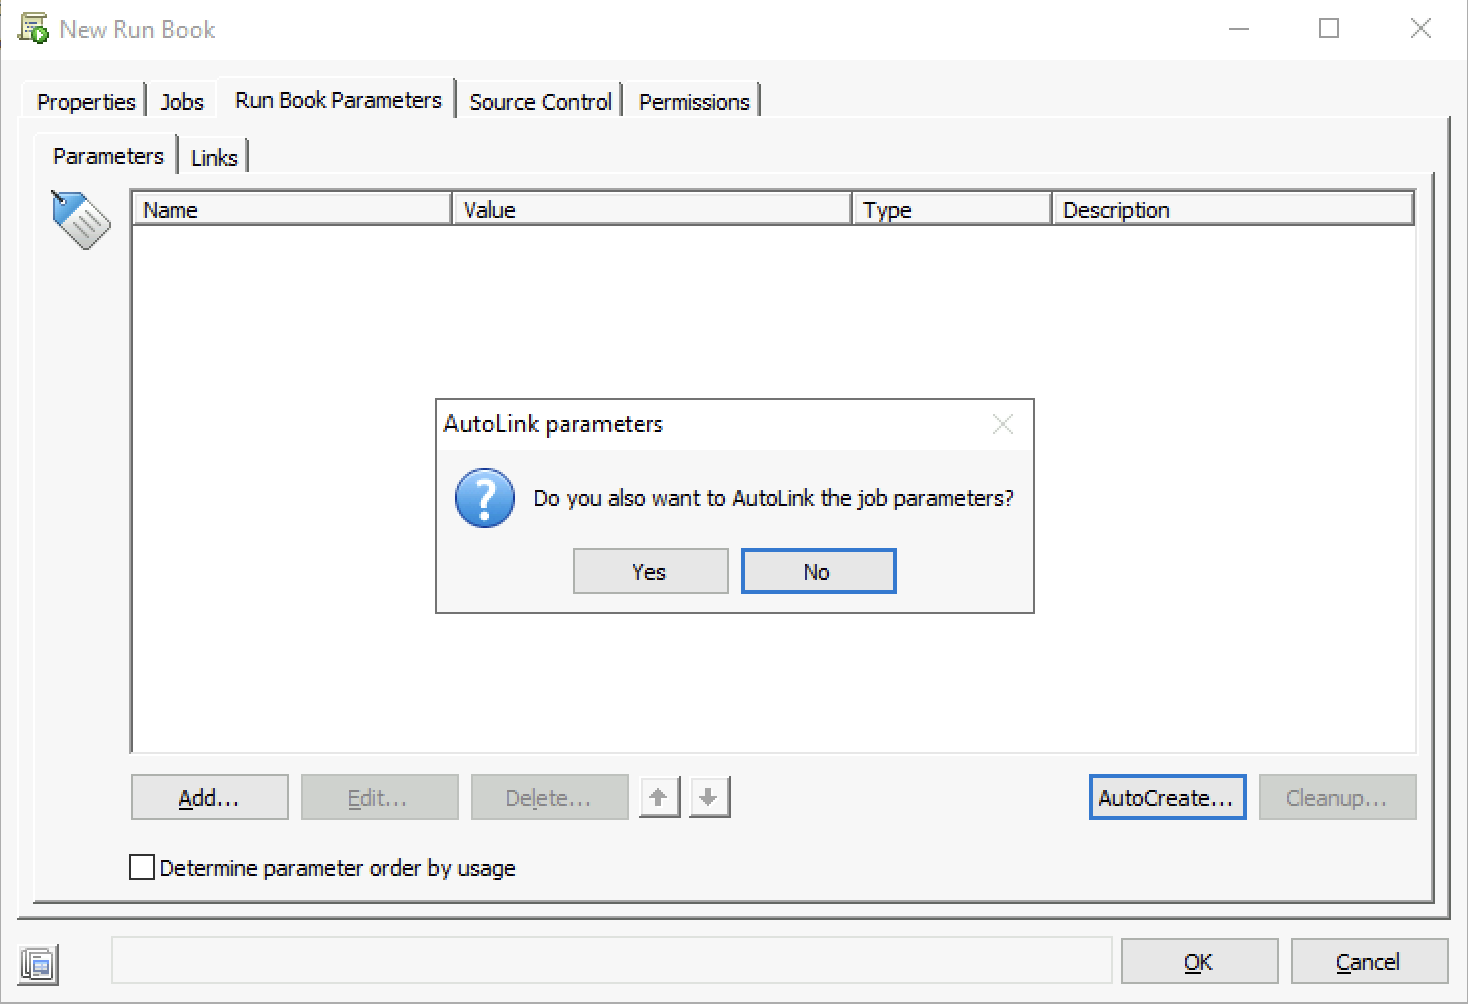
When finished, all parameters from both modules are added to the Runbook parameters.
Next, enable a condition on the ISM Return job. Go to the tab Jobs.
Select the job ISM Return PRD and select the button Condition.
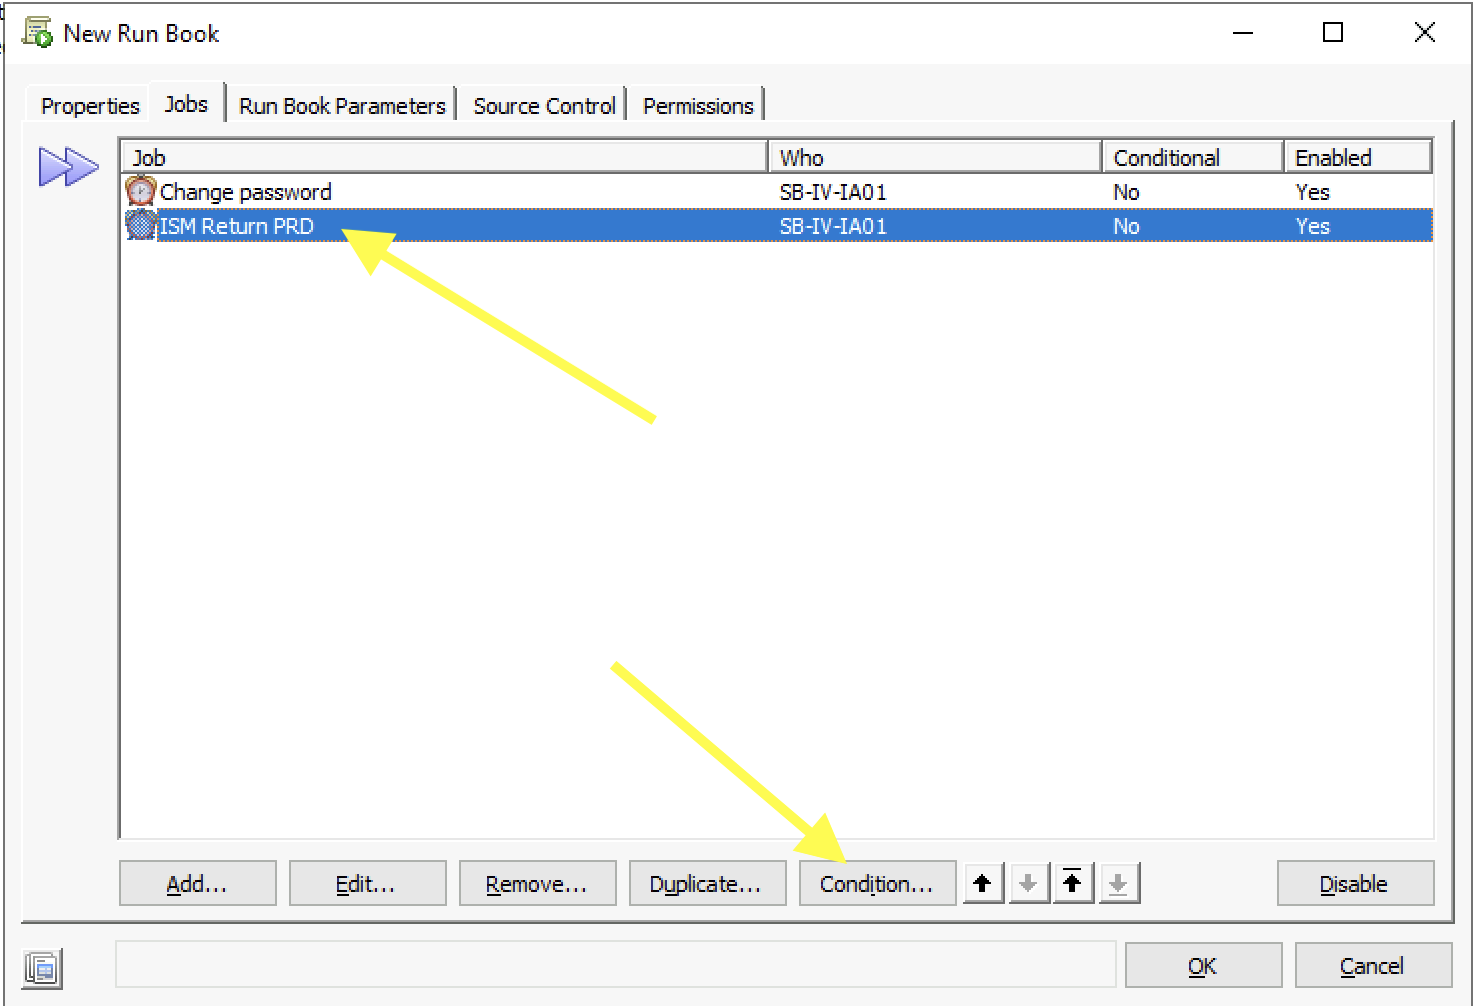
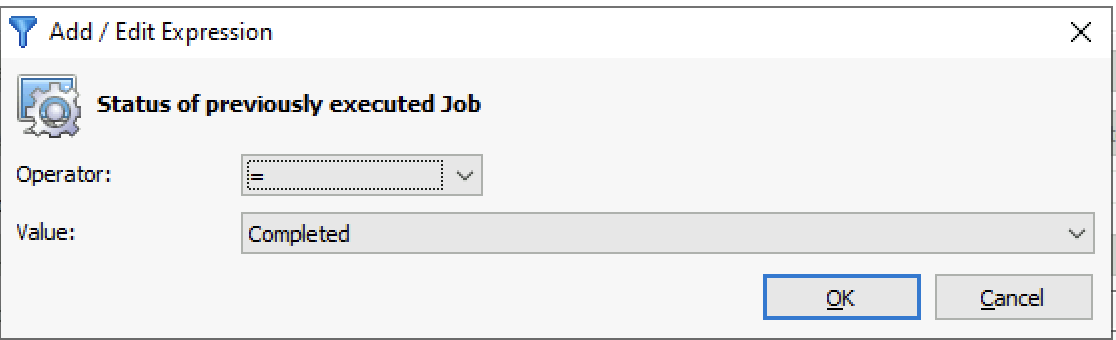
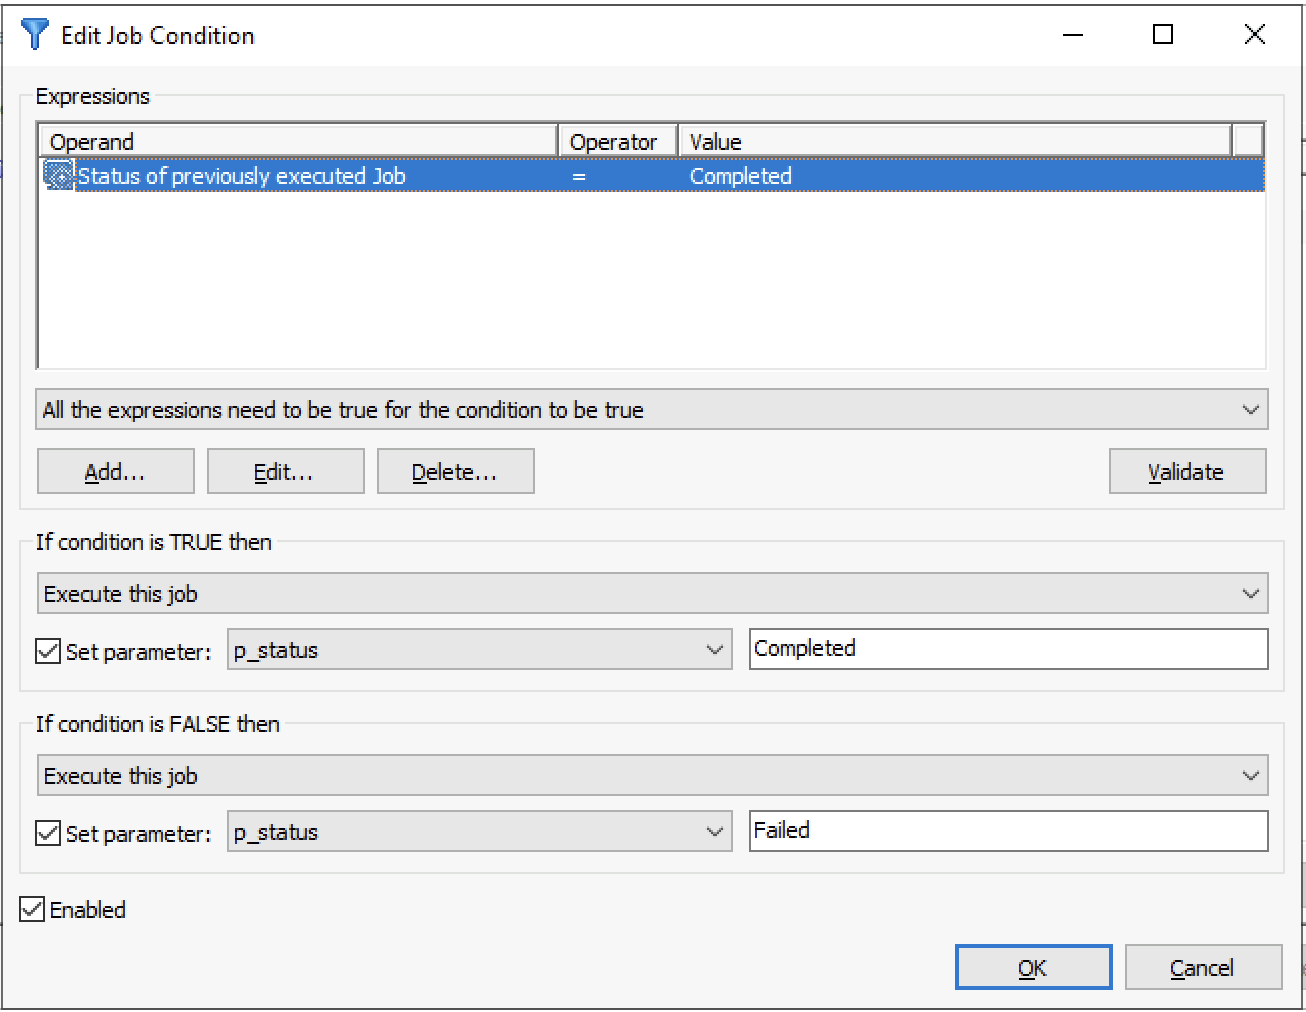
Select Add to create a new expression and the option Status of previously executed Job.
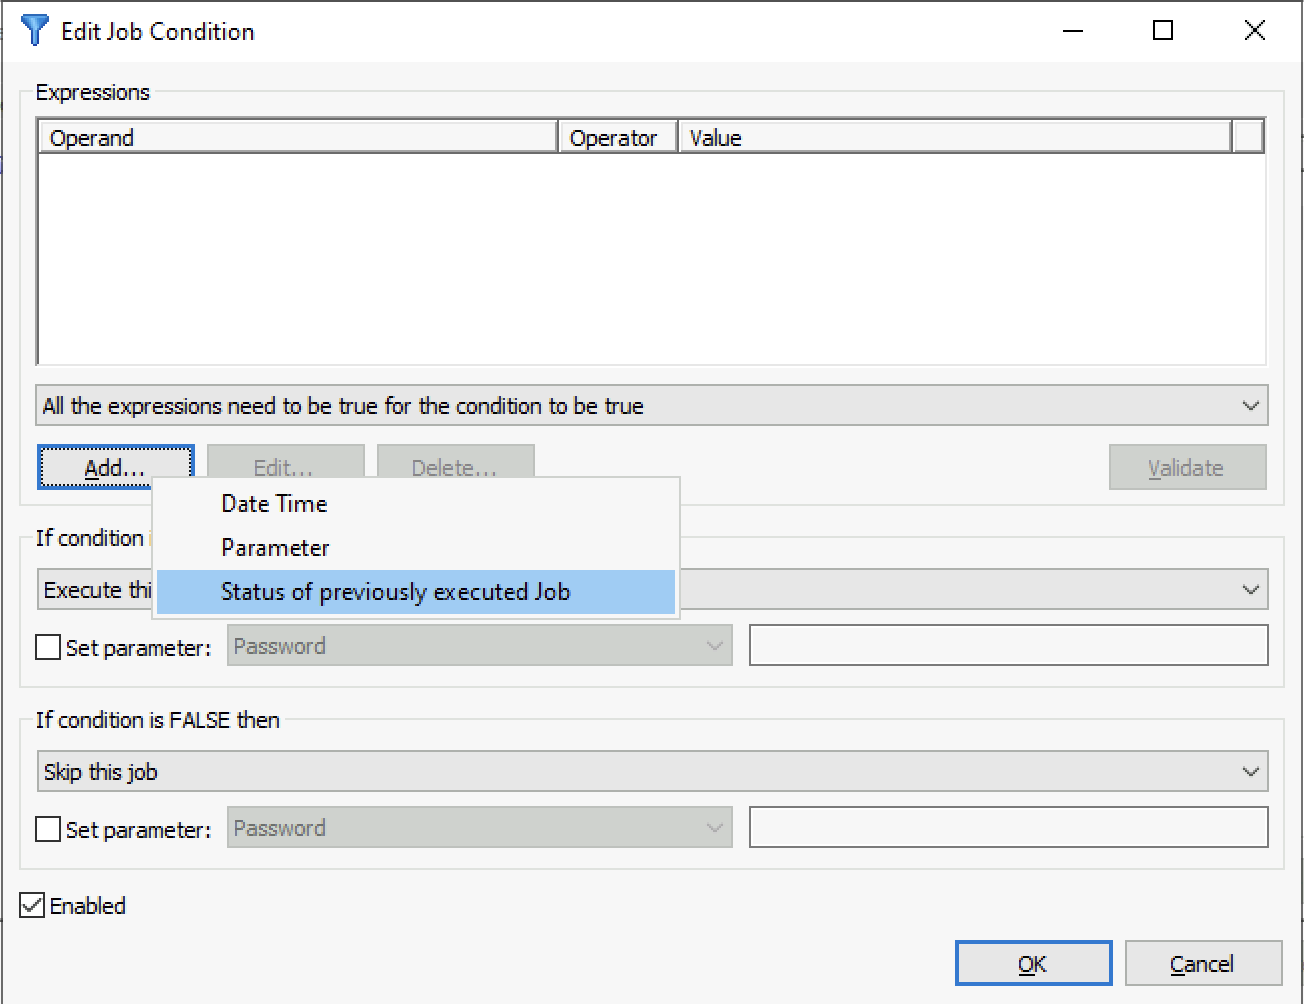
Leave the everything default and select OK.
Configure the True and False Conditions like the screenshot below.
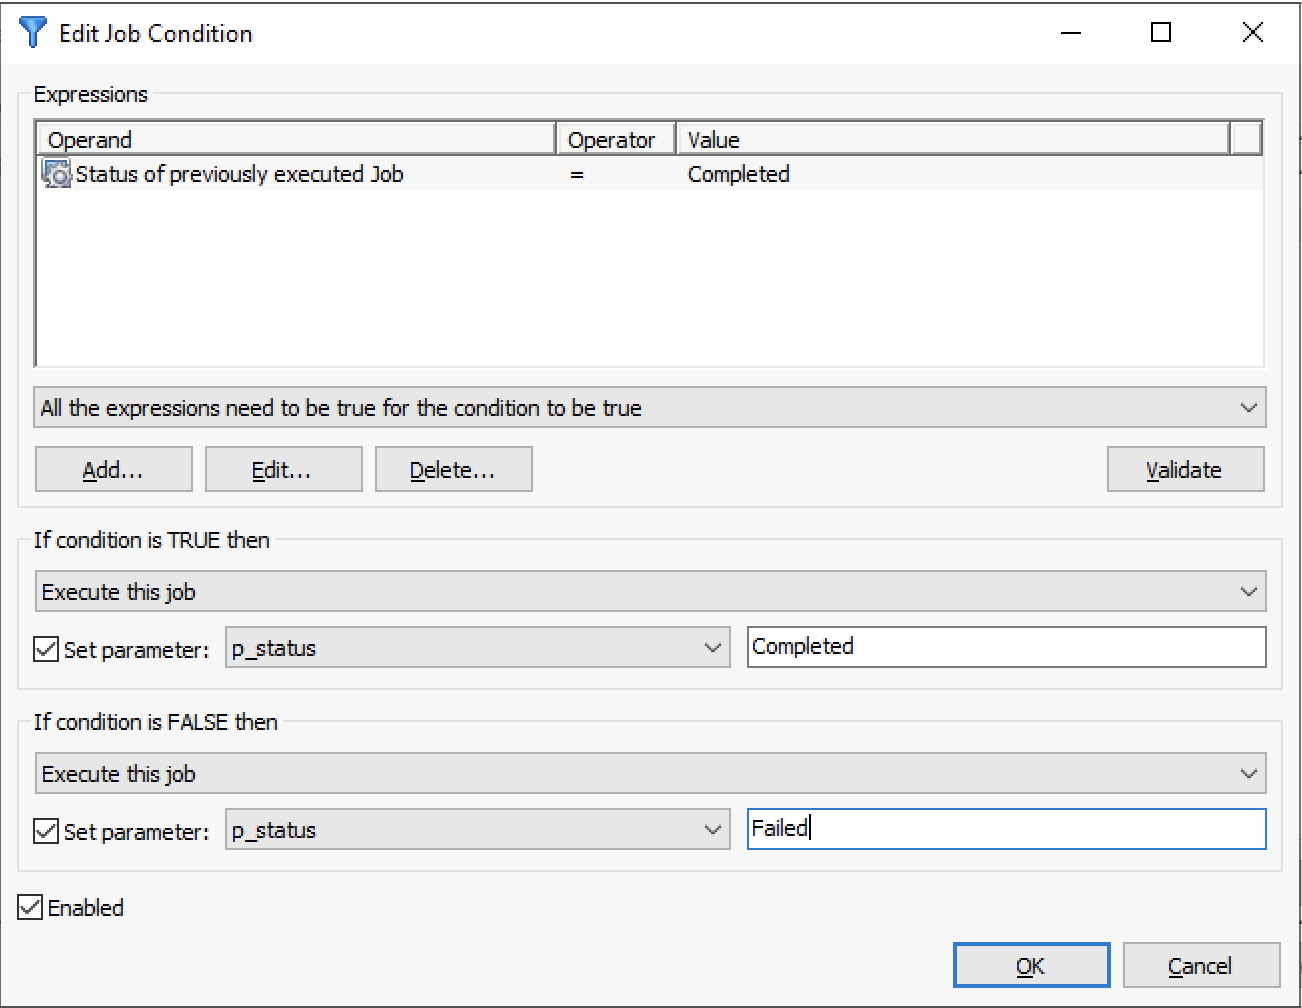
Select OK to store the Condition. Select Ok to store the Runbook.
Duplicate the Runbook for UAT and STG.
Rename the duplicate Runbook.
Go to the tab Jobs and remove the ISM Return PRD.
Add the ISM Return UAT and add the Agent.
Select OK to continue.
Select the newly added module and select the condition button.
Configure the Condition as described earlier.
Select OK to store the Condition.
The next step after creating the duplicate is reconnecting the Runbook parameters.
Go to the Run book parameters tab and select the Cleanup button. Some parameters are automatically removed.
Execute a new AutoCreate, and the module parameters will be added again.
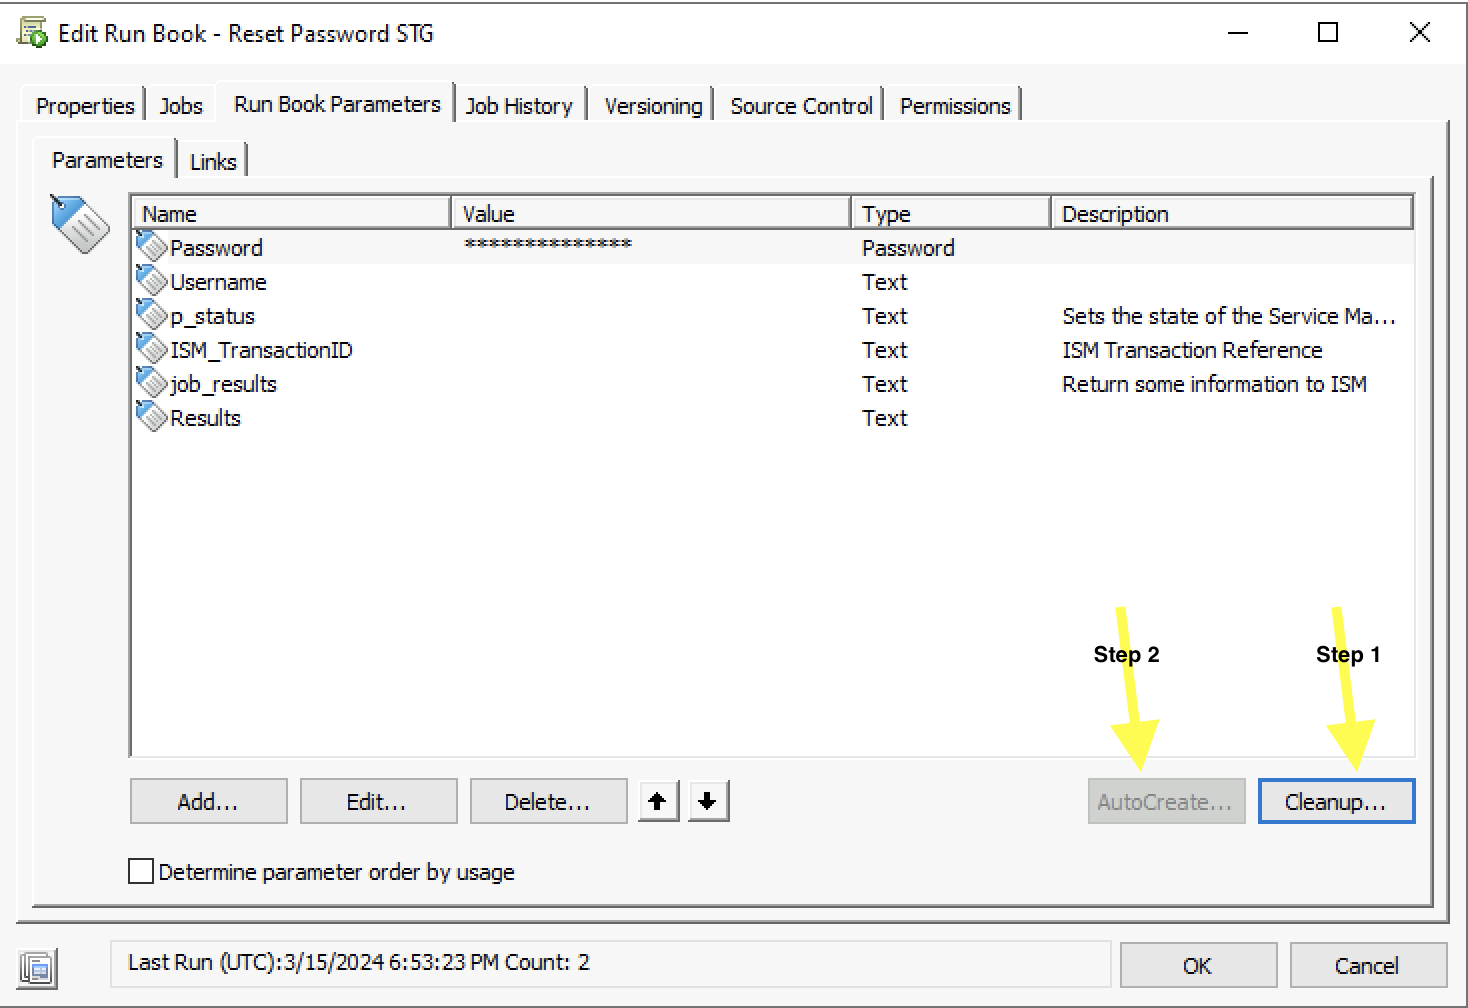
Select OK to store the Runbook.
The last step is to duplicate the runbook for STG. Execute the steps above to create the STG Runbook.
When all Runbooks are created, the folder should look like the screenshot below.
Next, we move to Ivanti Neurons for ITSM.
Starting with Staging (STG).
Staging is the first tenant to build Request Offering workflows. With the Operations Console, we migrate the data to UAT and PRD.
This blog assumes the Ivanti Automation Configuration is configured on all tenants and the Runbooks are imported. For more information check this blog.
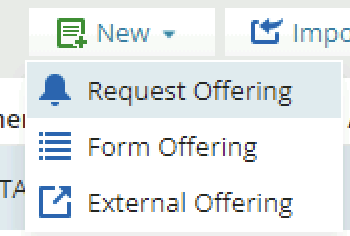
Open Request Offering and create a new one.
Build the Request Offering as described in this blog. Make sure to select the correct Runbook for each tenant.
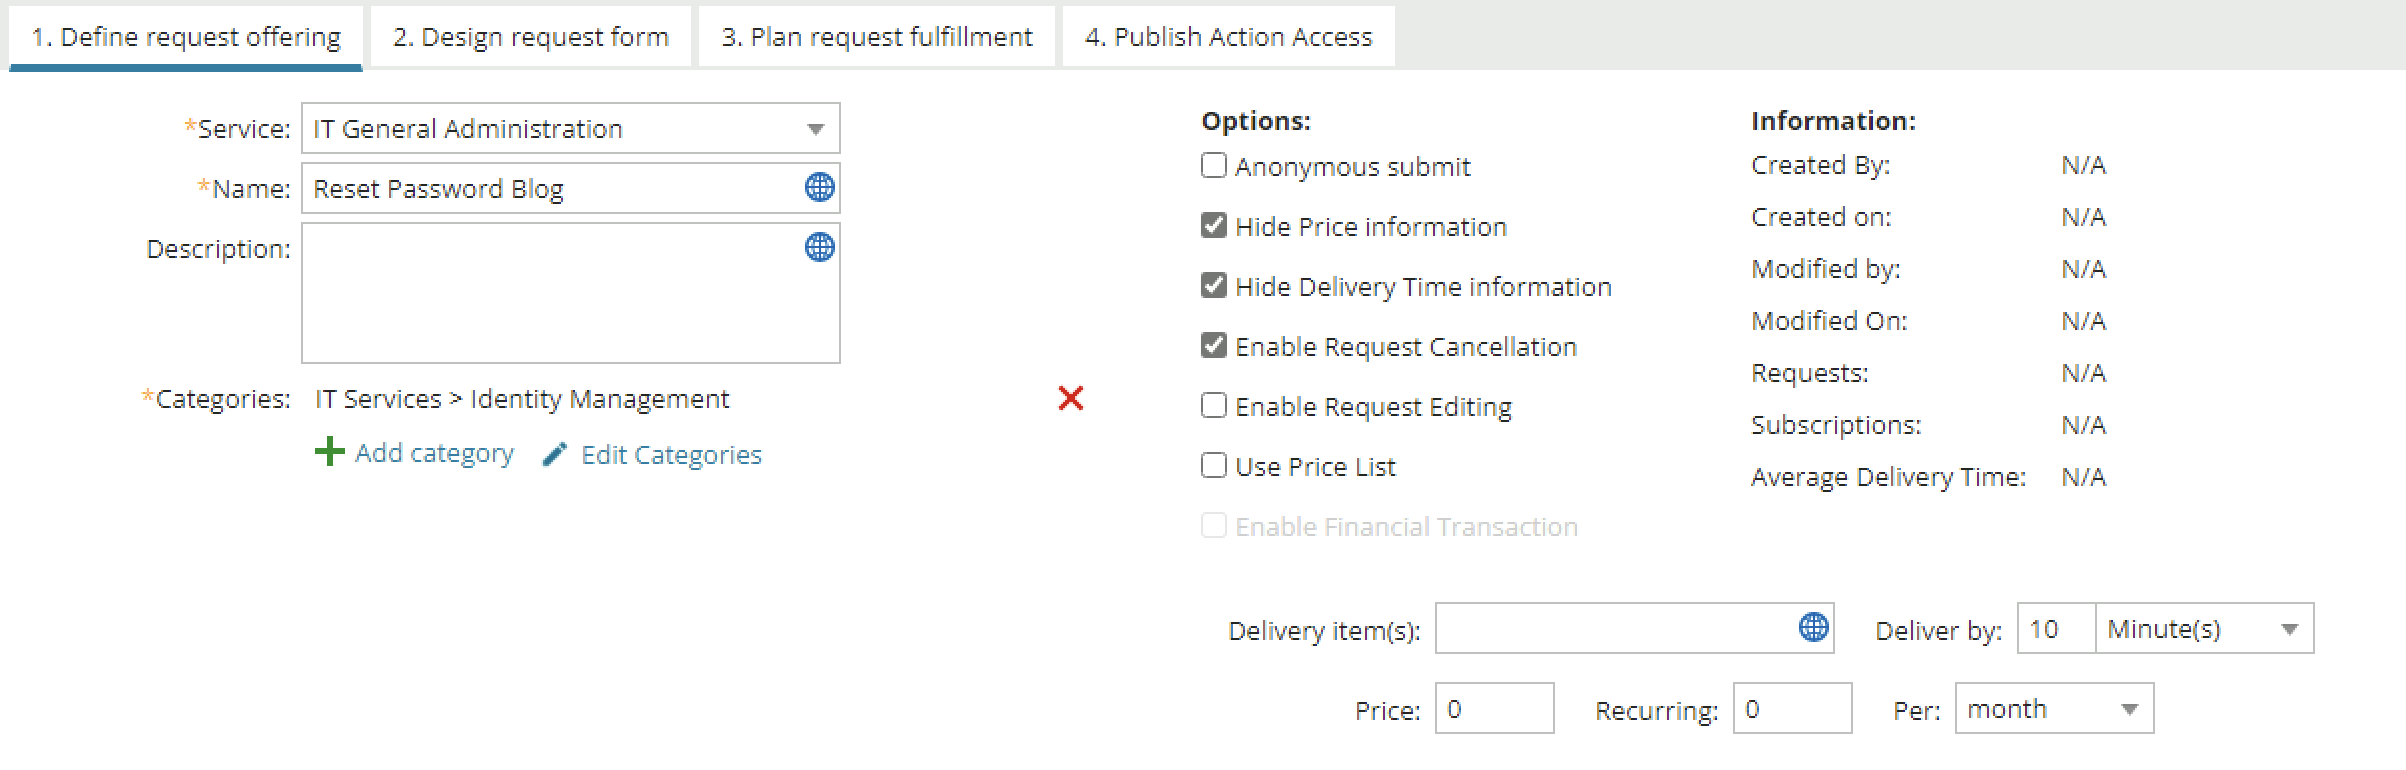
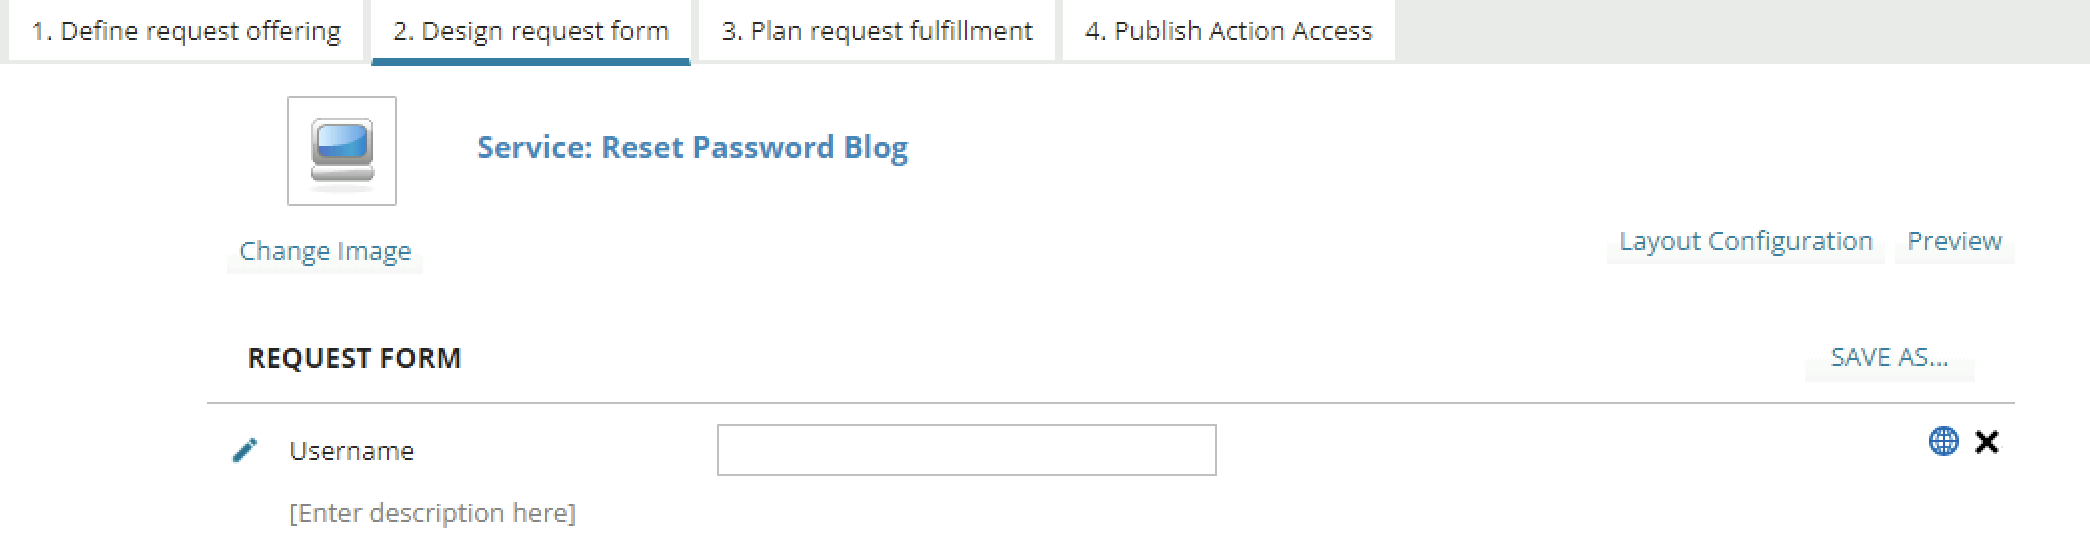

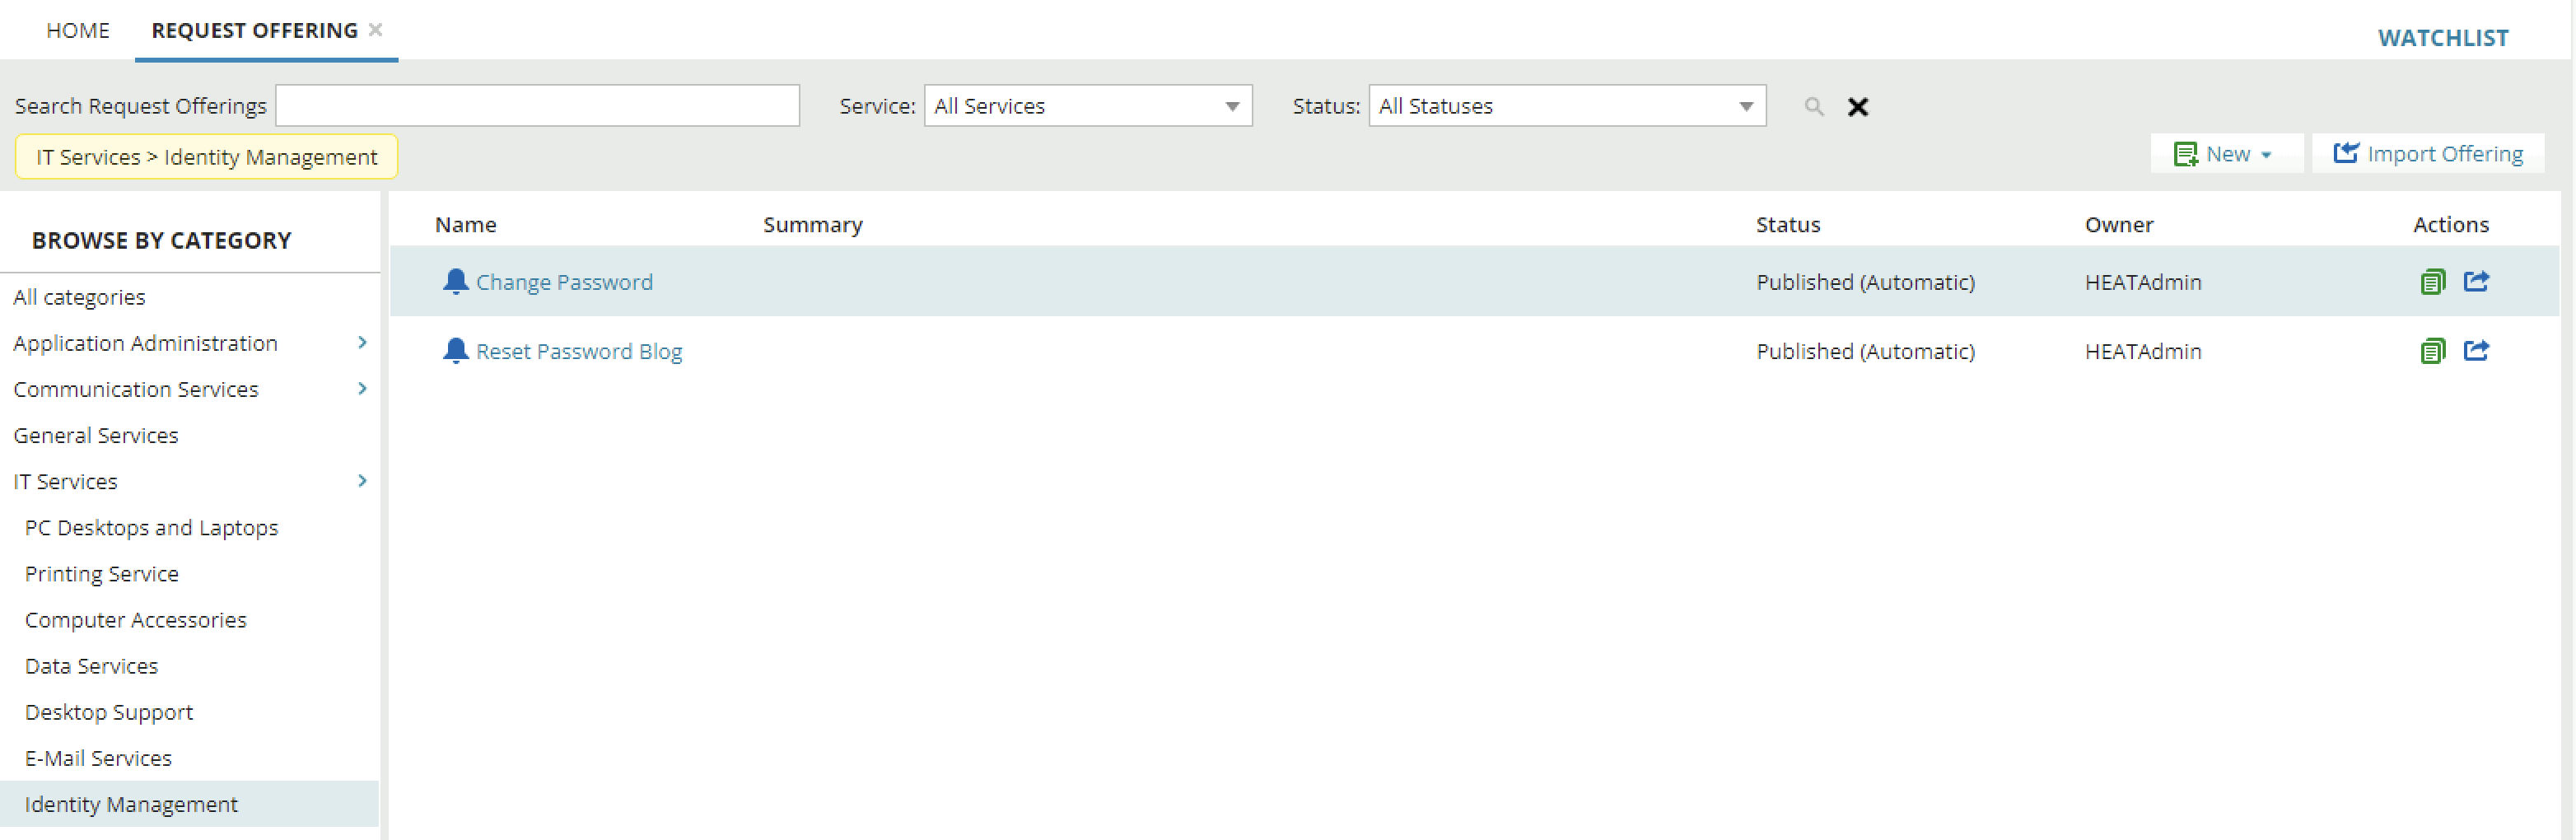
The new Request Offering has been created and is available in the Service Request.
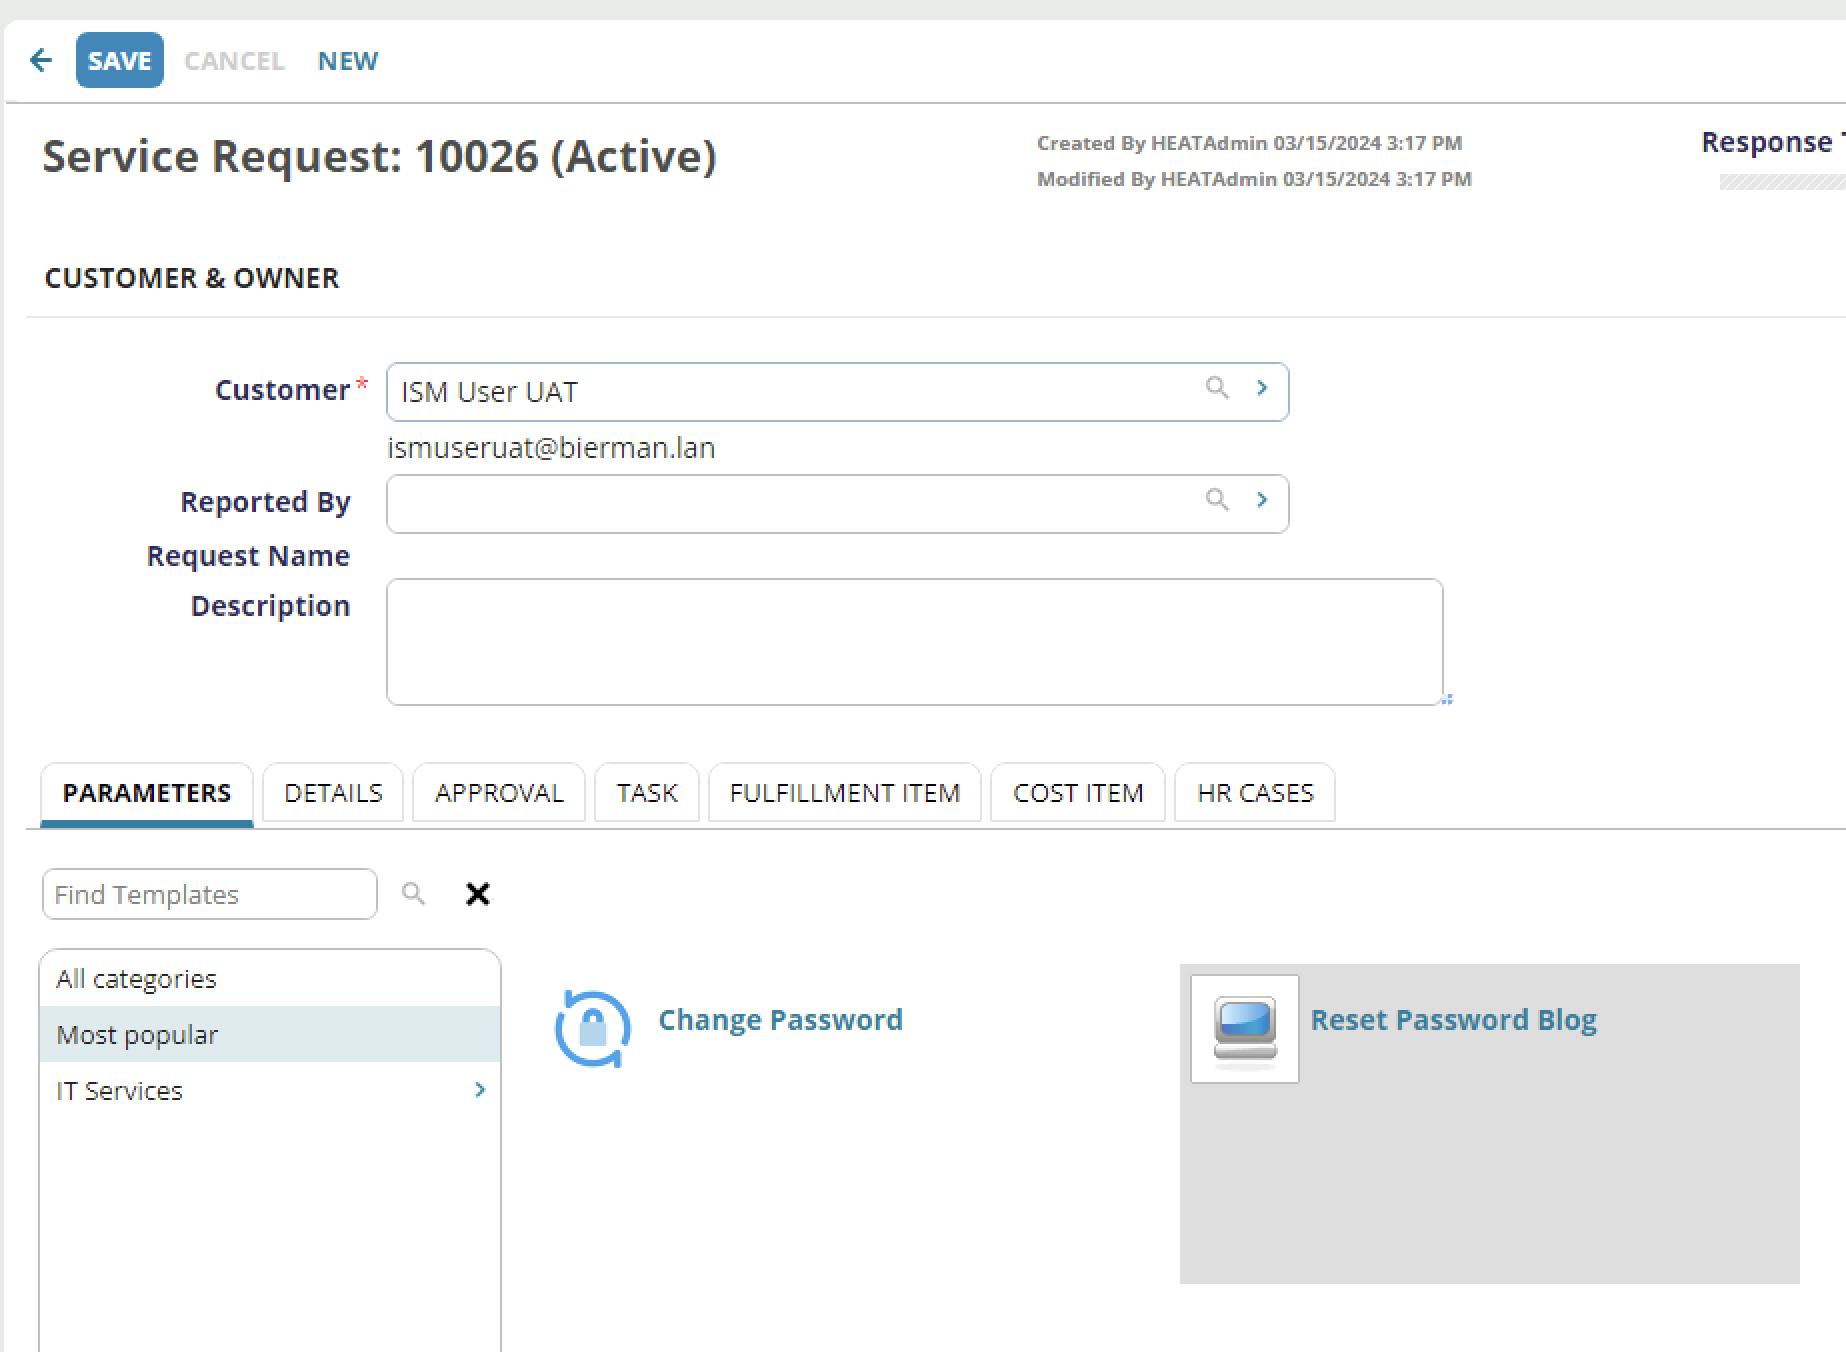
Let’s test by creating a Service Request.
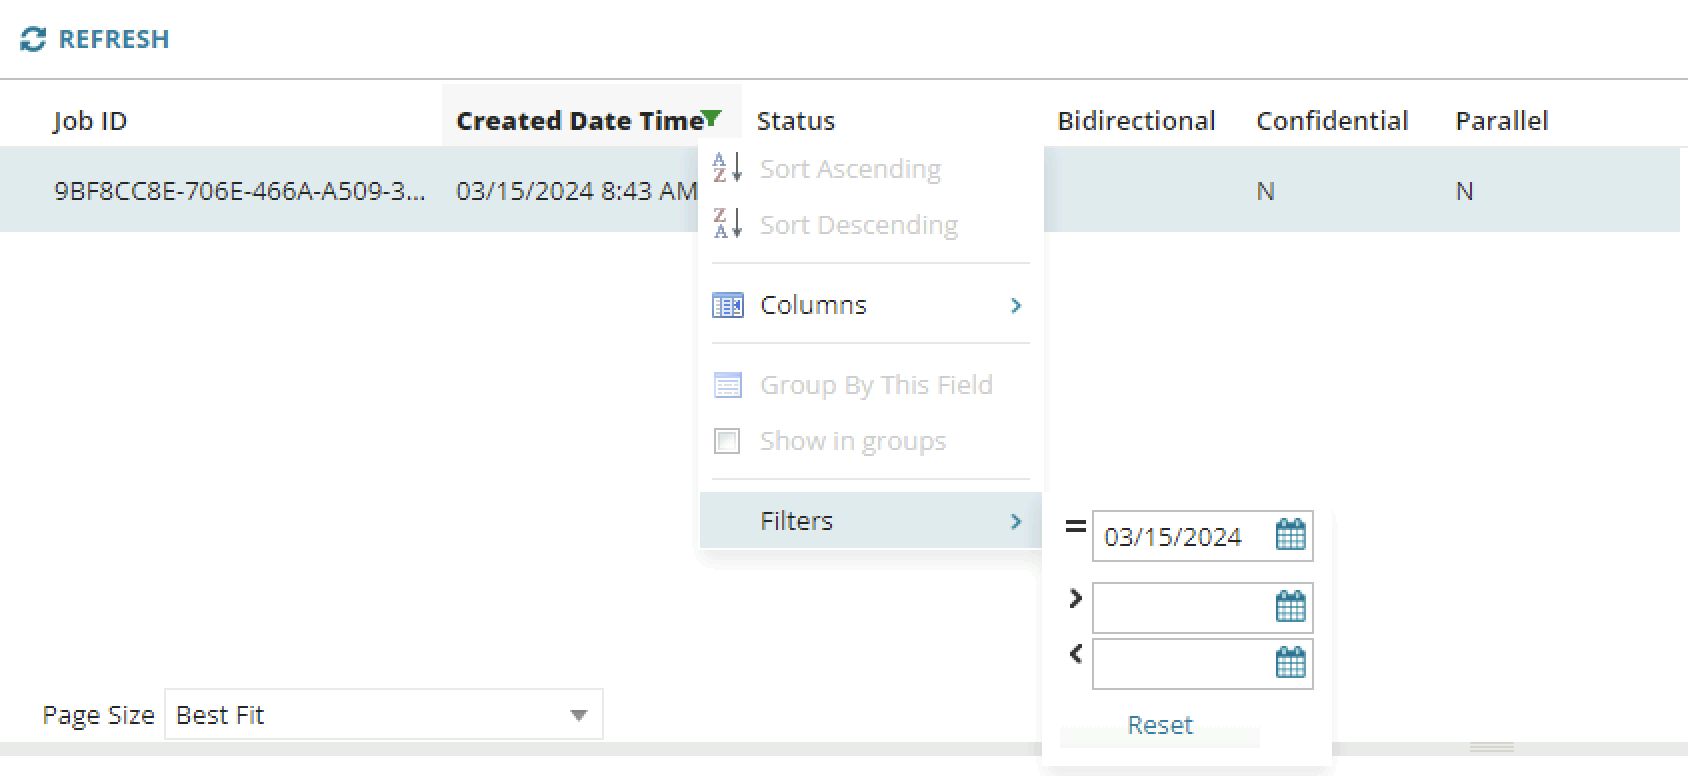
For test purposes I always open the Ivanti Automation Transactions and filter on today.
Enter the username I use for testing (ISM User STG).
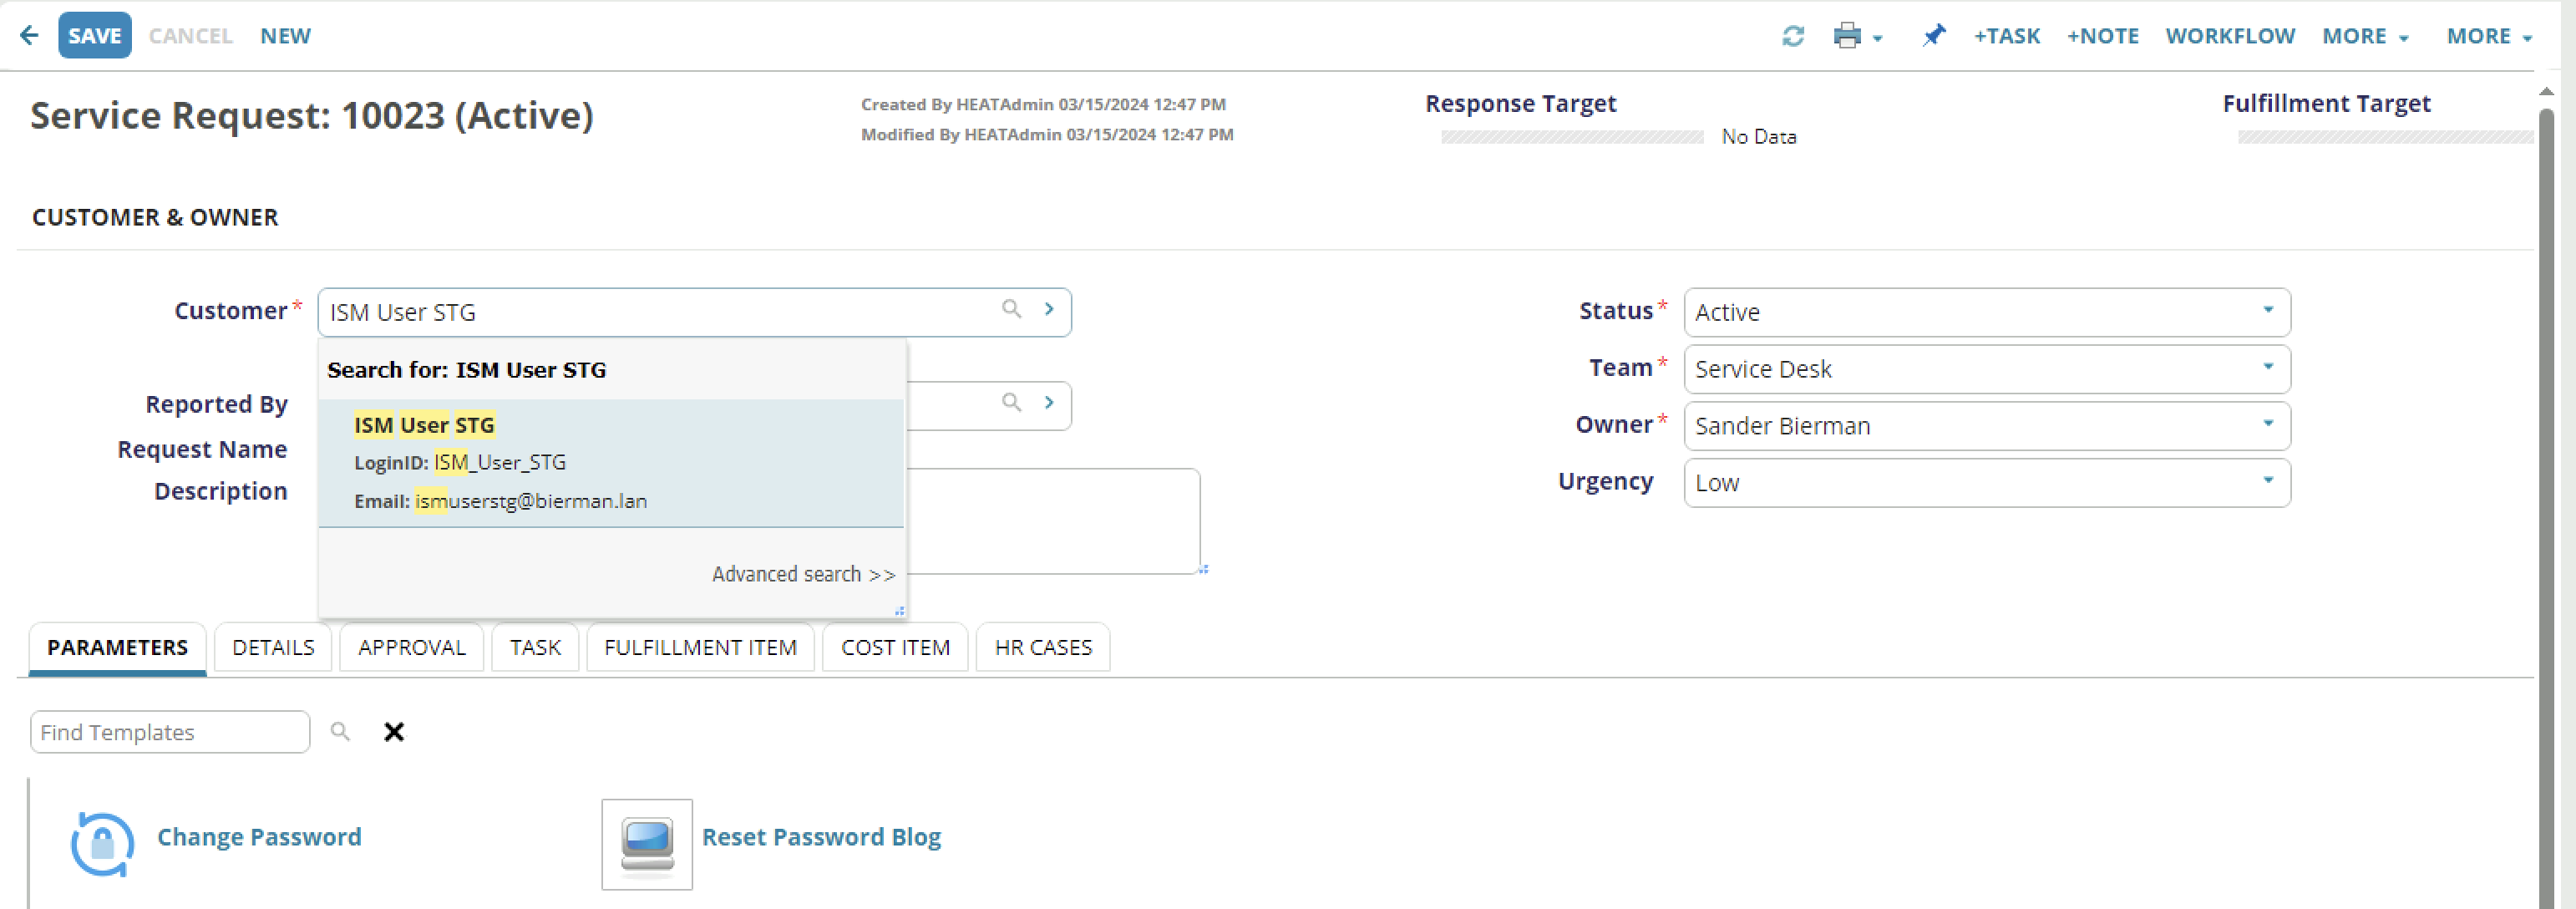
Select the Reset Password Blog.
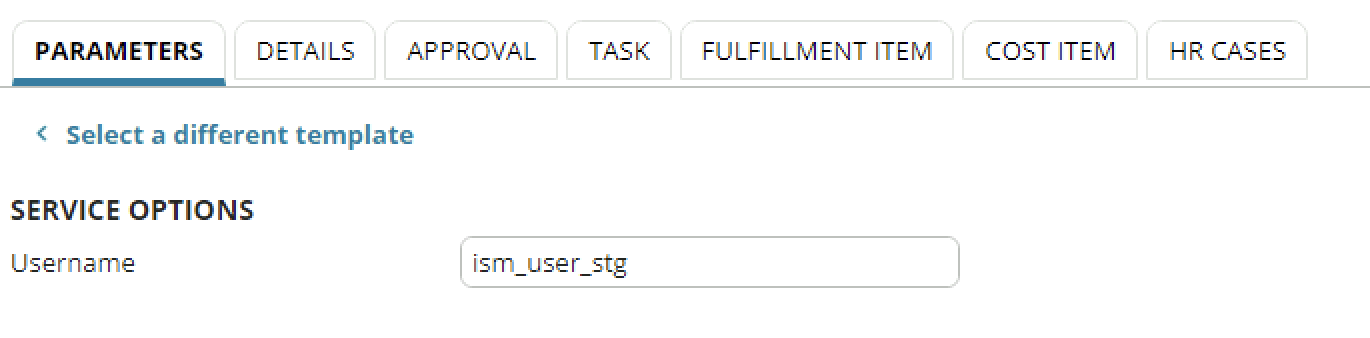
In this example, we enter the Username. But, of course, there are multiple ways to automate this.
Save the new Service Request.
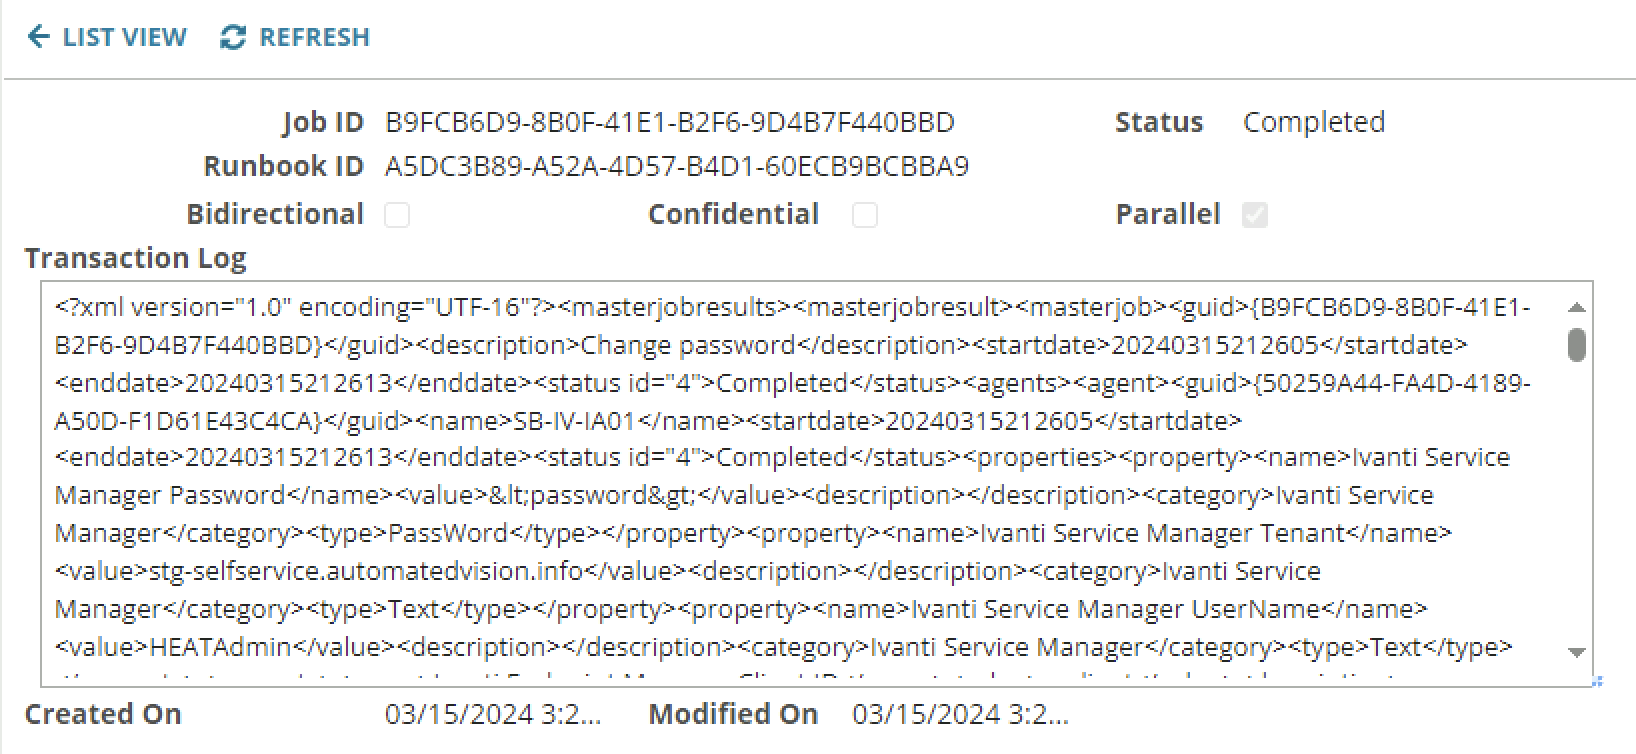
You can follow the process in the Ivanti Automation jobs. Ivanti Neurons for ITSM sends an API command to Ivanti Automation to start the Runbook.
Ivanti Automation puts the Runbook in Scheduling. When the Agent picks up the job, it’s moved to Activity. When the job is finished, it moves to Job History.

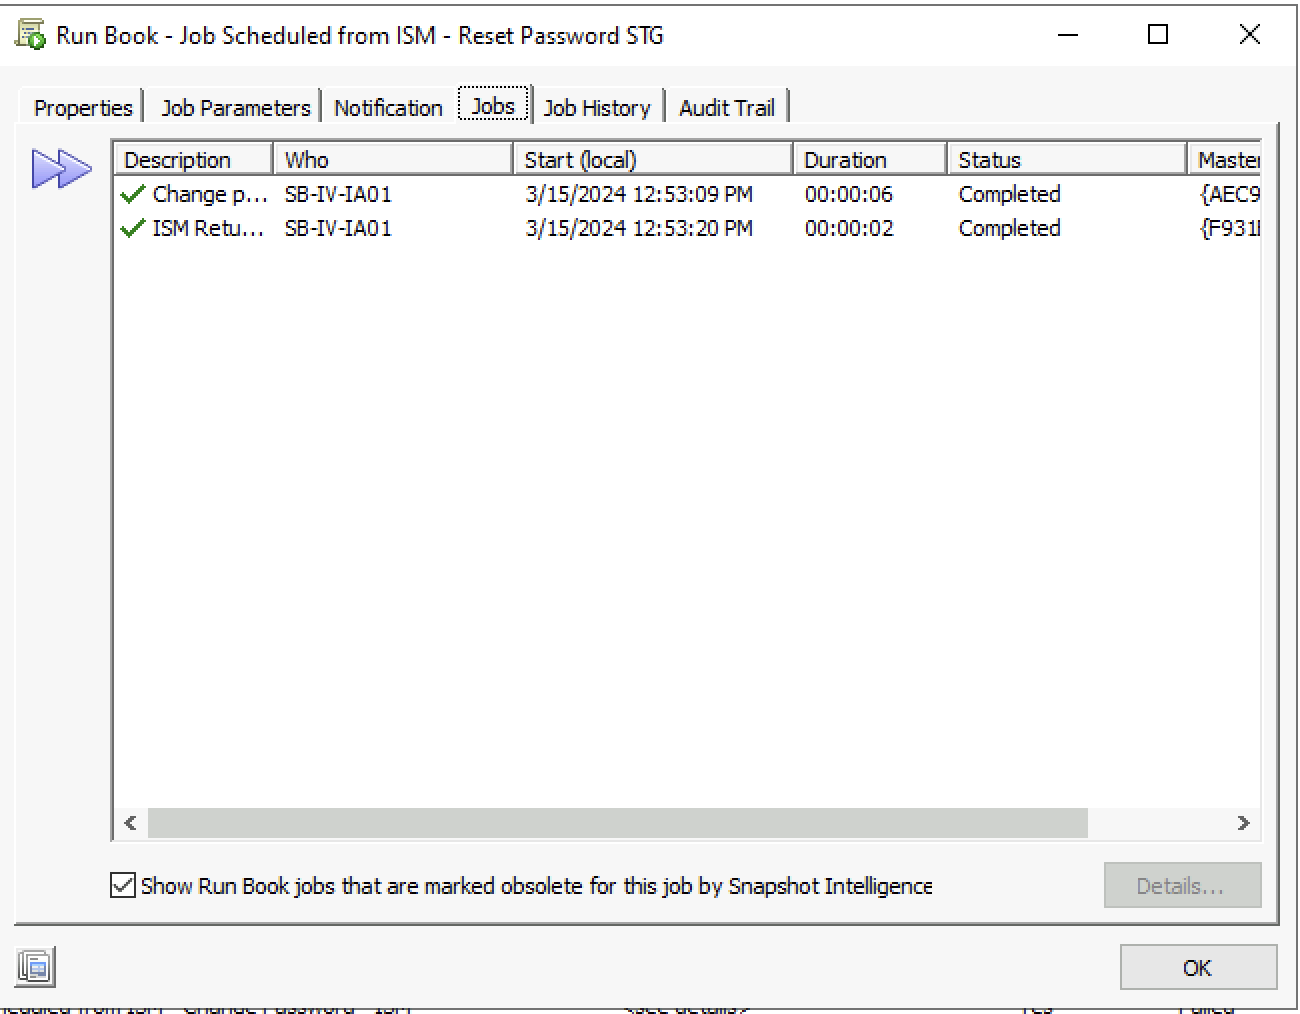
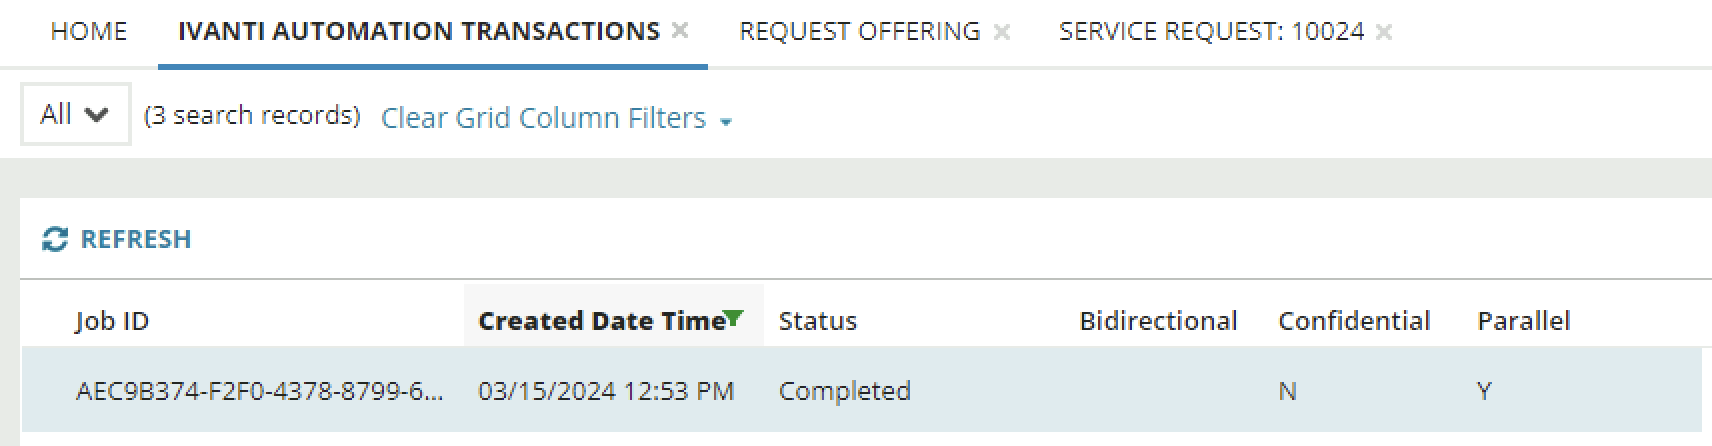
The status is also completed in the Ivanti Automation Transactions. This is because the new connector sends the p_status value (Completed or Failed) back to Ivanti Neurons for ITSM.
When the Staging environment is working, we can migrate the STG environment to UAT. This is executed through the Operations Console. The migration is not discussed in this blog.
After a successful migration, the Request Offering will be added to the UAT tenant.
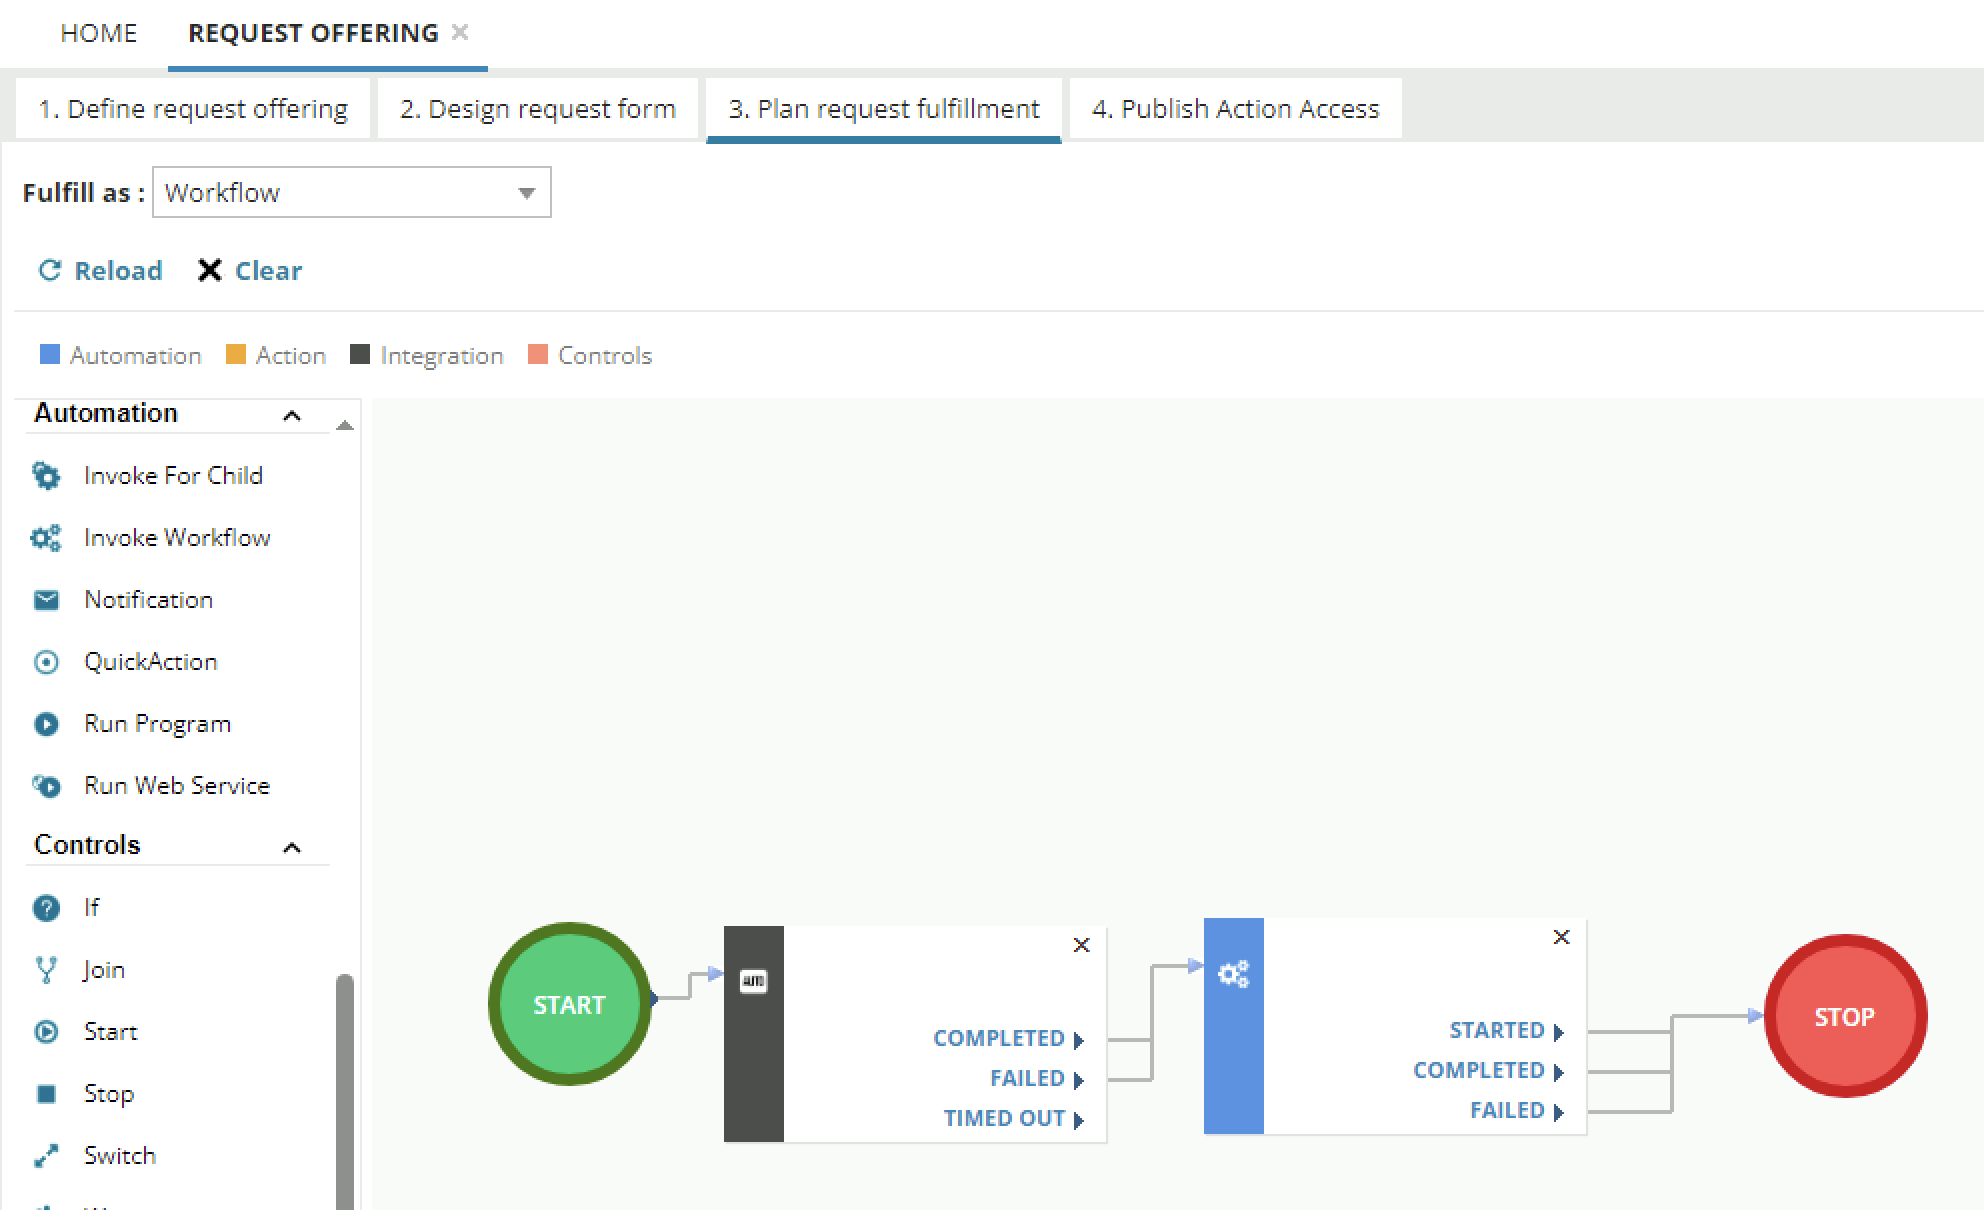
The next step is to change the Ivanti Automation workflow. Open the Request Offering and move to the tab Plan request fulfillment. Double-click the Automation workflow action.
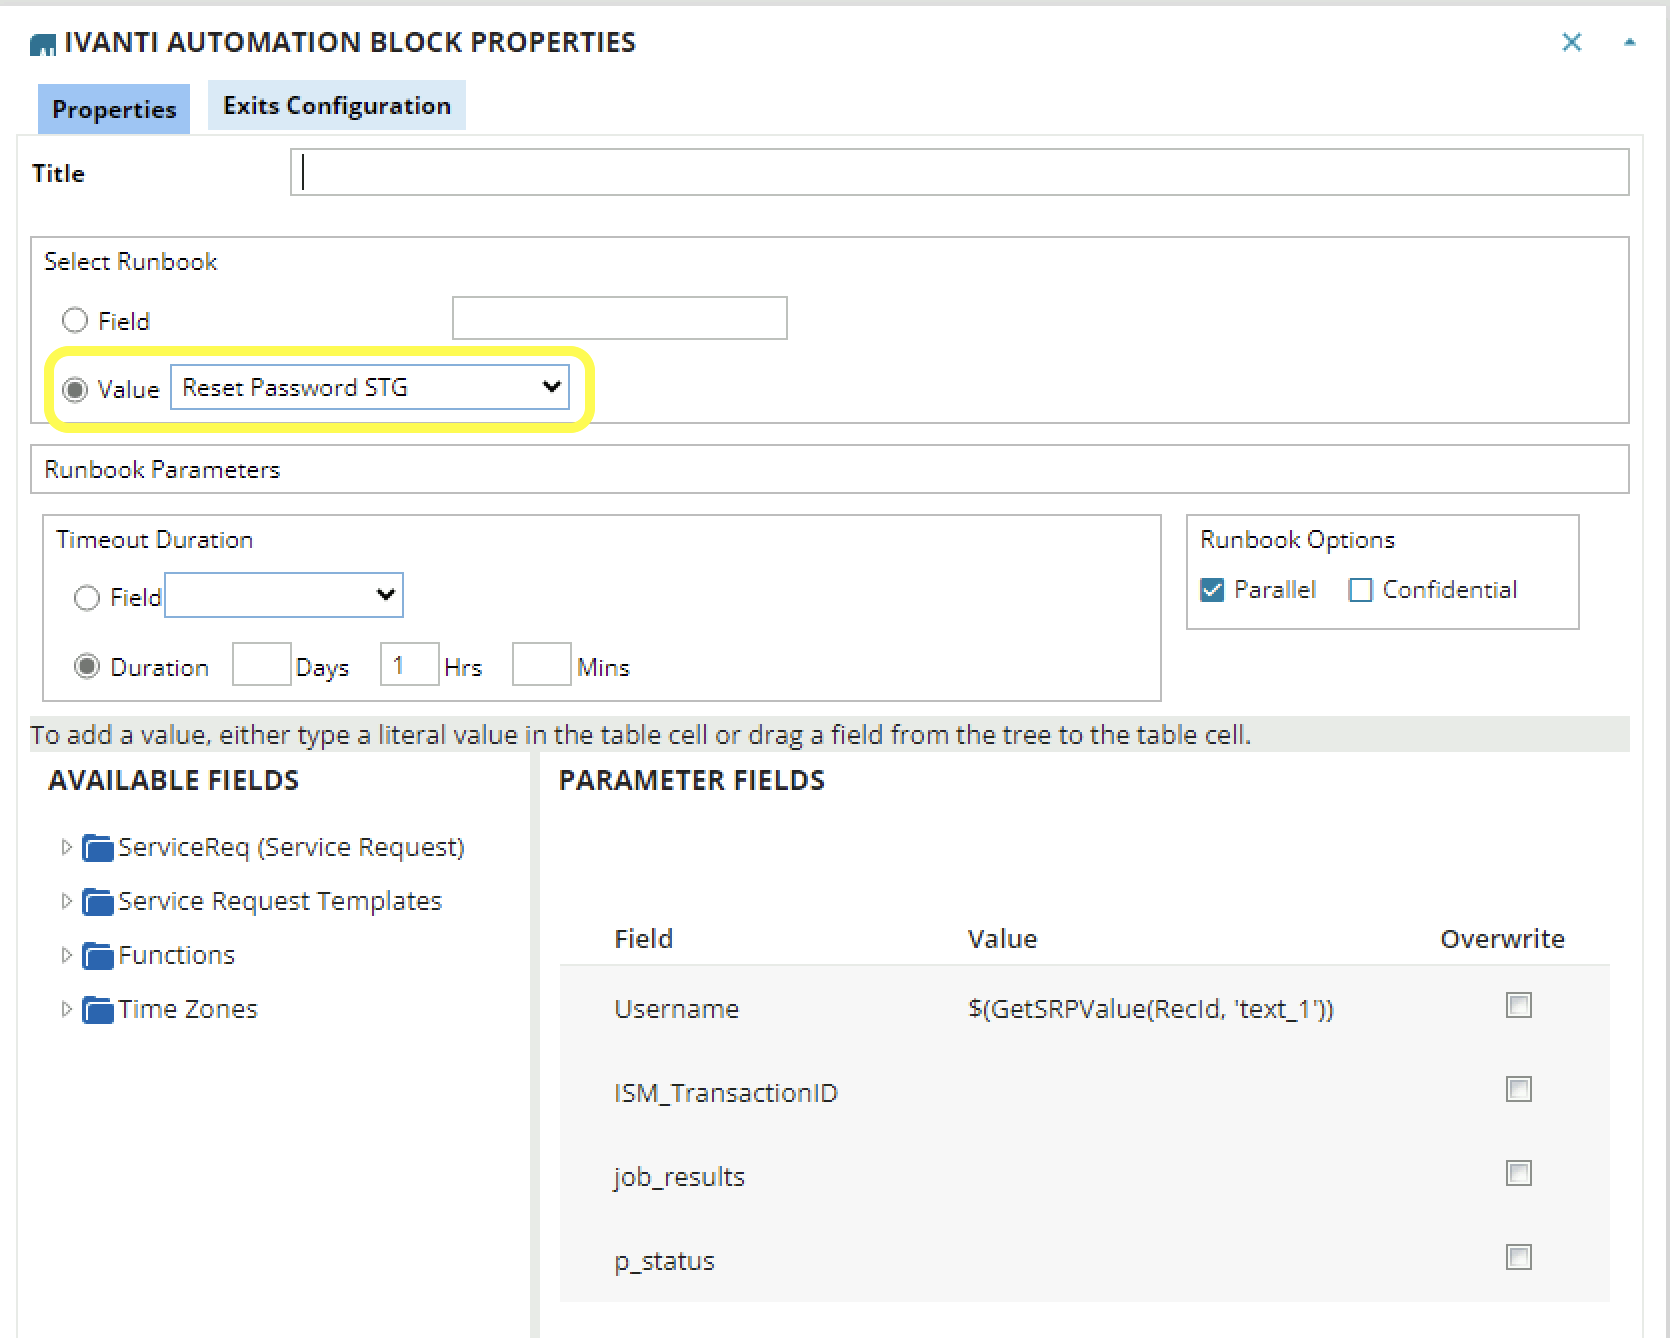
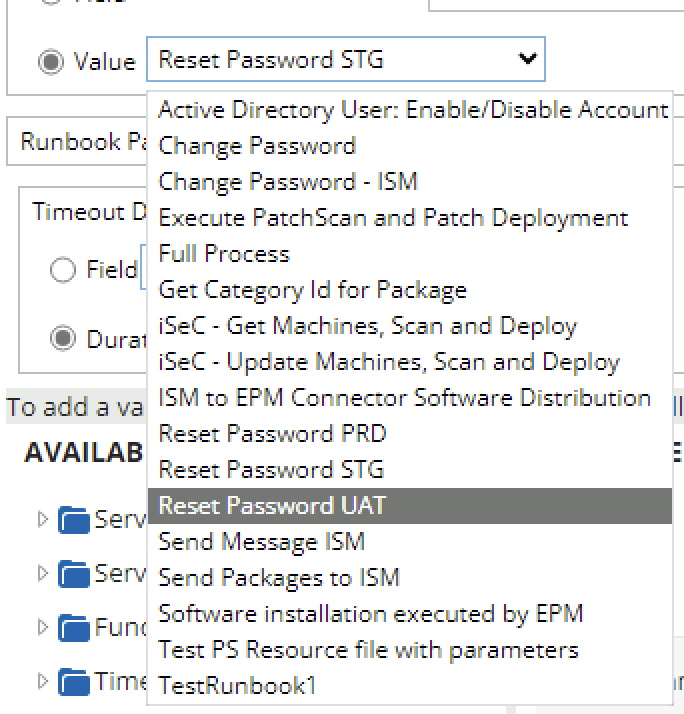
Change the Runbook to Change Password UAT.
NOTE: Don’t forget to execute the steps when migrating to the Production tenant!
The next step is testing the Request Offering with the ISM User UAT user.
Automation job in progress

And successfully finished.

Ivanti Neurons for ITSM Automation Transactions overview shows Completed status.

Active Directory Account options are changed as required in the Ivanti Automation Module.
Hopefully, this blog will help you integrate one Ivanti Automation environment with a multi-tenant Ivanti Neurons for ITSM environment.
Please contact me if you have any questions or find a bug. Again, the connector is not supported by Ivanti Support.
Download “Ivanti Neurons for ITSM Utility Connector” Ivanti.Neurons.for_.ITSM_.Update.Record.Connector.3.0.0-2.nupkg – Downloaded 4900 times – 82.00 KB Download “Ivanti Marketplace Solution Installer” Ivanti-Marketplace-Solution-Installer.zip – Downloaded 5636 times – 2.20 MB Download “Ivanti Neurons for ITSM Global Variables” Ivanti-Neurons-for-ITSM-Global-Variables.csv – Downloaded 4545 times – 874.00 B
Hmmm, there seems to be something wrong with the downloads for the connector and the csv …
I fixed the issue. Please check if you can download the files.
Sorry for taking such a long time to get back to you, downloads are indeed fixed. Thanks!