About Identity Broker
The Ivanti Identity Broker is a web application that acts as a “broker” for authentication between Ivanti Automation, Ivanti Identity Director Web Portal and Management Portal, and their own Identity Provider: it can process authentication requests by means of external authentication endpoints.
Identity Consumer
An Identity Consumer is a web application (for example a Management Portal or User Portal) for which the Identity Broker handles authentication. Consumers redirected to the Identity Broker using the HTTPS protocol.
To secure communication, a Consumer identifies itself to the Identity Broker by providing an ID and shared secret. A shared secret, such as a password or a private key, is a piece of data known only to the entities involved.
Identity Providers
An Identity Provider is an endpoint that the Identity Broker uses to authenticate a user. Supported Providers are:
- Identity Broker Windows Authentication Provider (part of the Identity Broker installer, also available as a separate installer)
- ADFS (Active Directory Federation Service), using your own ADFS endpoint.
- Azure AD Provider, using your Azure Active Directory
- OKTA, using your own OKTA Identity solution
- Active Directory, using your own internal Active Directory
This document describes the installation, configuration of Ivanti Identity Broker with ADFS. But what is ADFS?
Identity Broker Authentication sequence
When Identity Broker is used to authenticate users, the following authentication sequence is followed:
- A user browses to an Ivanti Automation or Identity Director Portal or Management Portal that is configured as an Identity Consumer.
- The portal (the Identity Consumer) redirects to browser to the Identity Broker for authentication.
- The Identity Broker redirects the browser to the Identity Provider. In this document to the ADFS Service.
- The Identity Provider (ADFS Service) authenticates the user, issues an Authentication Token, and redirects the browser back to the Identity Broker.
- Based on the Authentication Token issued by the Identity Provider, the Identity Broker issues a unified Identity Token and redirects the browser back to the portal.
- Once the portal validates the Identity Token, the requested resource (i.e. a page on the Portal) is returned to the browser.
What is ADFS?
Active Directory Federation Services (ADFS) is a Single Sign-On (SSO) solution created by Microsoft. As a component of Windows Operating systems, it provides uses with authenticated access to (web) applications that are not capable of using Integrated Windows Authentication (IWA) through Active Directory (AD).
How does ADFS work?
ADFS manages authentication through a proxy service hosted between AD and the target application. It uses a Federated Trust, linking ADFS and the target application to grant access to users. This enables users to log onto the federated application through SSO without needing to authenticate their identity on application directly.
The ADFS authentication process generally follows these four steps:
- The user navigates to a URL provided by the ADFS Service.
- The ADFS service then authenticates the user via the organization’s AD service.
- Upon authenticating, the ADFS service then provides the user with an authentication claim.
- The user’s browser then forwards this claim to the target application, which either grants or denies access based on the Federated Trust service created.
Prerequisites before configuring ADFS
Create a certificate for ADFS
Go to Start – Run and enter mmc followed by <enter>.
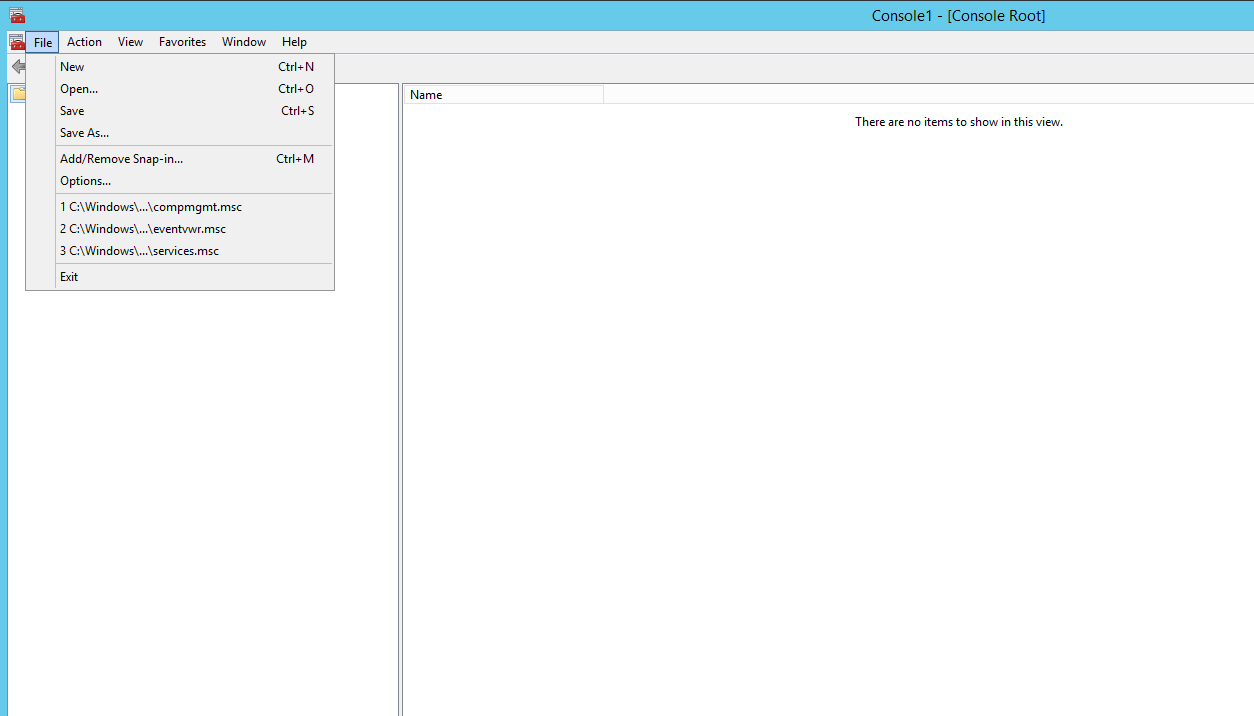
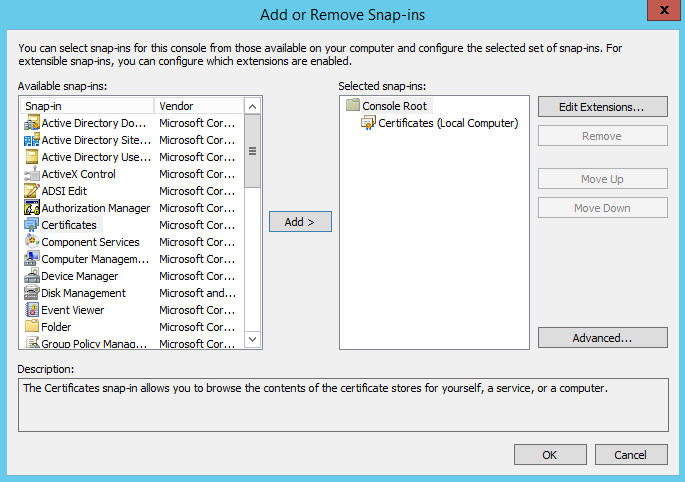
Go to File – Add/Remove Snap-in..
Search in the left list for Certificates and add this to the Selected Snap-ins.
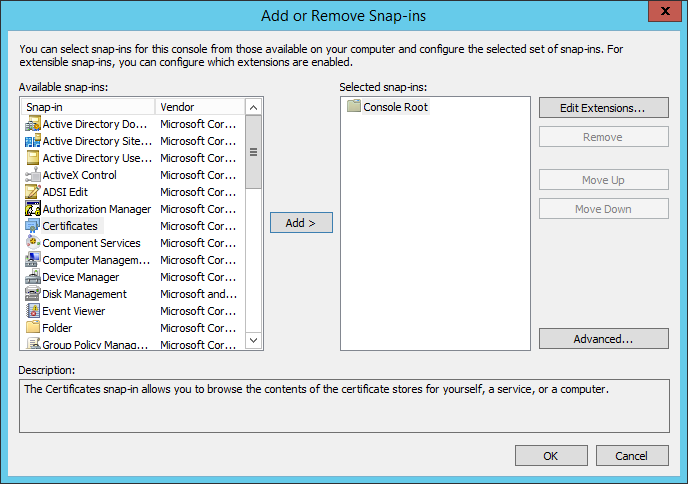
After selecting the Certificates Snap-in select Computer Account. And click Next to continue.

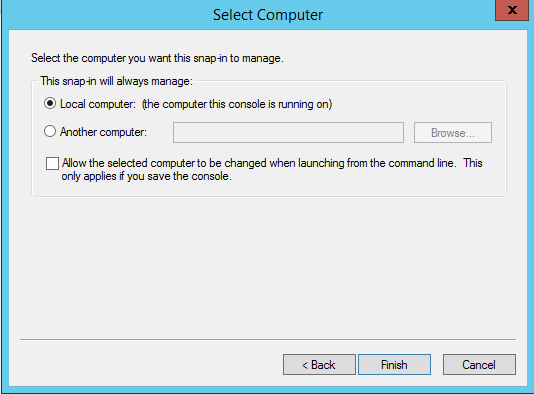
Select the option Local Computer in the next screen and Finish to continue.
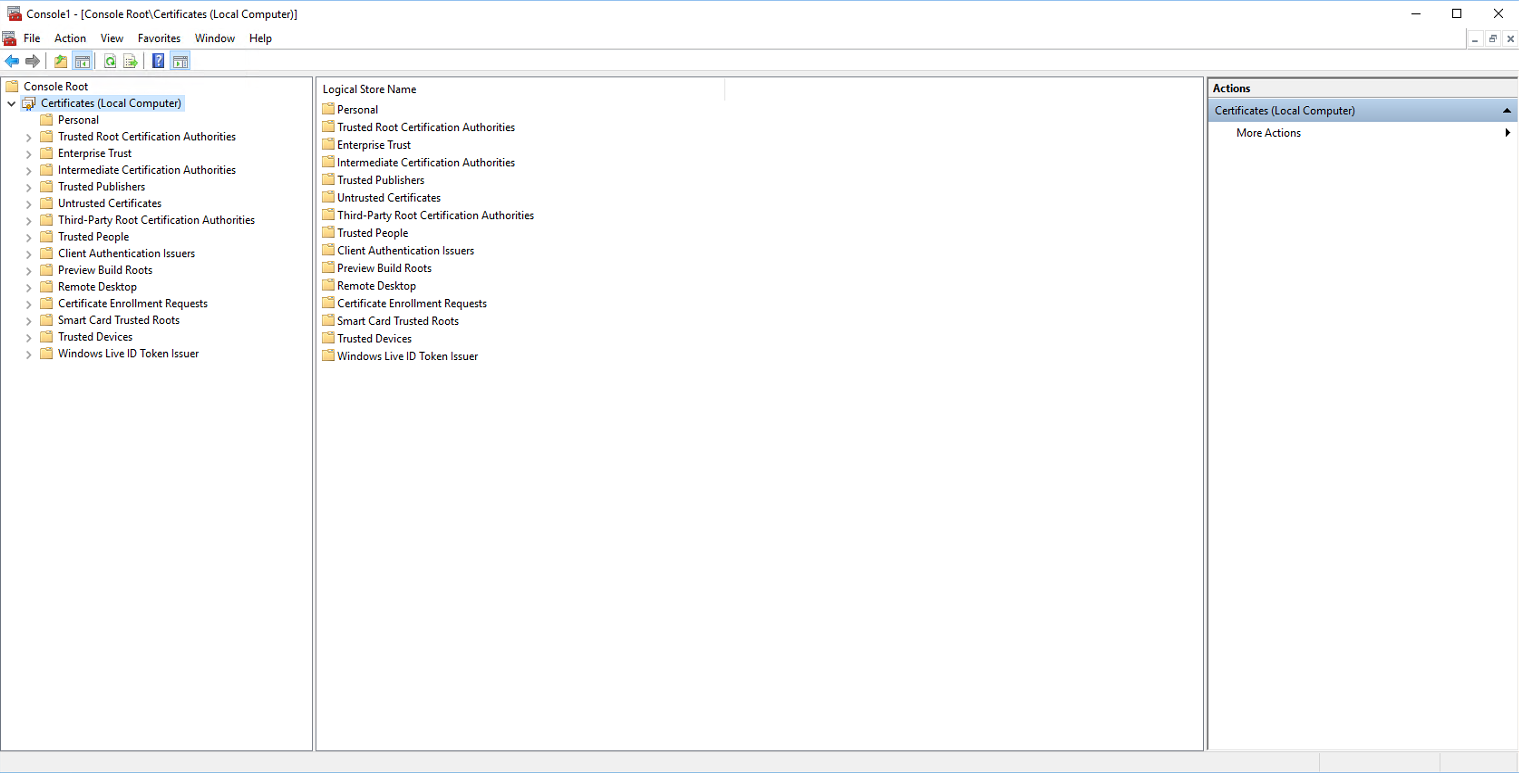
Click OK to add the Certificates Snap-in.
After clicking OK the below screenshot is shown.
Right mouse click on the Personal folder and select All Tasks – Request New Ceritficate.
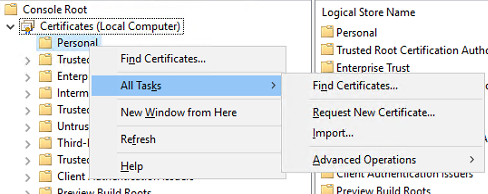
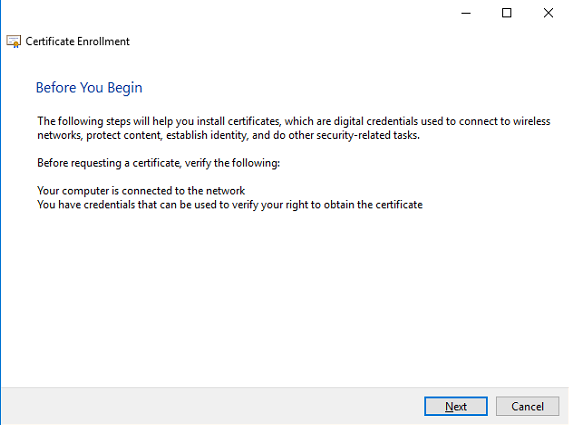
Next step is Certificate Enrollment.
Select Next in the Before you begin screen to continue.
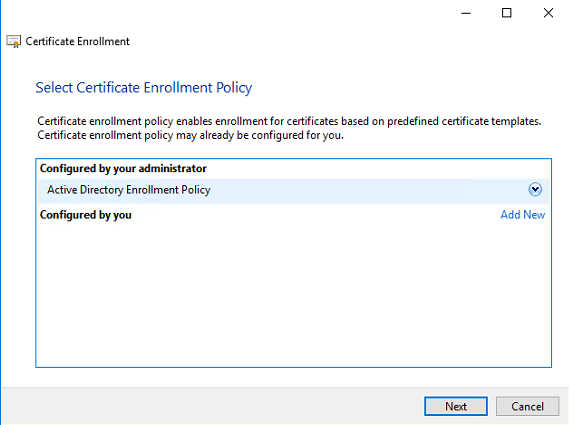
When the Certificate Authority is part of the Active Directory select the Active Directory Enrollment Policy. Click Next to continue.
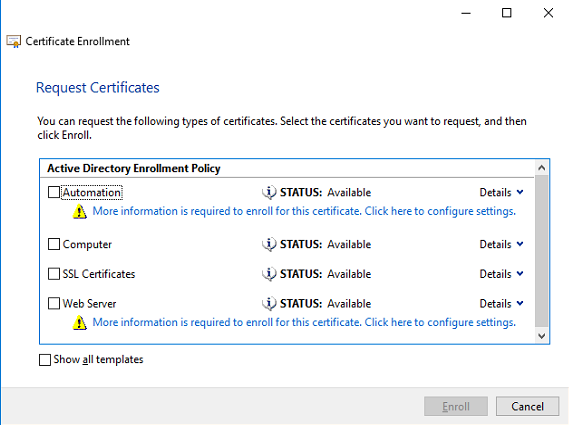
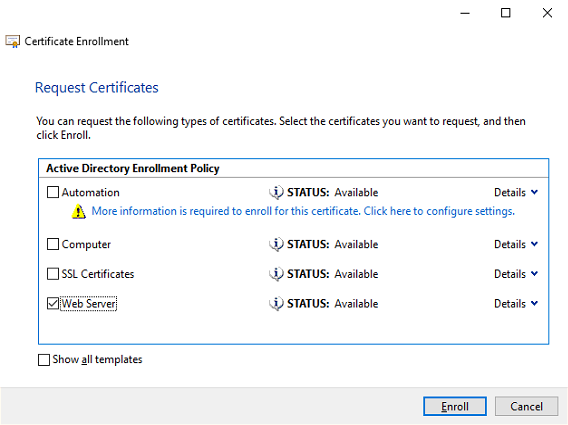
In the next screen the available templates are shown. When the Webserver isn’t available in this list check the next chapter how to make the Webserver template available.
Select the link below the Webserver template – More information is required to enroll this certificate. Click here to configure settings.
In the Subject Name option select the Type – Common Name from the list.
Add the FQDN of the ADFS server in the value field (for example: adfs.ivanti.net) and click on Add to move it to the right.

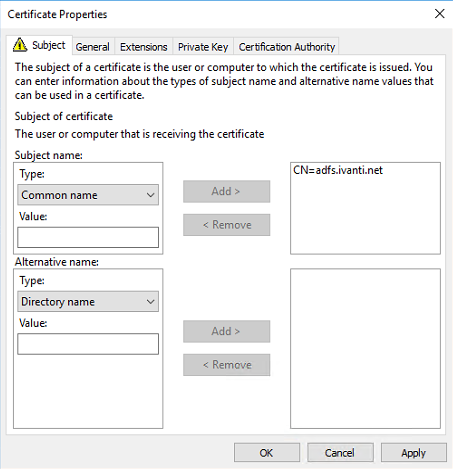
Because ADFS needs some more Subject Alternative Names we need to add those in the Alternative name.
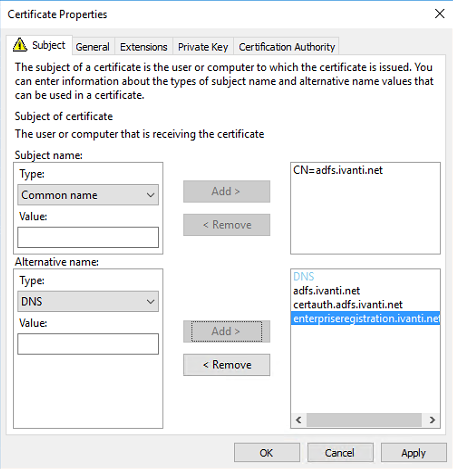
We need to add the following FQDN’s to the Alternative list. Change ivanti.net with your own hostname.
adfs.ivanti.net
certauth.adfs.ivanti.net
enterpriseregistration.ivanti.net
Select DNS from the Type from the drop down list and enter the first FQDN. Repeat this for the two other FQDN’s. When finished the Certificate Properties look like the screenshot below.
Click on OK to continue.
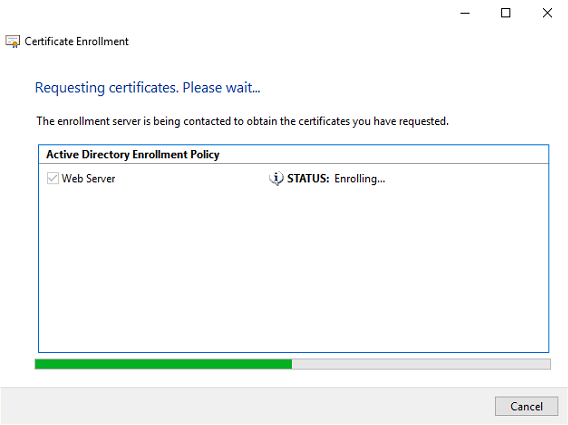
Select the Web Server template and click on Enroll to continue.
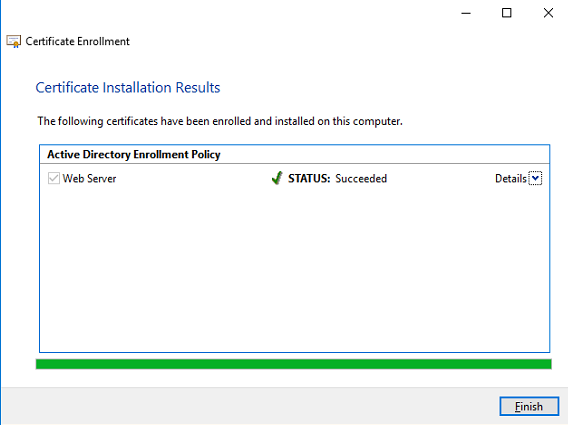
The certificate is now enrolled. When the status is succeeded click on Finish to continue.
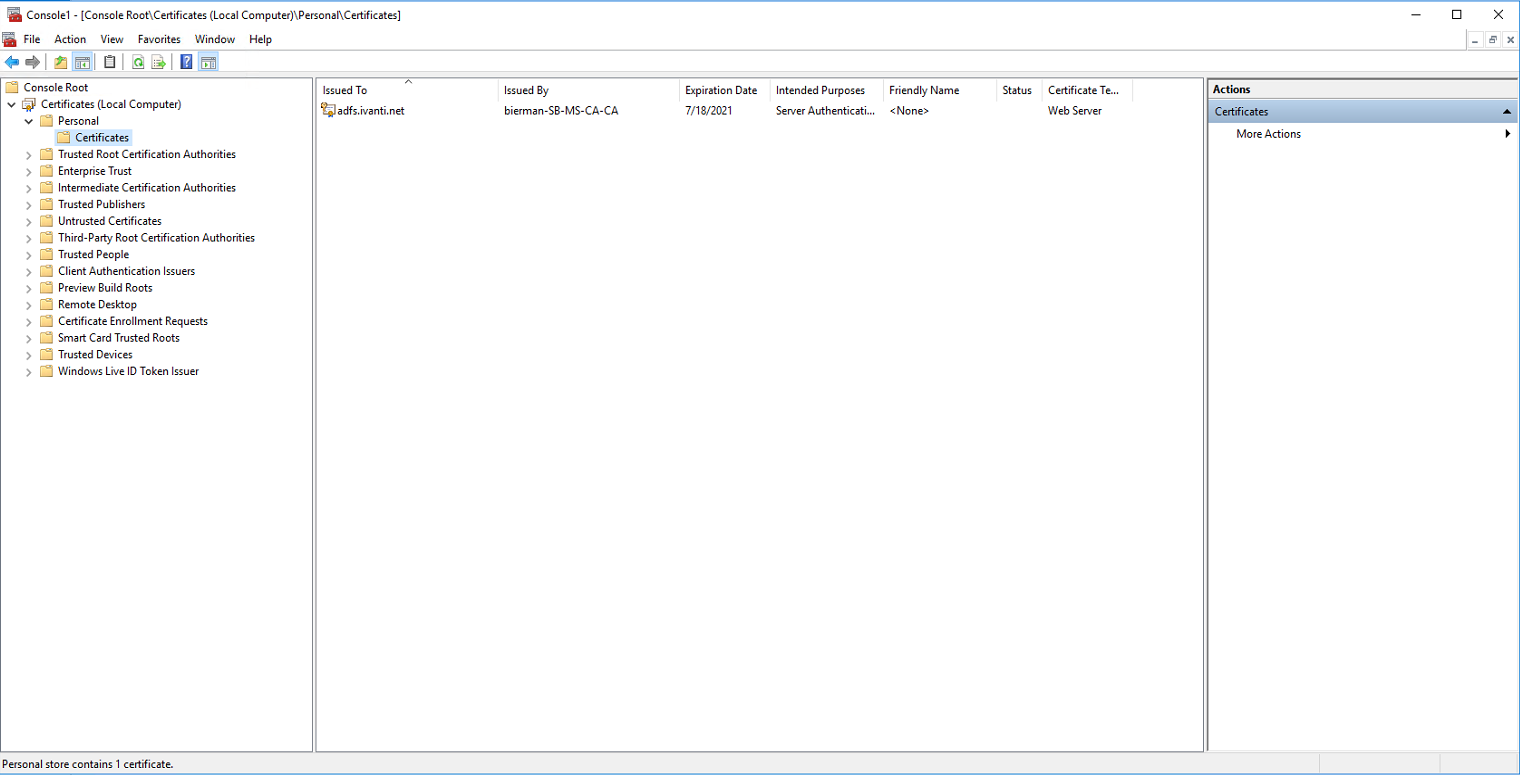
Go to Personal – Certificates (folder is added after the certificate enrollment) and check if the certificate is available.
After enrolling the new certificate for ADFS the certificate will be available in the drop-down list when configuring ADFS. This is described in the Configuration chapter.
Add FQDN’s to the DNS
After creating the certificate with the Subject Alternative Names, the FQDN’s needs to be added to the local DNS.
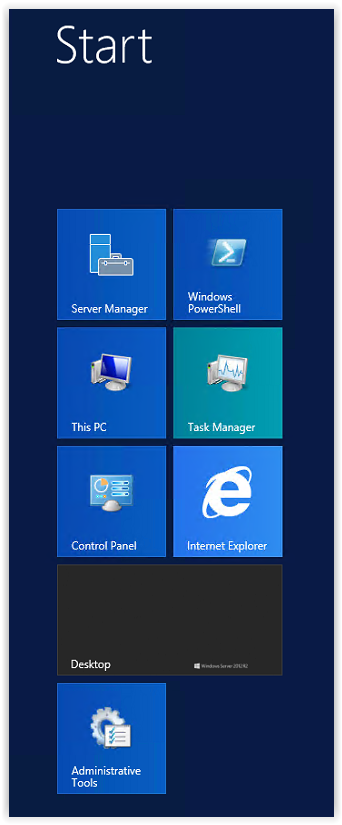
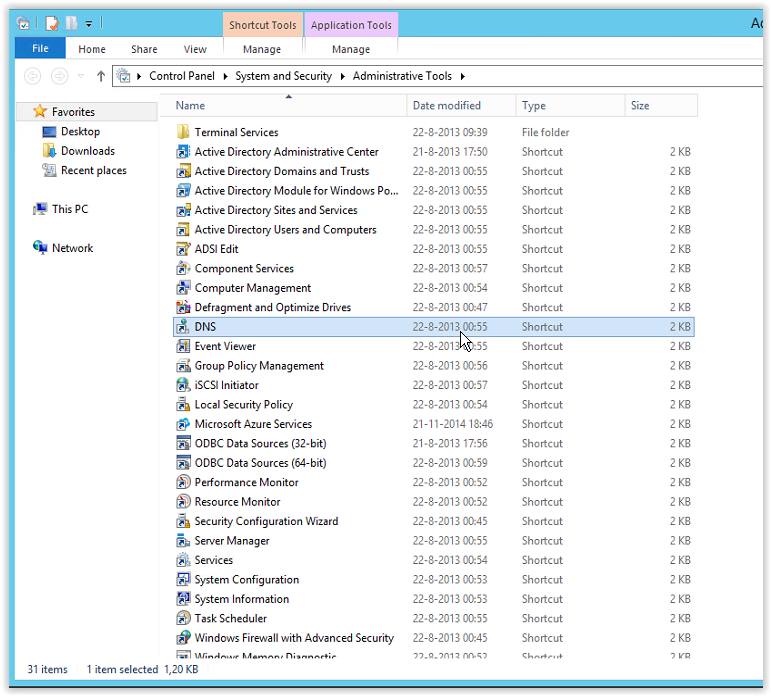
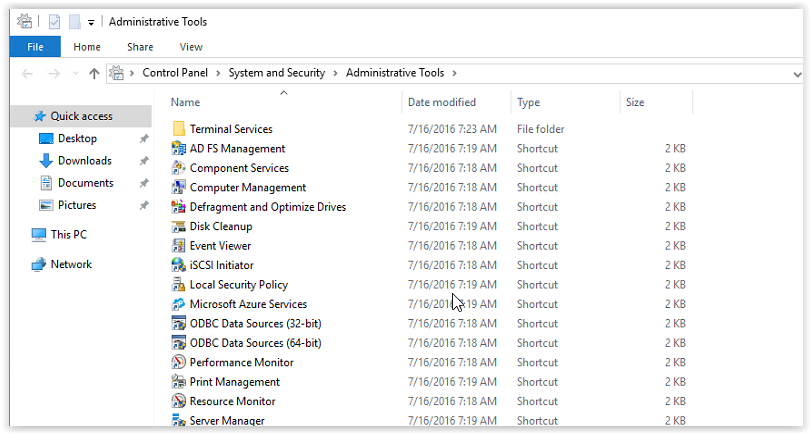
Normally the DNS is installed on a Domain Controller. Go to a Domain Controller and start DNS from the Administrative Tools list.
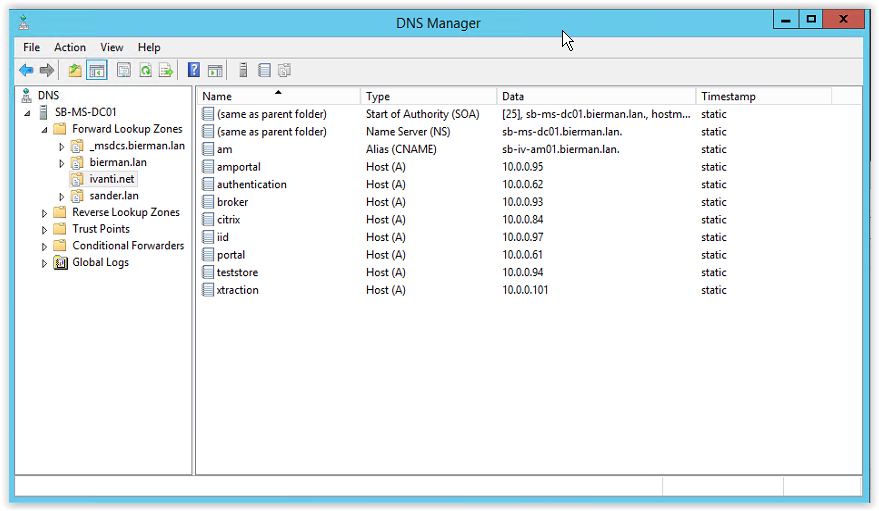
If there isn’t a Forward Lookup Zone available for Ivanti.net we need to create this. This document describes how to create a new Forward Lookup Zone. Because the host name is already created as Forward Lookup Zone I used as example Ivanti-test.net when creating the new Forward Lookup Zone.
When executing this action please use Ivanti.net as we created in the certificate.
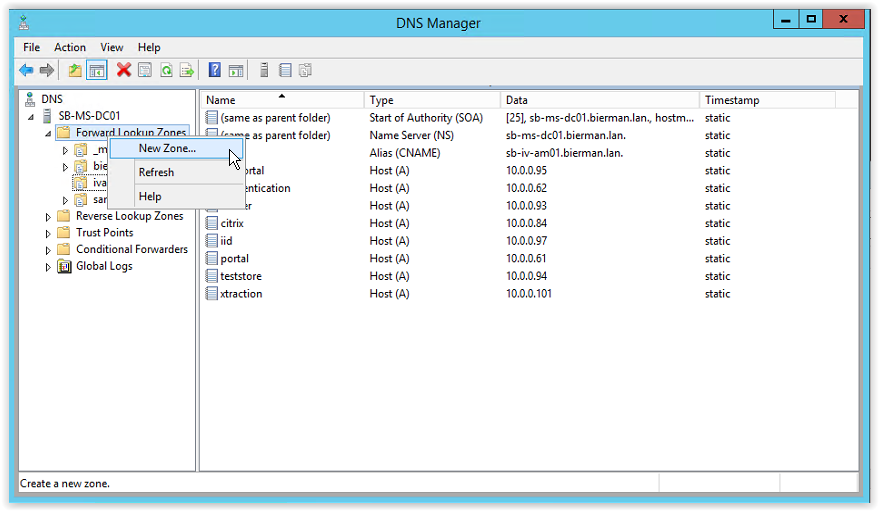
Right mouse click Forward Lookup Zone and select New Zone.
Click Next to continue.

Select the option Primary Zone and Store the zone in Active Directory. And click Next to continue.
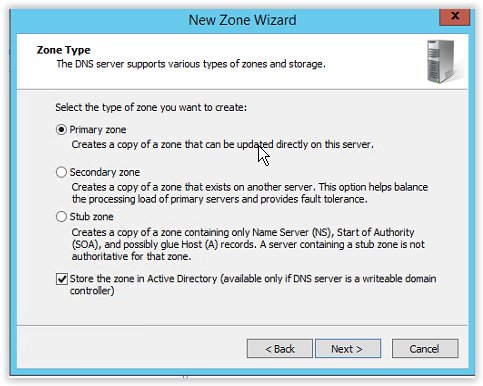
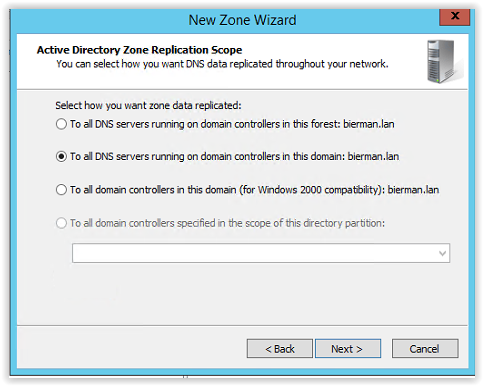
Because this is probably a single domain in a single forest select the option:
To all DNS servers running on domain controllers in this domain: <name local domain>
And click Next to continue.
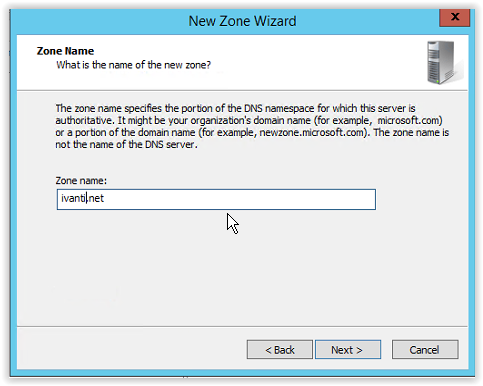
Enter the Zone name. In this example I entered Ivanti-test.net. For this document enter Ivanti.net.
Click Next to continue.
-test
Select the option Allow only secure dynamic updates and click Next to continue.
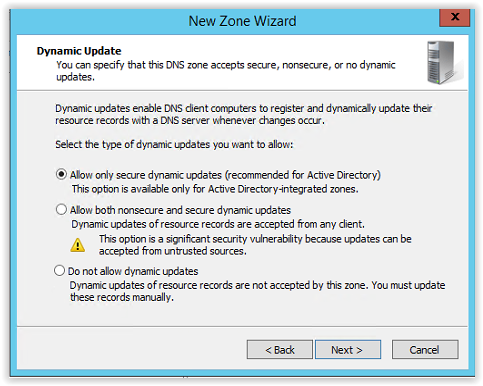
Click Finish to continue and create the new zone.
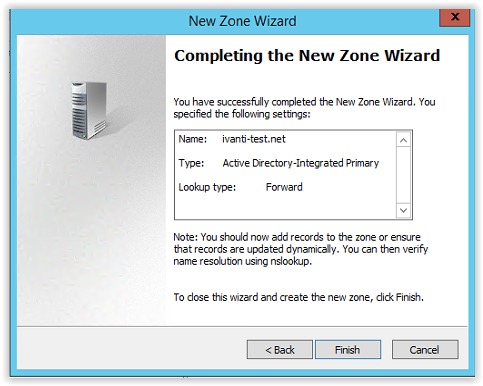
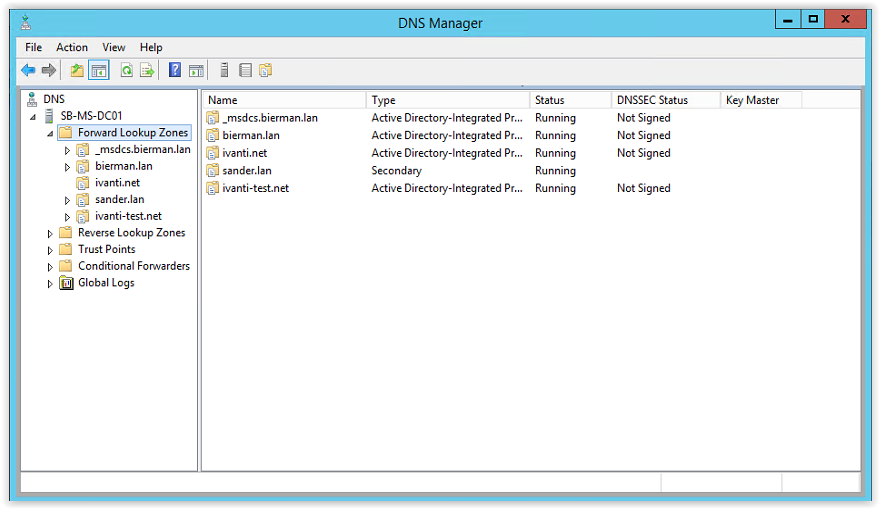
The new created zone is added to the Forward Lookup Zone list.
Creating the zone prevent us to edit the host file of the servers and workstations we are requesting the Management and Web Portal of the related products.
We created the certificate with 3 Subject Alternative Names:
adfs.ivanti.net
certauth.adfs.ivanti.net
enterpriseregistration.ivanti.net
These 3 DNS names must be added to the new DNS Forward Zone.
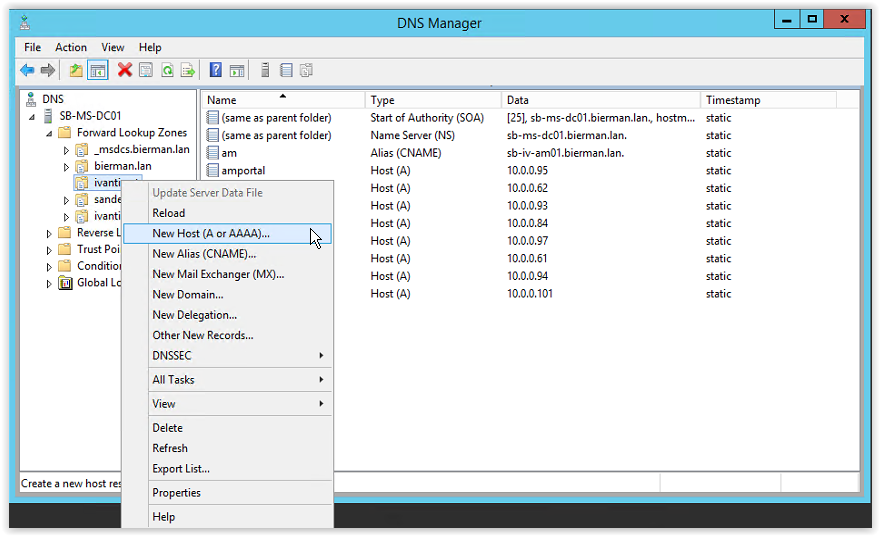
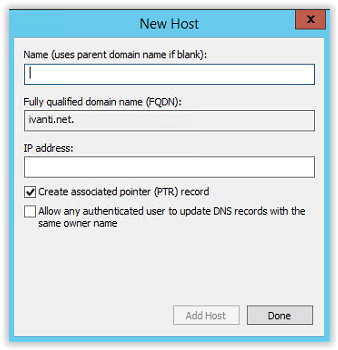
Right mouse click on the new created zone and select the option New Host (A or AAAA)…
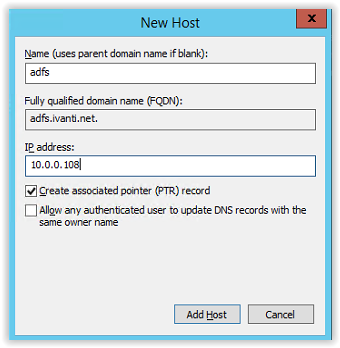
Type adfs in the Name field and in the IP Address field the IP Address of the ADFS Server. To create a reverse DNS, select the option Create associated pointer (PTR) record. And click Add Host to continue and create the new host. In the Fully qualified domain name (FQDN) field the FQDN is automatically filled.
After adding the host, the window below pops up with a message the host record <FQDN> is successfully created. Select OK to continue.
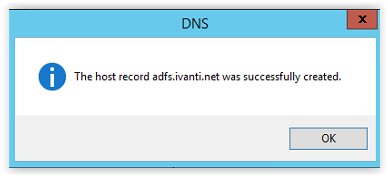
After clicking OK the New Host windows stays open to enter more new hosts. Because we need to another A host, we keep this window open.
Type the following host name in the Name field.
certauth.adfs and the same IP Address used for the adfs.ivanti.net hostname.

Leave the PTR record enabled and click Add Host to continue. The popup with the message the host is successfully create appears. Click OK to continue.
Click Done in the New Host window.
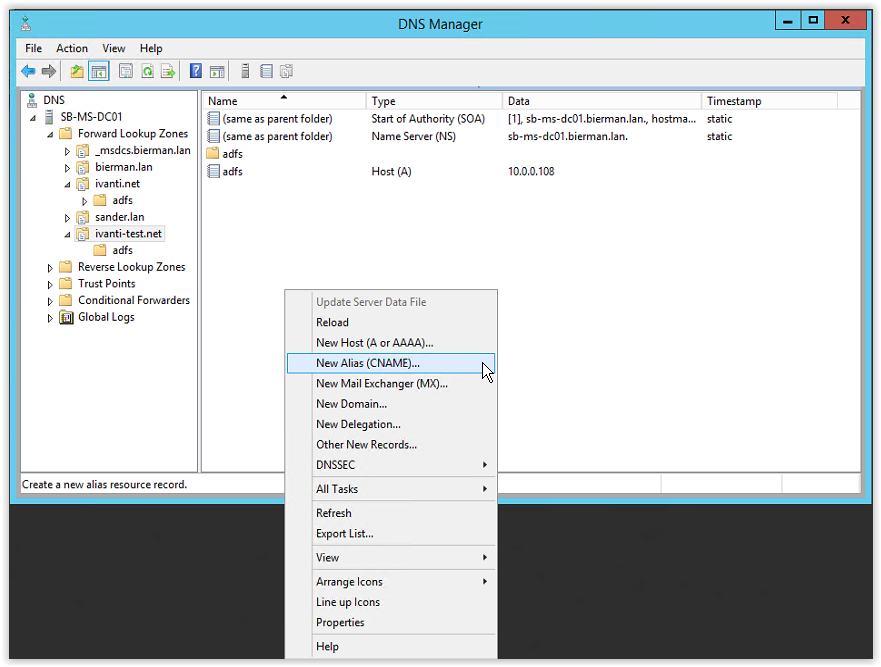
In the selected zone a host adfs is created and a subfolder with the name adfs is also created. In this folder the FQDN certauth is created.
Last FQDN (enterpriseregistration.ivanti.net) is created as a CNAME. Right mouse click on the Forward Lookup Zone and select the option New Alias (CNAME).
Enter enterpriseregistration in the alias (CNAME) field and in the Fully qualified domain name (FQDN) for target host enter adfs.ivanti.net.
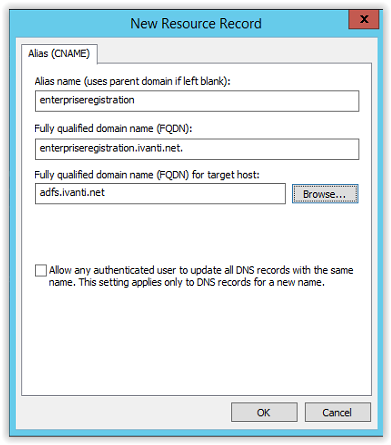
Click OK to continue.
All DNS entries are created as defined in the certificate. Close the DNS application.
Configuring Active Directory for service Accounts
Windows Server 2012 domain controllers and higher (DC) require a root key to begin generating gMSA (group Managed Service Accounts password. Group Managed Service Accounts provides the same functionalities as managed service accounts but it extends its capabilities to host group levels.
Group Managed Service Accounts got following capabilities:
- No Password Management
- Support to share across multiple hosts
- Can use to run schedule tasks
- It uses Microsoft Key Distribution Service (KDC) to create and manage the passwords for the gMSA.
Key Distribution Service was introduced with Windows Server 2012. KDS shares a secret (root key ID) among all the KDS instances in the domain. This value will change periodically. When gMSA requires a password, Windows Server 2012 domain controller will generate a password based on common algorithm which includes root key ID. All the hosts which shares the gMSA will query from the Domain Controller to retrieve the latest password.
Requirements for gMSA:
- Microsoft Windows Server 2012 or higher in forest level
- Microsoft Windows Server 2012 or higher domain member servers
- 64-bit architecture to run PowerShell command to manage gMSA.
The domain controllers will wait up to 10 hours from time of creation to allow all domain controllers to converge their AD replication before allowing the creation of a gMSA. The 10 hours is a safety measure to prevent password generation from occurring before all DCs in the environment are capable of answering gMSA requests. If you try to use a gMSA too soon the key might not have been replicated to all Windows Server 2012 DCs and therefore password retrieval might fail when the gMSA host attempts to retrieve the password. gMSA password retrieval failures can also occur when using DCs with limited replication schedules or if there is a replication issue.
Creating the KDS Root Key
Start PowerShell on a Domain Controller with Domain Admin or Enterprise Admin privileges.
Execute the following command:
Add-KdsRootKey -EffectiveTime (Get-Date).AddHours(-10).
The KDS Root Key is created.
Leave the PowerShell window open for the next step which is creating a Service Account for ADFS.
Creating a Group Managed Service Account
In the PowerShell window type the command below. The name of the service account can be changed if needed.
New-ADServiceAccount srvADFS -DNSHostName adfs.ivanti.net -ServicePrincipalNames http/adfs.ivanti.net
Where srvADFS is the name of the Service Account. The Service Account is created and available in the Managed Service Accounts OU in the Active Directory Users and Computers.

All prerequisites are executed.
Installing Active Directory Federation Service (ADFS)
ADFS can installed on either a Domain Controller or a separate server.
Open Server Manager
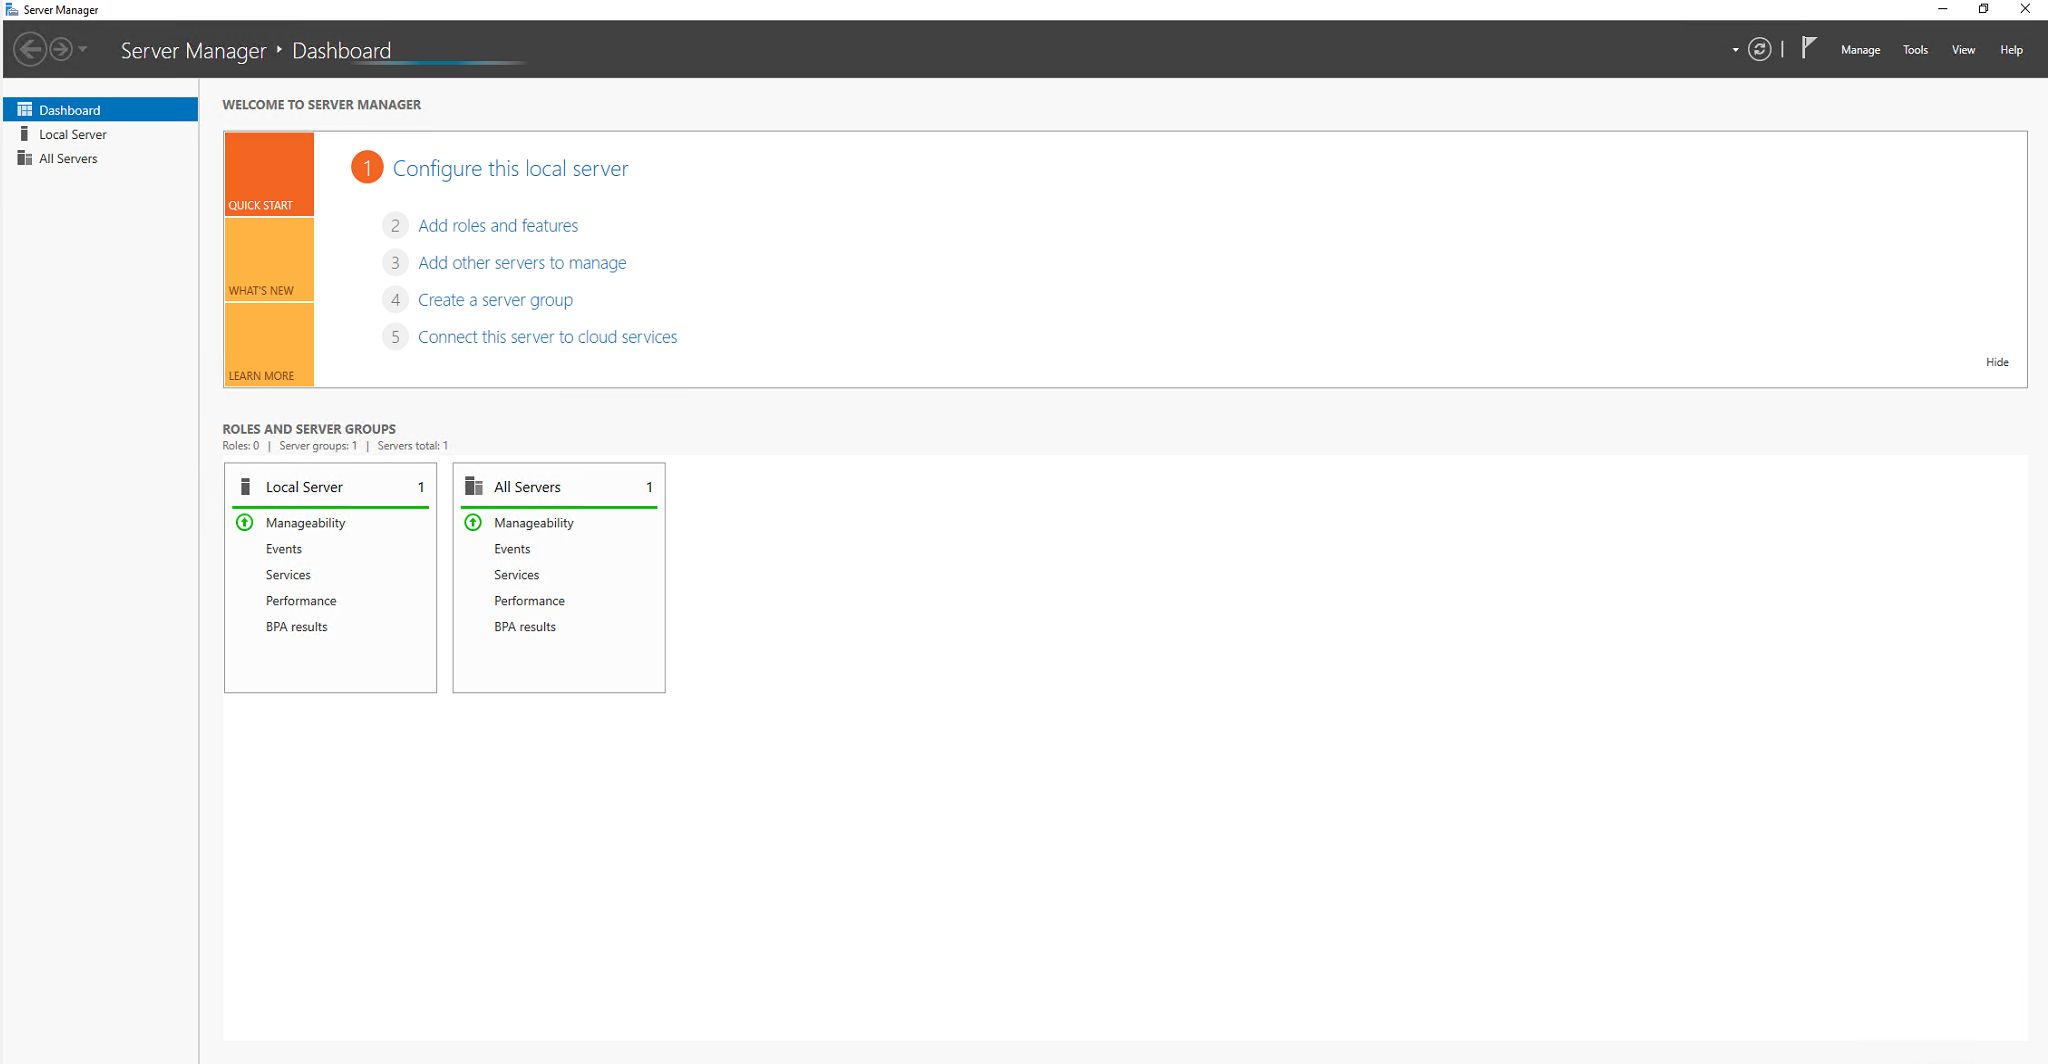
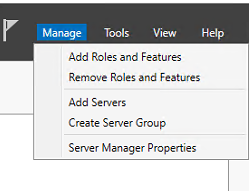
And select the Manage option on the right top (see arrow).
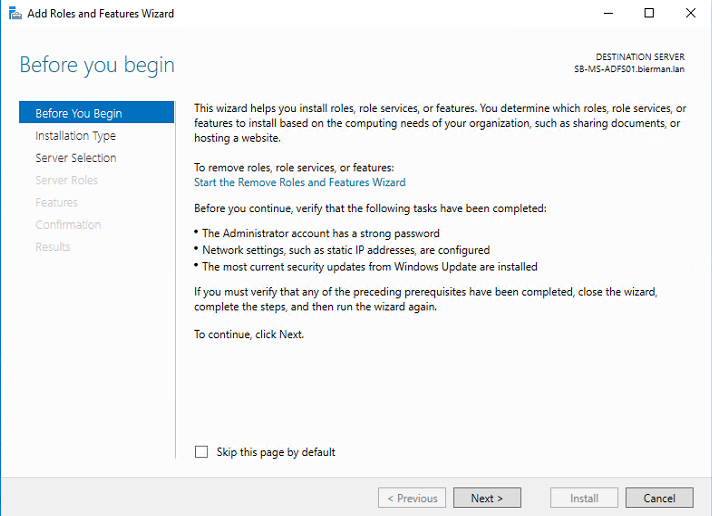
Select from the menu the option Add Roles and Features.
Click Next to continue.
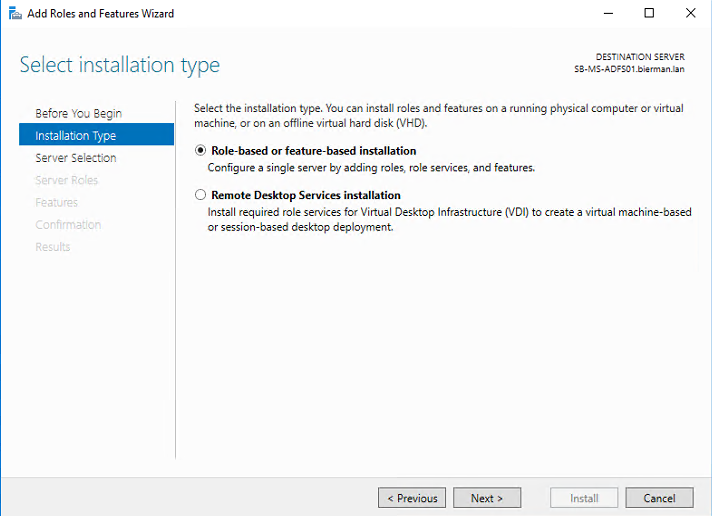
Select the option Role-based or feature-based installation and click Next to continue.
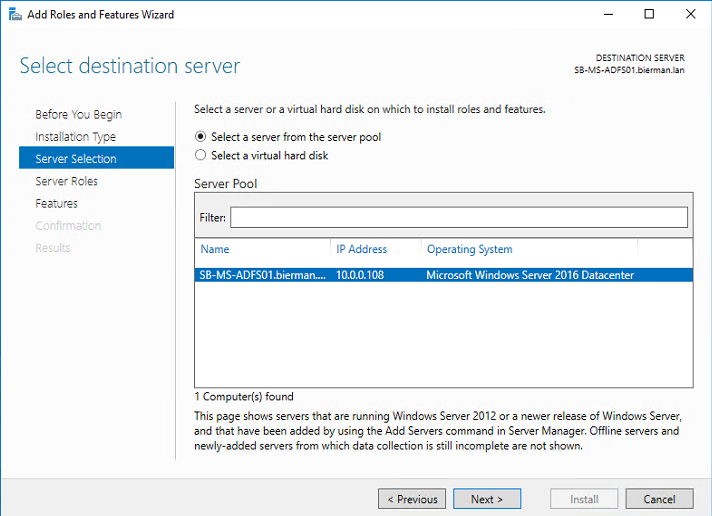
ADFS will be installed local on the server and leave the default settings as is. And click Next to continue.
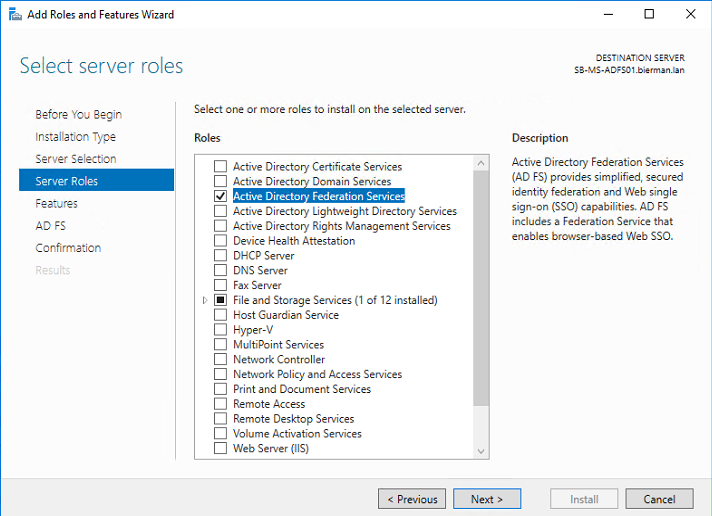
Select the option Active Directory Federation Services from the list and click Next to continue.
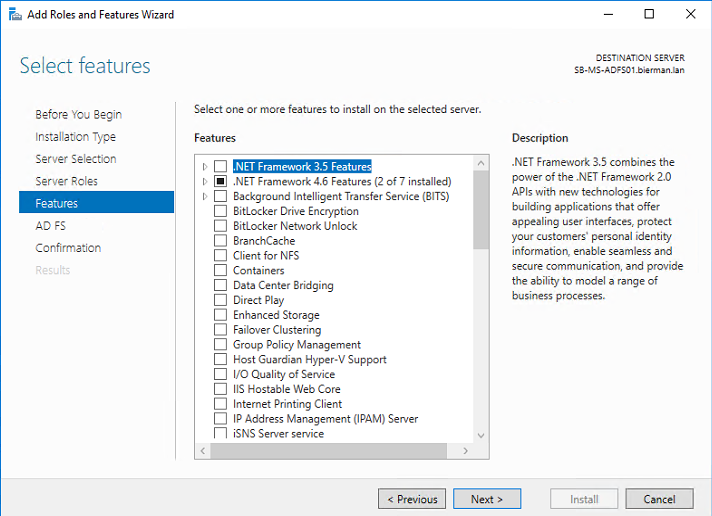
It’s not needed to add additional Features. Click Next to continue.
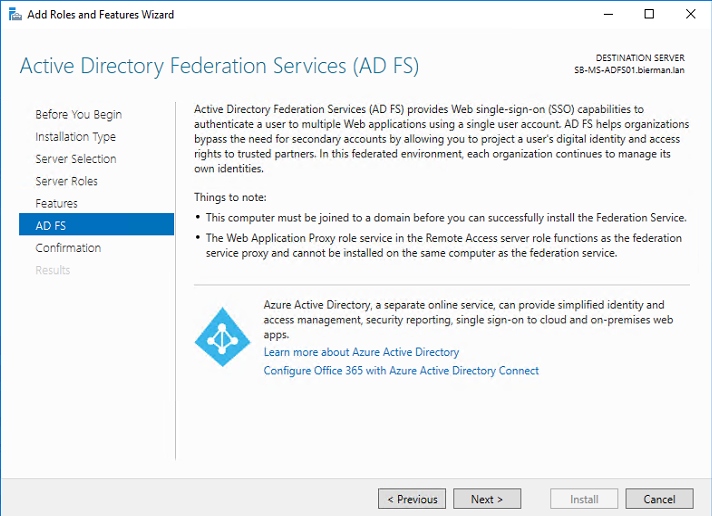
Check the notes and click Next to continue.
In the next screen select the option Restart the destination server automatically if required.
Only select this option if the server can reboot during office hours. When it’s a new server with no other roles the server can be rebooted.

Select Yes in the below Warning message.

Click Install to start the installation of the selected Role.
In the below screenshot the process of the installation can be followed.
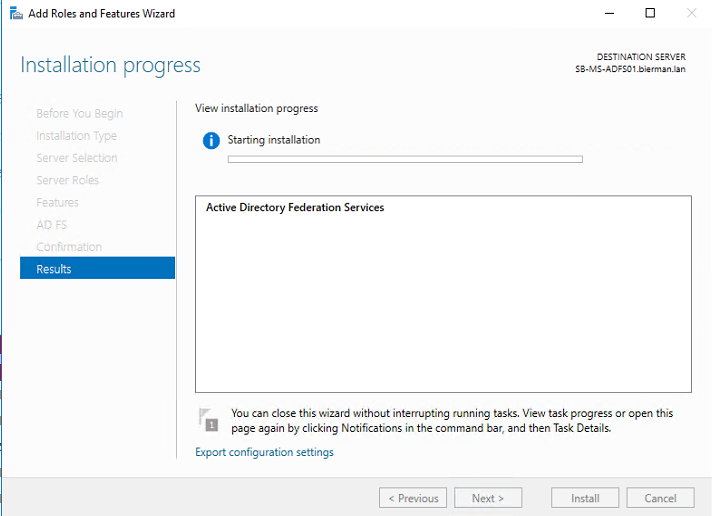
The server will not reboot because it’s not needed for the Role installation.
The Role installation windows can be closed.
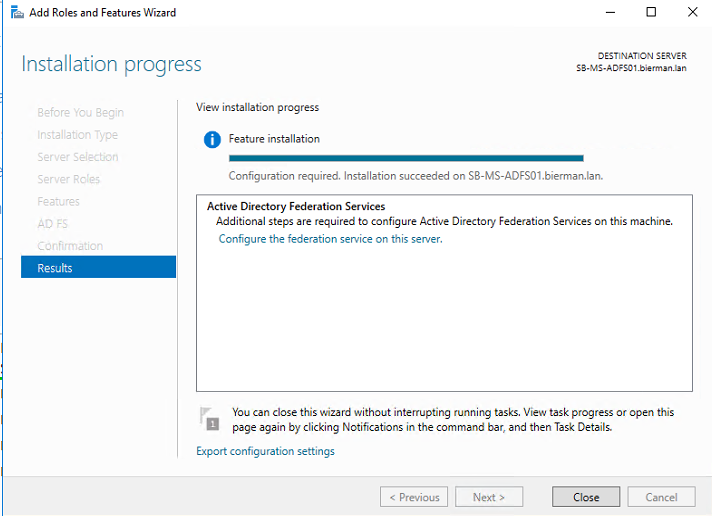
When the installation is finished a configuration is required. The ADFS configuration can only be started when the prerequisites are executed. The prerequisites are described earlier in this document.
Configuration of Active Directory Federation Service
After the installation the Active Directory Federation Service Configuration Wizard is started.

Select the option Create first federation server in a federation farm and click Next to continue.
In the next screenshot define a Active Domain Admin account to connect to Active Directory Domain Services (also known as Active Directory). This example uses the default Domain Administrator account but another account with Domain Admin security can be used.

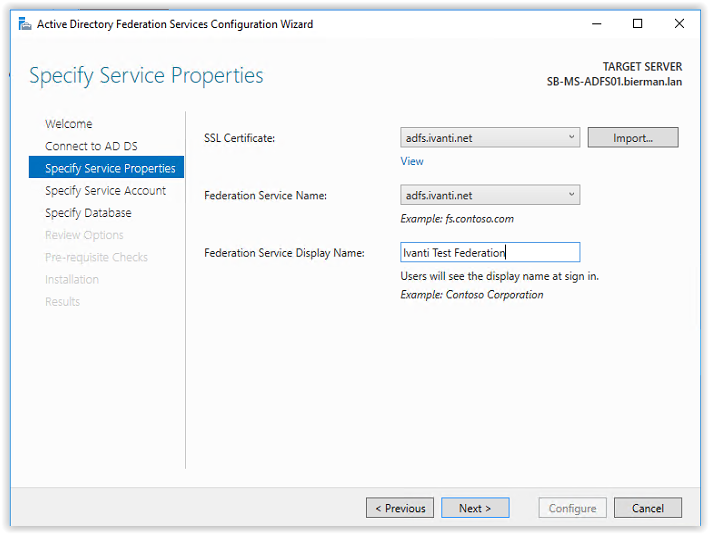
Next step is adding an SSL Certificate and configuring the Federation Service Name and Federation Service Display Name.
When a wildcard is available use this certificate to import. The extension is .PFX. In this document we are requesting a new certificate from the CA server. The creation of new certificate is described in the prerequisites.
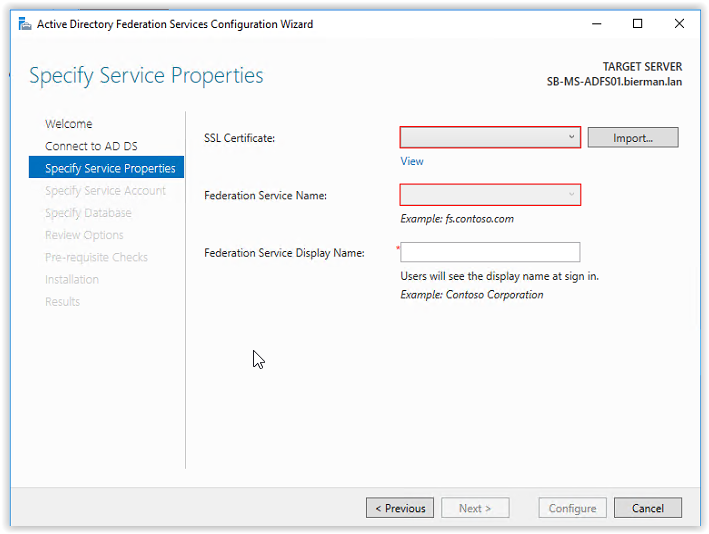
When the certificate is installed correctly it can be selected from the drop-down box. After selecting the certificate, the Federation Service Name is filled automatically.
Enter a Federation Service Display Name. This name is visible in the ADFS web page when signing in.
Click Next to continue.
In the screenshot below we need specify the created Group Managed Service Account. In this example we use the existing domain user account or Group Managed Service Account.
Click Select to add the created ADFS Group Managed Service Account.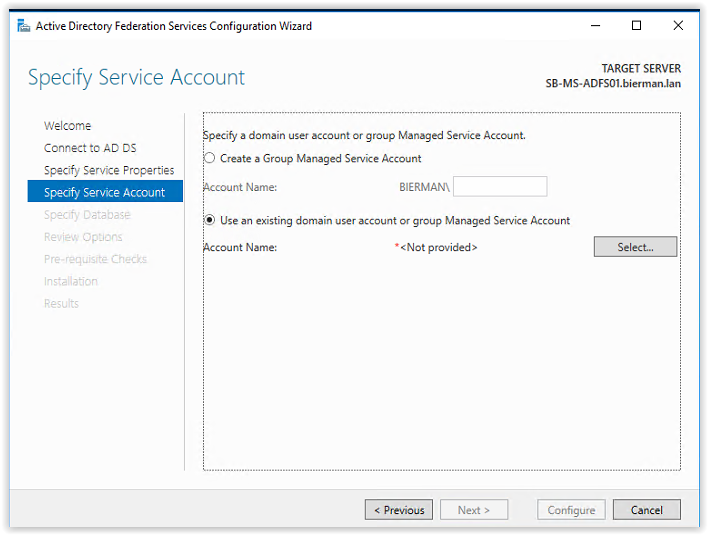
Enter the name of the Group Managed Service Account and click Check Names. When the name is resolved it’s underlined.
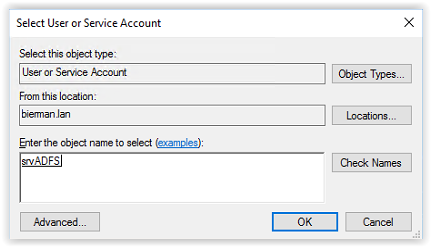
Click OK to continue.
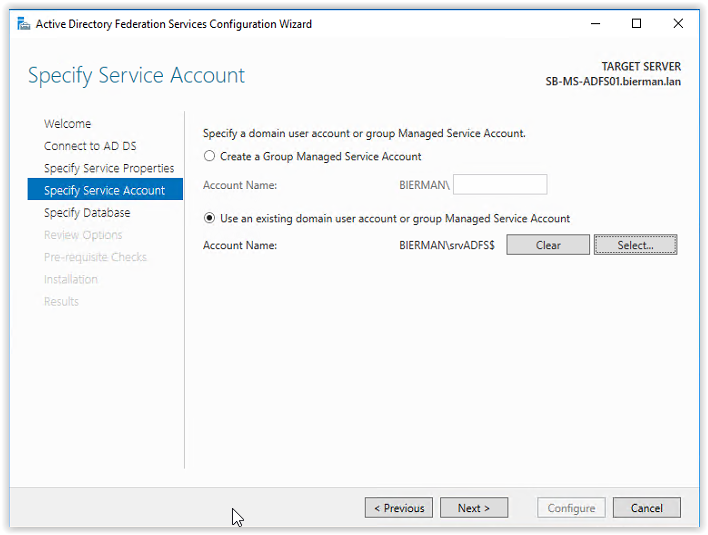
The account name is now filled click OK to continue.
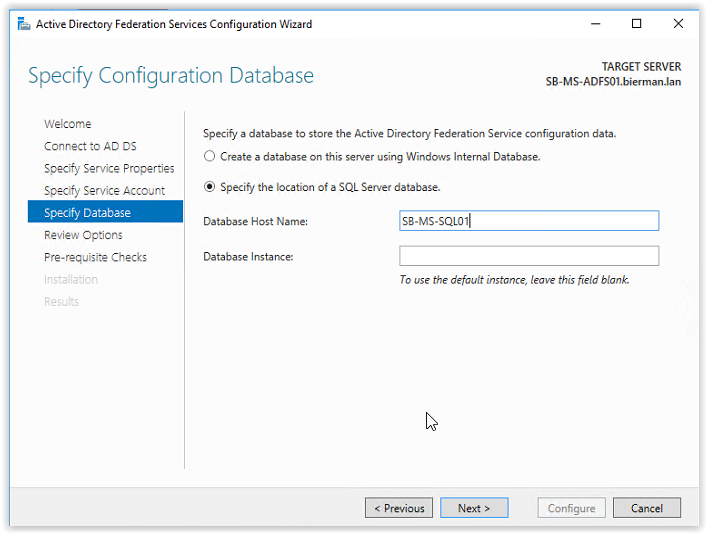
Next step is specifying the configuration database. Because the Ivanti products (Identity Director, Ivanti Automation and Ivanti Identity Broker) uses databases a SQL server is available to create the ADFS Configuration Database.
Select the option Specify the location of the SQL Server database and enter the Host Name of the SQL Server. When an Instance is used enter the name of the instance. In this example an instance is not used and leave the field empty. Click Next to continue.
The ADFS Configuration Wizard is now connecting to the SQL Server. When finished the Review Options screen appears. Review the configuration and click Next to continue.
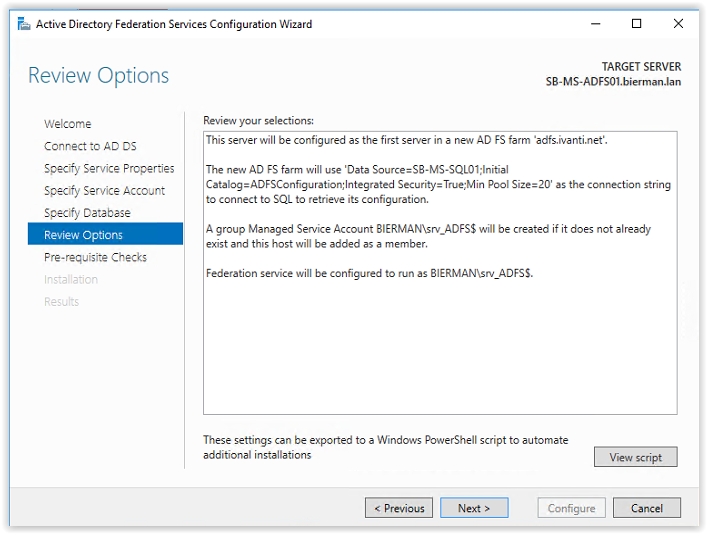
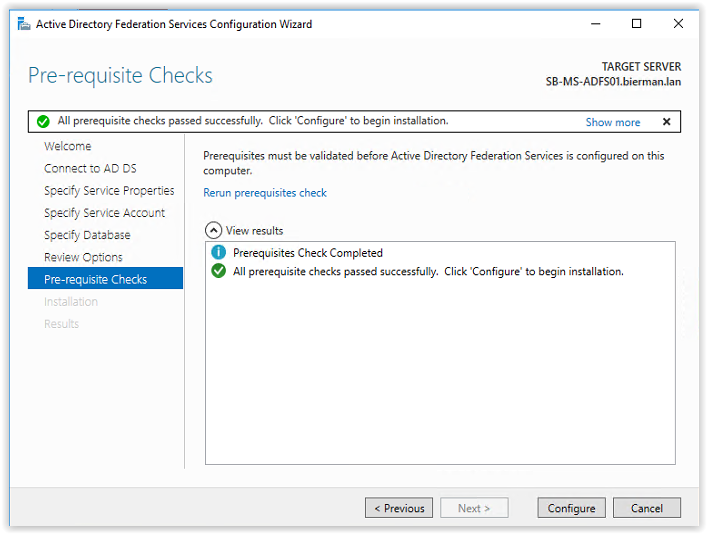
In the next screen a perquisite check is executed and when all checks are passed successfully click Configure to continue.
When during the configuration the following warnings and errors appear execute the following actions.
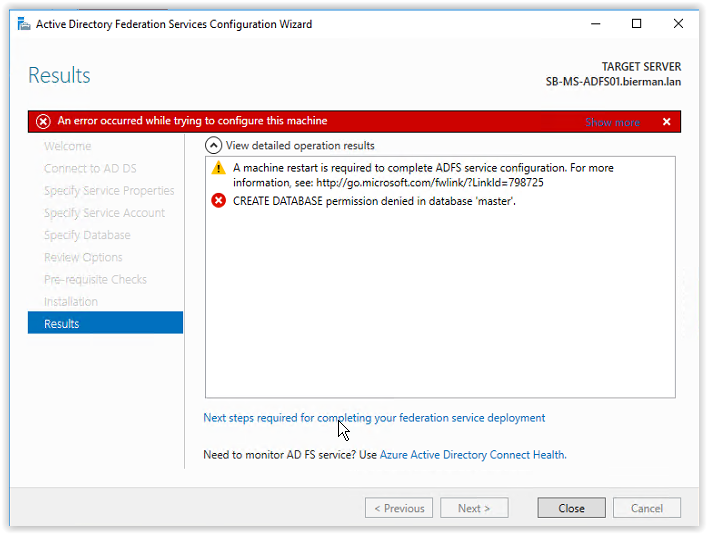
- Restart the ADFS Server when installed on a separate server or reboot the Domain Controller with ADFS installed. When the reboot is executed follow the steps described above to restart the ADFS Configuration Wizard.
- Add the ADFS Group Managed Service Account to the SQL Server.
Open the Microsoft SQL Server Management Studio and logon to the database server.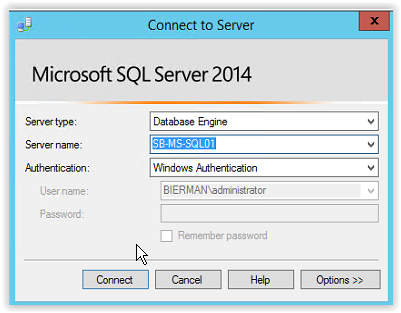
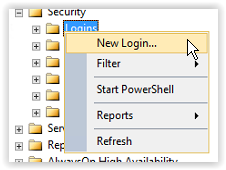
Open the Security Logins in the left menu. Right mouse click on Logins and select New Login.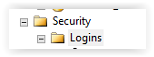
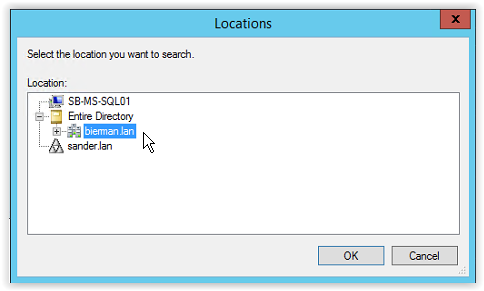
Select Search (see arrow) and select Locations (see arrow). Select Entire Directory or when multiple domains are used select the domain name with the ADFS Managed Service Account. And click OK to continue.
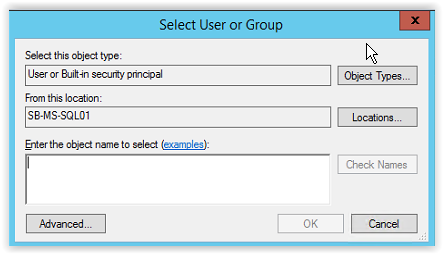
Next step is to add the Service Accounts to the Object Types. Click on Object Types (see arrow).

And select the option Service Accounts.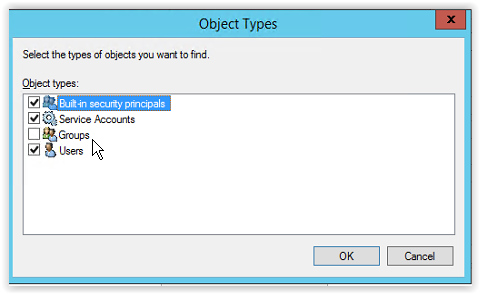
Enter the Group Managed Service Account created earlier in the document (i.e. srv_ADFS) and click Check Names. When the value is underlined the name is resolved. Click OK to continue.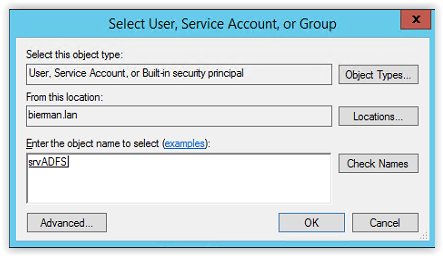
All other settings are default. Make sure the account is created with Windows Authentication.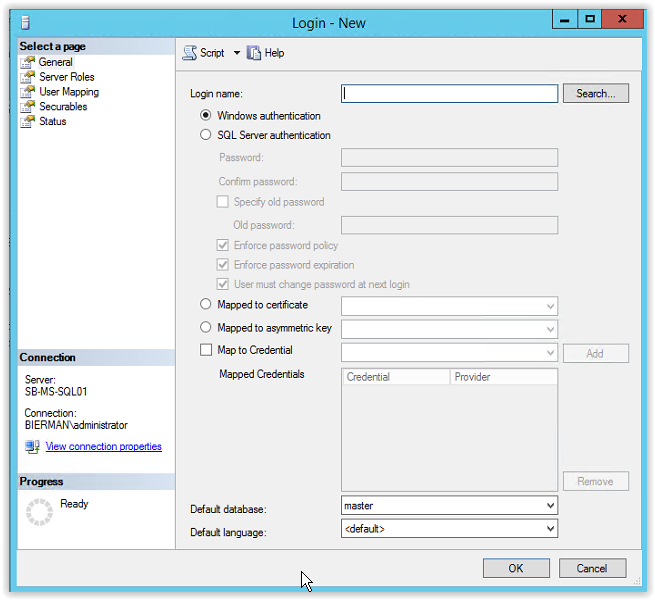
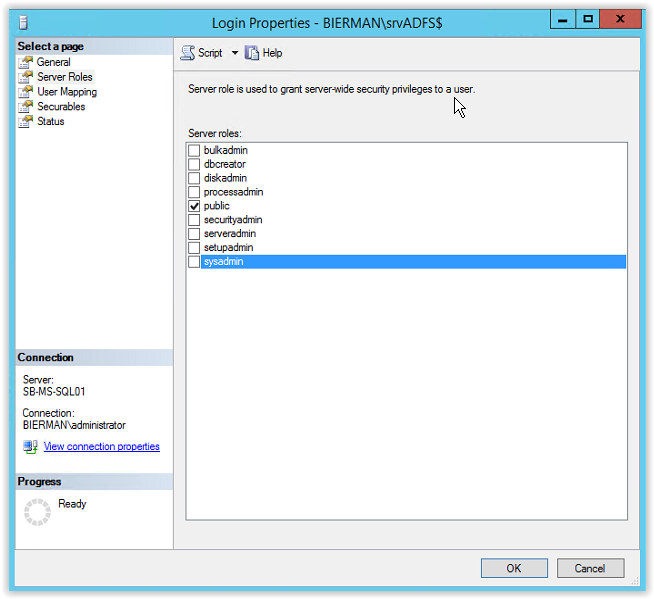
Because the gMSA srvADFS is used to create the databases the account needs to be added to the Server Role SYSADMIN. Select Server Roles from the menu (see arrow)

After restarting the ADFS Configuration Wizard or re-running the prerequisites the Installation starts.

When the installation is finished a warning shows the registration of a SSL binding for Device Registration failed because of an item with the same key. More information about this warning is discussed in the links below:
But in this document and using Ivanti Identity Broker Device Registration is not relevant.
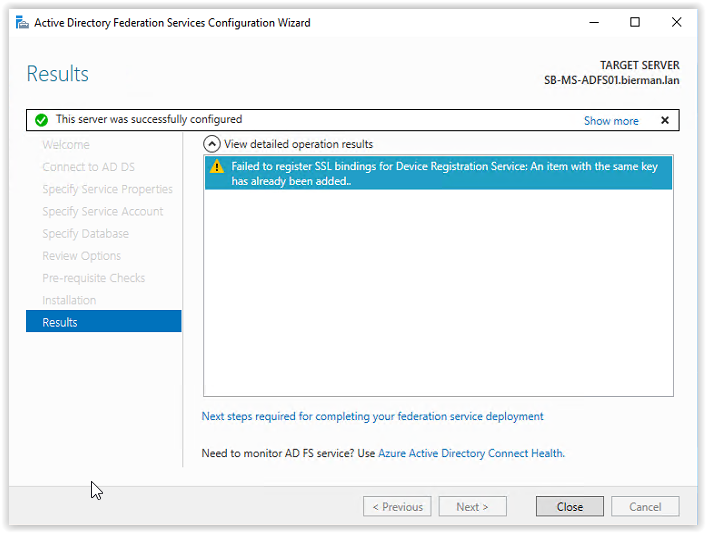
Click Close to continue and the ADFS configuration is finished. After the ADFS Configuration and creation of the 2 databases the SYSADMIN role is removed from the gMSA ADFS account in the Microsoft SQL Server Management Studio. And in the User Mapping a new Database role membership is created and added to the 2 created databases.

Configuring ADFS for Ivanti Identity Broker
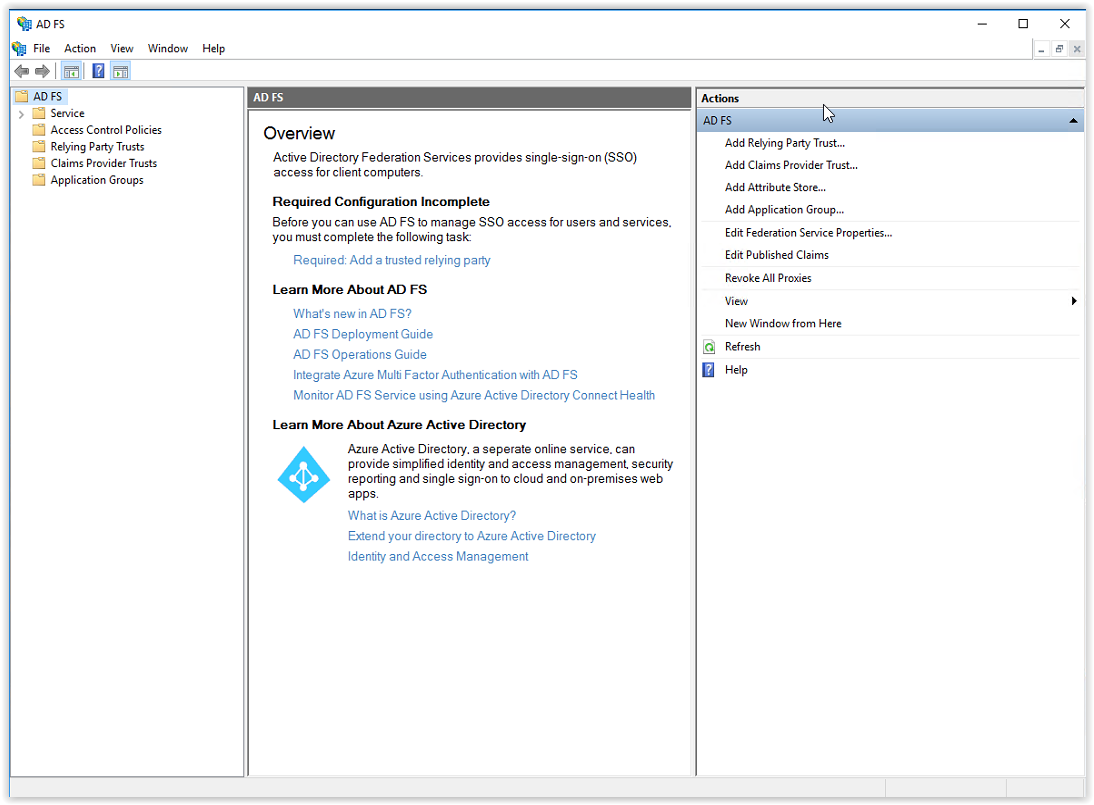
Open the AD FS Management Console. Installed in the Administrative Tools.

In the AD FS Management Console select the option Add Relying Party Trust (see arrow).
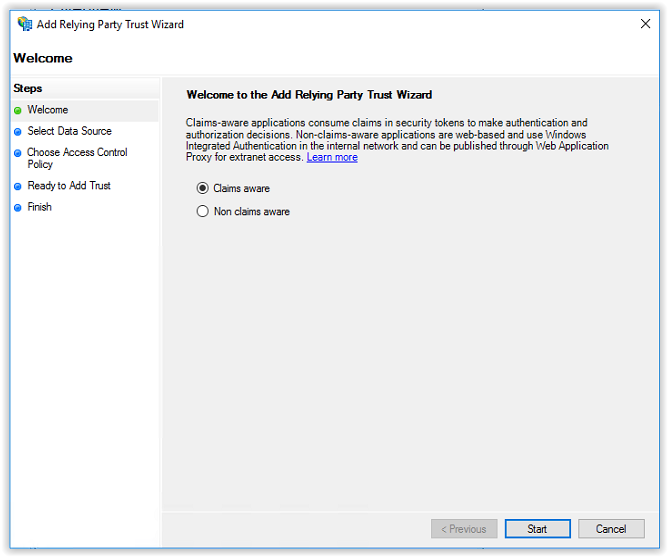
The Welcome to the Add Relying Party Trust Wizard appears. Select the option Claims aware and click Start to continue.
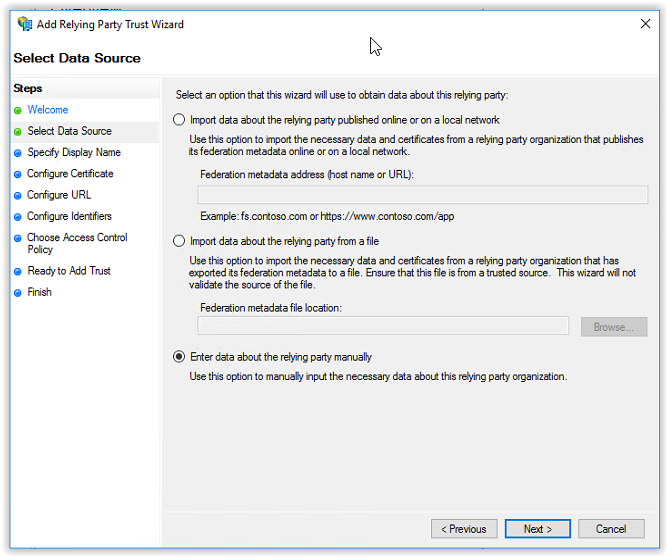
In the Data Source select the option Enter data about the relying party manually and click Next to continue.
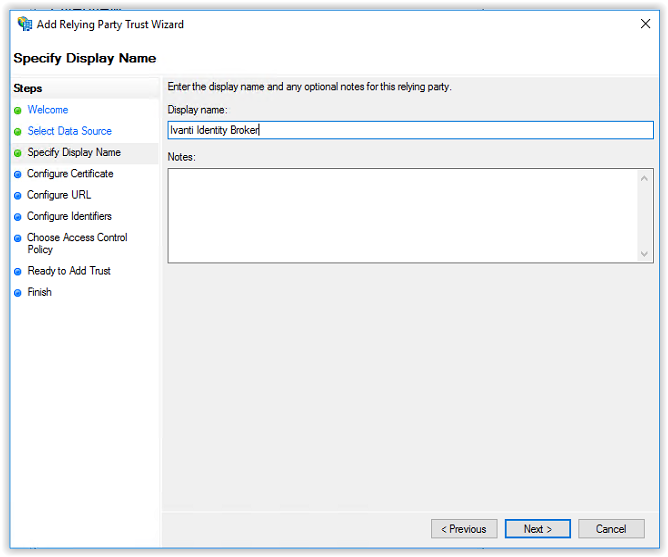
Specify an unique Display Name (i.e. Ivanti Identity Broker). With the name of the application used for the Relying Party it’s easier to find when using multiple Relying Parties. Click Next to continue.
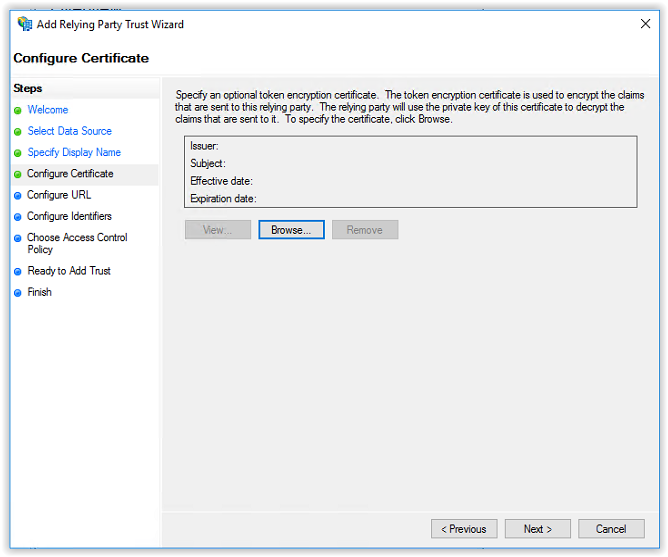
A certificate is not used and select Next to continue.
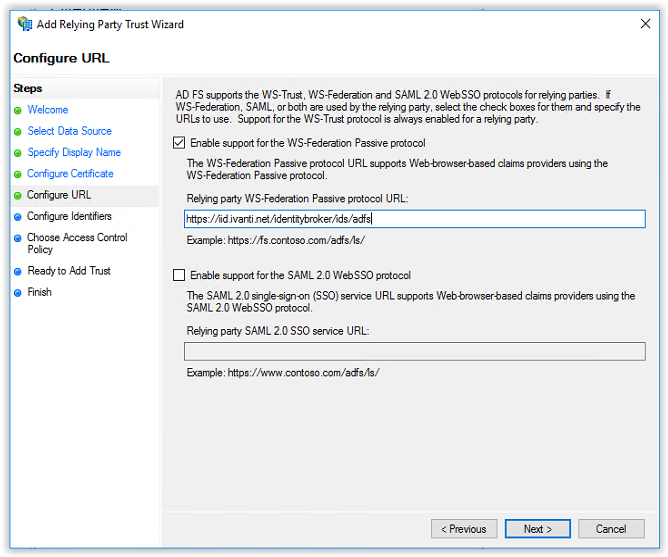
In the Configure URL screen select the option Enable support for the WS-Federation Passive protocol and add the Callback Path from Ivanti Identity Broker Providers (i.e. https://FQDN/identitybroker/ids/adfs). Because the Ivanti Identity Broker isn’t installed the value behind the ids/ can be chosen. In this example adfs is used.
And the FQDN is the hostname of the Ivanti Identity Broker server. In this document broker.ivanti.net is used.
Click Next to continue.
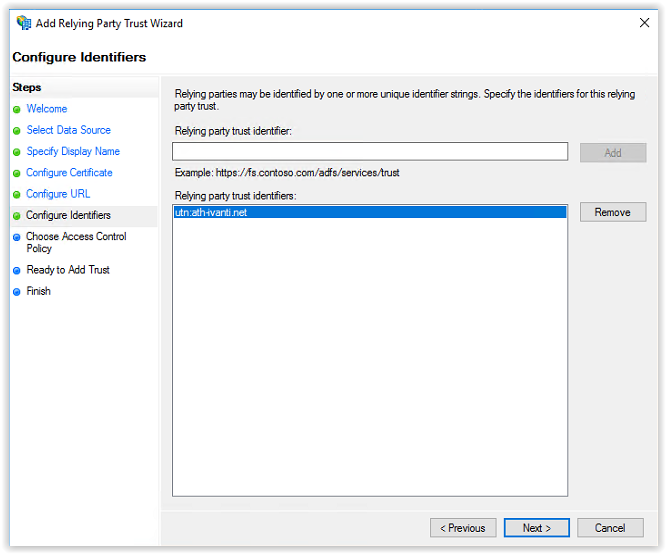
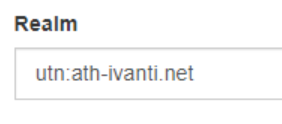
Next step is creating a party trust identifier (the Realm in Ivanti Identity Broker). During the steps the URI of the Configure URL is used. Remove the default value and enter for example the value below:
utn:ath-ivanti.net
Click Add to add the new created identifier.
Click Next to continue.
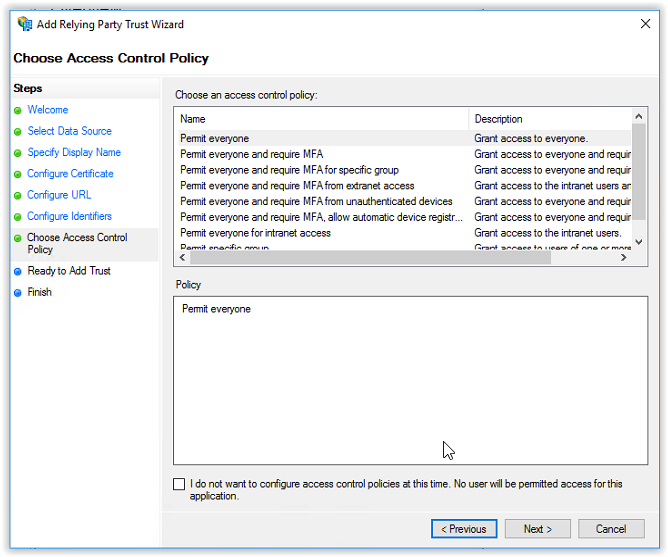
In the Choose Access Control Policy screen leave the Policy on Permit everyone and click Next to continue.
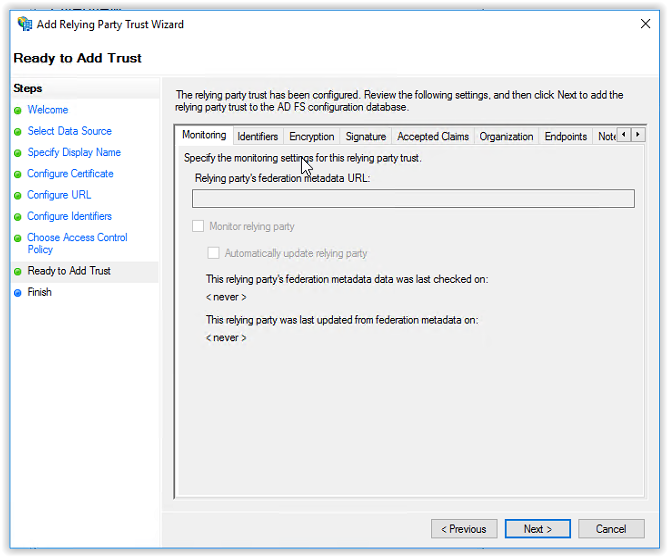
In the next screen (Ready to Add Trust) click Next to continue. If needed skip through the tabs to check the configuration.
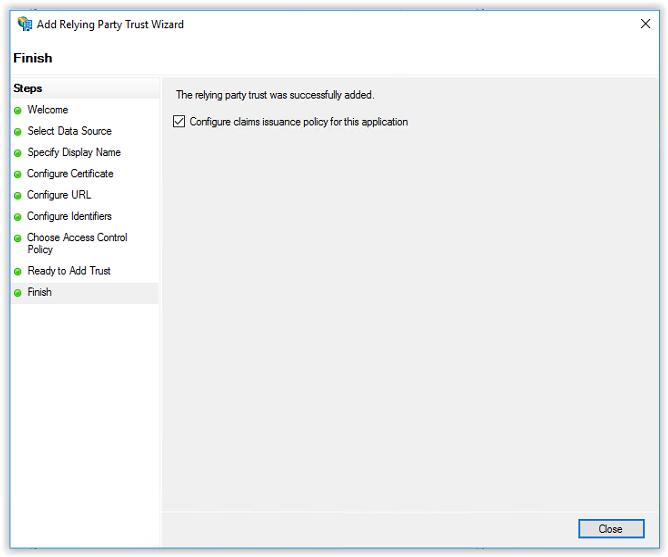
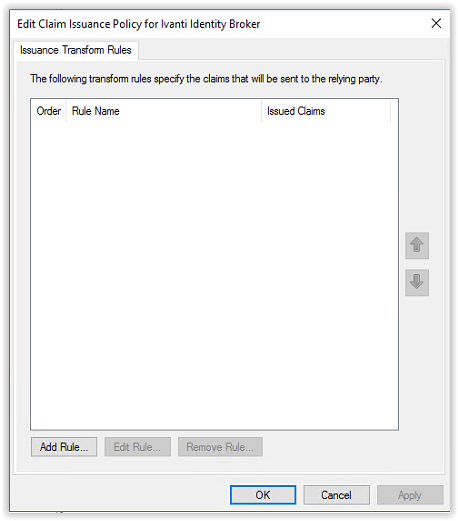
The Relying Party Trust is created. Next step is creating the Claims Issuance Policies. Leave the option Configure claims issuance policy for this application to create the claims. Click Close to continue.
In the next screen click Add Rule to create the first rule of 4.
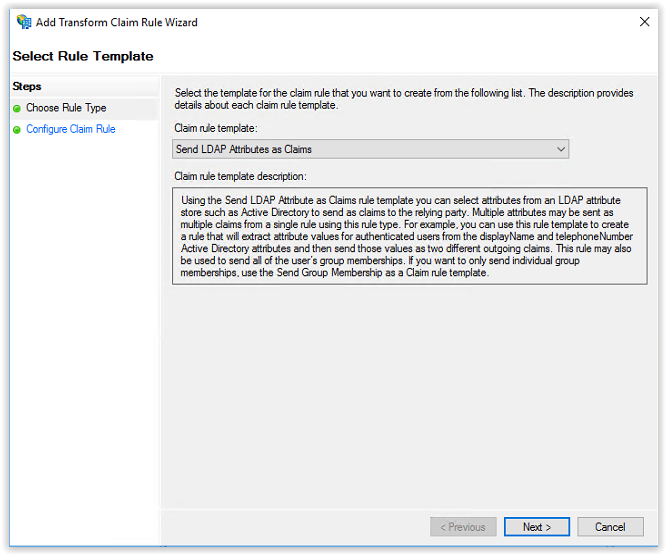
In the Select Rule Template select the template Send LDAP Attributes as Claims and click Next to continue.

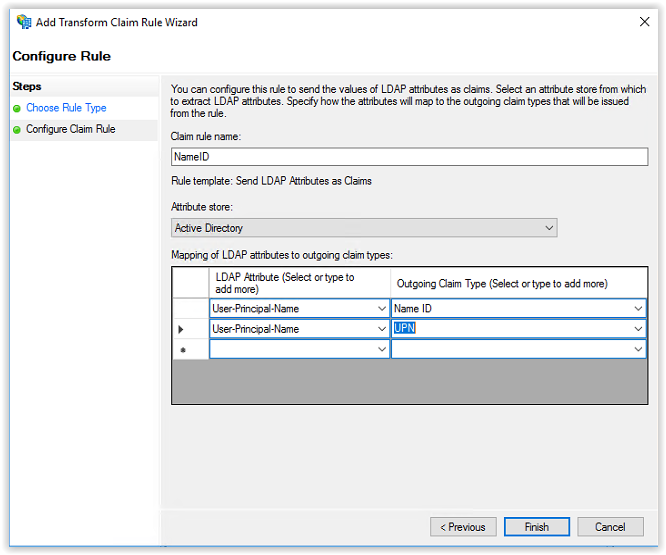
Enter NameID in the Claim rule name field and select Active Directory from the Attribute store.
In the first line select User-Principal-Name in the first column and Name ID in the second column.
In the second line select User-Principal-Name and in the first column and UPN in the second column.
The configuration must be the same as the screenshot below. Click Finish to continue.
The first rule is created. Click on Add Rule to create the next rule.
Select Send LDAP Attributes as Claims and click Next to continue.
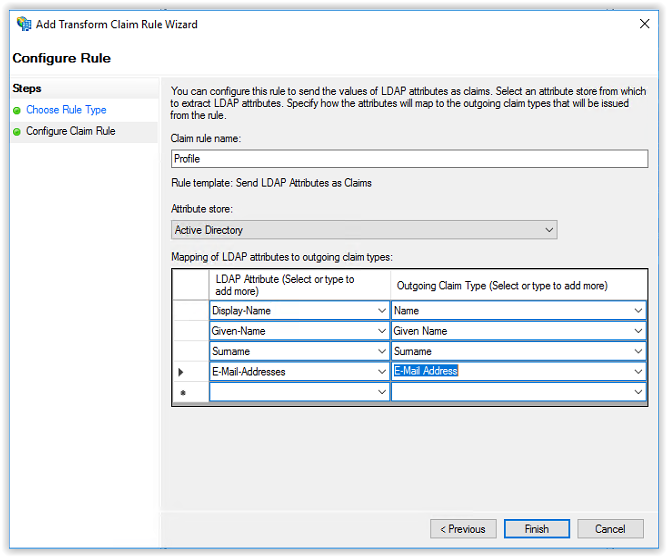
Enter the name Profile in the Claim rule name and select Active Directory in the Attribute Store.
In the first column on the first line select Display-Name and Name in the second column.
In the first column on the second line select Given-Name and Given-Name in the second column.
In the first column on the third line select Surname and Surname in the second column.
In the first column on the fourth line select E-Mail-Addresses and E-Mail-Addresses in the second column.
After creating the mappings, the configuration looks like the screenshot below. Click Finish to continue.
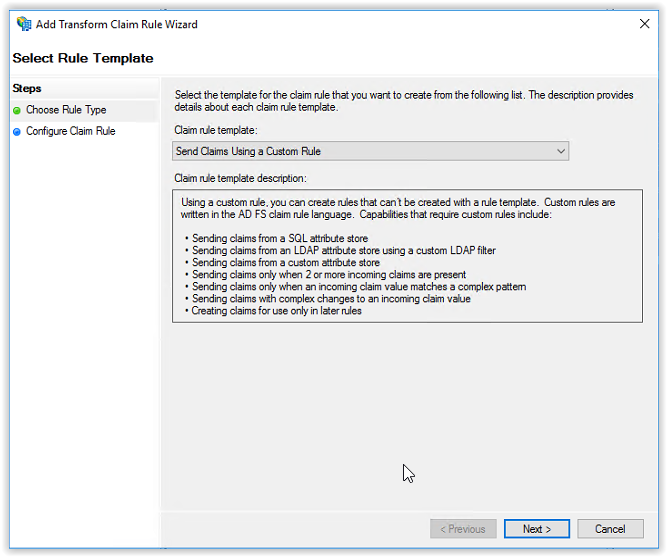
Click Add Rule to add the third rule. Select Send Claims Using a Custom Rule and click Next to continue.
Enter the name Groups in the Claim rule name field. There are 2 options for the groups.
- Issue all groups to Identity Broker
- Issue a (pre-) filtered set of groups to the Identity Broker
More information how to create group filters can be found in the link below.
https://help.ivanti.com/iv/help/en_US/iid/2019/IdentityBroker/AddADFSasIP.htm
In this document we use the option Issue all groups to the Identity Director. Copy/Paste the custom rule below in the Custom Rule field.
c:[Type == “http://schemas.microsoft.com/ws/2008/06/identity/claims/windowsaccountname”, Issuer == “AD AUTHORITY”]
=> issue(store = “Active Directory”, types = (“http://schemas.microsoft.com/ws/2008/06/identity/claims/role”), query = “;tokenGroups(domainQualifiedName);{0}”, param = c.Value);
When finished the configuration looks like the screenshot below. Click Finish to continue.

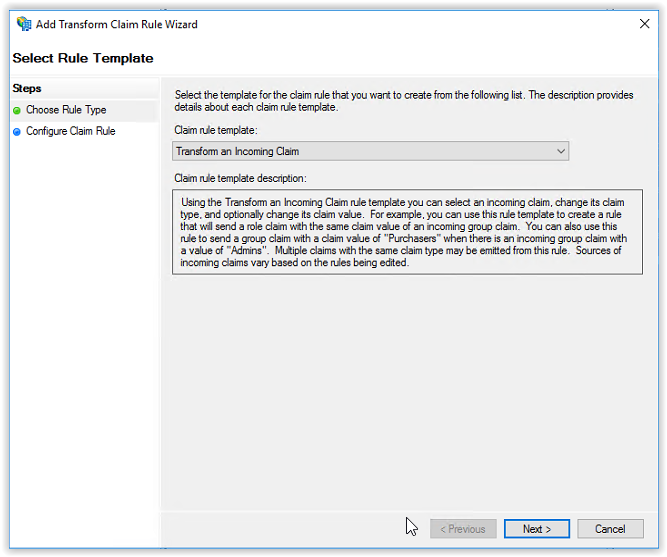
Click Add Rule to create the latest rule. Select Transform an Incoming Claim in the Claim rule template. Click Next to continue.
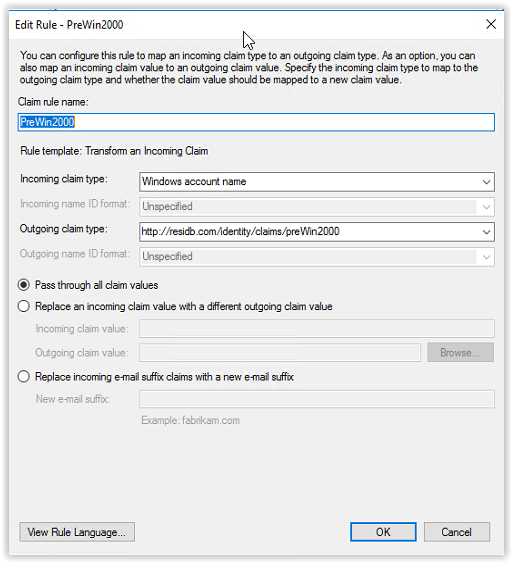
Enter PreWin2000 in the Claim rule name and select Windows Account Name in the Incoming claim type drop-down list. Enter http://residb.com/identity/claims/preWin2000 in the Outgoing claim type field. Select the option Pass through all claim values and select Finish to continue.
The configuration looks like the screenshot below.
All 4 rules are created, and the configuration look likes screenshot below. Click OK to continue
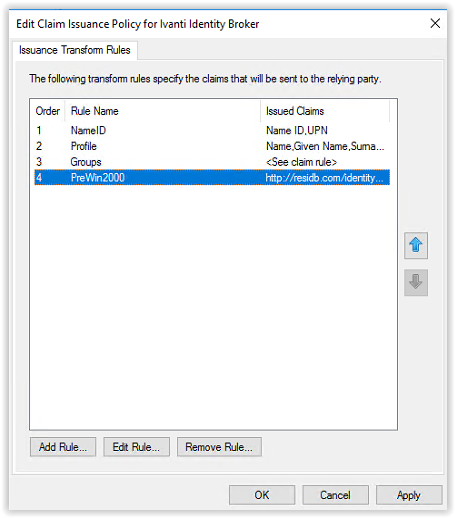
The configuration for ADFS is finished.
Install Ivanti Identity Broker
In the Software\IB – Ivanti Identity Broker\10.2.0.0 in the link below the file Identity Broker 10.2.0.0.exe is available.
Start the installation file Identity Broker 10.2.0.0.exe.
Select Next to continue
Accept the License Agreement terms and select Next to continue.
Select the installation folder and select Next to continue.
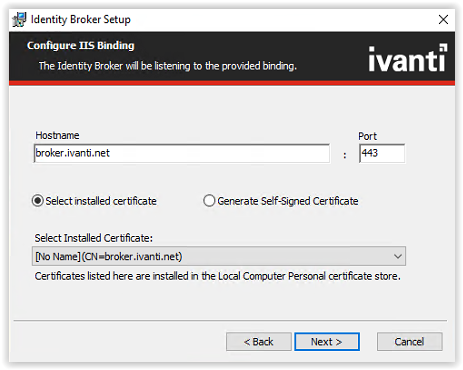
Enter the hostname used in the ADFS configuration (i.e. broker.ivanti.net). Leave the port default 443 and if a certificate is installed select the certificate from the Select Installed Certificate drop-down list.
When a certificate isn’t available and it’s not a production environment the option to use the Generate Self-Signed Certificate is possible.
Select Next to continue.
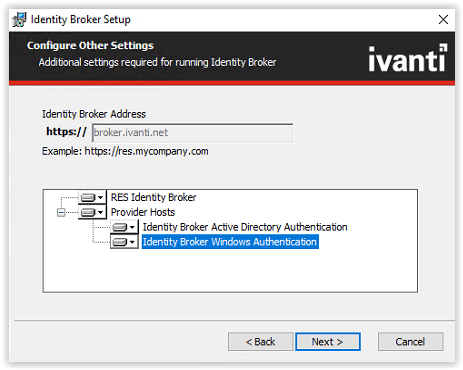
Select all the Provider Hosts to install. Click Next to continue.
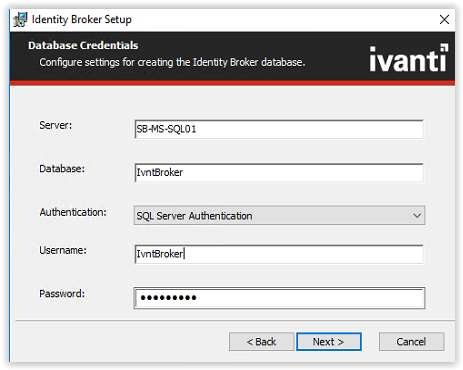
Fill the SQL Servername, Databasename, SQL Server Authentication. When a login is created in the Microsoft SQL Management Studio for the Ivanti Identity Broker use this login.
In this document a SQL account IvntBroker is created.
When finished filling the required field click Next to continue.
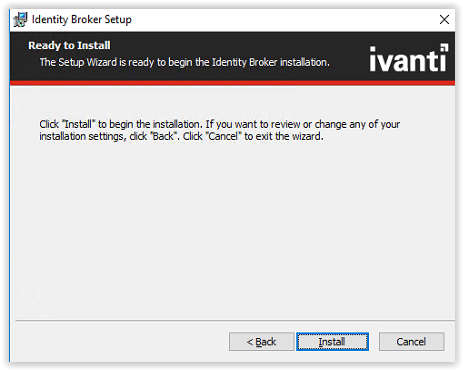
Click Install to start the installation.

After Ivanti Identity Broker installation the Ivanti Identity Broker Active Directory Authentication must be installed. Due the selection of the components the installations start automatically.
Click Next to continue.
Accept the License Agreement and click Next to continue.
Select a folder to install the software or leave default. Click Next to continue.

In the next screen leave the settings default and click Next to continue.

And final click Install to continue.
When the installation is finished click Finish to continue.
The last installation is the Ivanti Identity Broker Windows Authentication installation.
Click Next to continue.
Accept the License Agreement and click Next to continue.
Select a folder to install the software or leave default. Click Next to continue.
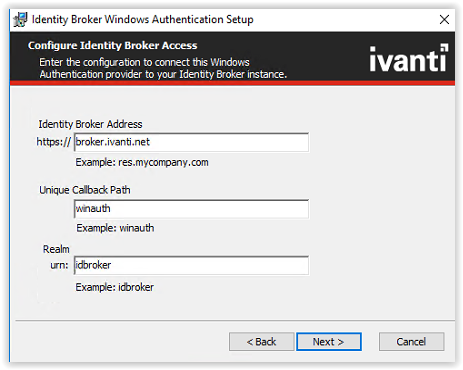
In the next screen leave the settings default and click Next to continue.
And final click Install to continue.
When the installation is finished click Finish to continue.
Click Finish again to finish the full installation of Ivanti Identity Broker.
Installation of the Ivanti Identity Broker is installed.
Configuration of Ivanti Identity Broker
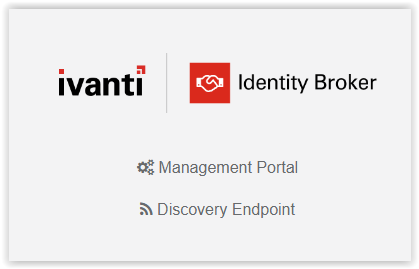
Start the Ivanti Identity Broker with the shortcut on the desktop or type the FQDN in a web browser.
(i.e. https://broker.ivanti.net/identitybroker)
When the page is loaded the screenshot below shows two options. Select the option Management Portal.
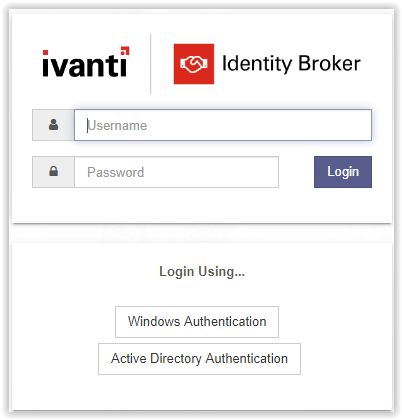
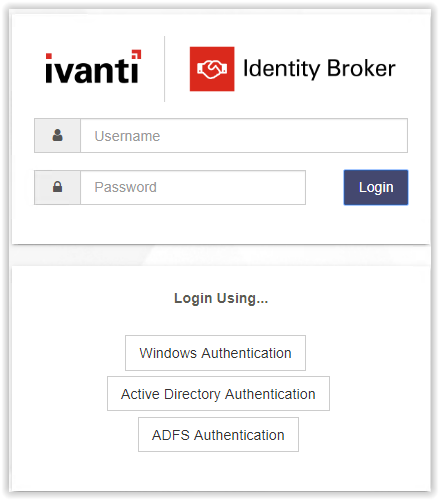
The next screenshot shows a logon screen and available Identity Providers. The default local administrator account is admin with a hard-coded password unsecured. It’s recommended to disable the local account after adding at least one group with Management Portal Access.
Login with the local administrator account and click Login to continue.
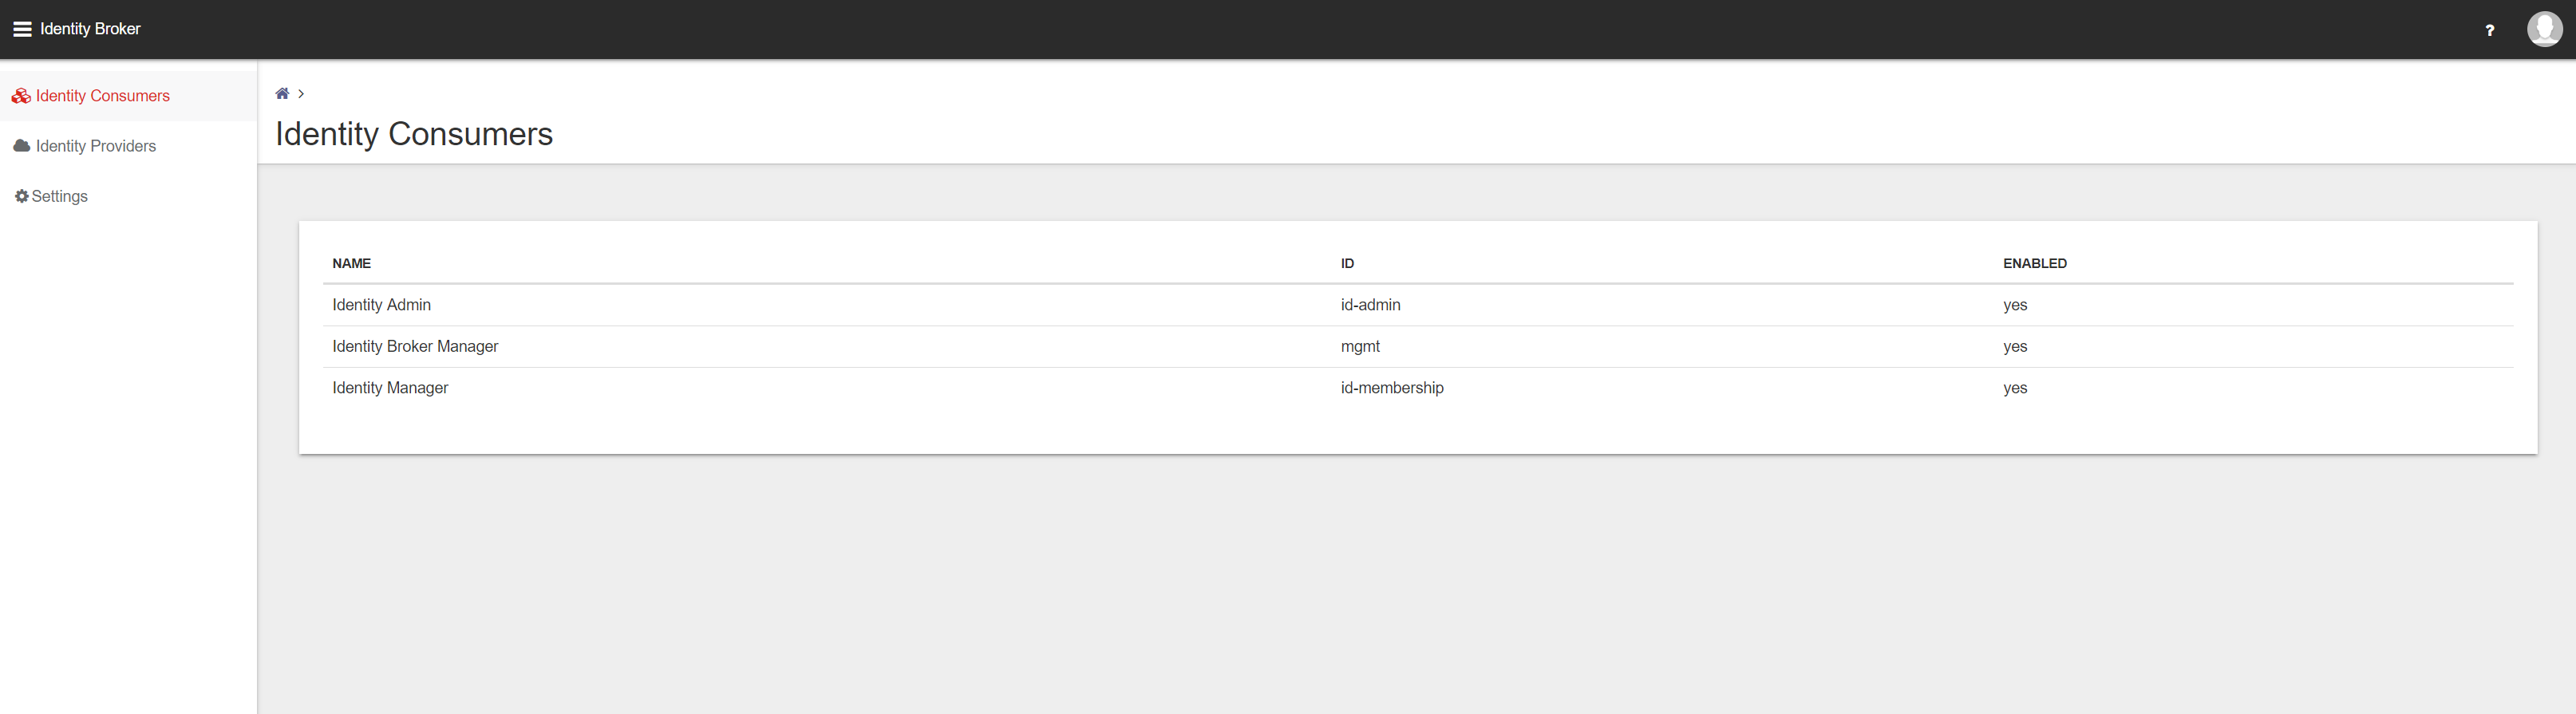
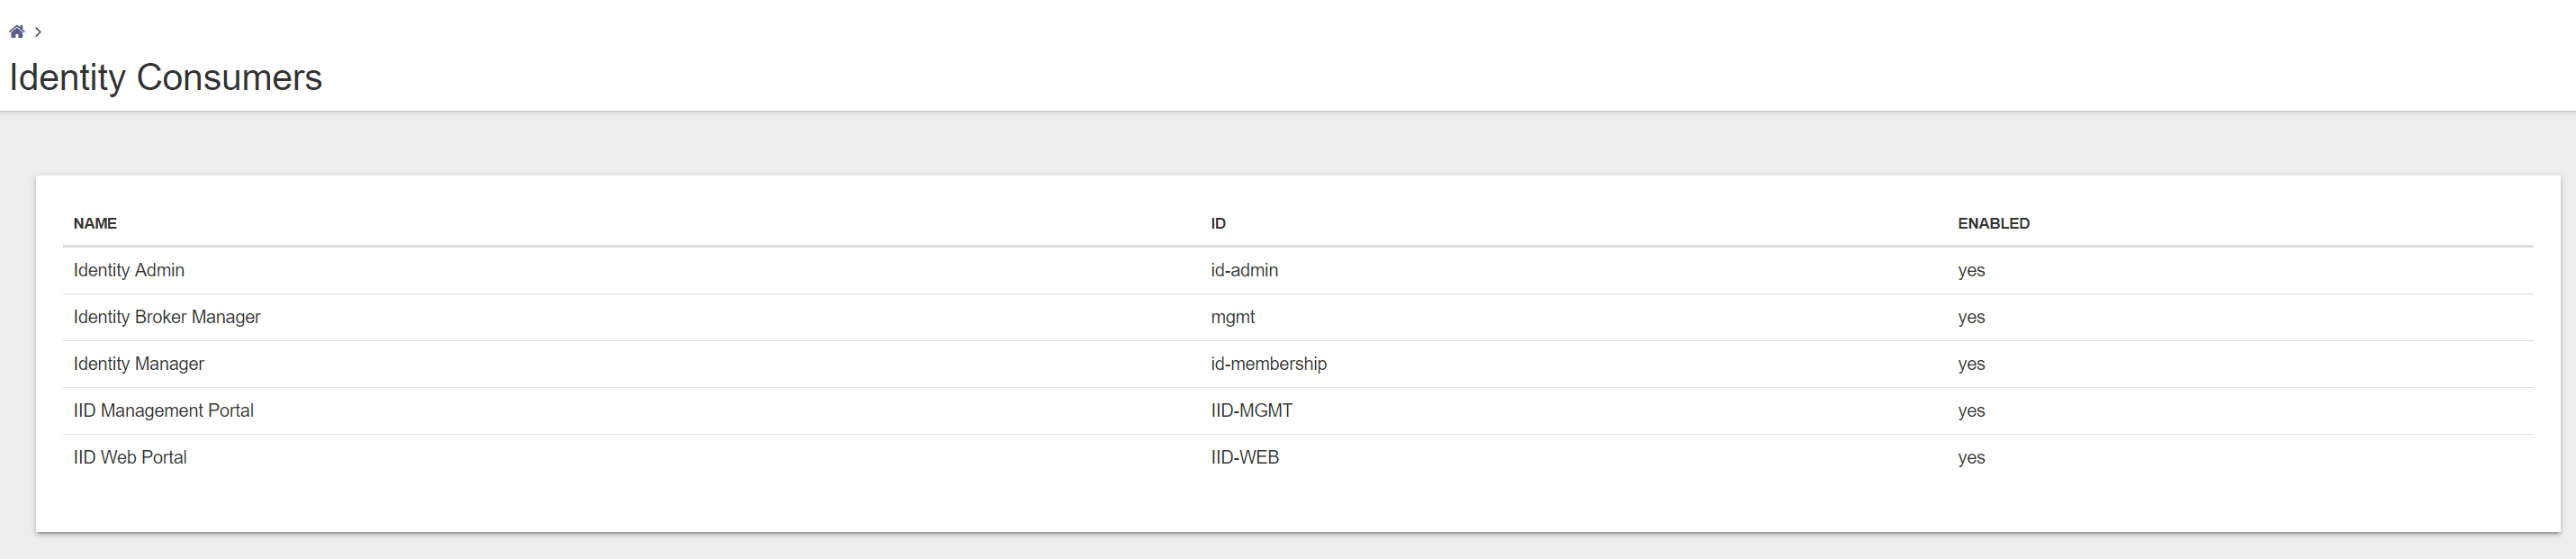
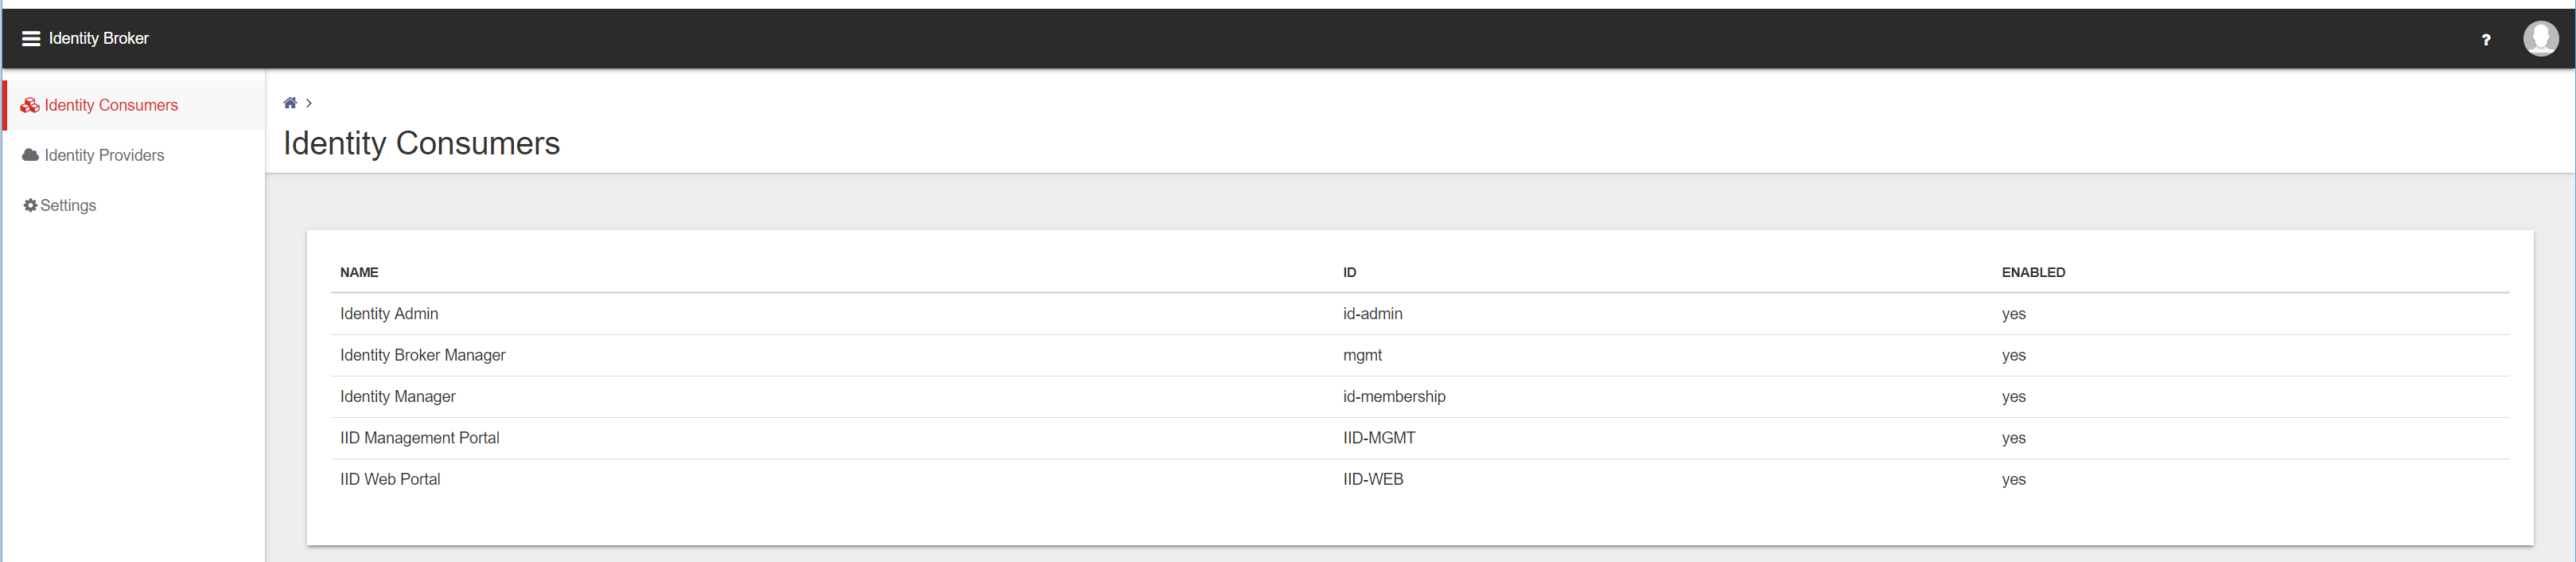
In the Management Portal 3 main menu items available.
- Identity Consumers
- Identity Providers
- Settings
An Identity Consumer is a web application (for example a Management Portal or User Portal) for which the Identity Broker handles authentication. Consumers redirect tot the Identity Broker using the HTTPS protocol.
An Identity Provider is an endpoint that the Identity Broker uses to authenticate a user. Supported Providers are:
- Identity Broker Windows Authentication Provider (part of the Identity Broker installer, also available as separate installer)
- Active Directory Authentication (part of the Identity Broker installer, also available as separate installer)
- OKTA
- Azure Active Directory
- Active Directory Federation Service (ADFS)
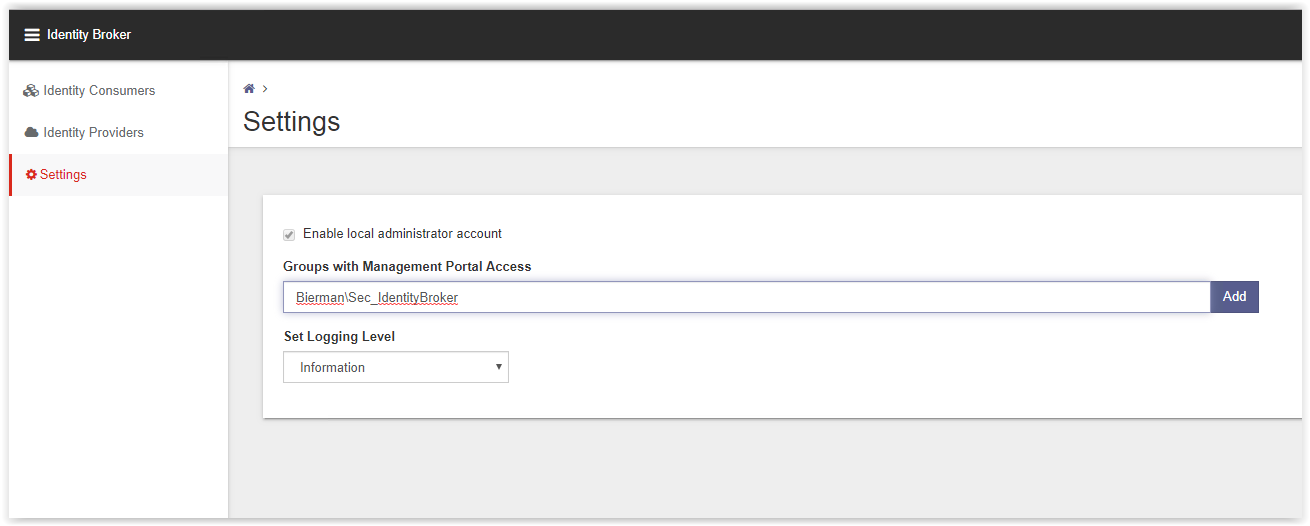
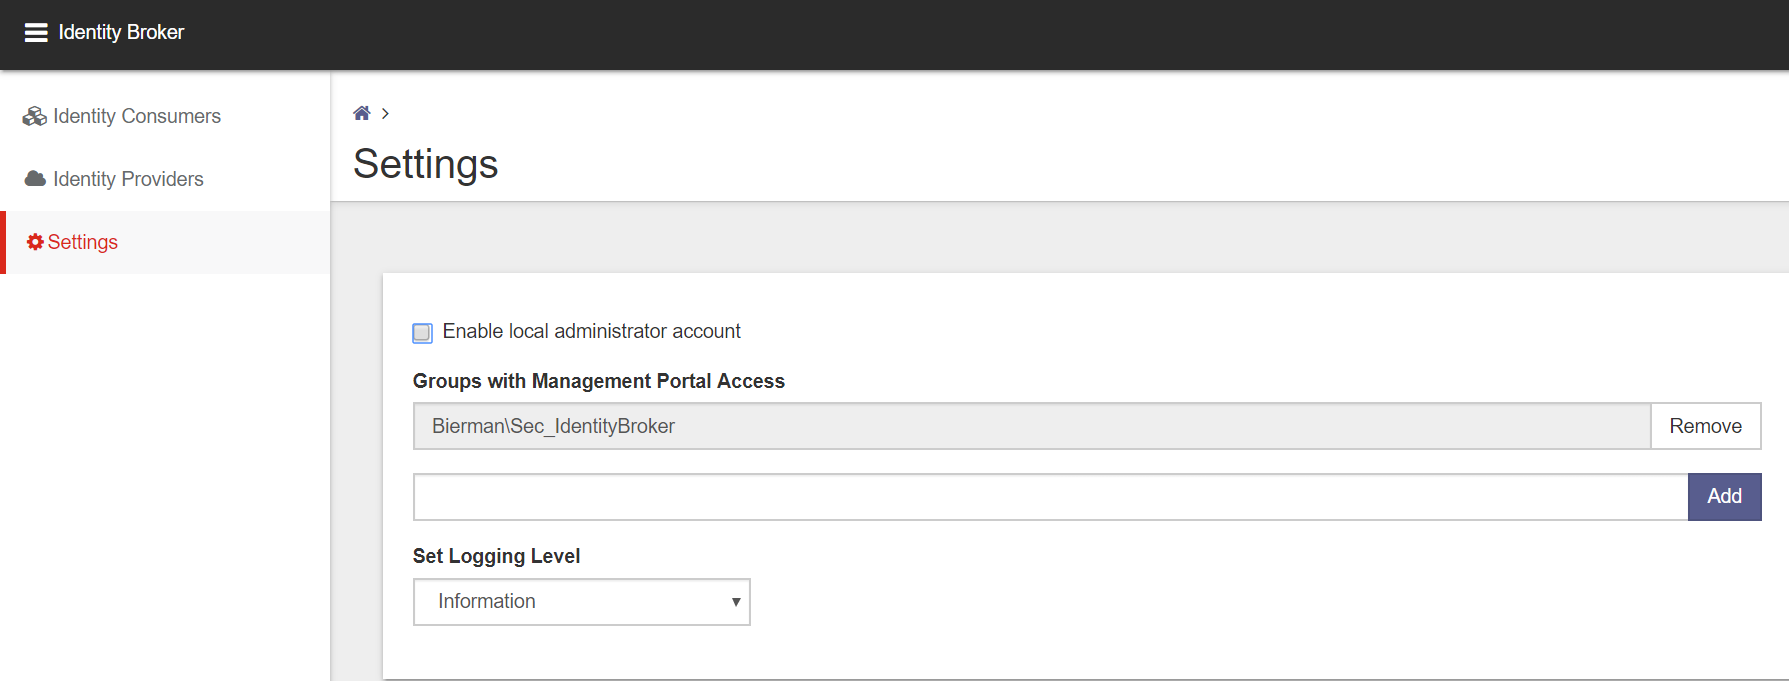
Create a Domain Group with users allowed access to the Ivanti Identity Broker Management Portal.
(i.e. Sec_IdentityBroker).
Go to the Settings option and add the new created Domain Group to the field Groups with Management Portal Access.
Note: Because Identity Broker has no direct connection to Active Directory, groups cannot be validated when adding them.
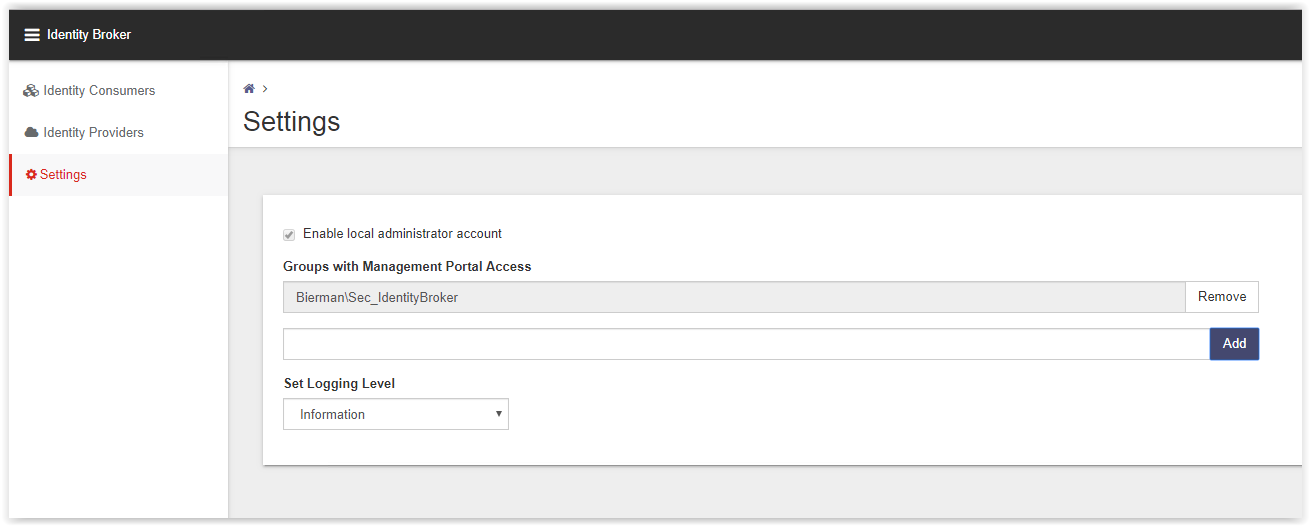
Click Add to add the Domain Group and Save in the bottom to store the changed configuration.
Go to the Identity Providers to create the ADFS Provider. In the list the AD Authentication and Windows Authentication are already created by the installers during the installation.
Click Add on the bottom of the page (see arrow).

The New Provider page appears. Select the option Active Directory Federation Services from the Type drop-down list.
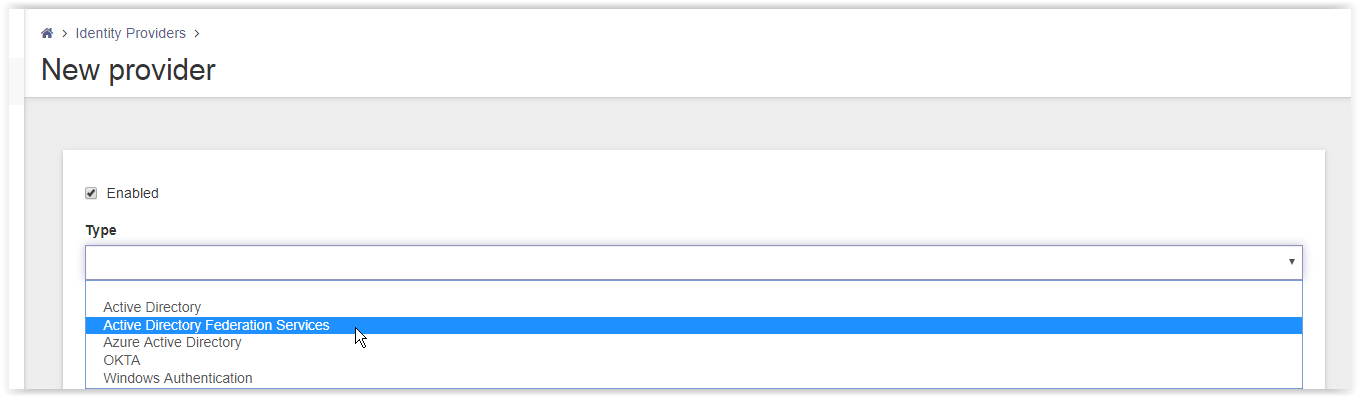
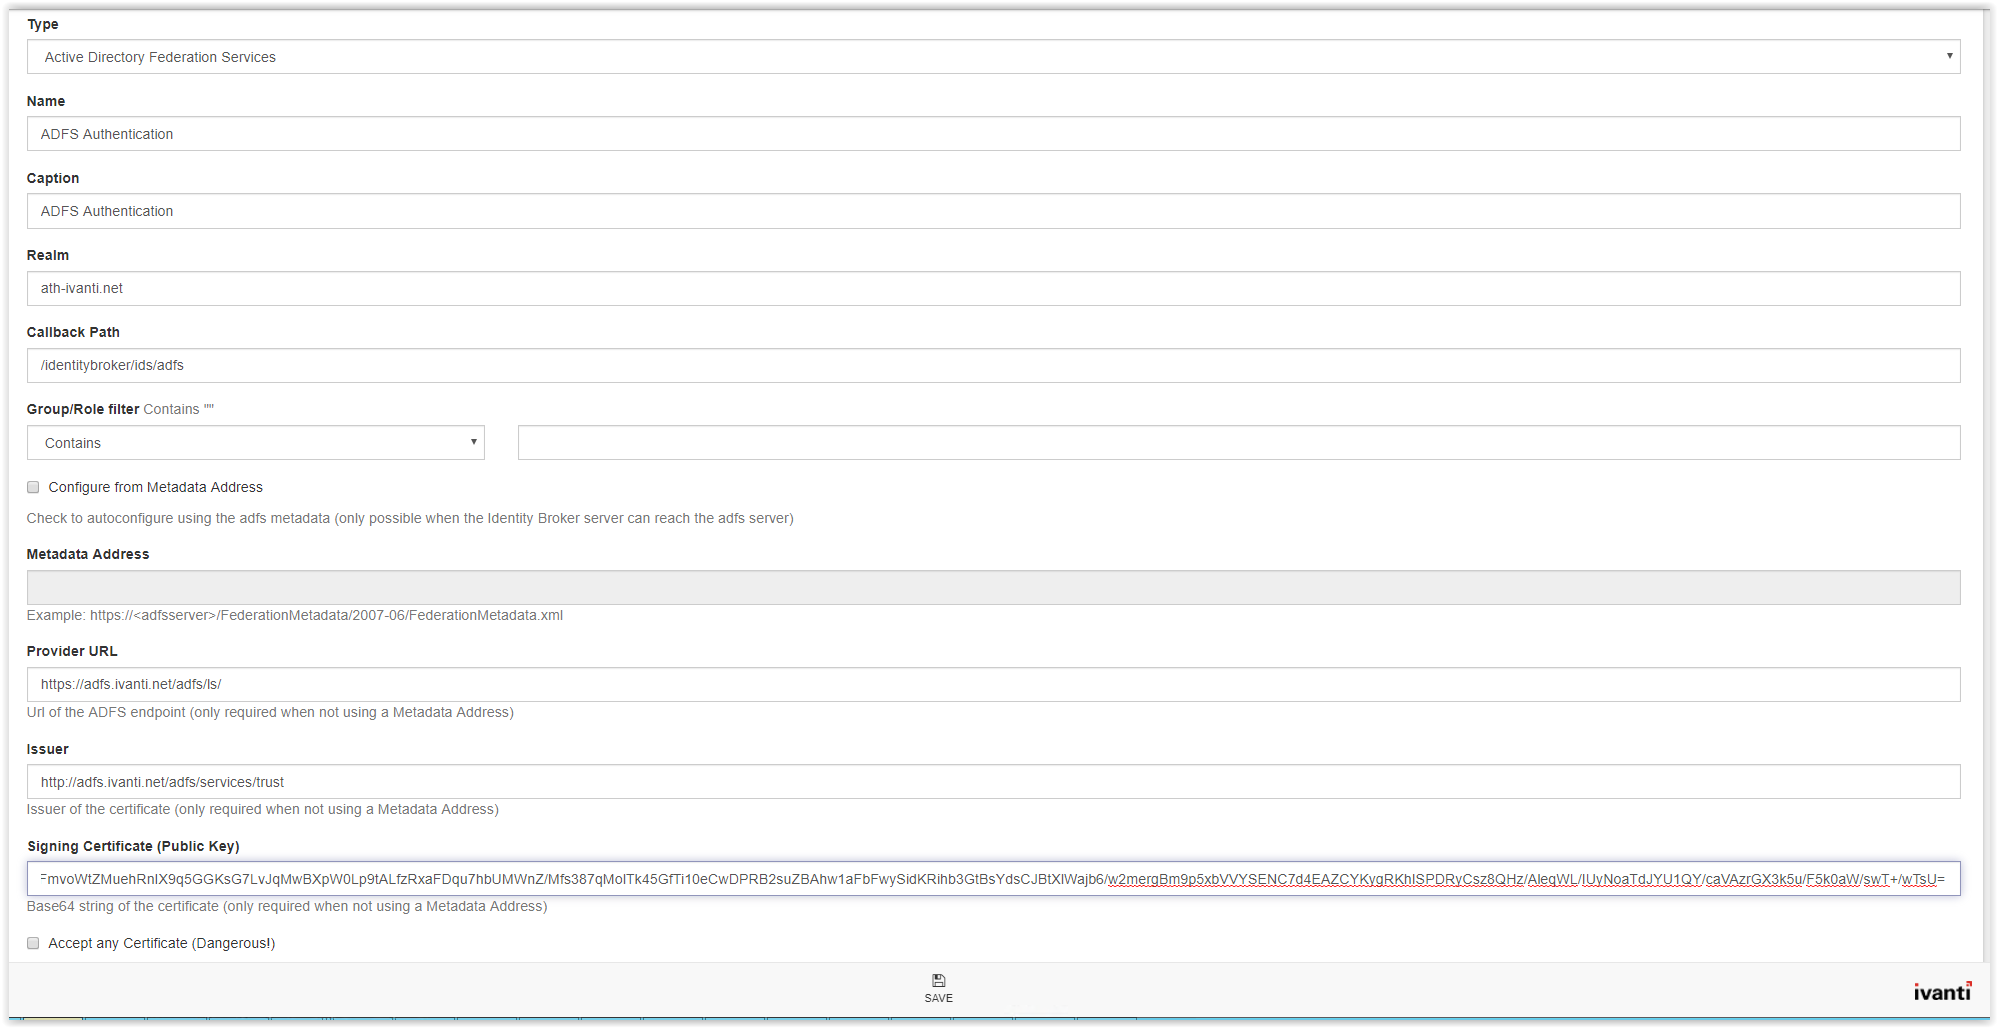
After the template is loaded the page shows a lot of fields to fill.
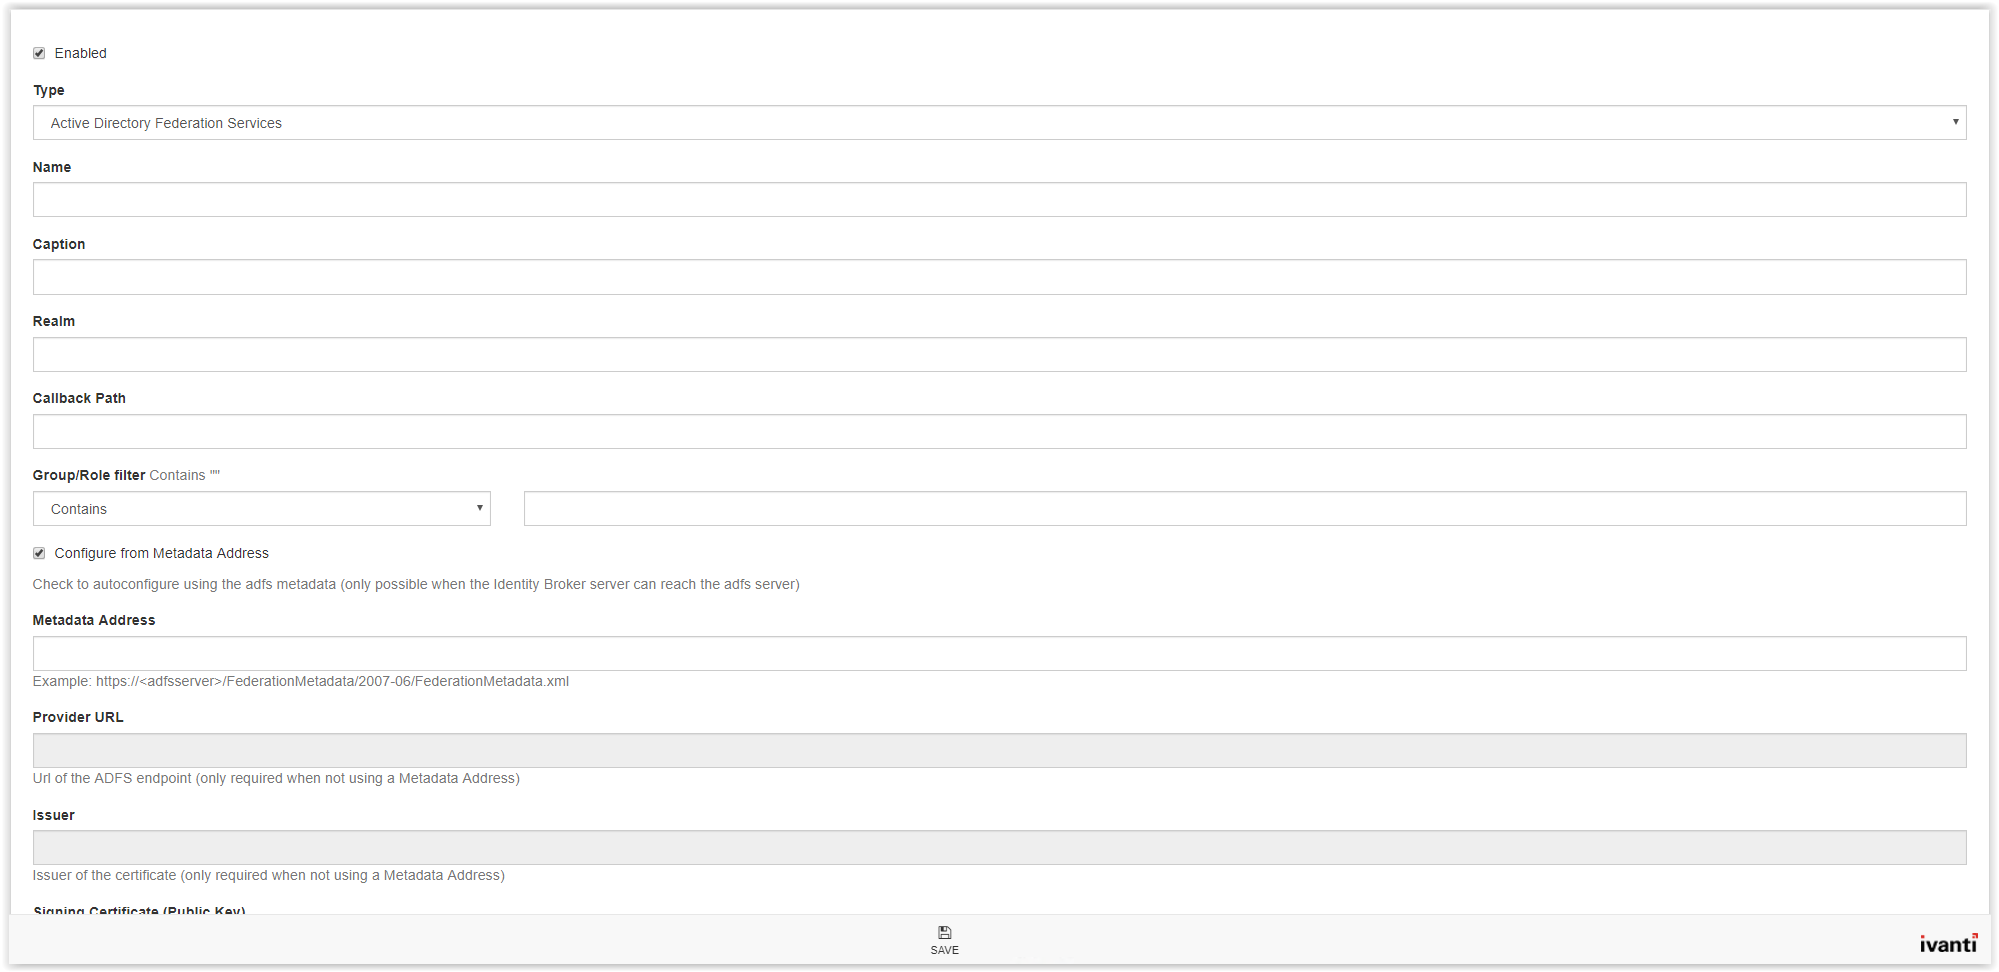
In the Name field type a name (i.e. ADFS Authentication). In the Caption field enter a name which is shown on the logon screen. Copy/paste the Name field to use the Name also in the Caption field.
The REALM value is the identifier in the Ivanti Identity Broker created Relying Trust Party in the ADFS Management Console (see arrow). Type the Identifier value to the REALM field.

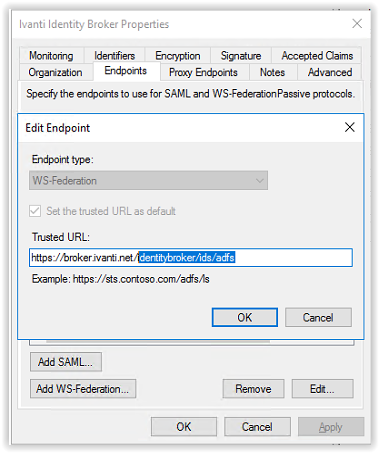
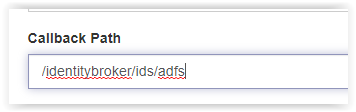
Next step is the Callback Path. This is the Trusted URL in the Ivanti Identity Broker Relying Trust Party.
We only need the value behind the FQDN. In the Trusted URL the value is:
https://broker.ivanti.net/identitybroker/ids/adfs
Copy only /identitybroker/ids/adfs and paste this in the Callback Path filed.
In this document we don’t describe the use of Group/Role filters. Leave this field empty.
There are 2 options to configure the Metadata.
- Configure from the Metadata Address (only possible when the Identity Broker can reach the ADFS Endpoint server)
- Configure the Metadata manual (needed when the Identity Broker can’t reach the ADFS Endpoint server)
This document describes both scenarios.
When using the Metadata Address type the following link in the field Metadata Address.
https://<FQDN>/FederationMetadata/2007-06/FederationMetadata.xml
where FQDN is the URI to the ADFS server (i.e. https://adfs.ivanti.net/)
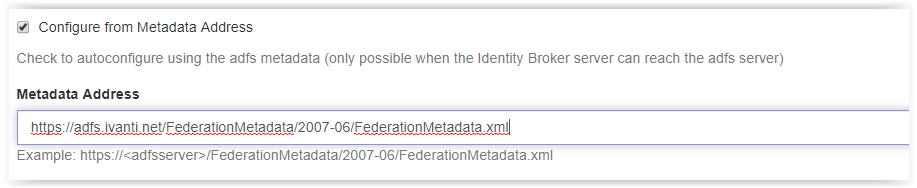
Click Save on the bottom of the page to store the configuration.
When using the manual settings, the following fields need to configured manually:
- Provider URL
- Issuer
- Signing Certificate (Public Key)
On a server which can connect to the ADFS server paste the Metadata Address in a webbrowser.

Some web browser asks you to save the file some shows the XML file. When the XML file is downloaded (Google Chome) open the file in Internet Explorer (default for XML files) or a text editor.
File looks like screenshot below:
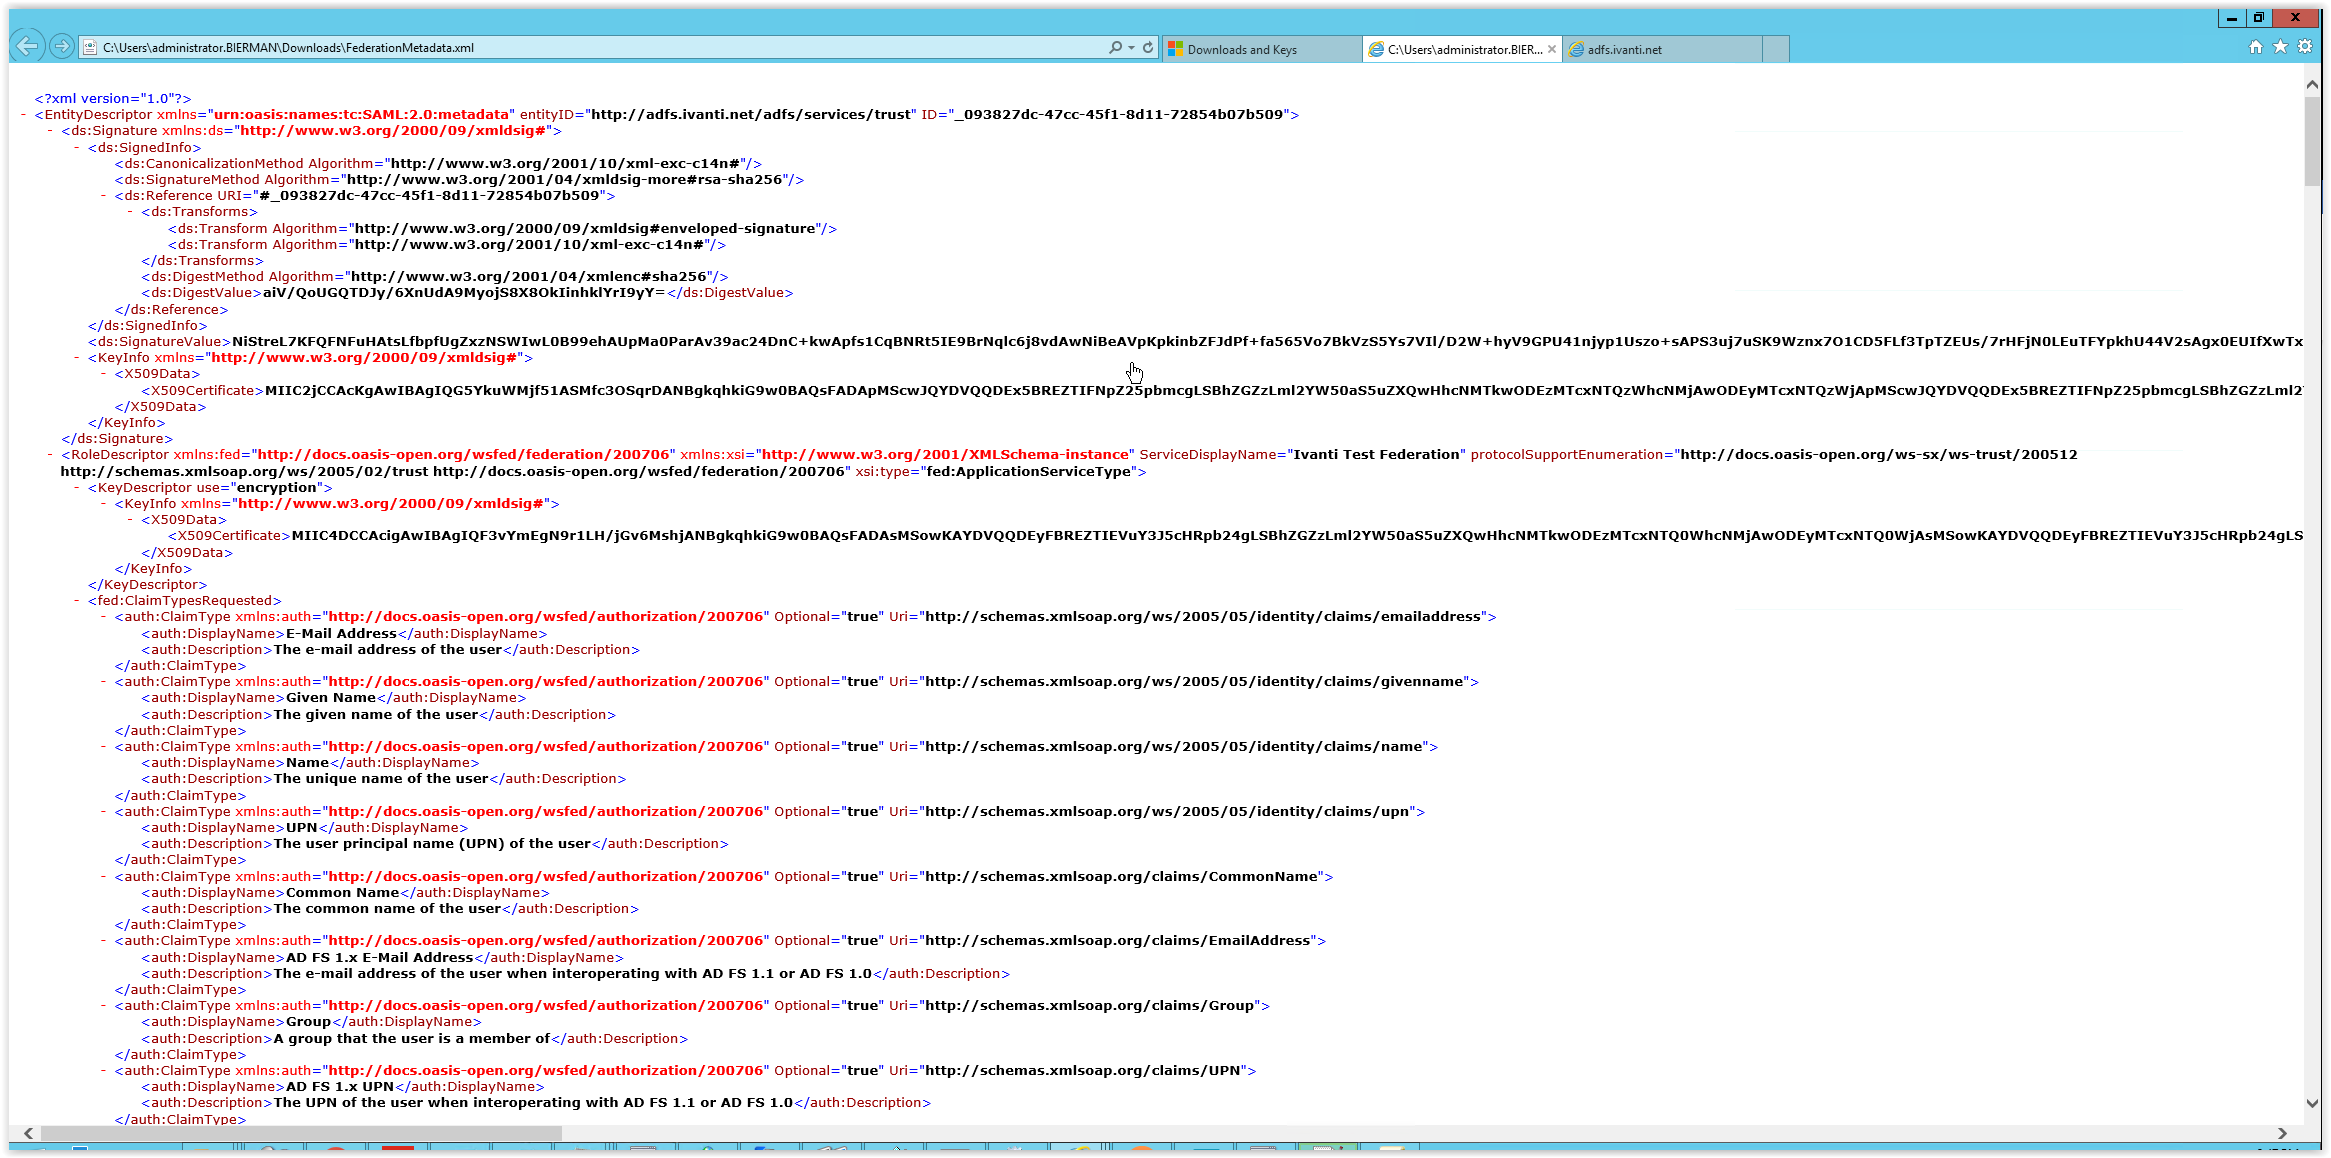
Search in the file for the Endpoint Reference. See the XML steps below and are in the FederationMetadata.xml file
<EntityDescriptor …>
<RoleDescriptor>
<fed:PassiveRequestorEndpoint>
<EndpointReference>
<Address>URL</Address>

Copy/Paste the Address value in the Provider URL.

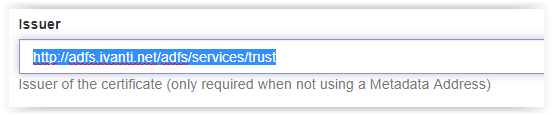
Next search is for EntityID in the XML file.
<EntityDescriptor entityID=”Value“>

Copy the URL from the XML file in the field Issuer. If copy/paste doesn’t work just type the URL.
http://<FQDN ADFS Server>/adfs/services/trust
The last search in the XML file is for the Signing Certificate.
<EntityDescriptor …>
<ds:Signature>
<KeyInfo>
<X509Data>
<X509Certificate>Data</X509Certificate>

Copy the full X509Certificate data to the Signing Certificate field.

After finishing the configuration, the configuration looks familiar like the screenshot below. Click Save to store the configuration.
Log in to Ivanti Identity Broker with ADFS Authentication
After saving the configuration for the ADFS Provider the configuration can be tested.
Click on the  in the right top corner and select Sign Out.
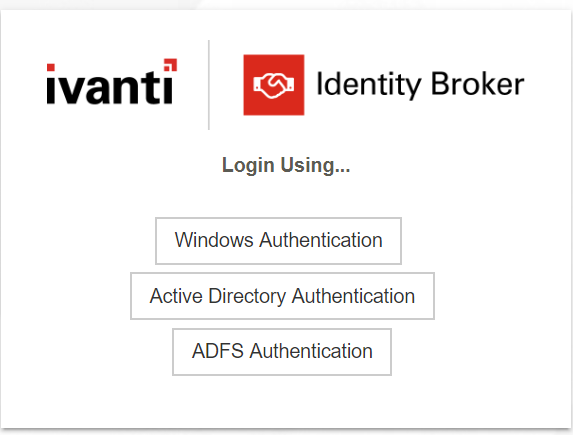
In the next screen we click on the button Sign in.
In the option Login Using… a new provider is shown. Click on the ADFS Authentication button to login with ADFS Authentication.
Identity Broker is forwarded to the ADFS Login Screen.
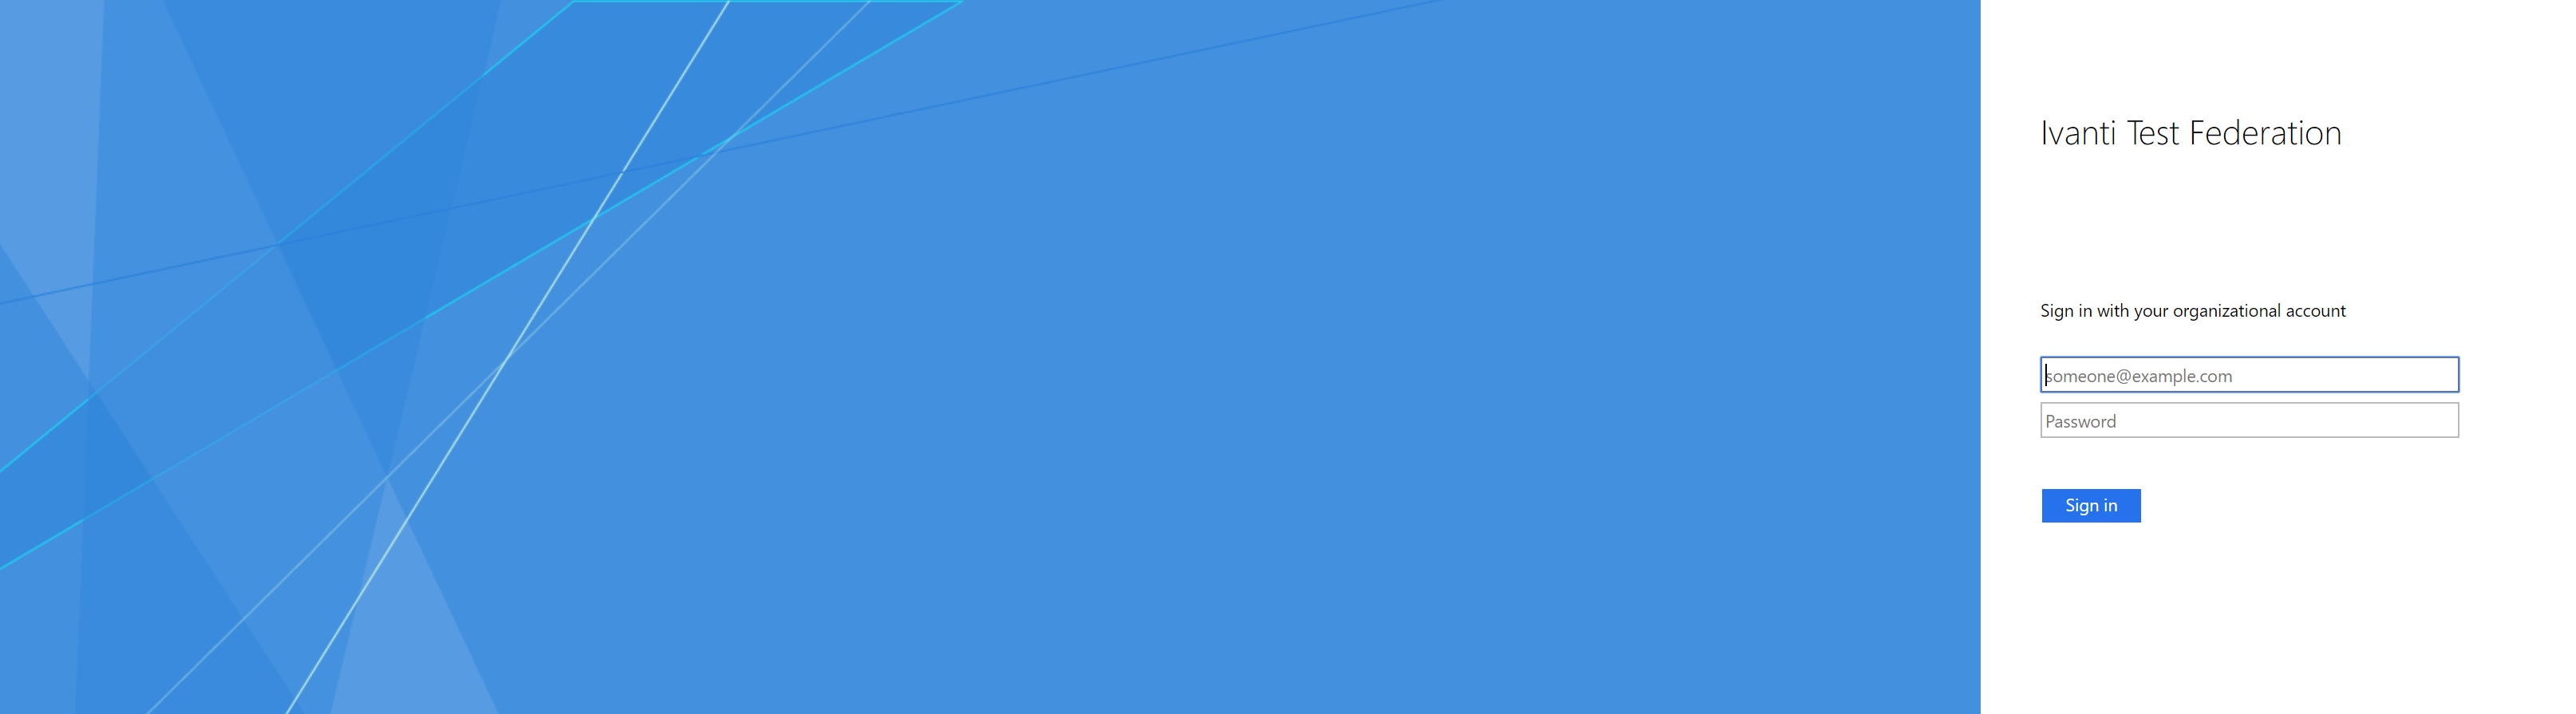
Login with an account which is member of the Sec_IdentityBroker group. Use the UPN format to logon (i.e. admin@ivanti.lan).
After the authentication is successful ADFS is redirected to the Ivanti Identity Broker Management Portal.
When the login is successful disable the Local Administrator Account in the Settings.
Click Save on the bottom on the page to store the configuration.
Open htpps://<Identity Broker FQDN/identitybroker and login with an account with ADFS authentication.
Check the Local Administrator Login is removed after removing the option.
When the Windows Authentication and Active Directory Authentication are not used disable both Providers. Go to Identity Providers and select both Providers.
- idB AD Authentication
- idB Windows Authentication
Unselect the option at Disabled and click Save in the bottom of the page. Execute this for both Identity Providers. When only one Identity Provider is available the authentication method is automatically chosen and continues with the Identity Provider. The Login Using… screen is not disabled when one Identity Provider is available.
Create Consumers for Ivanti Identity Director Management Portal and Web Portal
Note: This chapter assumes Ivanti Identity Director is installed and operational.
Consumer for Ivanti Identity Director Management Portal
Login to the Ivanti Identity Broker and click on Identity Consumer. Because this is the first option in the menu the Identity Consumer is default opened.

For the Ivanti Identity Director Management Portal and Web Portal we need to create 2 additional Identity Consumers.
Click Add on the bottom of the page to create a new Identity Consumer. Starting with the Ivanti Identity Director Management Portal.

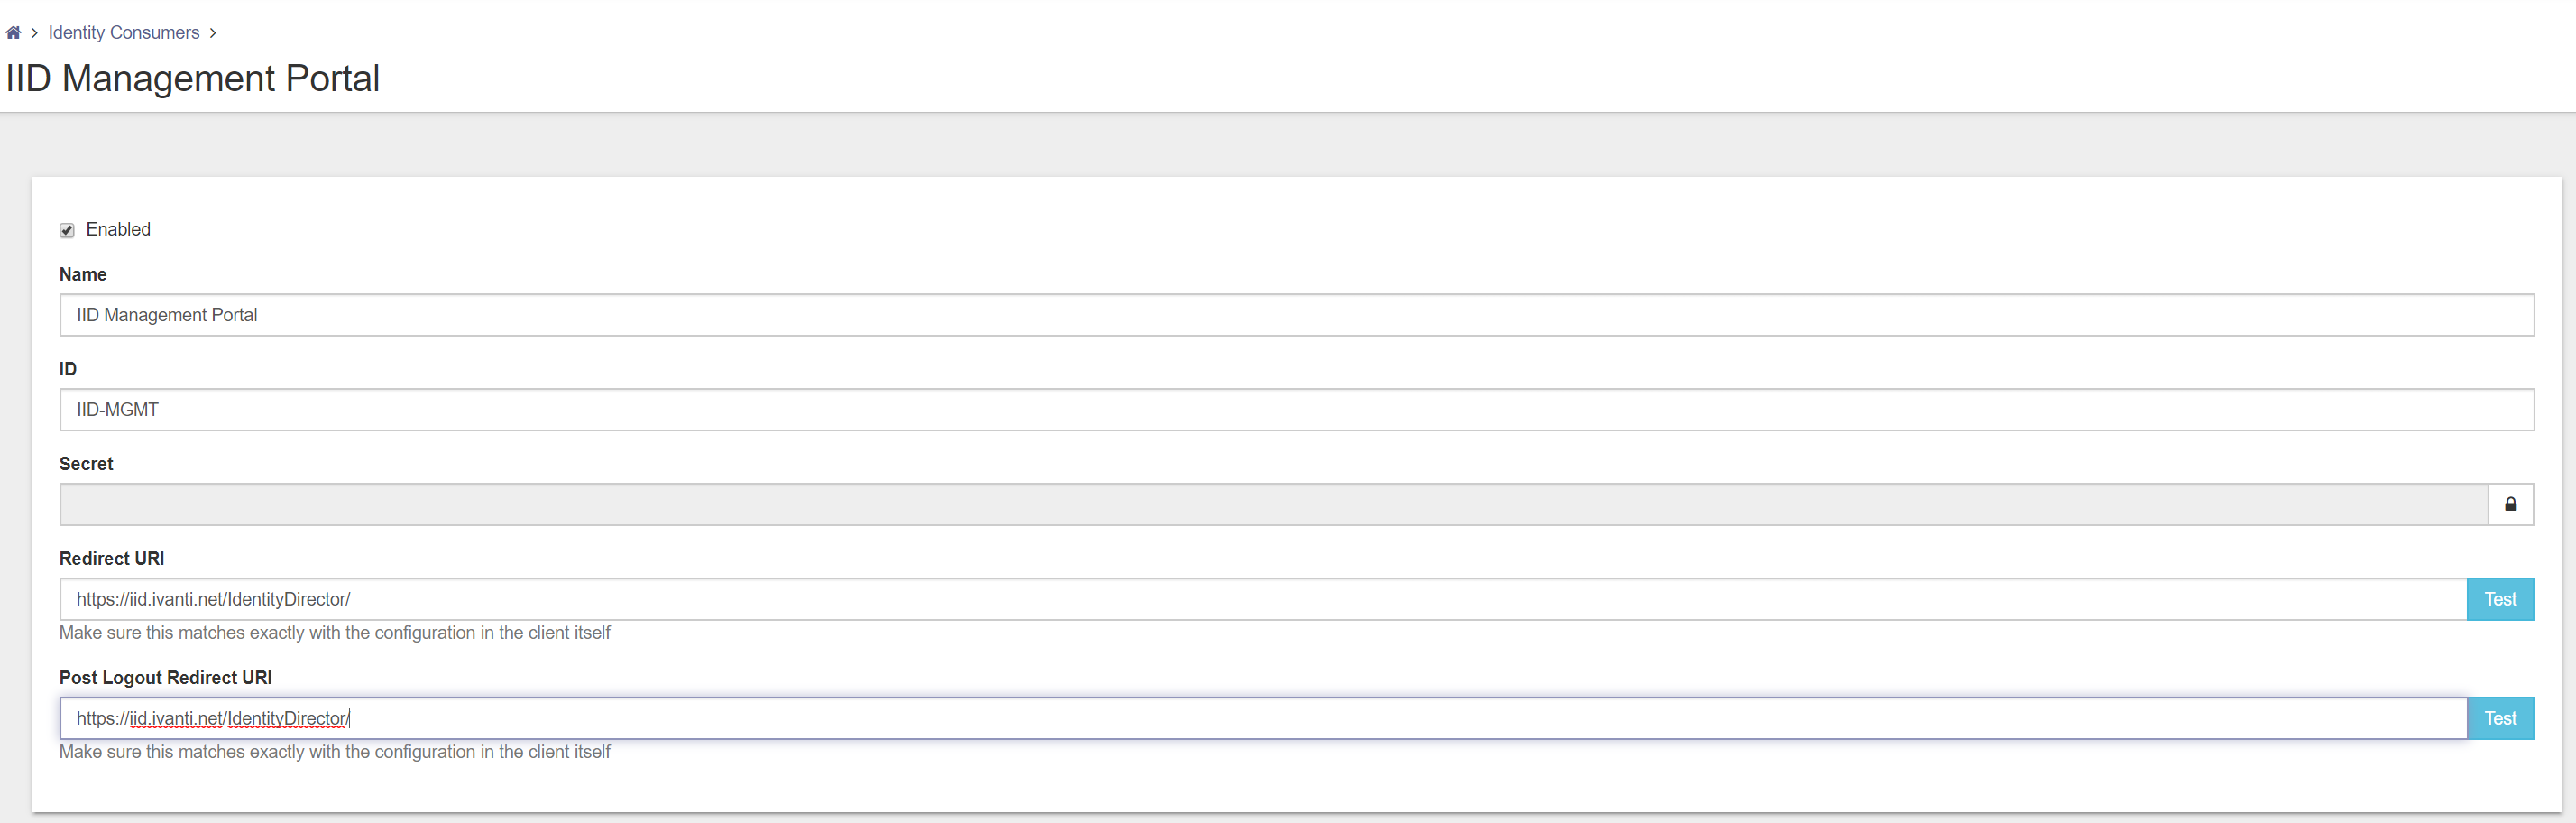
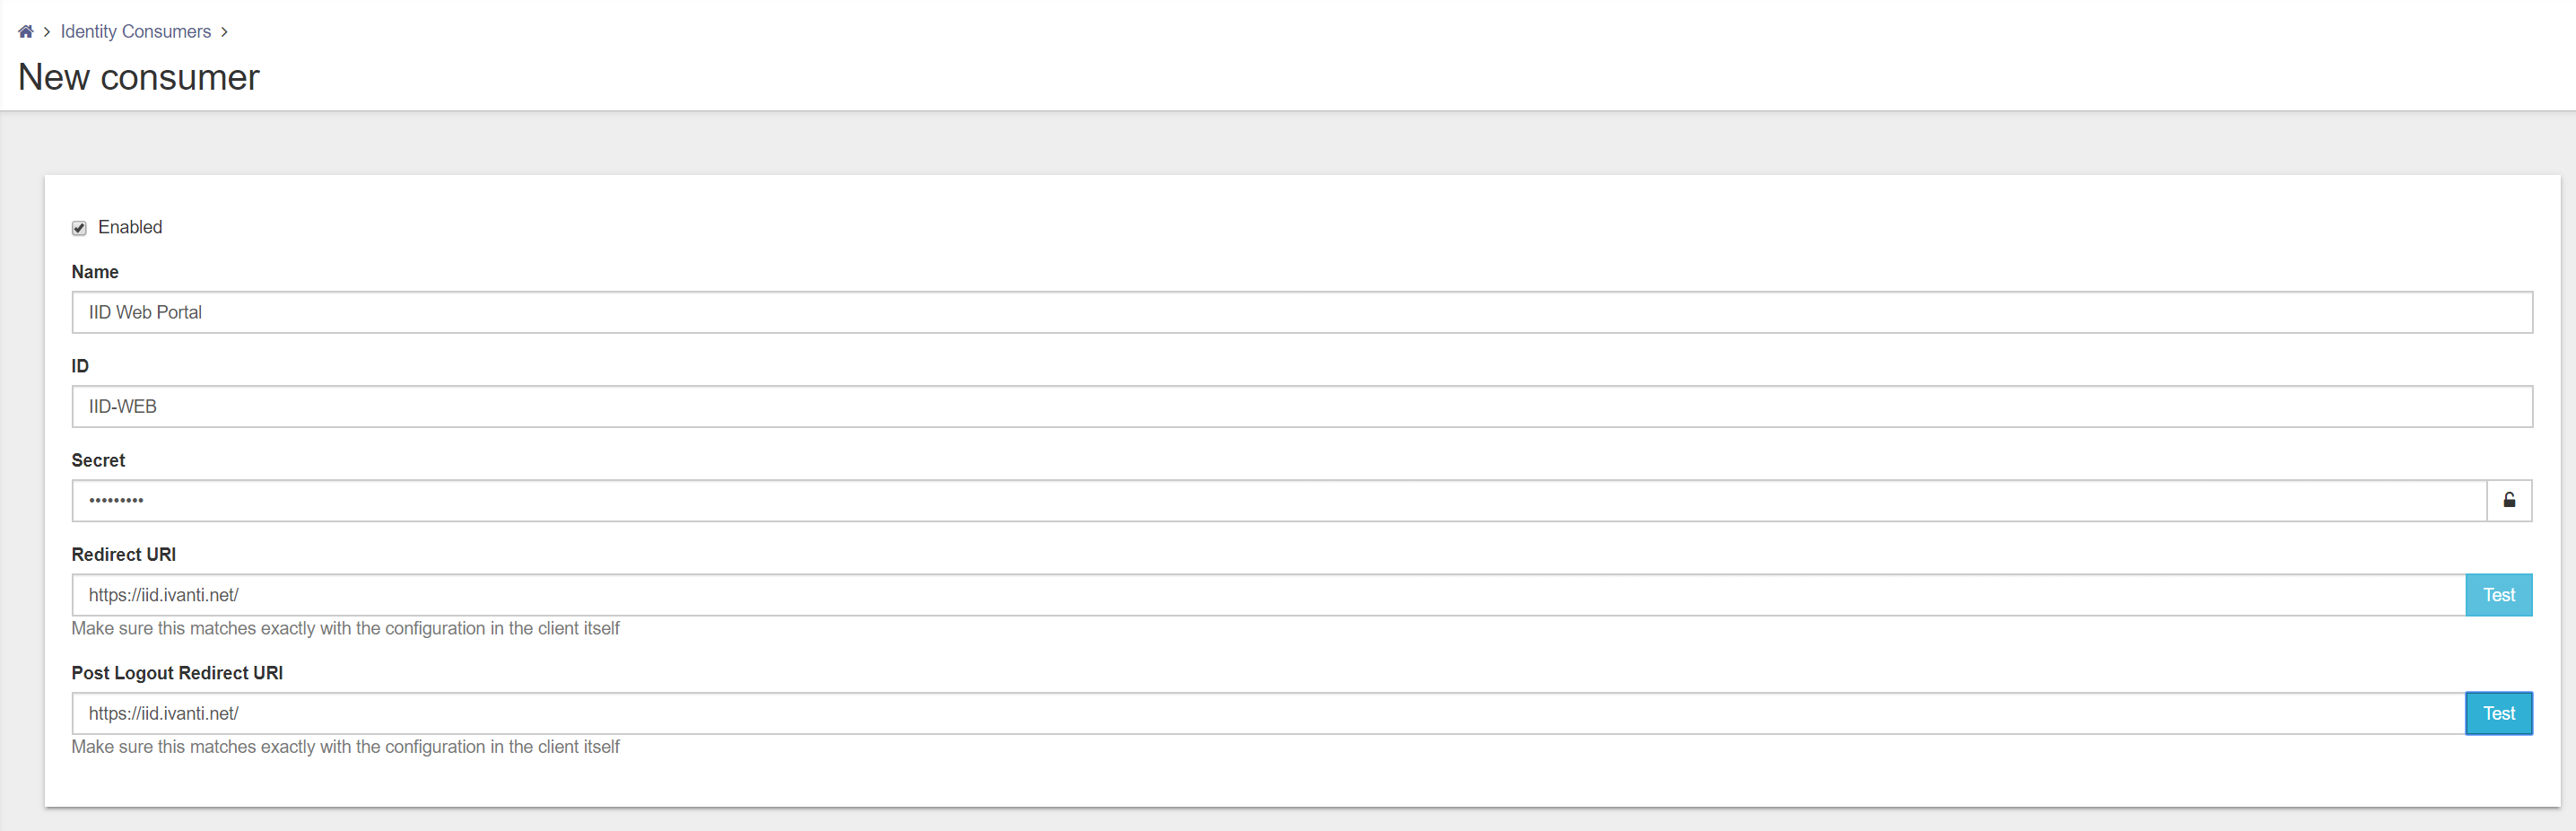
The following fields are available for creating a new Identity Consumer.
- Name
- ID
- Secret
- Redirect URI
- Post Logout Redirect URI
Name – Give the Identity Consumer a logical name (i.e. IID Management Portal)
ID – Give the Identity Consumer an unique ID (i.e. IID-MGMT)
Secret – Give a password or private key to authenticate the Identity Consumer
Redirect URI – Specify the URI of the portal that will be using the authentication
(i.e. https://<IID FQDN>/IdentityDirector/)
Note: Uppercase and lowercase is very important also the slash (/) at the end.
Post Logout – This field will be pre-filled with the value you entered at Redirect URI.
Redirect URI
Fill in all the fields and press Test behind the Redirect URI to test the connection. When Test successful click on Save on the bottom of the page to store the configuration.
Click on the Identity Consumer and check if the new created Identity Consumer is created.

Next step is configuring the Identity Broker settings the Ivanti Identity Director Management Portal. Open the Ivanti Identity Director Management Portal.
(i.e. https://<IID MGMT Portal FQDN>/IdentityDirector)
Login with the right credentials and click Sign In to continue.
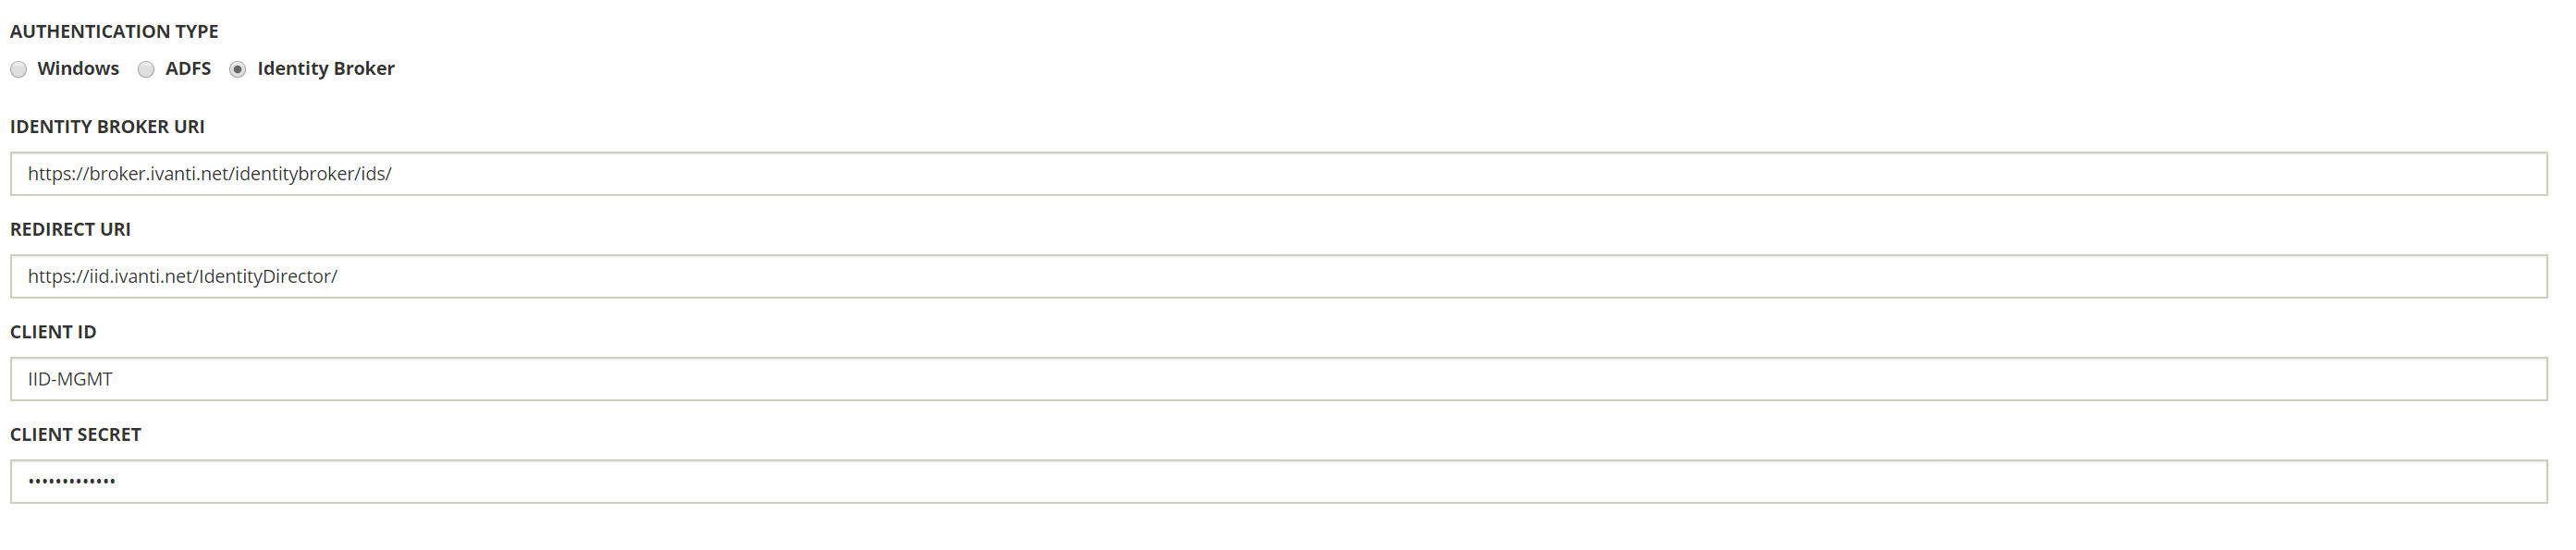
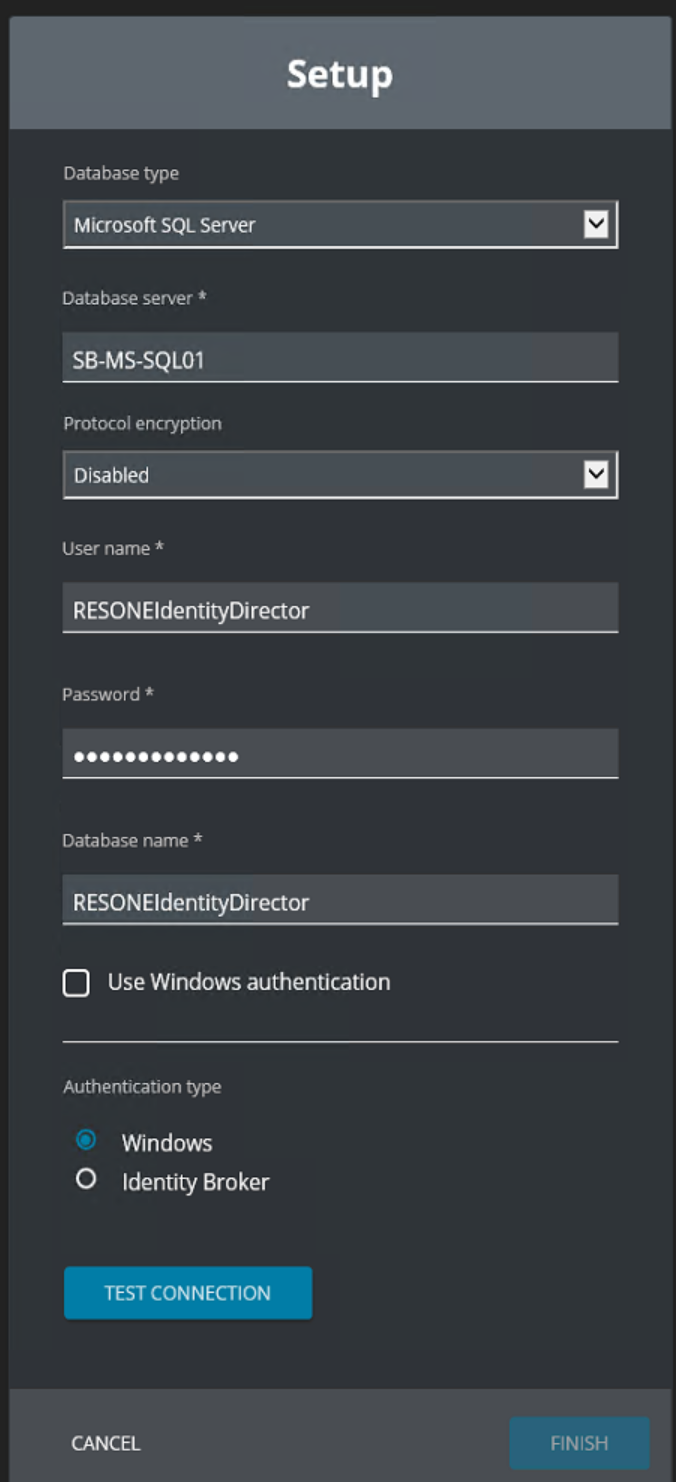
Go to Setup – Datastore – Authentication Type. Select the type Identity Broker.
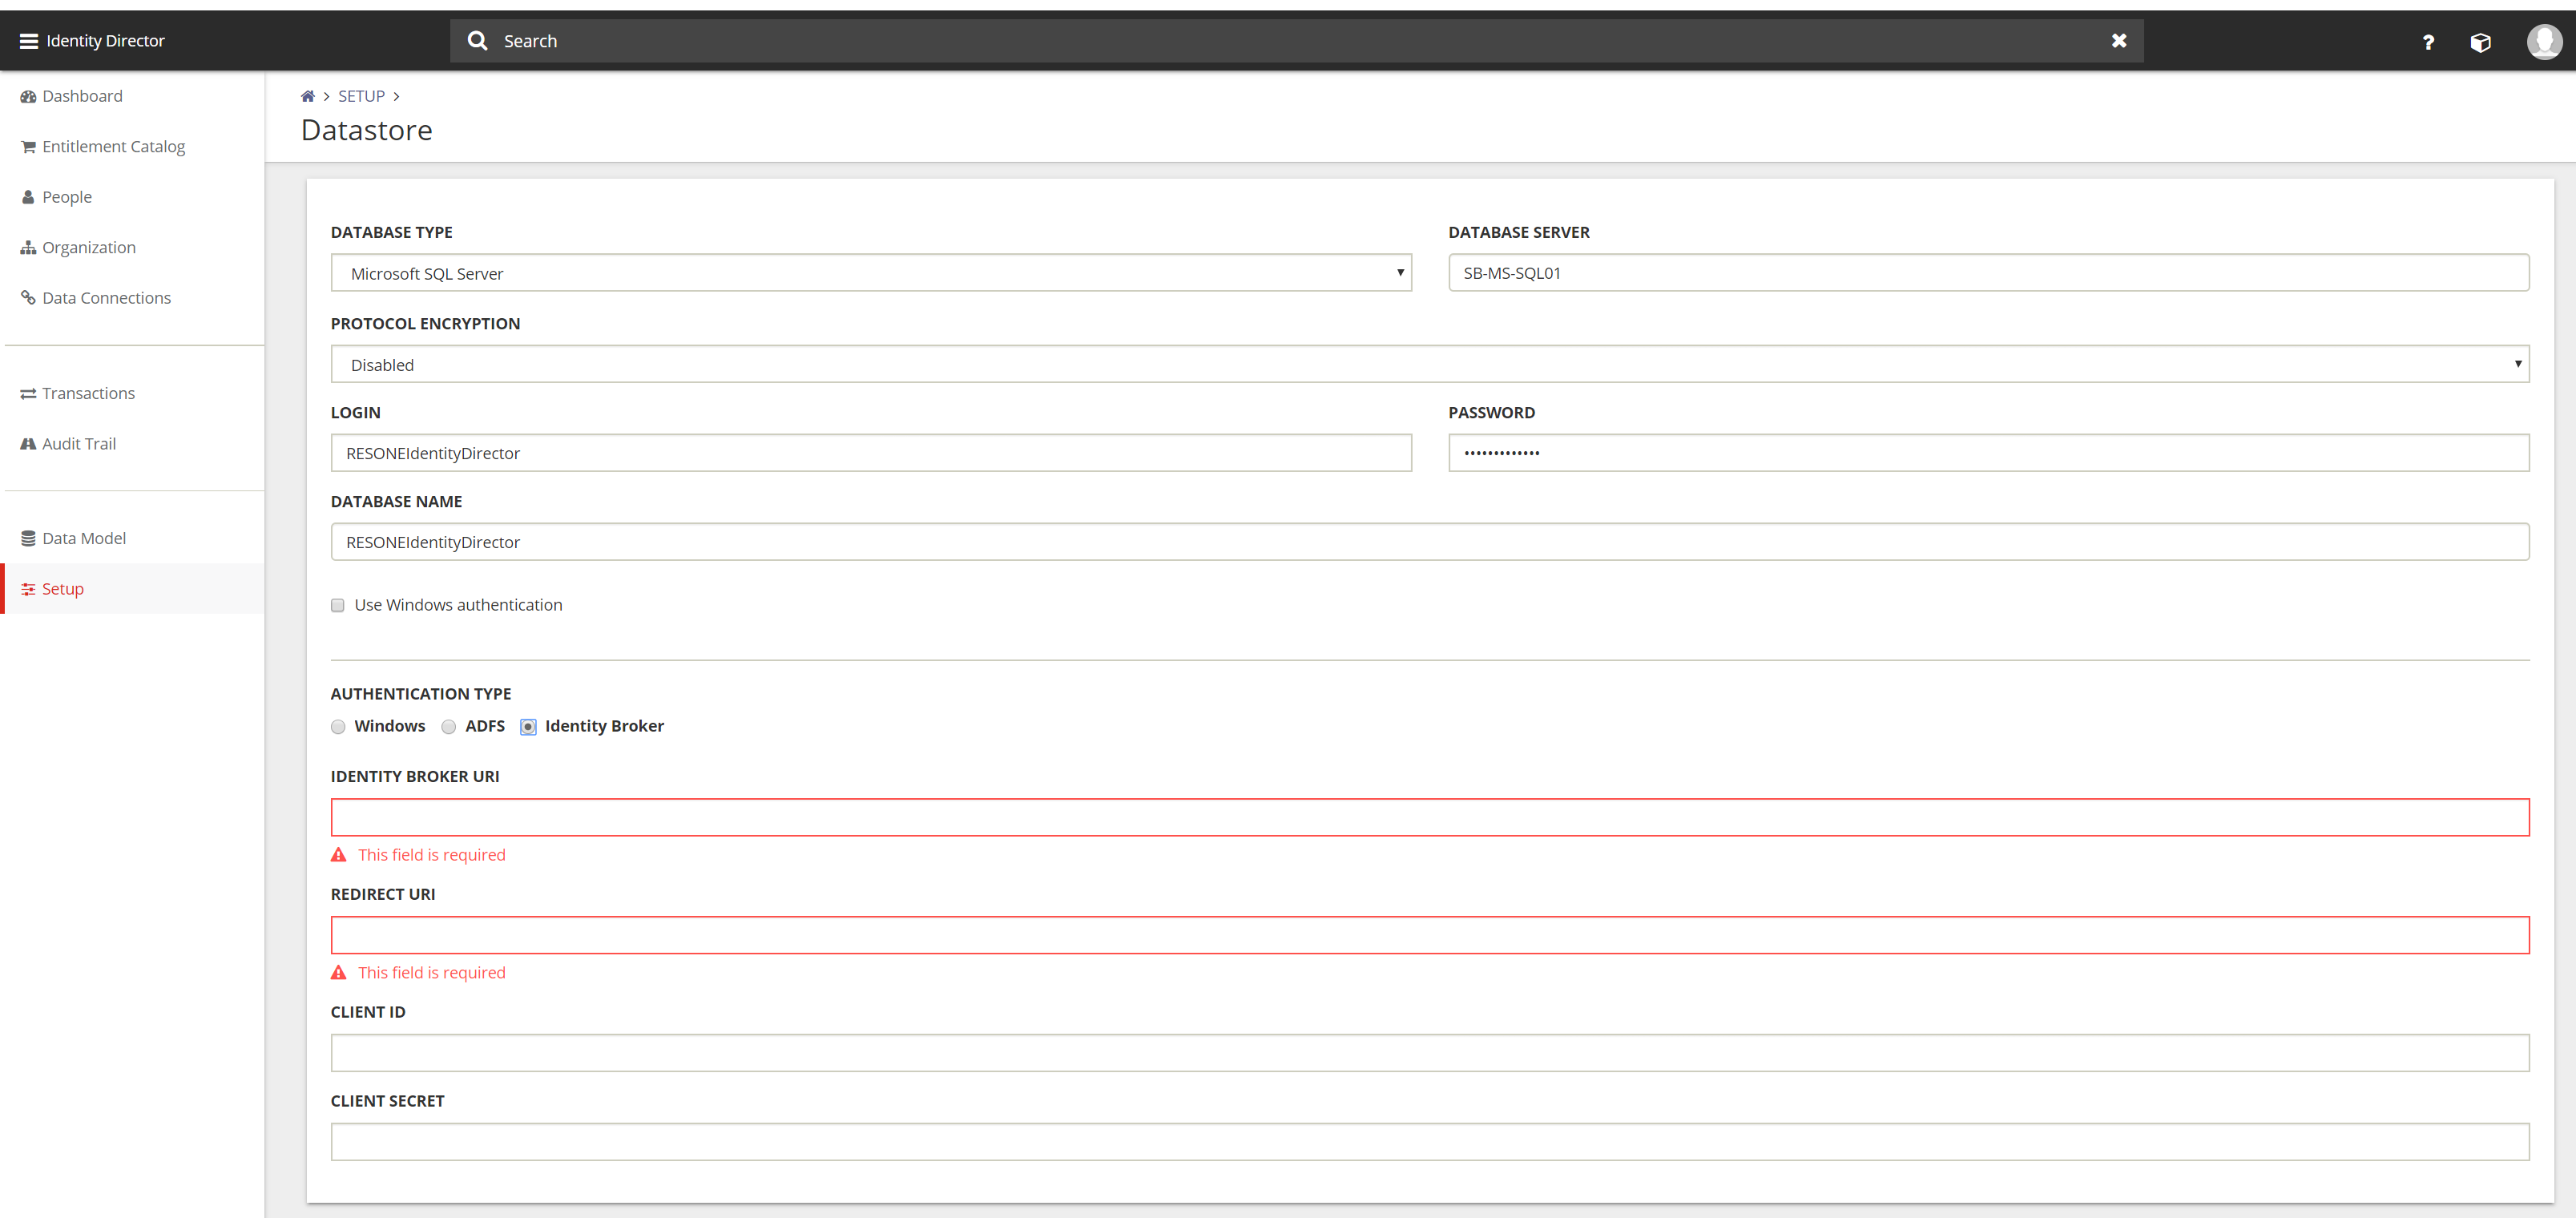
After selecting the authentication type Identity Broker 4 fields are shown.
- Identity Broker URI
- Redirect URI
- Client ID
- Client Secret
Identity Broker URI – https://<IB FQDN>/identitybroker/ids/
(i.e. https://broker.ivanti.net/broker/ids/)
Redirect URI – https://<IID MGMT Portal FQDN>/IdentityDirector/
(i.e. https://iid.ivanti.net/IdentityDirector/)
Client ID – Type the Client ID configured in Identity Broker. In this document
IID-MGMT.
Client Secret – Enter the password or private key configured in Identity Broker.
The slash (/) on the end of both URI’s are very important.
On the bottom of the page select Test Connection  . The button tests the connection to the datastore and not the Identity Broker connection.
Click Save to store the configuration. After saving the configuration the Management Portal will logoff and redirected to the logon screen.
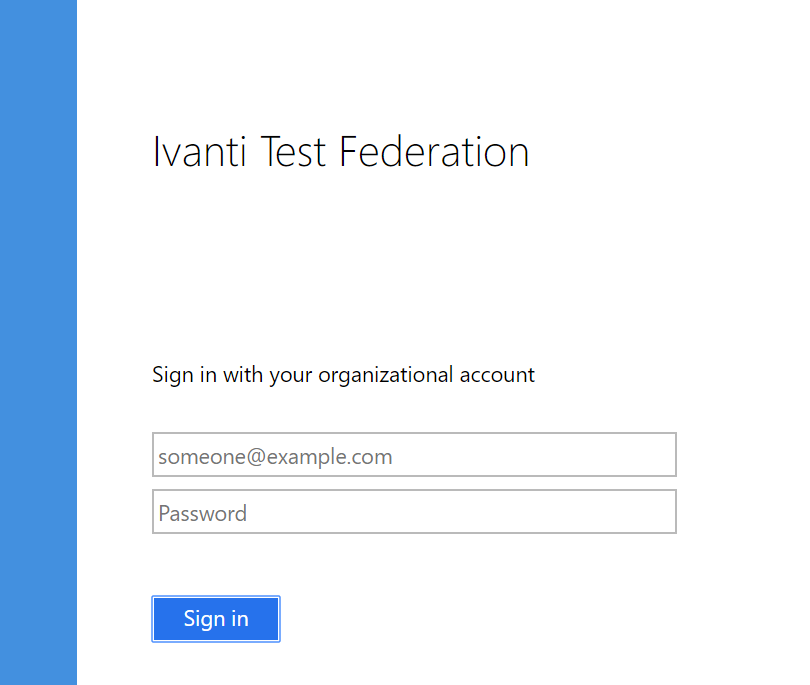
When the logon screen is redirected to the logon screen of ADFS Authentication is shown instead of the Ivanti Identity Director logon screen. Logon with a Domain Account in UPN or Windows User Account format.
UPN – username@domainname.net
Windows User Account – domainname\username
The Identity Broker configuration with ADFS is now configured for the Ivanti Identity Director Management Portal.
In the Setup – Datastore an option to directly use the ADFS Authentication. This option is currently under investigation with software engineering because we found some issues in the store process.
Consumer for Ivanti Identity Director Web Portal
Login to the Ivanti Identity Broker and click on Identity Consumer. Because this is the first option in the menu the Identity Consumer is default opened.

Click Add on the bottom of the page to create a new Identity Consumer. After creating the Ivanti Identity Director Management Portal the Ivanti Identity Director Web Portal need to be created.

The following fields are available for creating a new Identity Consumer.
- Name
- ID
- Secret
- Redirect URI
- Post Logout Redirect URI
Name – Give the Identity Consumer a logical name (i.e. IID Web Portal)
ID – Give the Identity Consumer an unique ID (i.e. IID-WEB)
Secret – Give a password or private key to authenticate the Identity Consumer
Redirect URI – Specify the URI of the portal that will be using the authentication
(i.e. https://iid.ivanti.net >/)
Note: Uppercase and lowercase is very important also the slash (/) at the end.
Post Logout – This field will be pre-filled with the value you entered at Redirect URI.
Redirect URI
Fill in all the fields and press Test behind the Redirect URI to test the connection. When Test successful click on Save on the bottom of the page to store the configuration.
Click on the Identity Consumer and check if the new created Identity Consumer is created.
Next step is configuring the Identity Broker settings in the Ivanti Identity Director Web Portal.
Open the URI https://<IID FQDN/Setup (i.e. https://iid.ivanti.net/setup) on a server with the Ivanti Identity Director Web Portal installed. It’s not possible to open the Ivanti Identity Director Web Portal Setup on another device.
Select the Authentication Type Identity Broker.
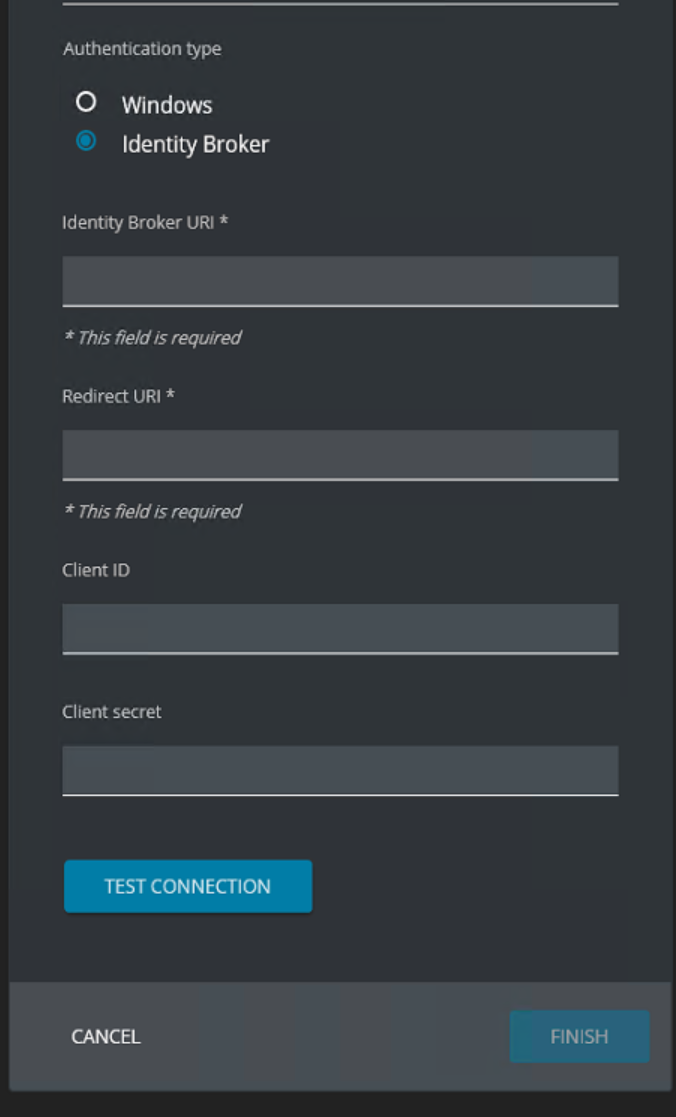
After selecting the authentication type Identity Broker 4 fields are shown.
- Identity Broker URI
- Redirect URI
- Client ID
- Client Secret
Identity Broker URI – https://<IB FQDN>/identitybroker/ids/
(i.e. https://broker.ivanti.net/identitybroker/ids/
Redirect URI – https://<IID Web Portal FQDN>/
(i.e. https://iid.ivanti.net/
Client ID – Type the Client ID configured in Identity Broker. In this document
IID-WEB.
Client Secret – Enter the password or private key configured in Identity Broker.
The slash (/) on the end of both URI’s are very important.
After adding the Ivanti Identity Broker settings the configuration looks like below screenshot.
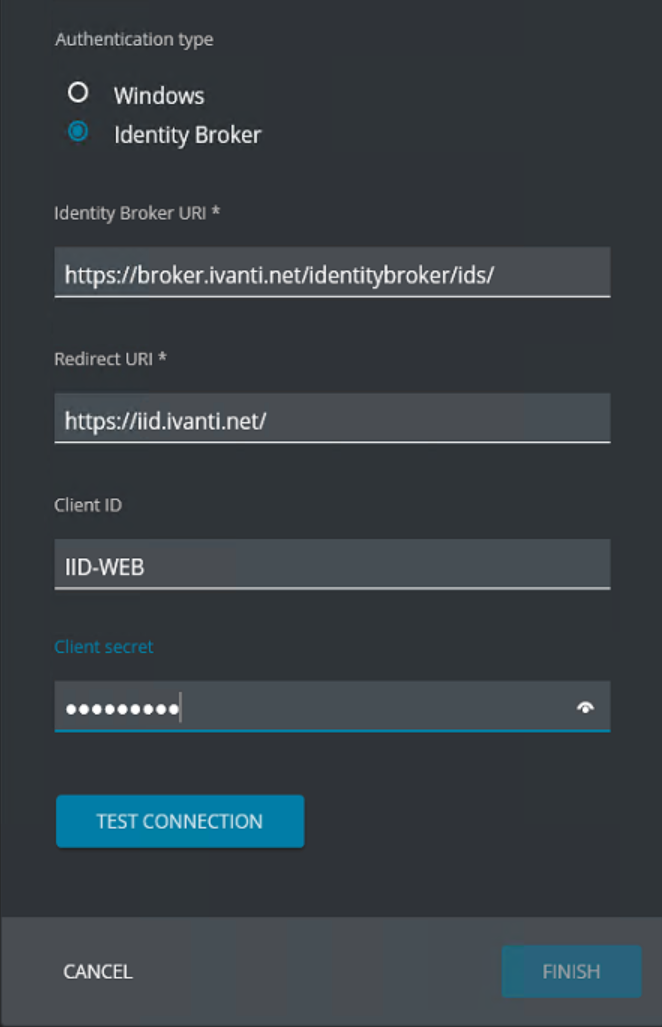
Click Test Connection and when Connection was successful shows click Finish. The Finish button is grayed-out before the Test Connection is executed.
The Test Connection button is not checking the Ivanti Identity Broker configuration but only the datastore connection.
Open the URI to the Ivanti Identity Director Web Portal (i.e. https://iid.ivanti.net). Click Sign In to continue with the ADFS authentication.
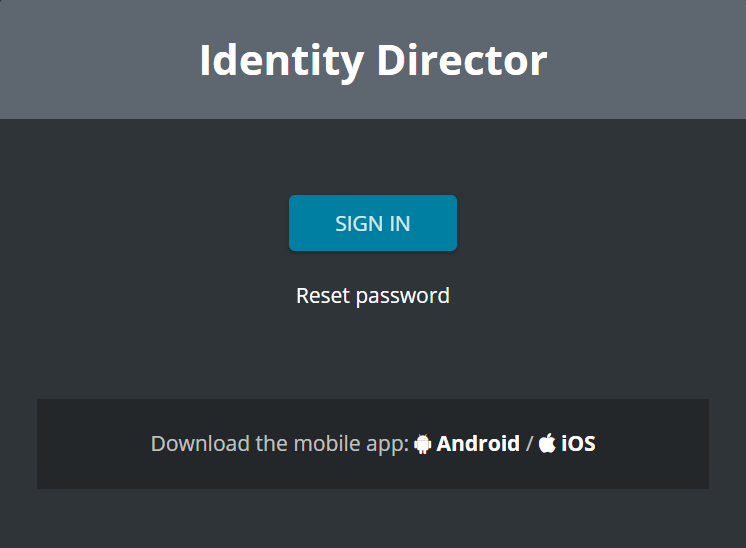
When the logon screen is redirected to the logon screen of ADFS Authentication is shown instead of the Ivanti Identity Director logon screen.

Logon with a Domain Account in UPN or Windows User Account format.
UPN – username@domainname.net
Windows User Account – domainname\username
When the authentication is successful the Ivanti Identity Director Web Portal is shown. In the screenshot the user is qualified for any services.

Additional Ivanti Identity Broker for the Ivanti Automation Management Portal
Enabling ADFS authentication through the Ivanti Identity Broker needs the installation of Ivanti Automation Management Portal. The installation and configuration of the Ivanti Automation Management Portal isn’t discussed in this document.
Login to the Ivanti Identity Broker Management Portal. Default the Identity Consumers are shown.
Select Add on the bottom of the page to create a new Identity Consumer.

The following fields are available for creating a new Identity Consumer.
- Name
- ID
- Secret
- Redirect URI
- Post Logout Redirect URI
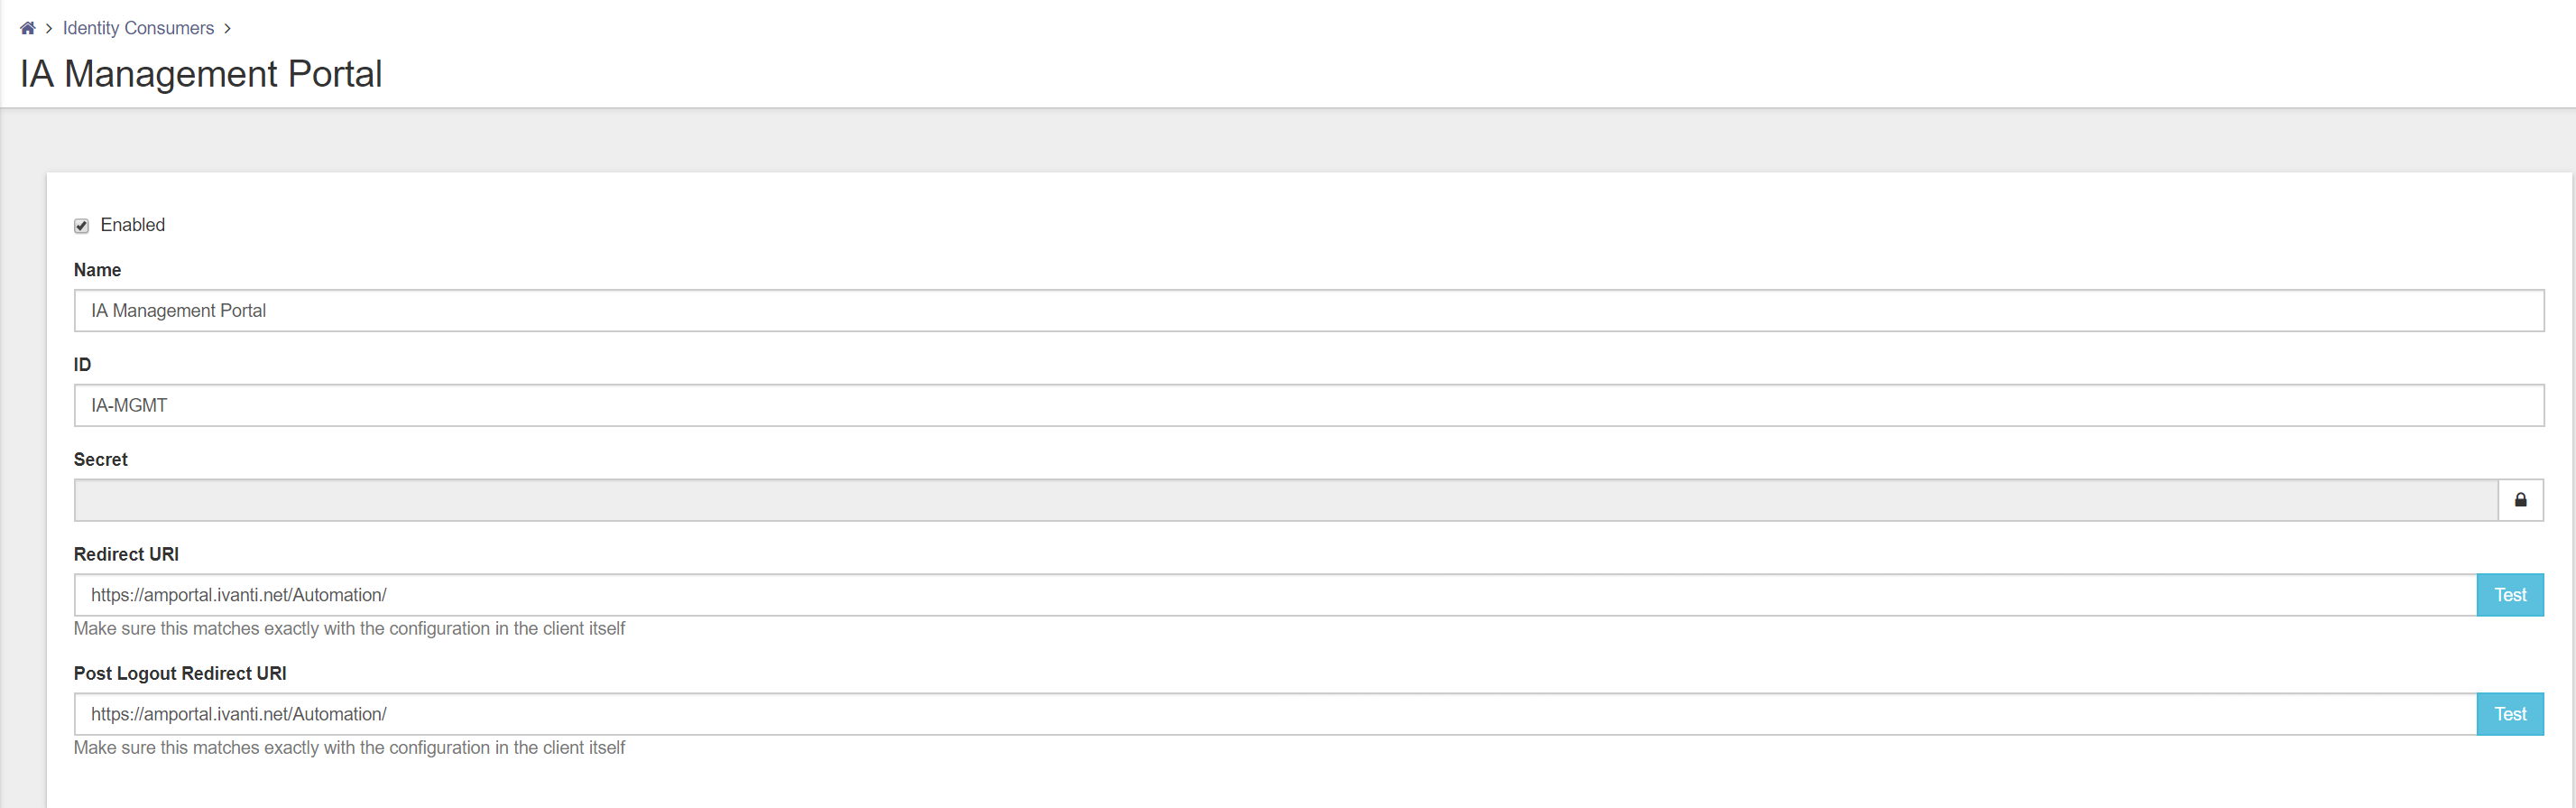
Name – Give the Identity Consumer a logical name (i.e. IA Management Portal)
ID – Give the Identity Consumer an unique ID (i.e. IA-MGMT)
Secret – Give a password or private key to authenticate the Identity Consumer
Redirect URI – Specify the URI of the portal that will be using the authentication
(i.e. https://iamportal.ivanti.net >/automation)
Note: Uppercase and lowercase is very important also the slash (/) at the end.
Post Logout – This field will be pre-filled with the value you entered at Redirect URI.
Redirect URI
Fill in all the fields and press Test behind the Redirect URI to test the connection. When Test successful click on Save on the bottom of the page to store the configuration.
Next step is configuring the Ivanti Automation Management Portal. Open de URL in a web browser.
(i.e. https://iid.ivanti.net/Automation).
Login to the Management Portal and go to Setup Environment. Scroll down to the Authentication Type.
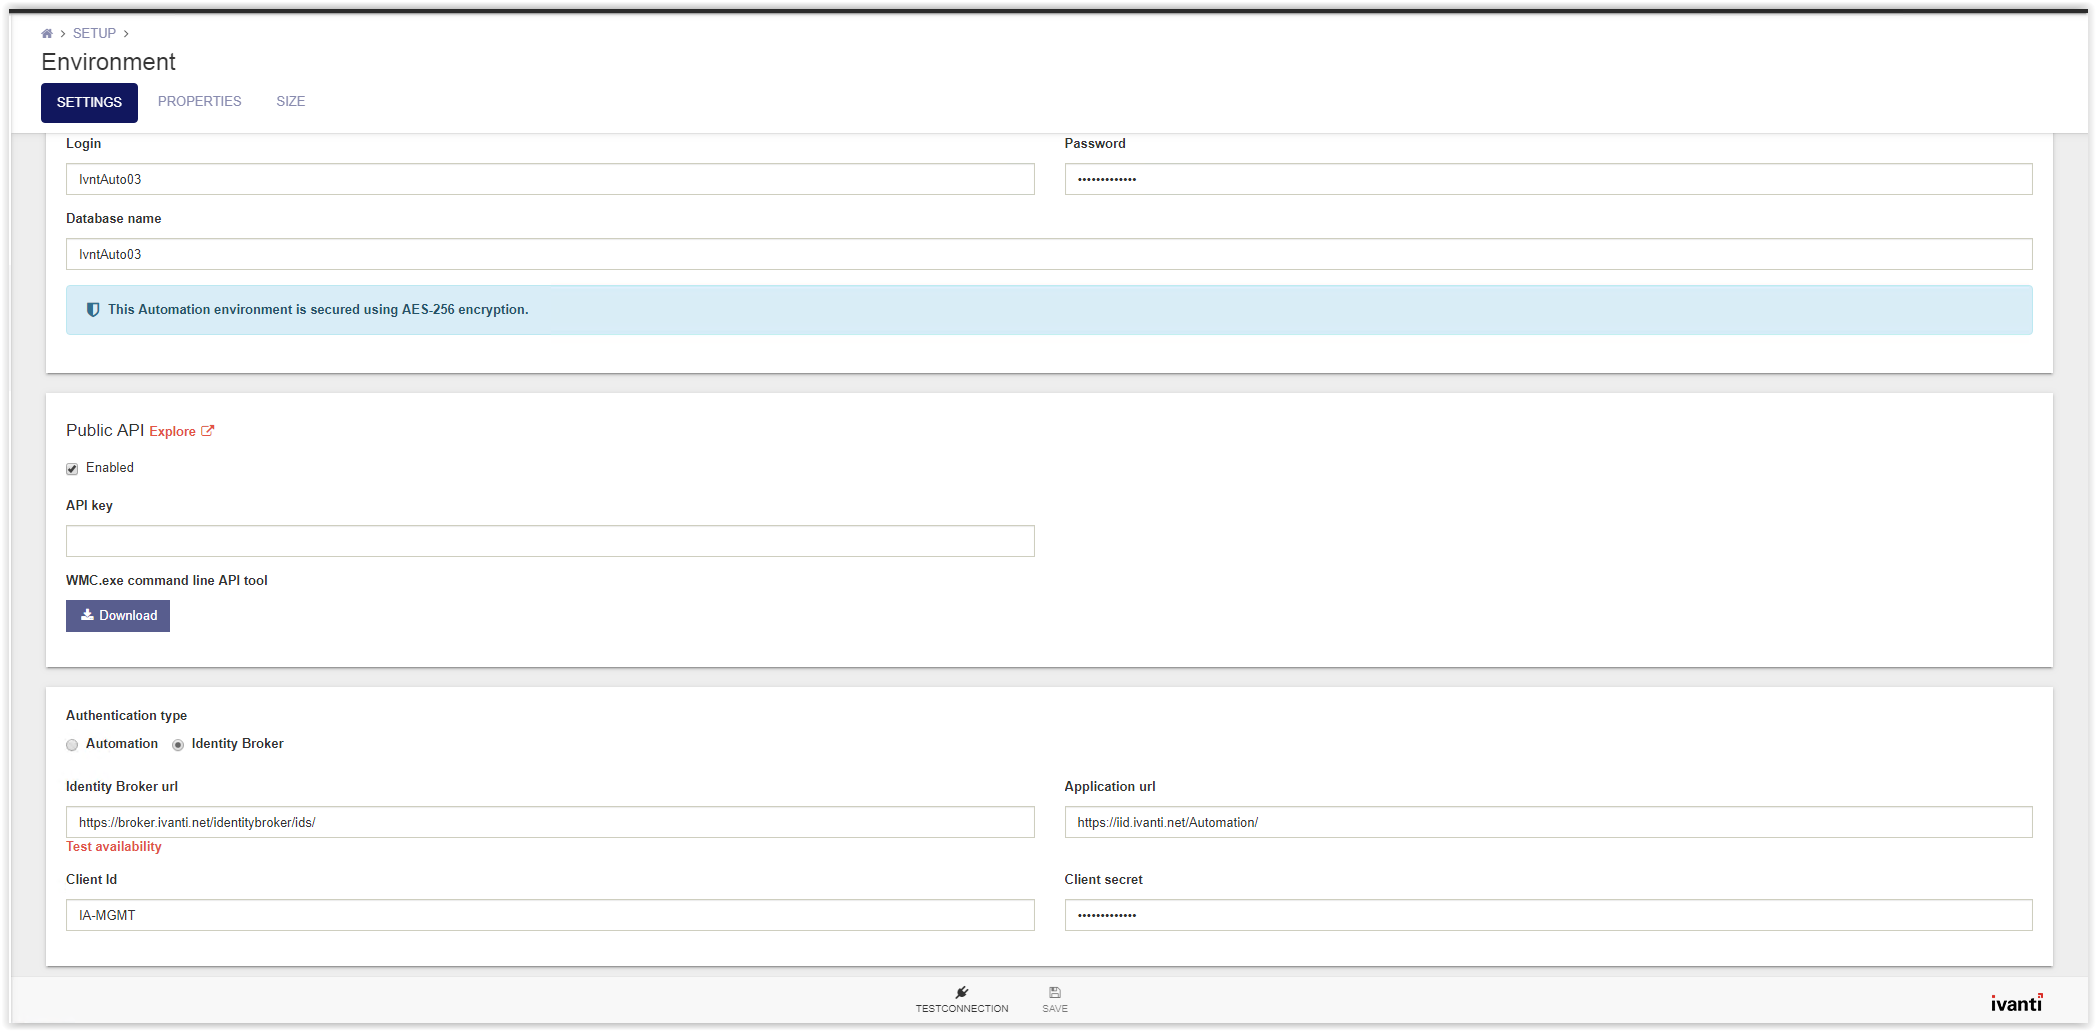
Select the Identity Broker Authentication and fill the 4 fields as below.
- Identity Broker URI
- Redirect URI
- Client ID
- Client Secret
Identity Broker URI – https://<IB FQDN>/identitybroker/ids/
(i.e. https://broker.ivanti.net/identitybroker/ids/
Redirect URI – https://<IID Web Portal FQDN>/
(i.e. https://iid.ivanti.net/Automation/
Client ID – Type the Client ID configured in Identity Broker. In this document
IA-MGMT.
Client Secret – Enter the password or private key configured in Identity Broker.
The slash (/) on the end of both URI’s are very important.

Customizing the ADFS sign in page with the Azure Sign in Experience
This chapter explains how to update or customize the default ADFS Theme to the Azure Sign in Experience.
Even with ADFS 4.0 on Windows Server 2017, the ADFS sign in page is still the old style. But using the files in the link below modifies the ADFS Theme to match the layout of the new Azure sign in screen, as well as adding custom branding.
Used the link below to configure the new ADFS Web Theme.
https://cloudrun.co.uk/adfs/customizing-the-adfs-sign-in-page-with-the-new-sign-in-experience/
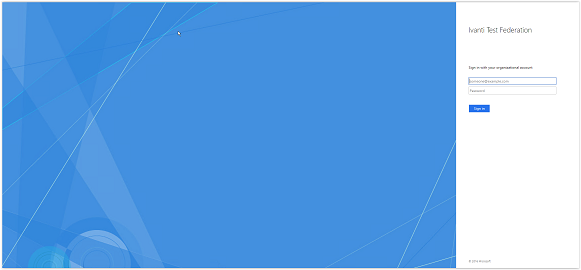
The screenshot below is the default theme.
In this scenario an Ivanti background, Ivanti logo and the CSS Stylesheet are added to the link below.
There are 3 files available in the folder:
- IvantiBackground.jpg
- IvantiLogo.png
- ThemeCenterBrand.css
Create a folder on the root of the C drive and name the folder ADFS Customization. Download the files to the ADFS Server in the created folder
Create an extra folder named Default ADFS Theme (export)
First step in the customization is exporting the current theme.
Open Windows Powershell.
Execute the following command to export the default theme.
Export-AdfsWebTheme -Name default -DirectoryPath “C:\ADFS Customization\Default ADFS Theme (export)”
And press <enter> to execute. In the folder Default ADFS Theme (export) 4 folder are created.
- css
- illustration
- images
- script
This is a backup of the current used web theme.
Create a custom web theme using the PS command with the downloaded CSS attached.
New-AdfsWebTheme -name custom -SourceName default -Stylesheet @{Path=” C:\ADFS Customization\ThemeCenterBrand.css”}
Apply the new custom web theme using the following command in Powershell.
Set-AdfsWebConfig -ActiveThemeName custom
Change the logo and background with the following Powershell commands.
Logo (We recommend the dimensions for the logo to be 260×35 @ 96 dpi with a file size of no greater than 10 KB)
Set-AdfsWebTheme -TargetName custom -Logo @{Path=”C:\ADFS Customization\IvantiLogo.png”}
Background (We recommend the dimensions for the illustration to be 1420×1080 pixels @ 96 DPI with a file size of no greater than 200 KB)
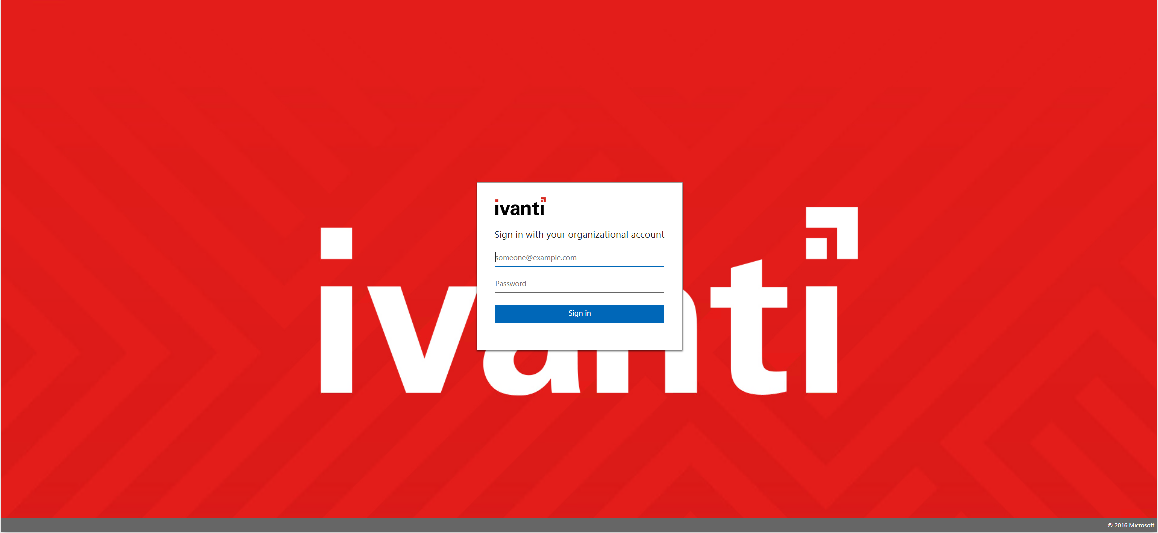
Set-AdfsWebTheme -TargetName custom -Illustration @{Path=”C:\ADFS Customization\IvantiBackground.jpg”}
The ADFS login page looks like the screenshot below.
Microsoft ADFS installation and configuration links.
https://docs.microsoft.com/en-us/windows-server/identity/active-directory-federation-services
https://www.virtuallyboring.com/how-to-setup-microsoft-active-directory-federation-services-adfs/
Check the links below for more ADFS customizations.
https://cloudrun.co.uk/adfs/customizing-the-adfs-sign-in-page-with-the-new-sign-in-experience/
https://blogs.technet.microsoft.com/stevenha/2012/11/12/customizing-the-adfs-forms-based-login-page/
https://www.franken.pro/blog/customize-appearance-microsoft-adfs-sign-page
https://flamingkeys.com/change-favicon-in-ad-fs/
Another tip is when adding additional information like a helpdesk, home or privacy link and it needs to be removed use the Powershell command for example.
Set-AdfsGlobalWebContent -HelpDeskLink $null -HelpDeskLinkText $null