This blog describes how to configure Ivanti Identity Director when using a two-way trust between Active Directory Forests/Domains.
Consider the following scenario:
- One Domain Controller (Forest name and Domain name domainA.lan)
- One Domain Controller (Forest name and Domain name domainB.lan)
- One Ivanti Identity Director server in domainA.lan domain with the components Ivanti Identity Director Setup and Sync Tool, Ivanti Identity Director Management Portal, and Ivanti Identity Director Web Portal installed
Note: The domain names in the screenshots are different from those used in the blog.
The first step in the process is configuring the two-way trust which is fully described in the link below.
https://www.automatedvision.info/2023/01/28/setup-a-2-way-trust-between-2-active-directory-forest-domains/
The next step is creating a new Data Source and Data Connector in the Ivanti Identity Director Setup & Sync Tool
- Login to the server with the Ivanti Identity Director Setup & Sync Tool installed
-
Start the Ivanti Identity Director Setup & Sync Tool
-
Select Data Sources from the Data Model menu
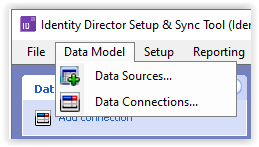
-
Default, 5 Data Sources are created during the installation. These Data Sources are created based on the Active Directory in domain A. Execute the steps below to add a new Data Source with a connection to domainB.
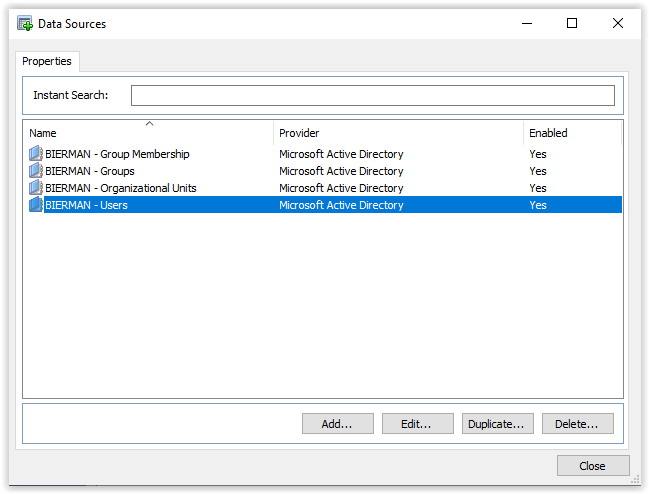
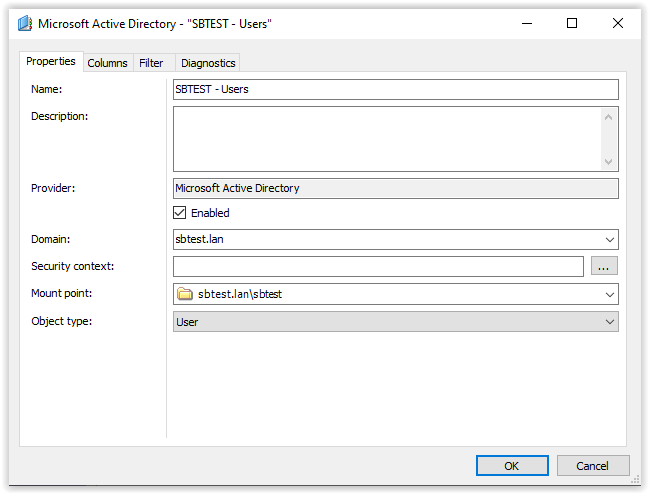
- Select the domainA – Users and select Duplicate
-
Change the name to domainB – Users
Change the Domain to domainB.lan
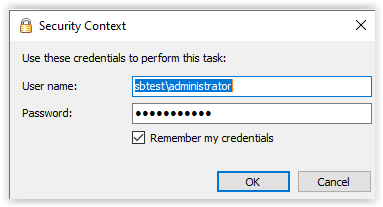
Add the Security Context with Admin credentials to domainB
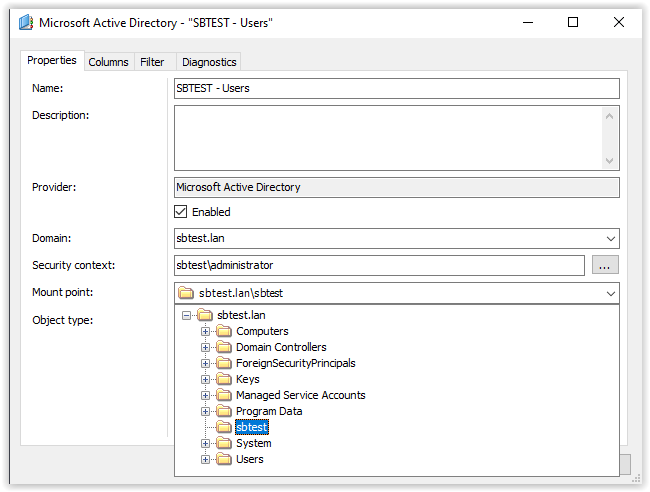
Check if the Mount point shows the OUs of domainB
-
Select the Diagnostics tab and check if users are visible

- Select OK to continue and store the Data Source
- Select Close to finish creating the Data Source
The next step is creating the Data Connector.
-
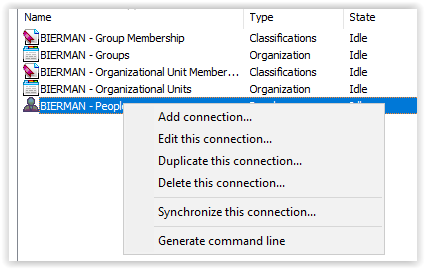
Right-click the DomainA – People Data Connector and select Duplicate this connection
 .
.
- Change the name of the Data Connector to domainB – People
-
Select the Data Source created domain – Users
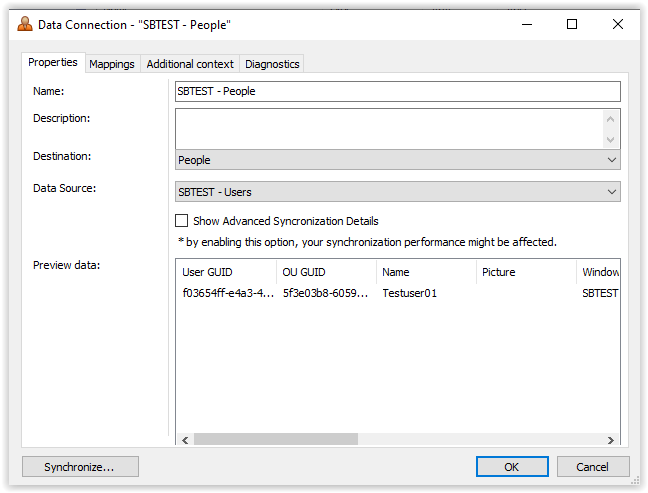
- The preview data shows the users from domainB after changing the Data Source
- Select OK to continue and store the Data Connector
-
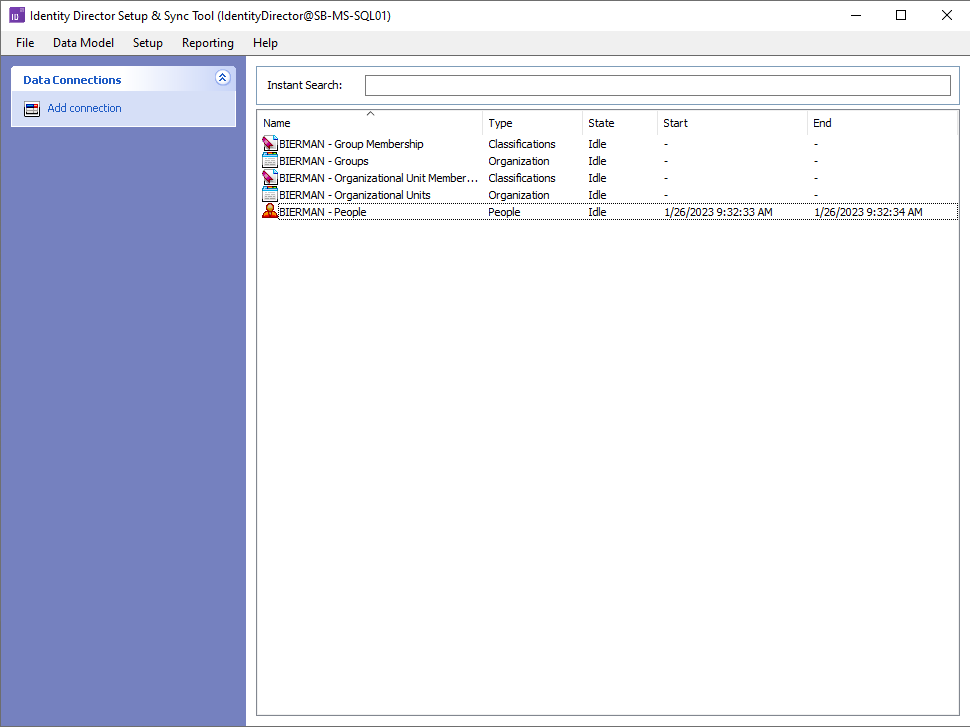
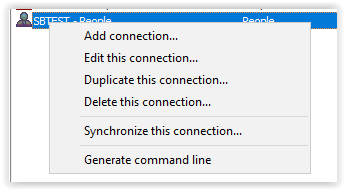
Right-click the newly created Data Connector (domainB – People) and select Synchronize this connection
-
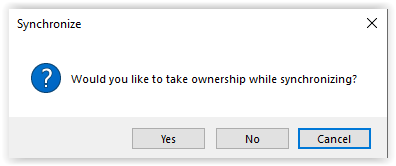
Select Yes to take ownership while synchronizing
- After finishing the synchronization, a Start and End date and time are added to the Data Connector. When the State shows Idle the synchronization was successful.
-
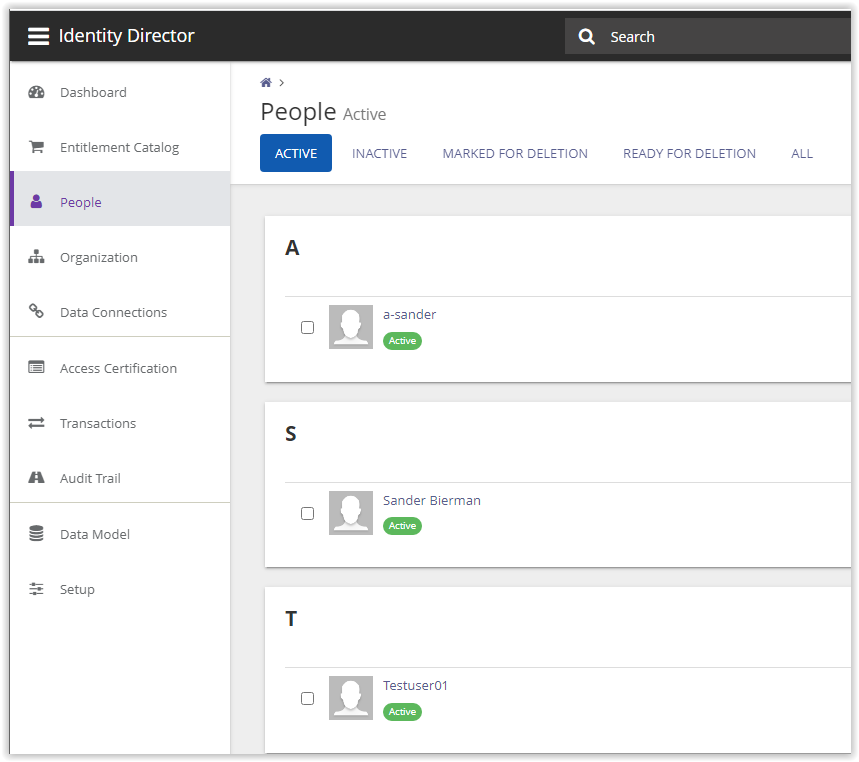
Login to the Ivanti Identity Director and select People from the menu. Check if the users are synchronized. In the screenshot below the testuser01 is successfully added to the People.
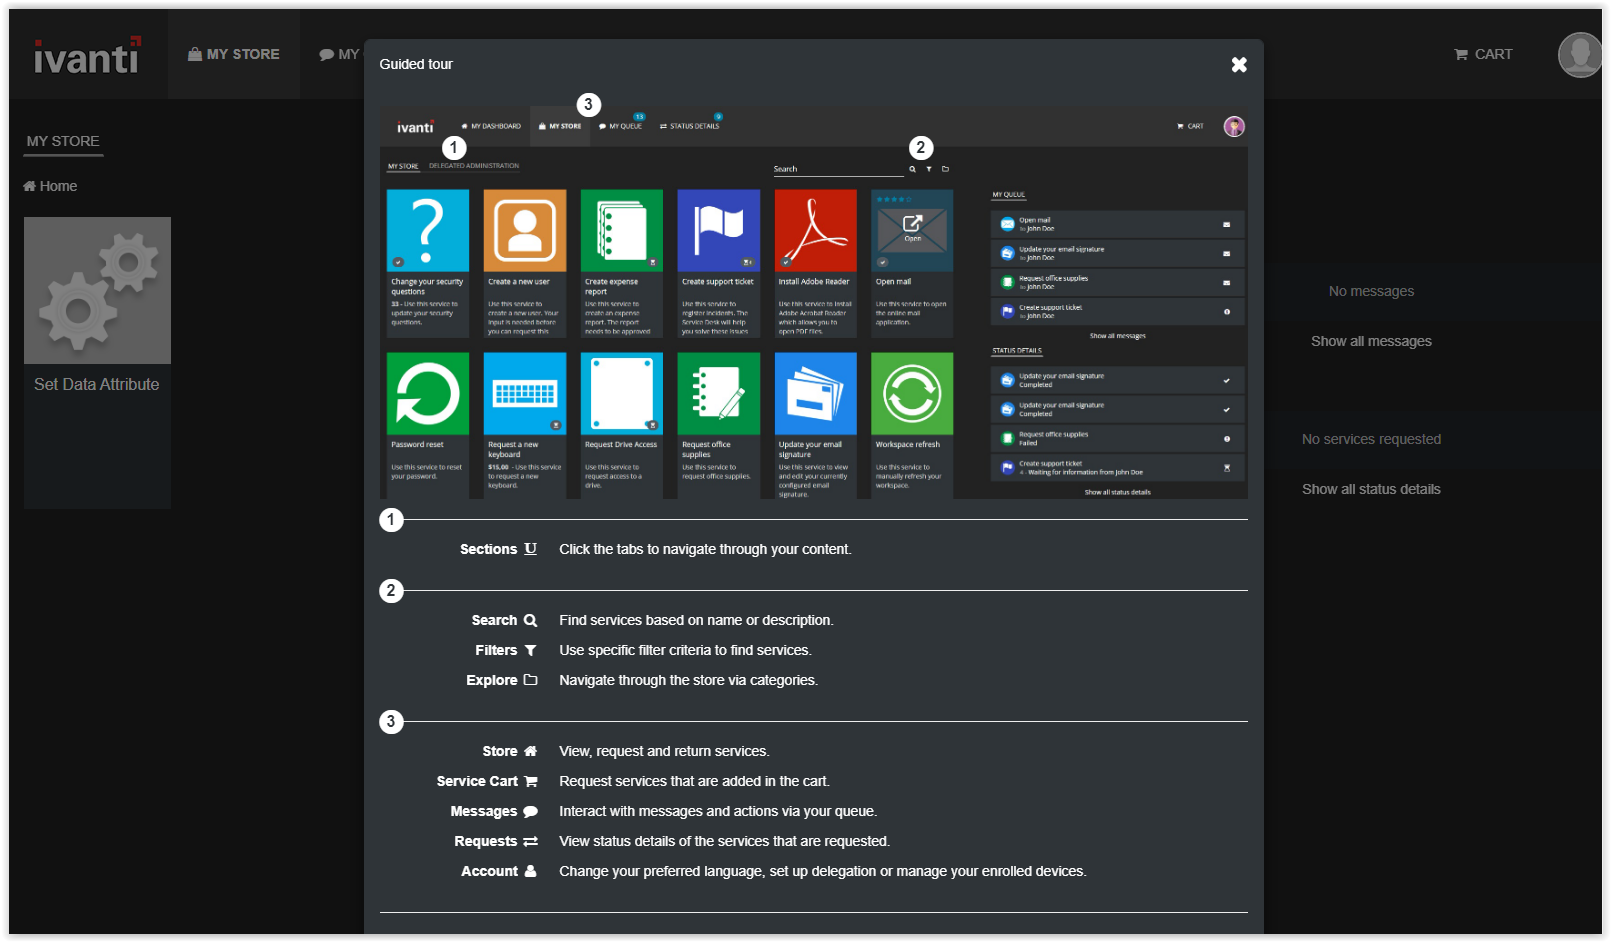
- Last step is testing the login for the user in the Ivanti Identity Director Web Portal
- Start the Ivanti Identity Director Web Portal and enter the credentials of the user synchronized from domainB
-
Be aware to enter the full User Windows account including the domain name
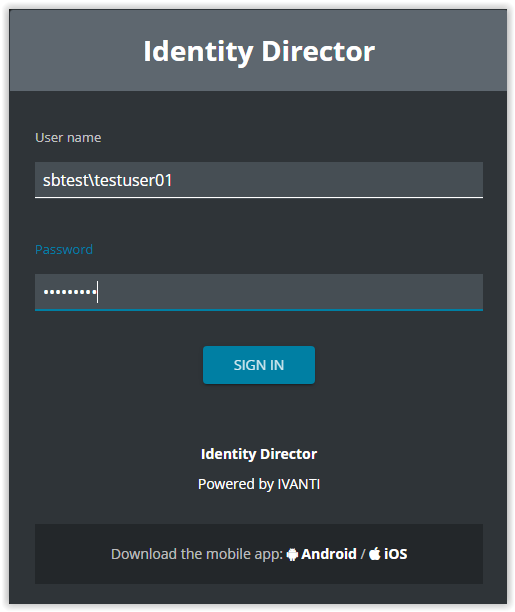
- When the portal appears, the logon was successful