This blog describes installing and configuring a Windows Server Core edition used for Ivanti Automation Dispatcher and Agent components.
We discuss the following options:
- Installation of Windows Server Core 2022.
- The basic configuration of Windows Server Core 2022.
Installation of Windows Server Core
Start the server and press a key to boot from the attached ISO (when using a Virtualization tool) or CD/DVD.

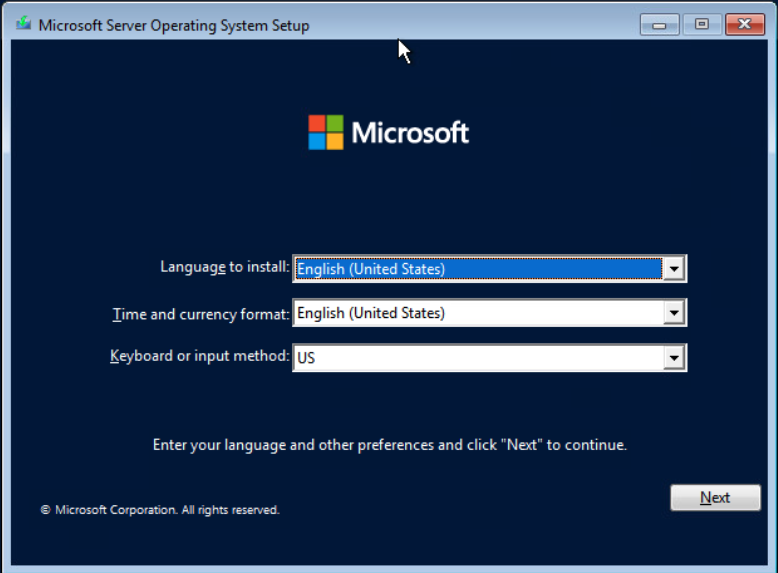
Select the language, time & currency and keyboard or input. Select Next to continue.
Select Install now to continue.

Setup is starting.

In the next screen, select the edition without the Desktop Experience to install the Core edition of the Windows Server OS.
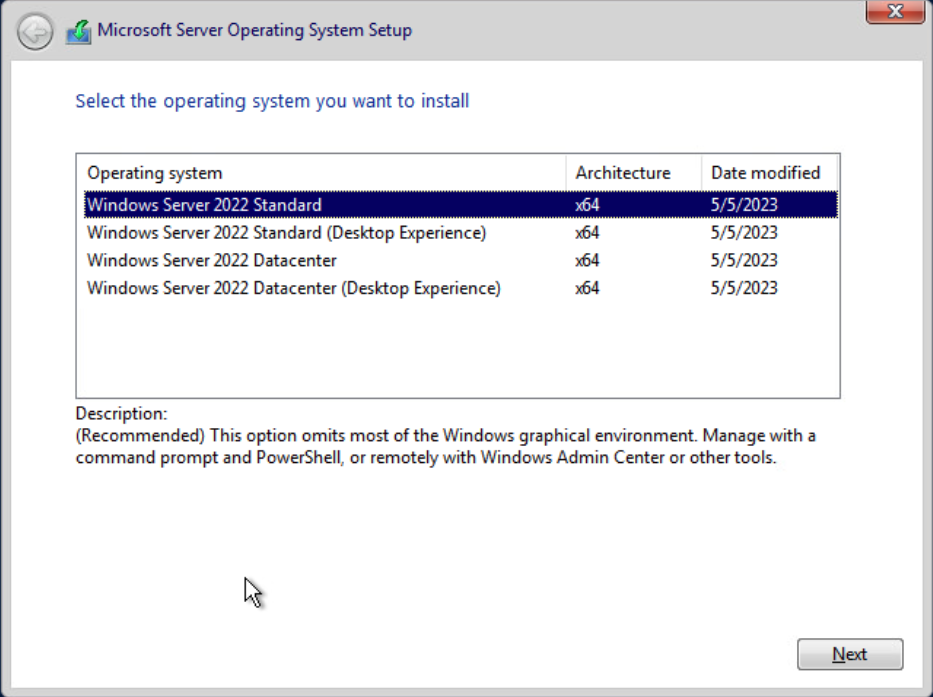
Select Next to continue.
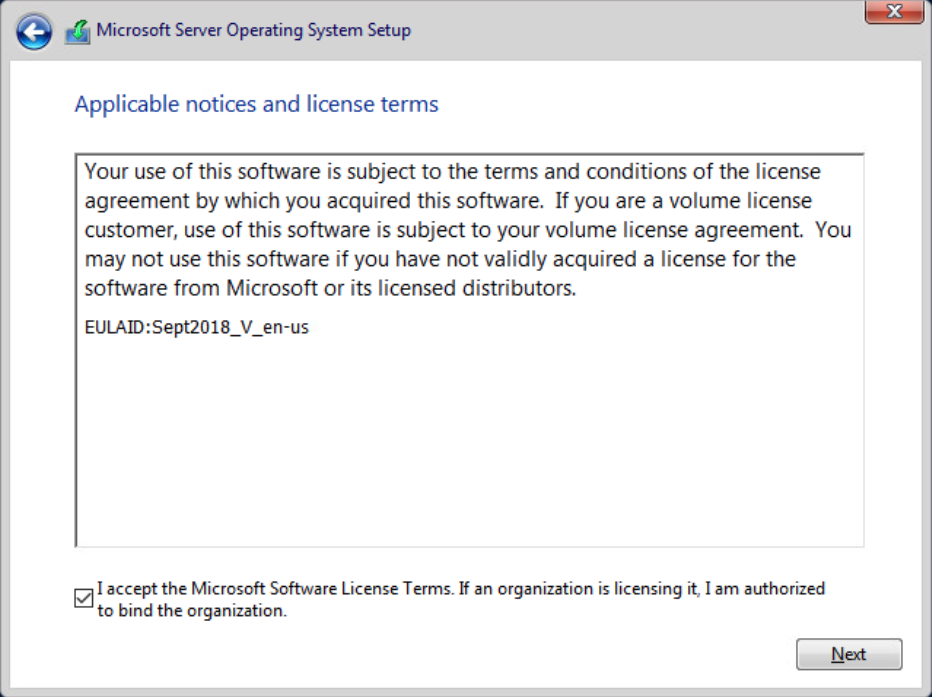
Accept the license terms and select Next to continue.
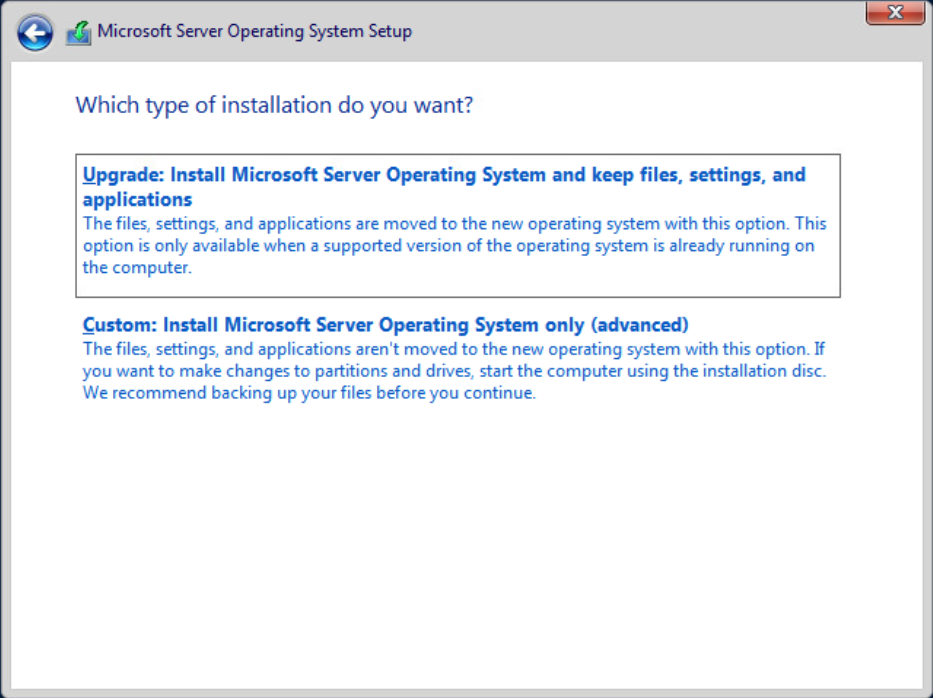
Select the option Custom: Install Microsoft Operating System only (Advanced). The Setup continues after the selection.
Select the drive to install the Windows Server OS on. In this example, only one drive is available. Select Next to continue.
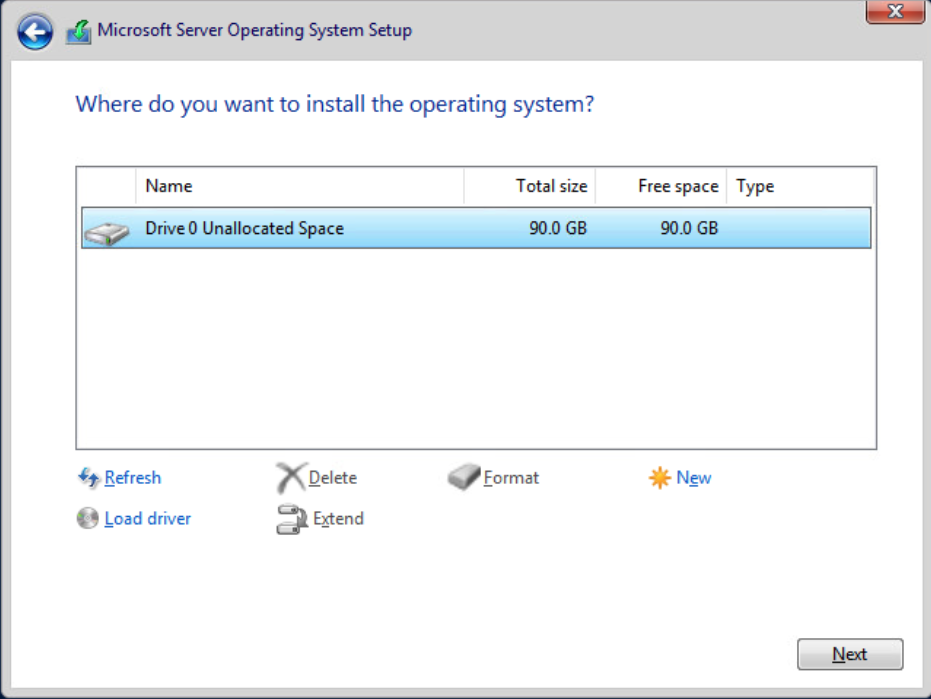
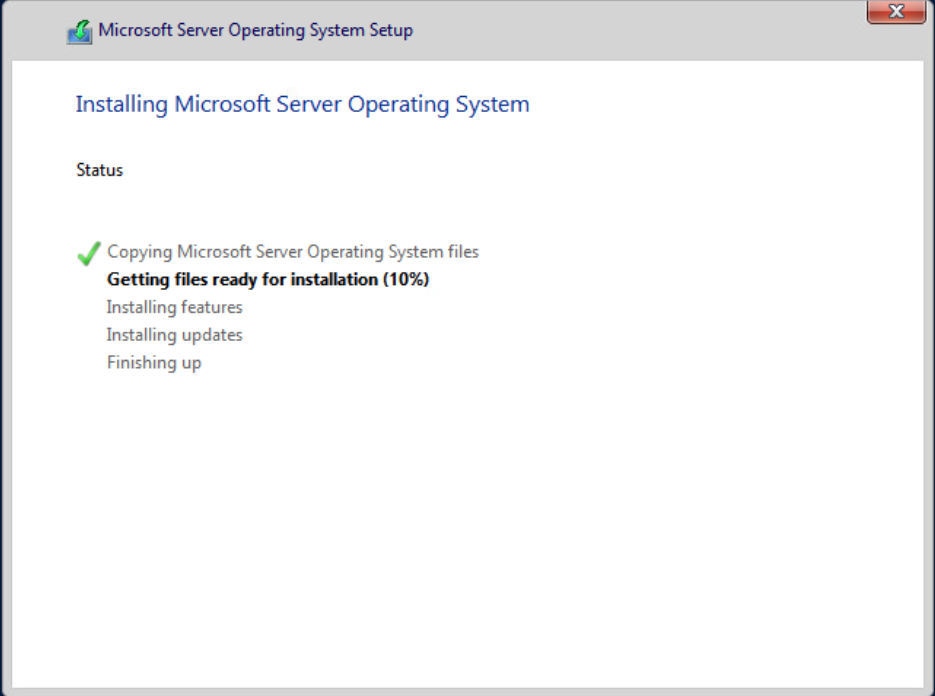
Select Next to continue, and the installation starts.
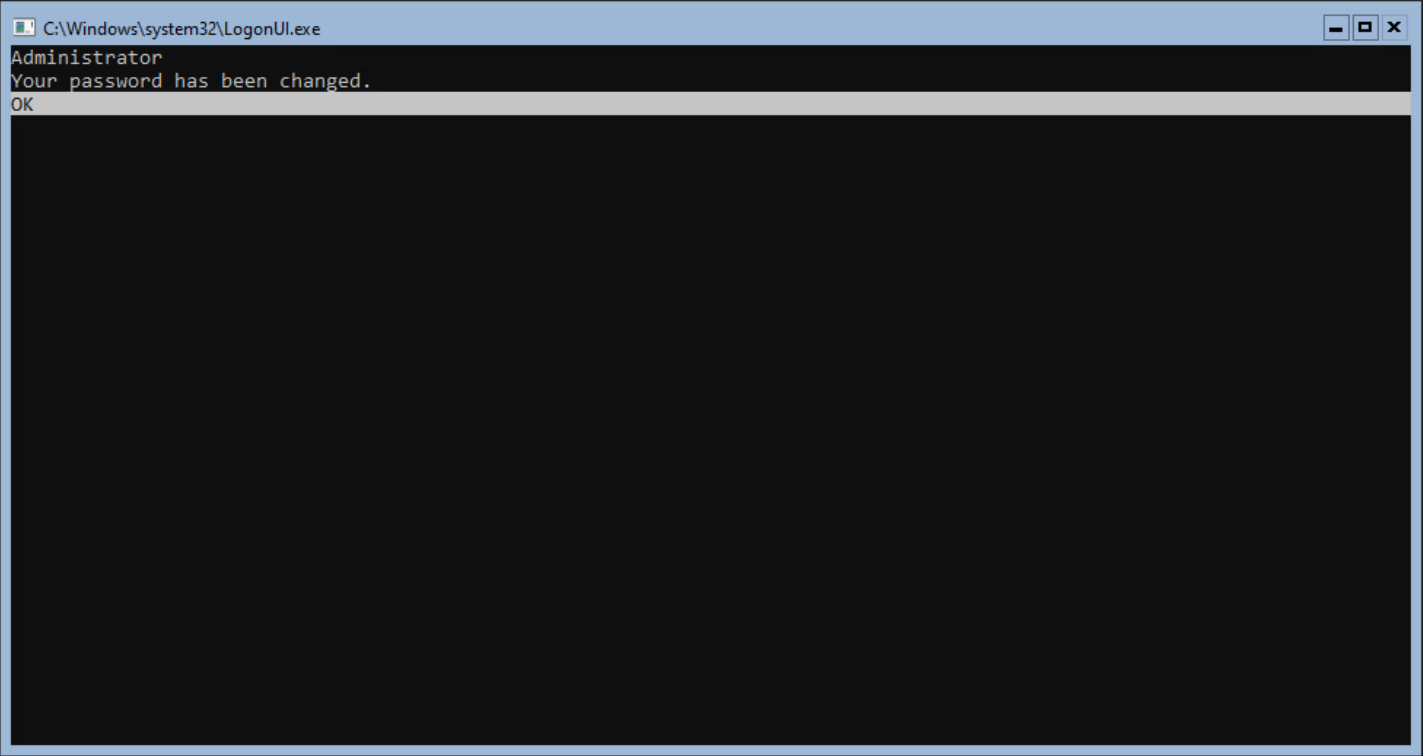
After the installation, the first step is changing the local users’ password.
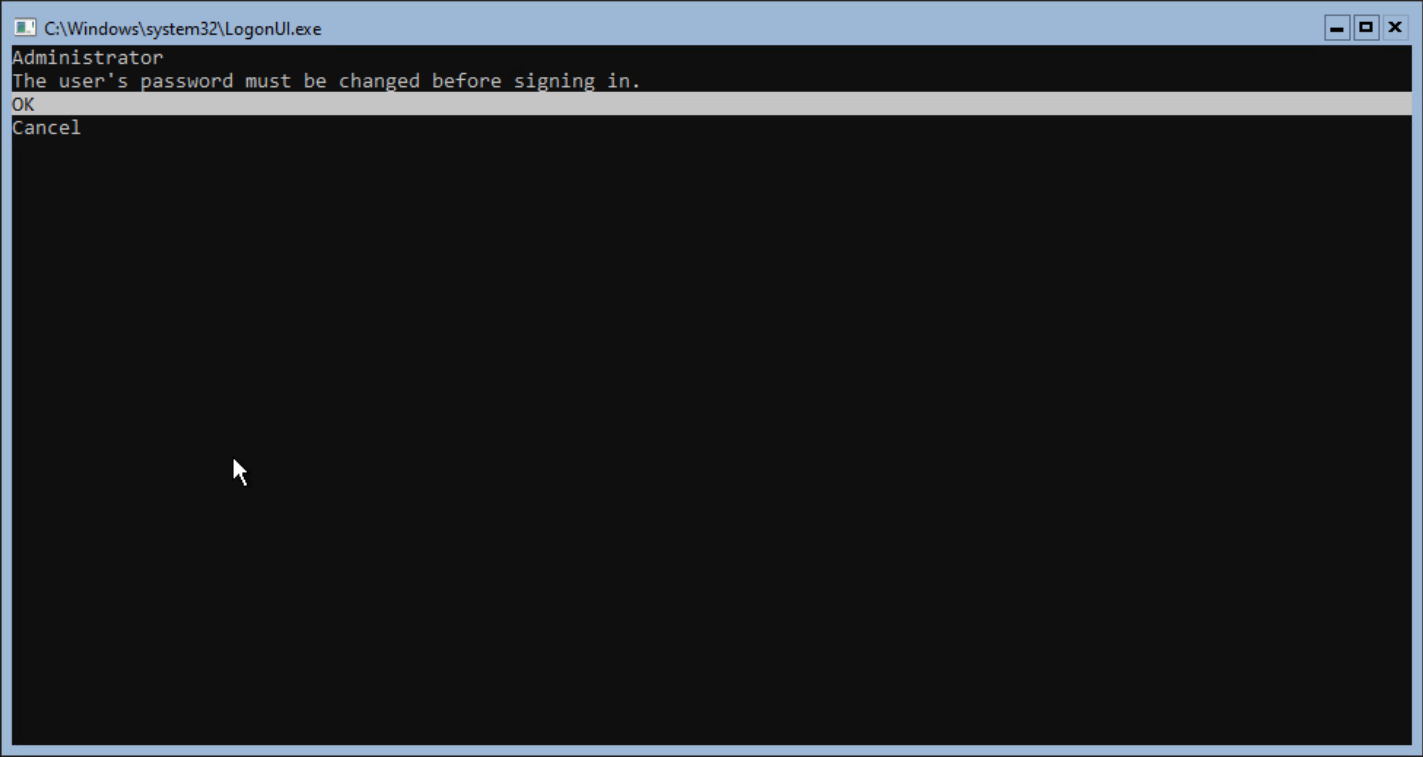
Select OK to change the password and enter the new password twice.
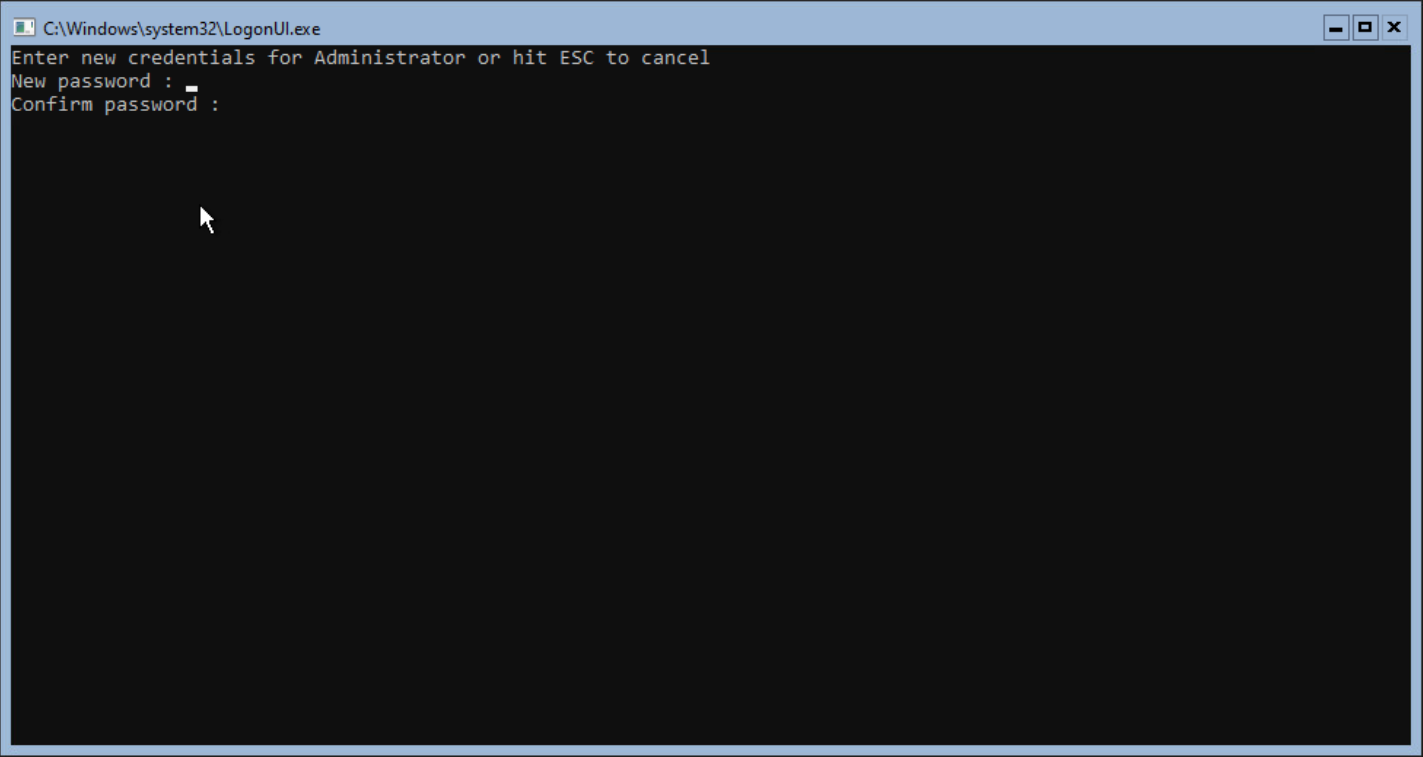
Select OK when the password has been changed.
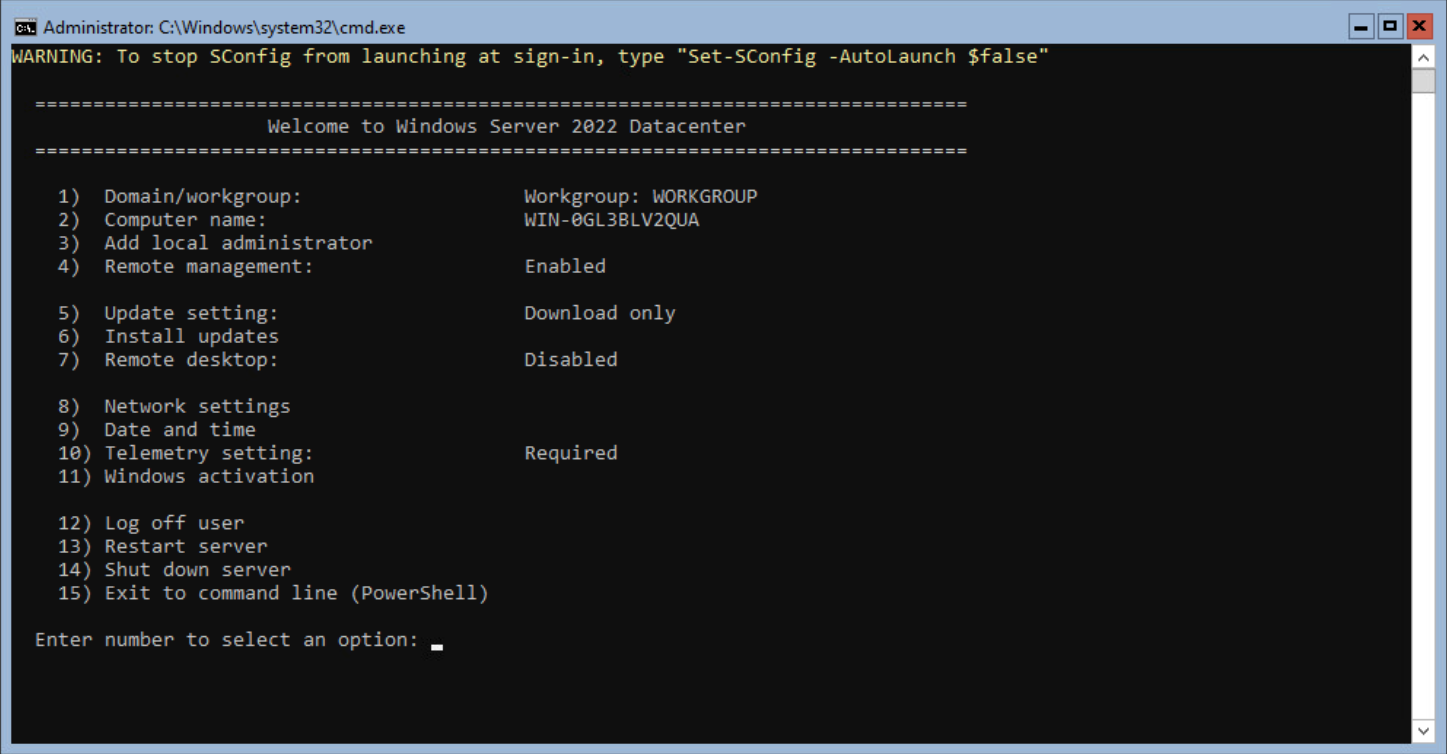
The server logs in with the local user account, and the SConfig is started. The SConfig is the tool to configure the server.
Configuring the Windows Server Core
SConfig is the place to configure the basic configuration for a Windows Server Core.
The first step is configuring the Network settings.
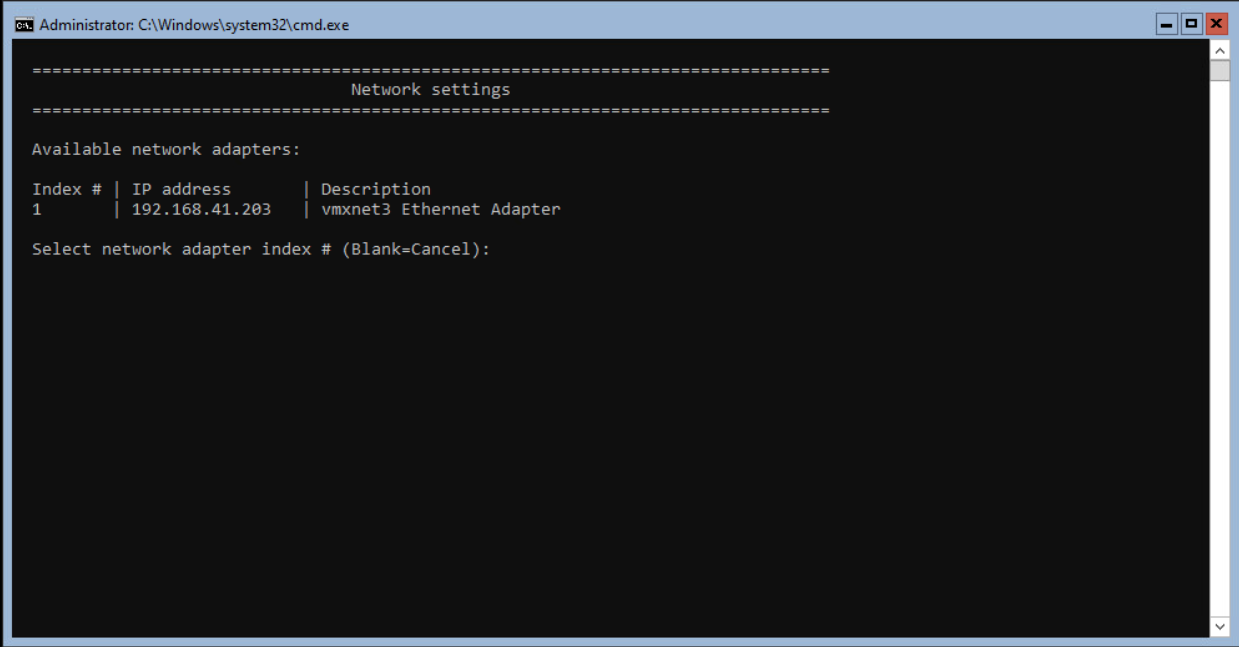
Select 8 from the SConfig and press <enter>. The next step is selecting the network adapter. When only adapter is available, select 1 and <enter>.
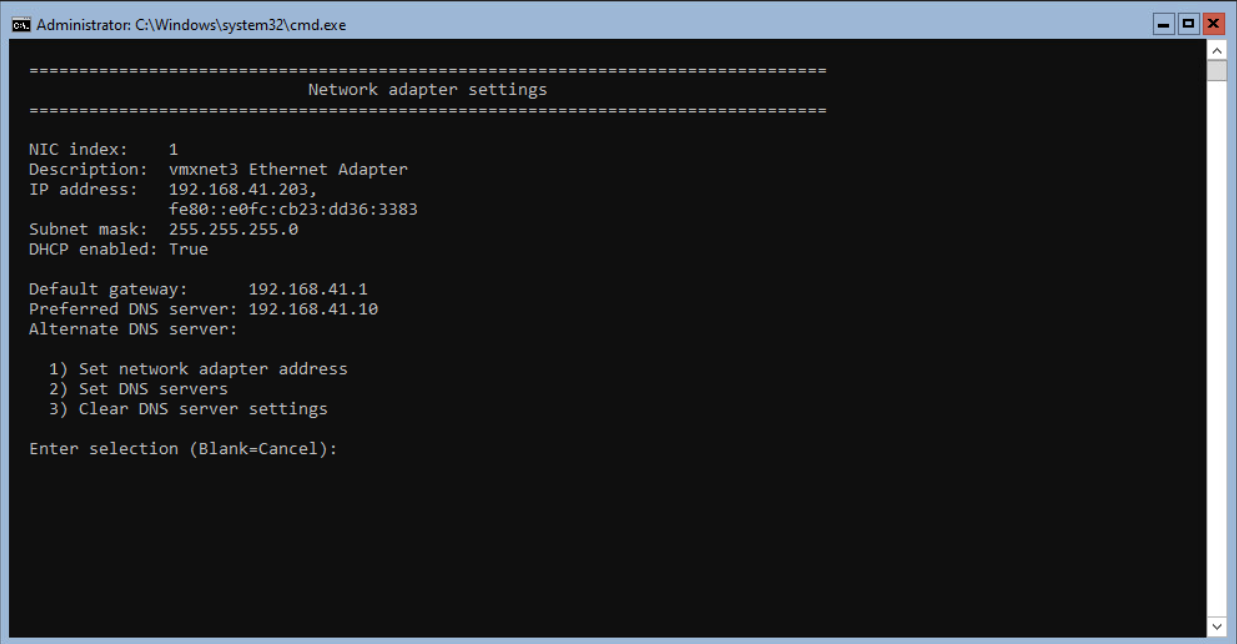
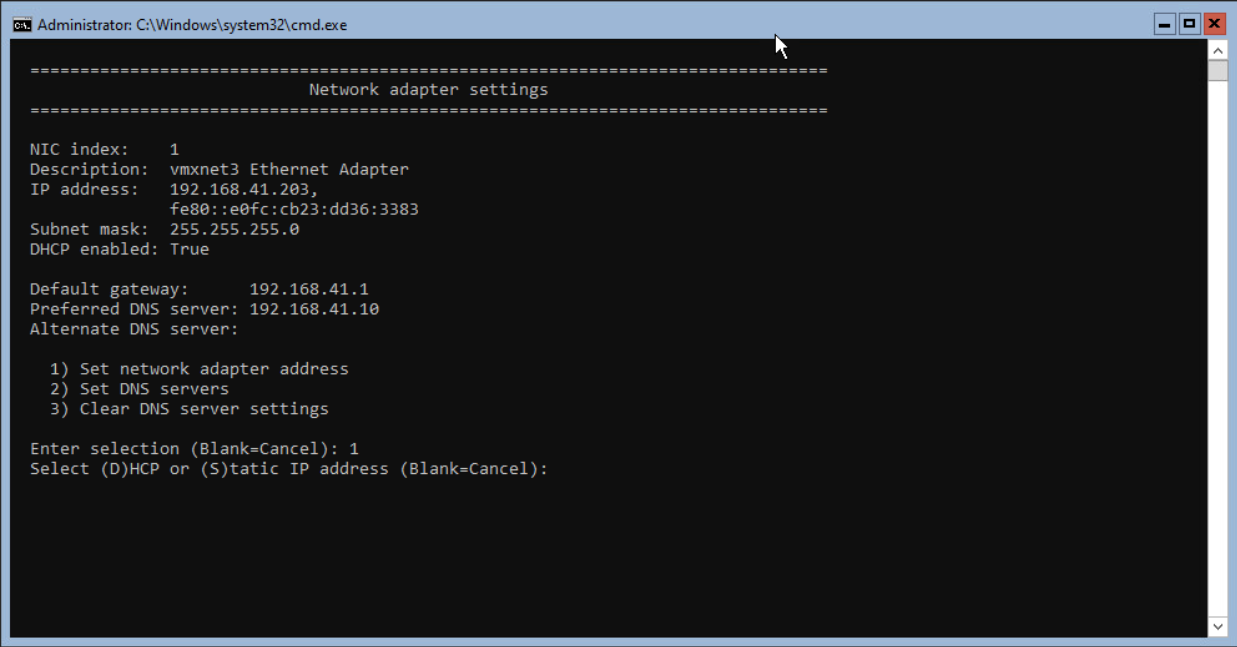
In this example, the server received an IP Address from the DHCP server. The Network adapter settings look like the screenshot below.
Both TCPIPv4 and TCPIPv6 are enabled. Disabling the TCPIPv6 is described after configuring the Network adapter address and entering the DNS Servers.
In this blog, the following network configuration is used.
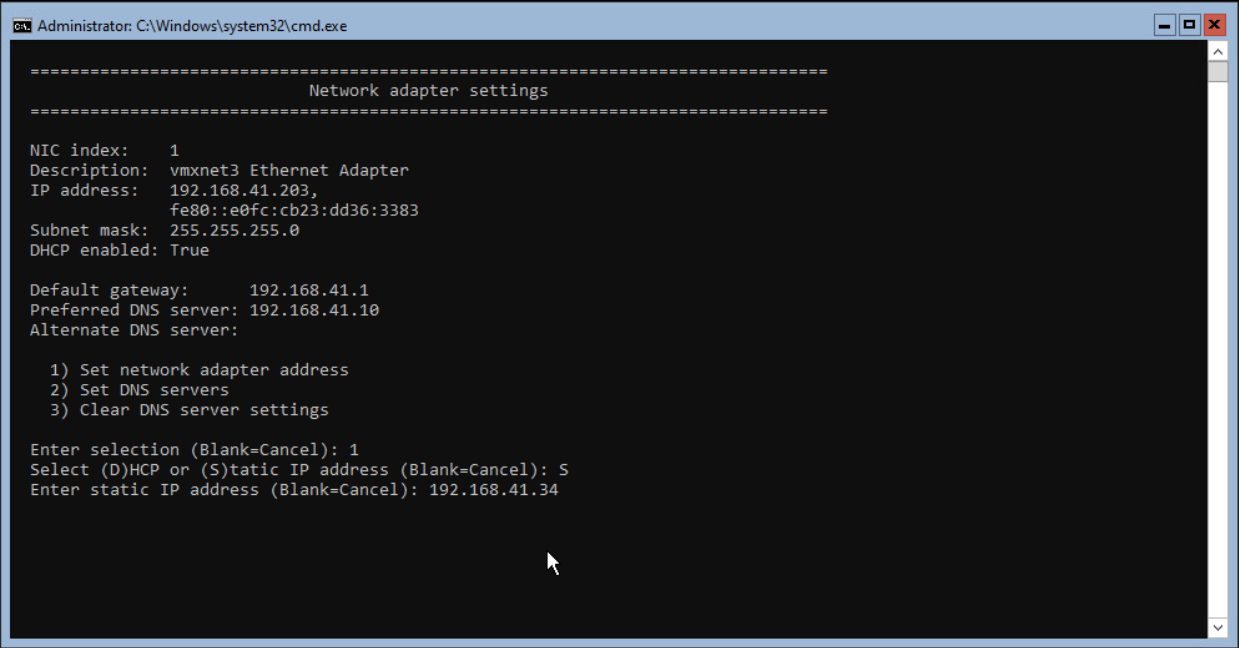
IP : 192.168.41.34
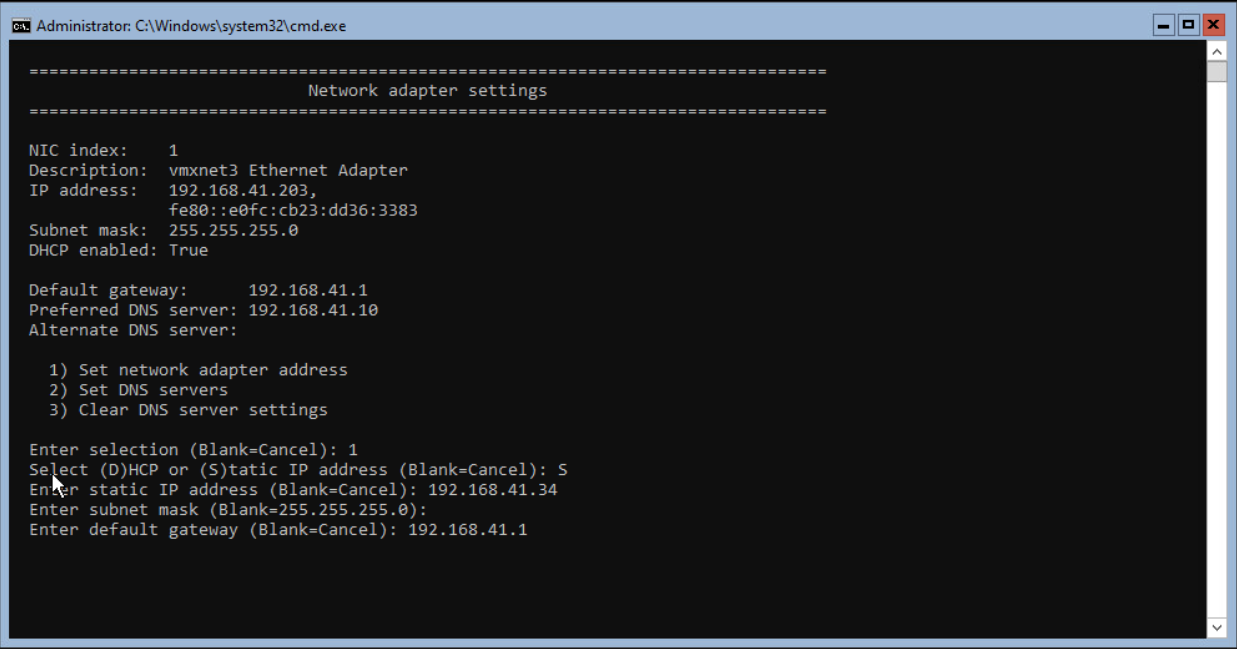
Subnet mask : 255.255.255.0
Gateway : 192.168.41.1
DNS : 192.168.41.10
Select option 1 to configure the Network Adapter settings and press <enter> to continue.
Select S and <enter> to enter a static IP Address.
Enter the IP Address for this server followed by <enter>.
When the Subnet Mask is 255.255.255.0, there is no need to fill the value. <Enter> is blank and will use the value pre-defined.

Next step is entering the Default Gateway address. When finished press <enter> to continue.
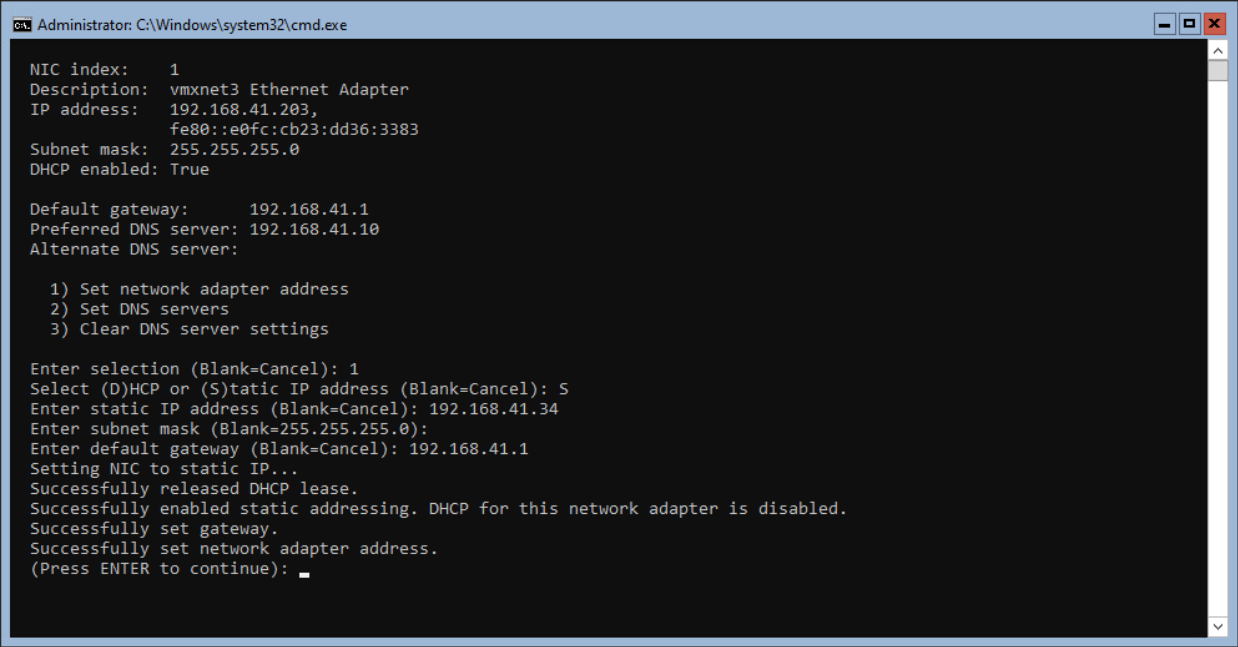
The network adapter settings are changed. When everything is successful, press <enter> to continue.
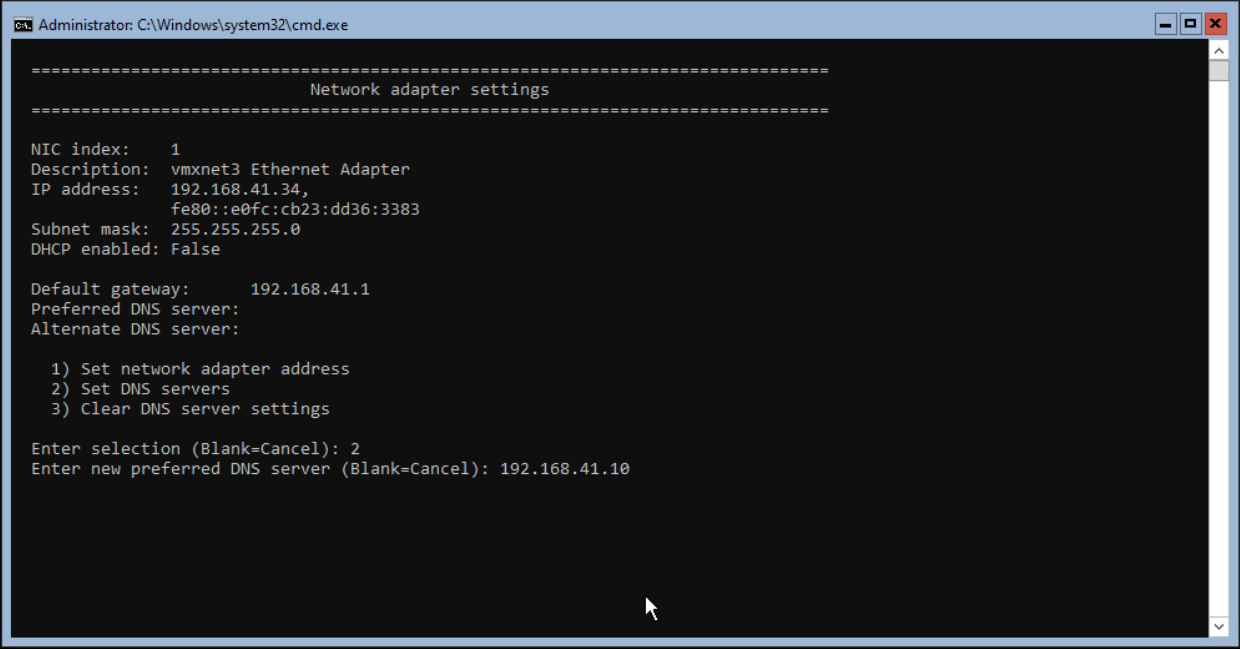
The next step is adding the DNS Servers to the Network adapter. Press 8 and 1 again to select the network adapter. Press 2 and <enter> to enter the DNS Server(s).
This lab only has one DNS server available, but in production environments, use 2 or more.
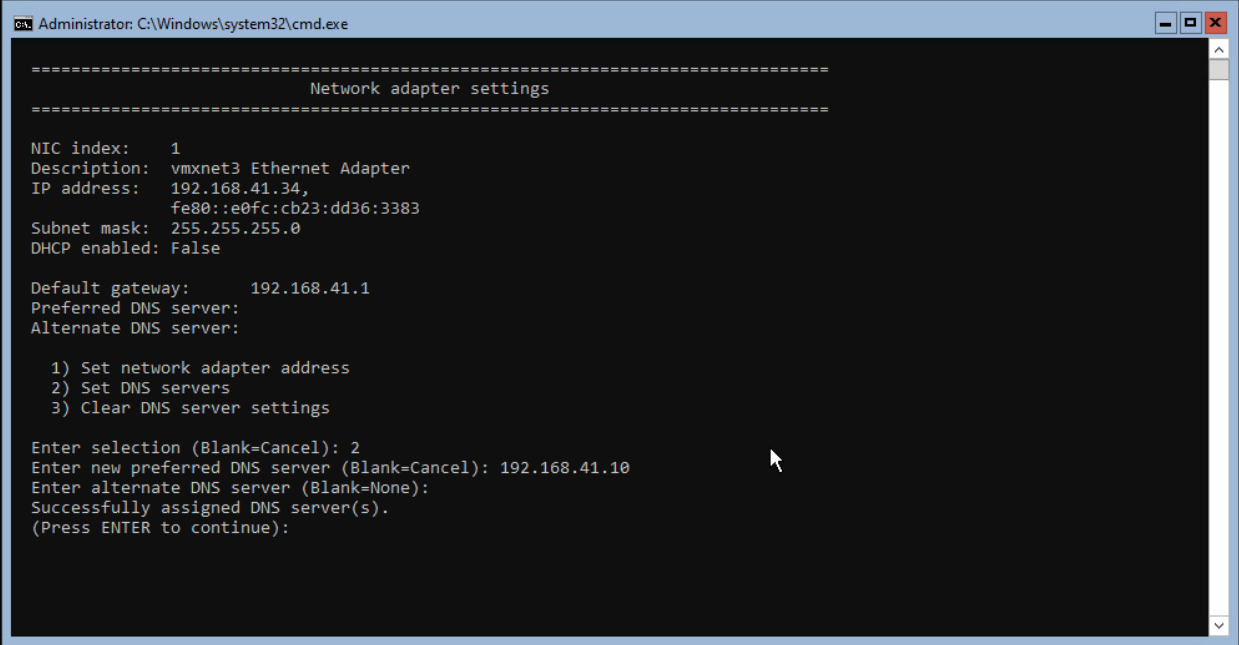
When successfully finished, press <enter> to continue.
The network adapter overview shows both IPv4 and IPv6. When not using IPv6 we can disable this with PowerShell.
Select option 15 and press <enter> to close the SConfig.
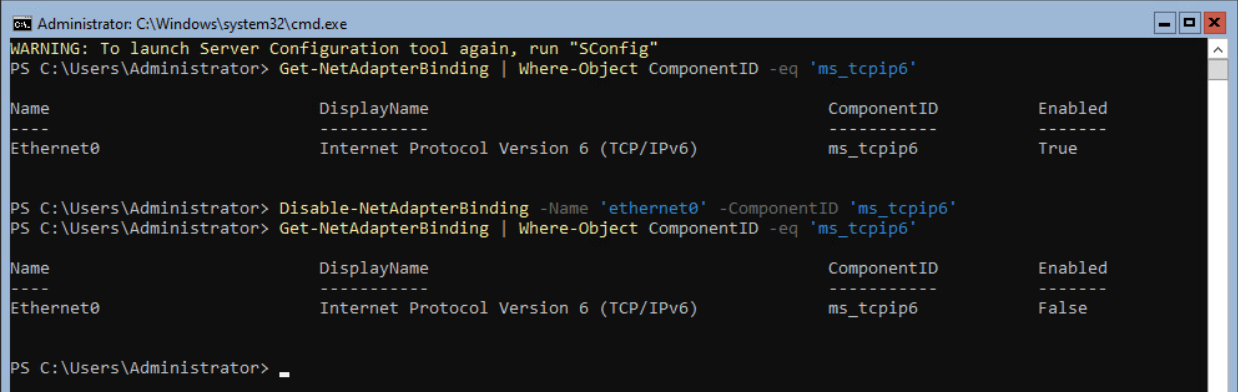
Enter the following command to see the binding for IPv6.
Get-NetAdapterBinding | Where-Object ComponentID -eq ‘ms_tcpip6’The output of this command shows the Name of the Network adapter and if TCPIPv6 is enabled.

Enter the following command to disable IPv6 on the network adapter.
Disable-NetAdapterBinding -Name ‘ethernet0’ -ComponentID ‘ms_tcpip6’Execute the Get-NetAdapterBinding option described above to check if the TCPIPv6 is disabled.
Enter SConfig to return to the Windows Server 2022 settings page. Press 8 and 1 again to show the Network Adapter configuration.
After disabling, IPv6 is not available for the Network Adapter.
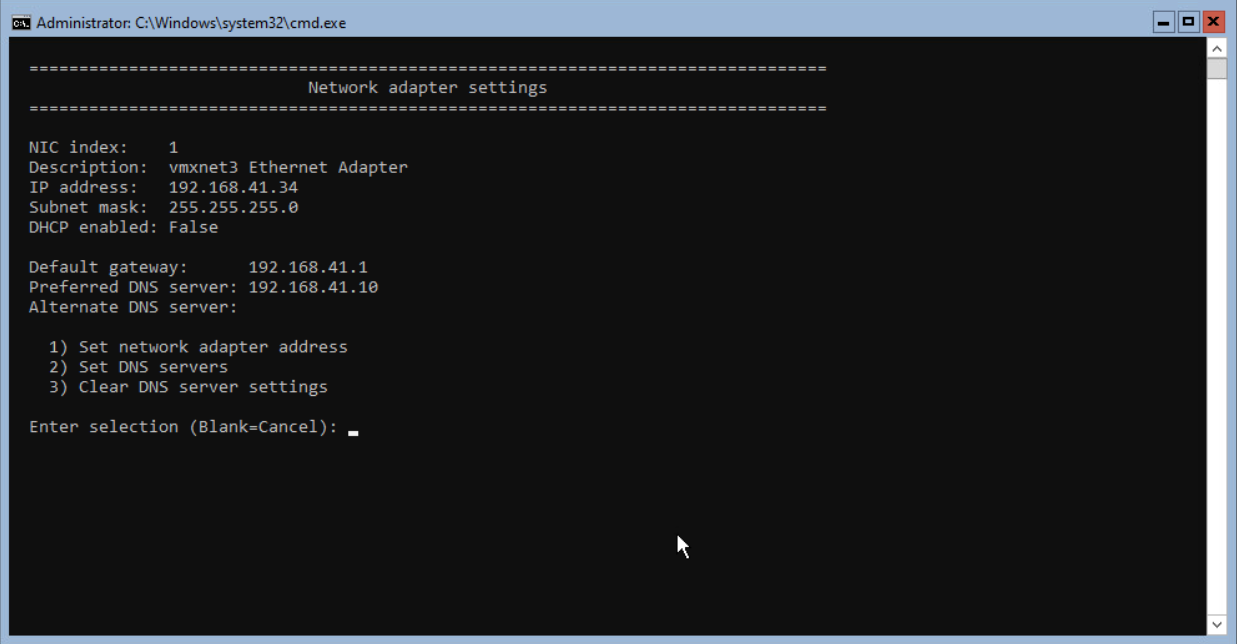
Press <enter> to return to the main screen.
The next step is configuring the Time zone for the server. In my lab, servers are usually installed in the Pacific Time zone instead of the Mountain Time zone. Select option 9 and press <enter>.
The Date and Time from the Control Panel is started.
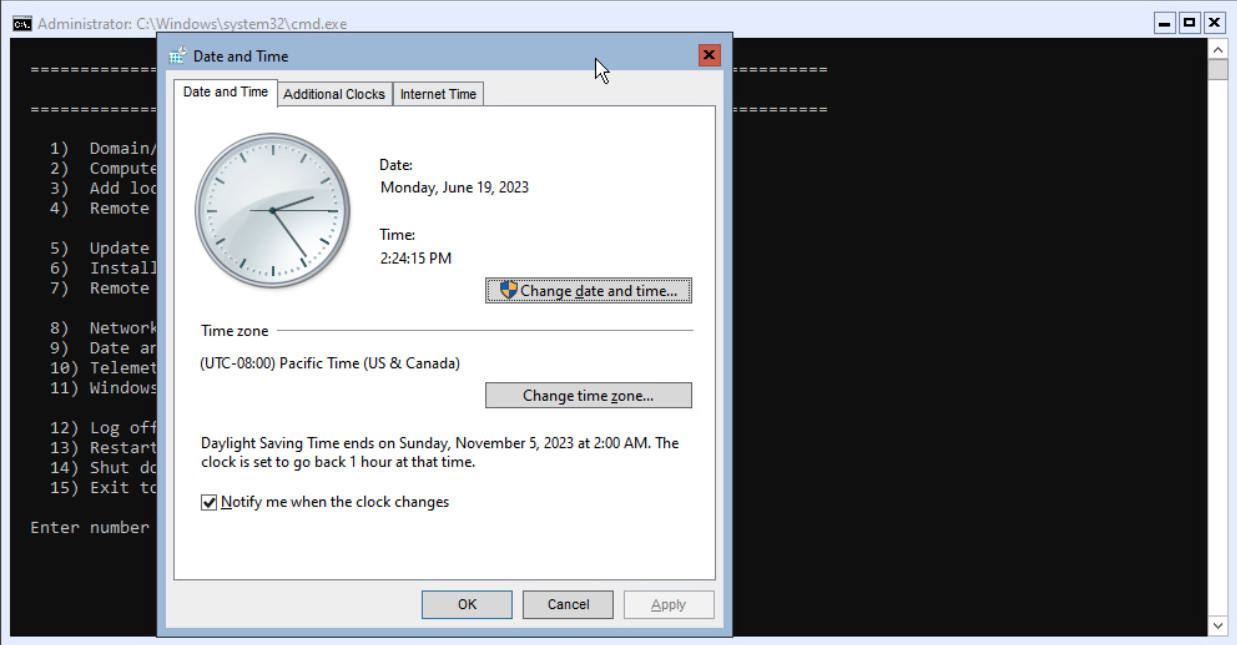
Select the correct Time zone and select OK twice to continue.

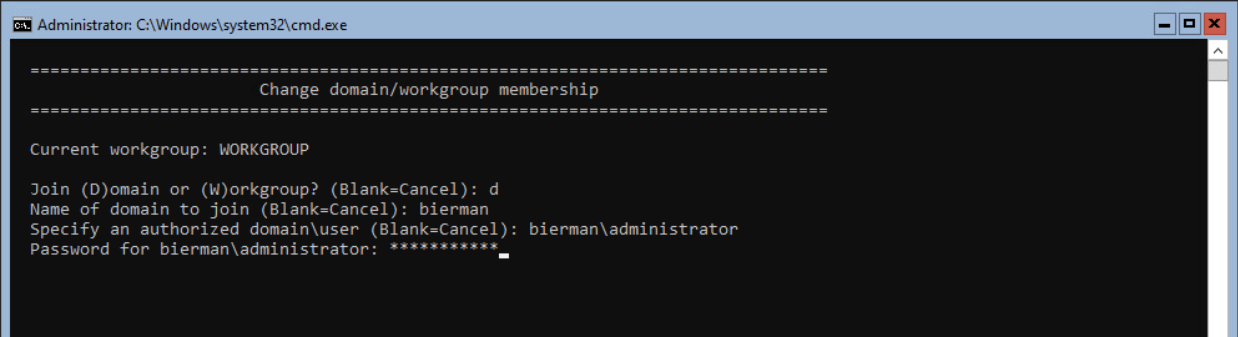
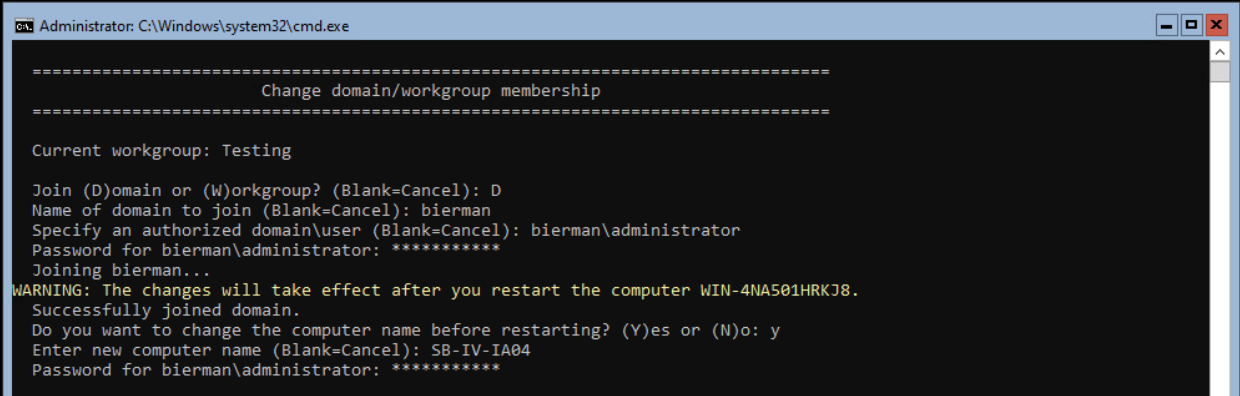
If we need to add the server to a Domain, select option 1 and press <enter>. Next select the option (D)omain to join the server to a domain.

Enter the Domain Name and press <enter>. Enter an authorized domain user and press <enter>. Enter the password for this domain account and press <enter>.
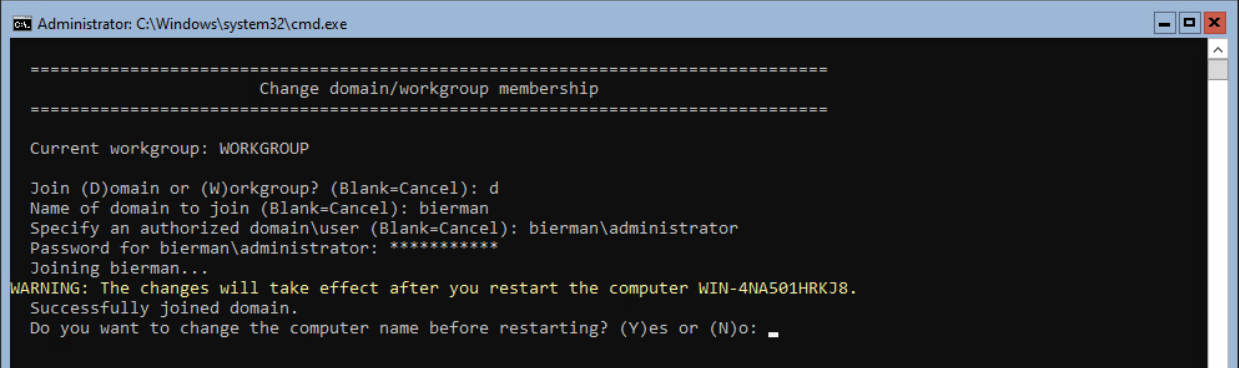
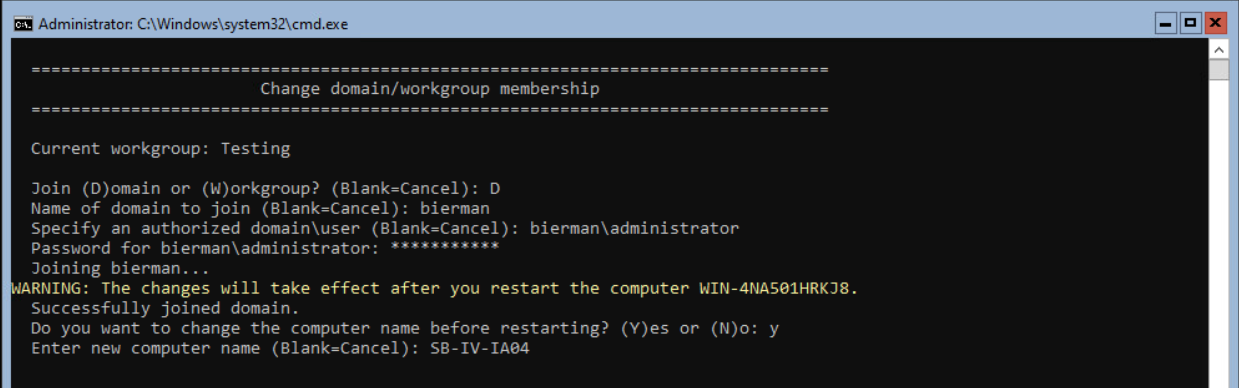
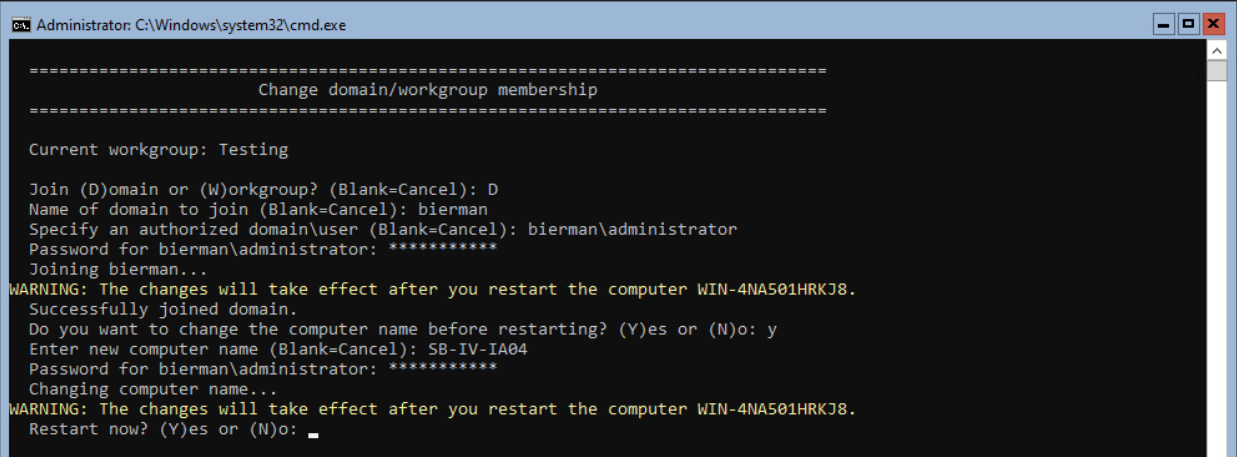
The server will now be joined to the domain if all settings are correctly entered. When finished, the option to rename the server is shown. Press Y and <enter> to rename the server.
Enter a new name for the server and press <enter>.
Enter the domain password and <enter>.
When the server’s name is changed, press Y and <enter> to restart the server.
After the reboot is finished, press CTRL+ALT+DELETE. The windows requesting the password is shown. Hit ESC to switch user sign in. Enter ESC again to switch users.

Select the option Other user from the menu.

Select the option Local or domain account password.

Enter the username and password for the domain account and press <enter>.

The server starts the login for the domain account. When the login is finished, the SConfig screen is shown.
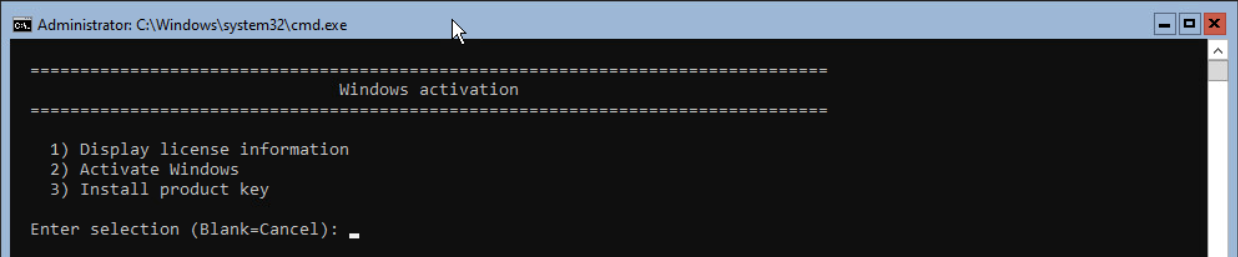
The next step is Windows Activation. Press option 11 and press <enter>. Press option 3 to install a product key.
Enter the product key and press <enter>.
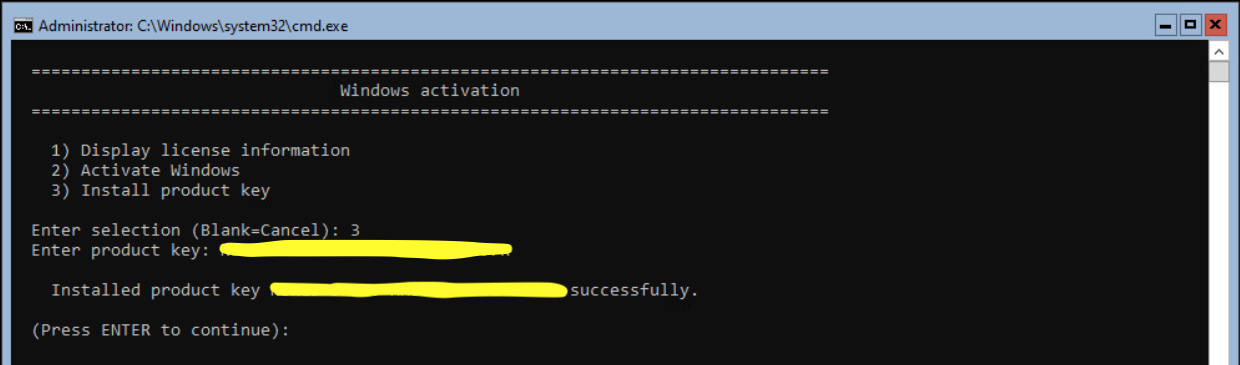
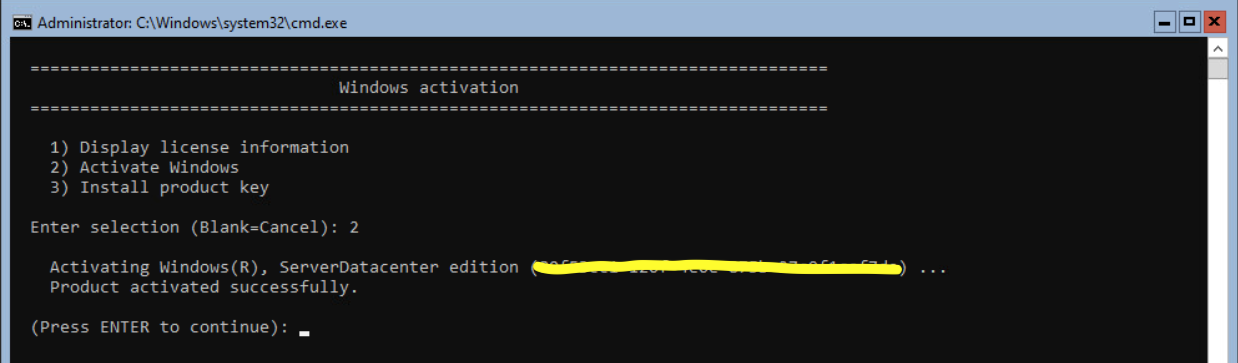
When the product key is successfully installed, press <enter>. Select option 11 and <enter> to activate the server. Select option 2 and <enter> to activate the license. When successful activated press <enter>.
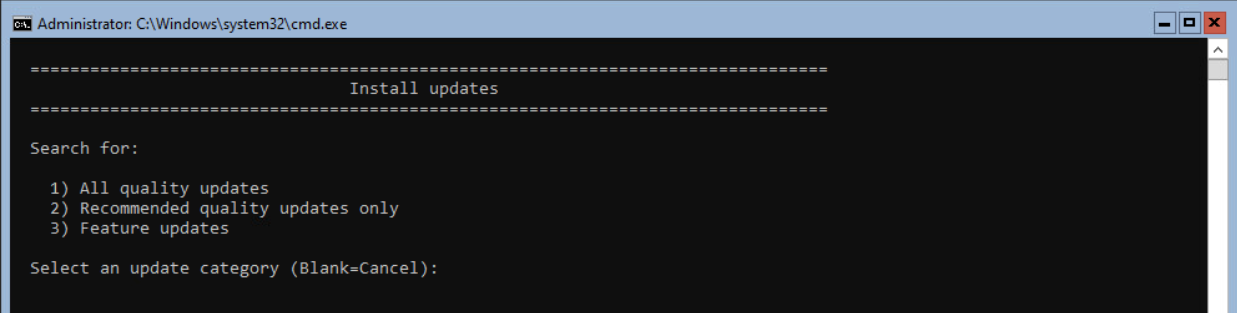
When not using patch software, I suggest installing the latest Windows updates. Press 6 and <enter>.
Select option 1 and <enter> to install the quality updates.
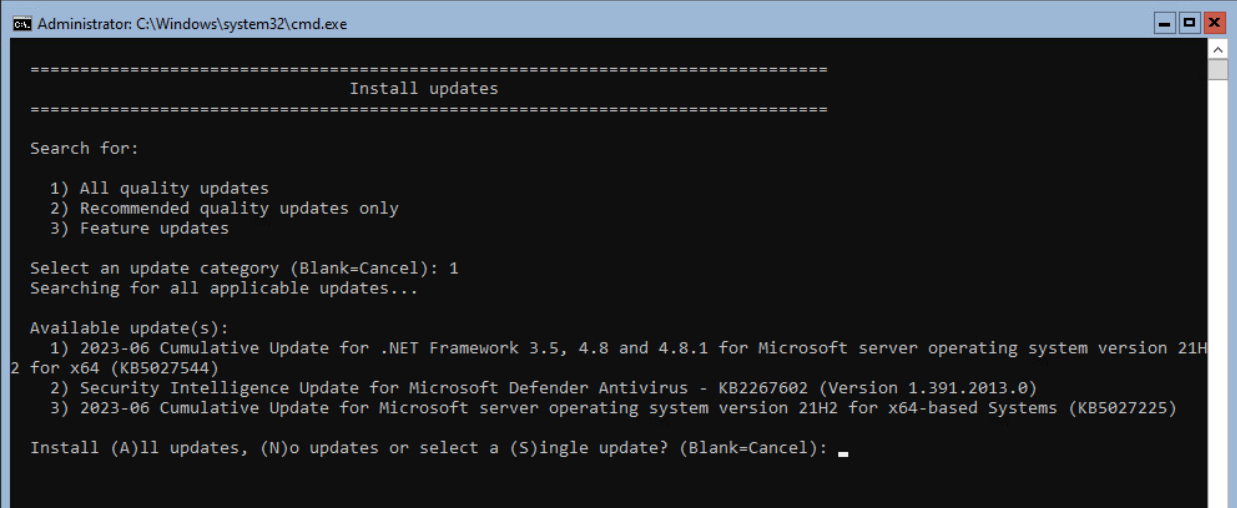
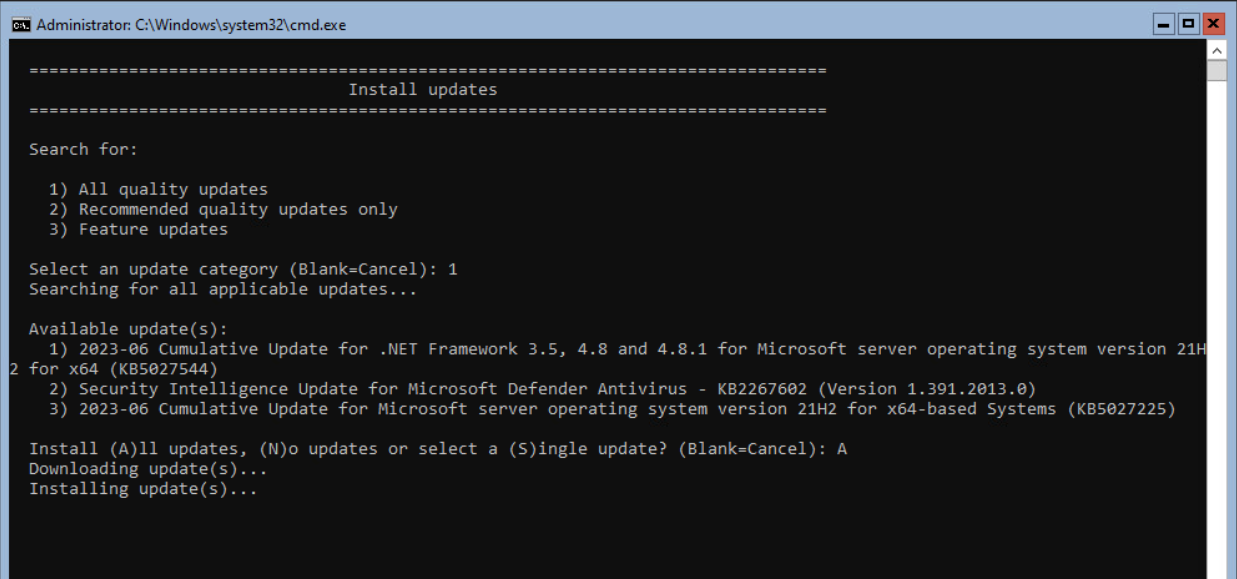
In this example, 3 updates are found for installation. Select A to install all updates.
The server will download the Windows Updates and, after downloading, Install the updates.
When finished, a reboot of the server could be requested, just like Windows Servers with Desktop Experience enabled.
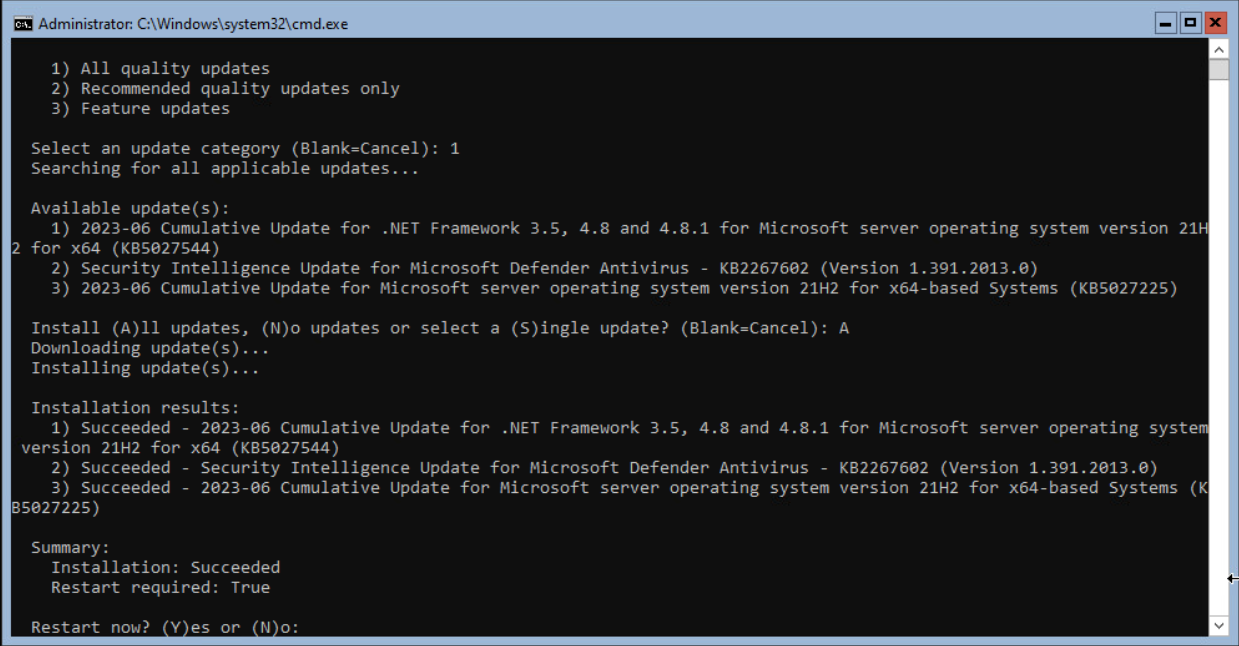
Enter Y and <enter> to restart the server.
Optional Remote Desktop can be enabled. Even Windows Server Core can be accessed with Remote Desktop.
Select option 7 from the SConfig and press <enter>.
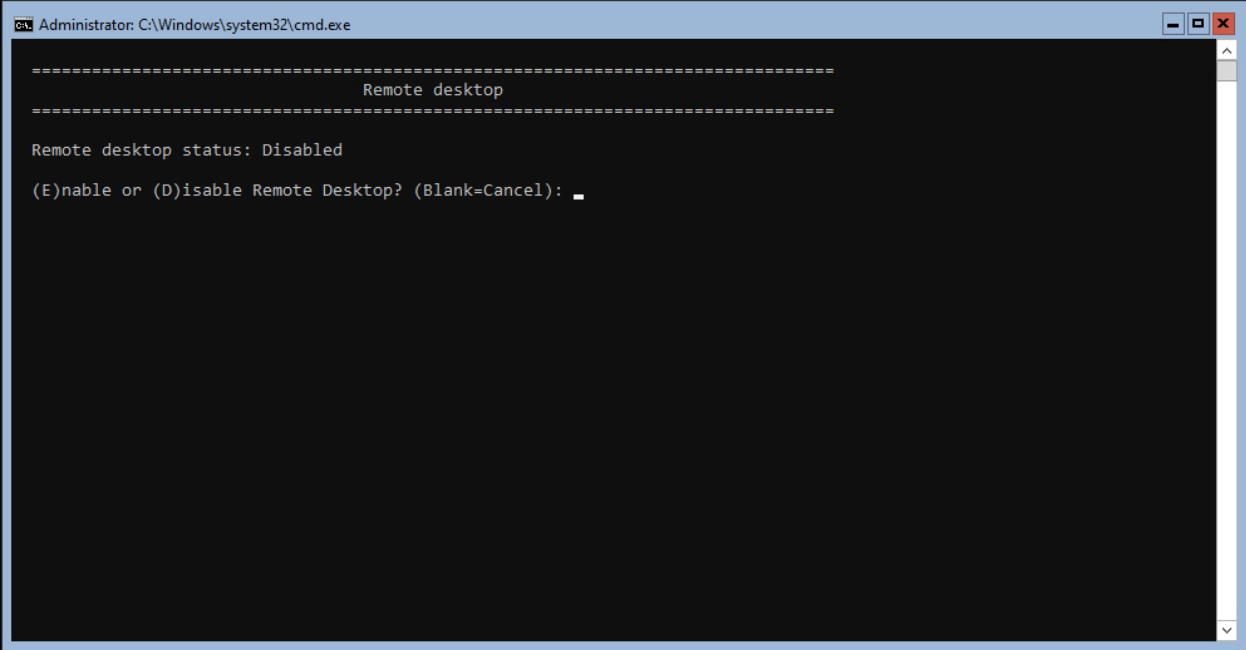
Select E and <enter> to enable the feature.
Select the option with or without NLA (Network Level Authentication. In this blog we select the less secure option (2).
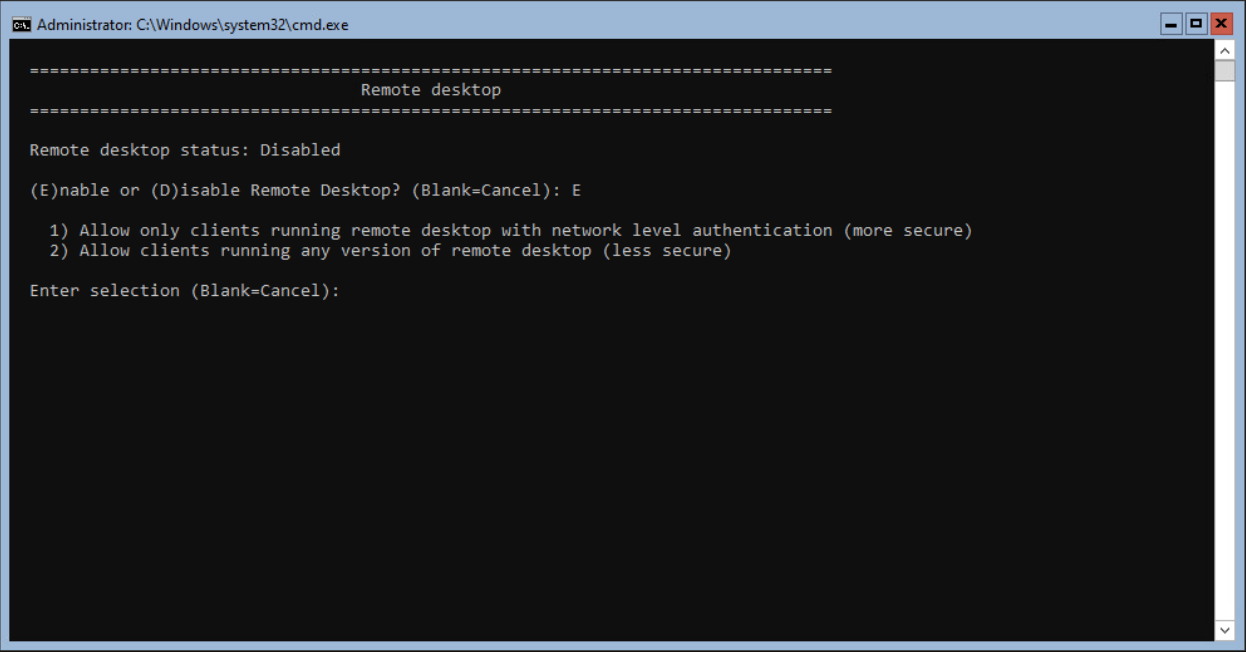
Press 2 and <enter> to continue.
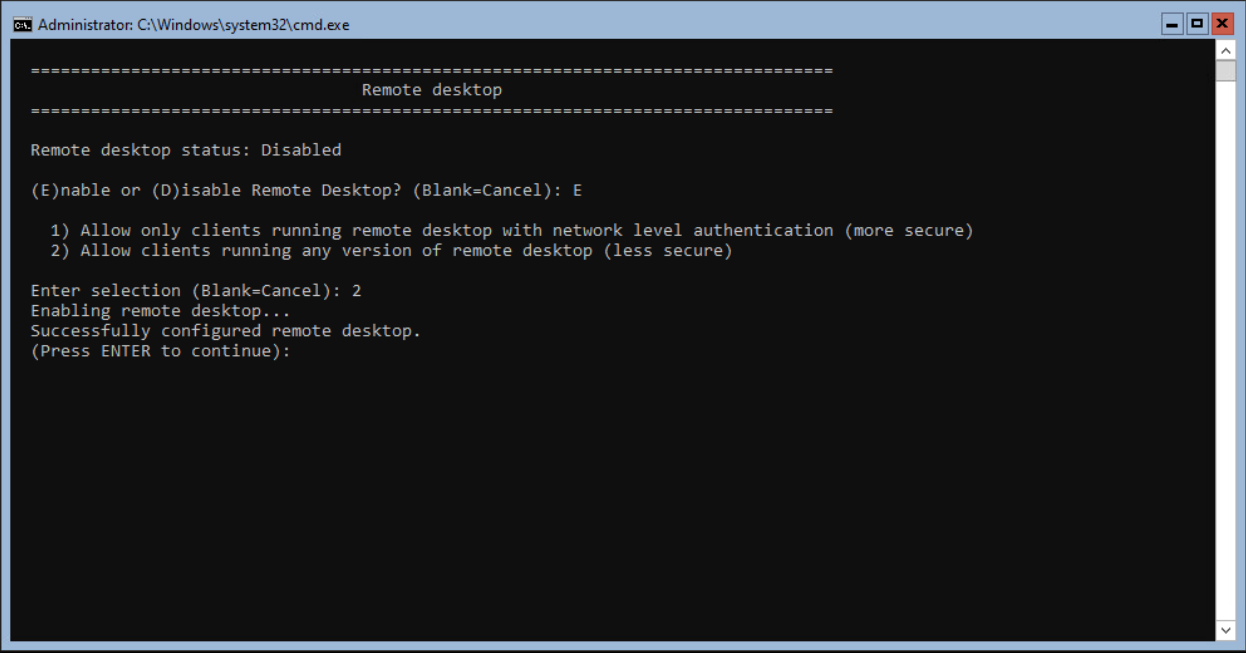
Finish with <enter>.
When Remote Desktop is enabled, the Remote Desktop is automatically added to the Windows Firewall.
Use mstsc.exe or any other Remote Desktop tool to connect to the Windows Server Core.
Optional when using the server on VMware ESX, the VMware Tools need to be installed. Use the steps below to install the VMware Tools.
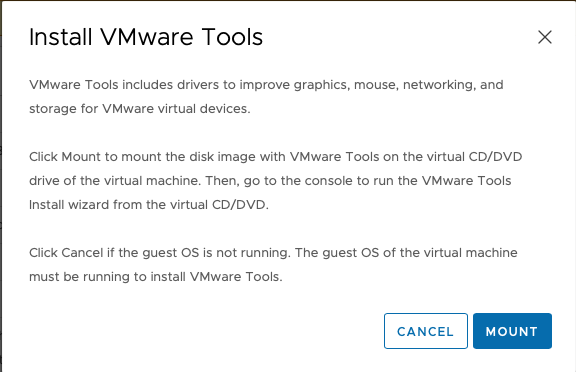
In VMware vCenter, the server shows the VMware Tools are not installed.

Select the option Install VMware Tools and select Mount.
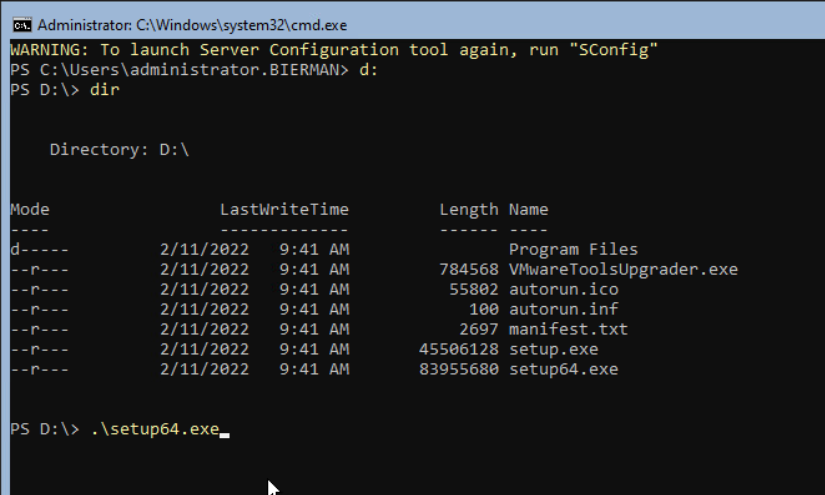
In the SConfig, select option 15 to open the Command Line.
When the CDROM is drive D, enter D: <enter>.
Type dir <enter>.
To start the setup64.exe, enter the following command.
.\setup64.exe <enter>.
The installation of the VMware Tools starts. The welcome screen for the VMware Tools Setup is behind the Command Prompt. Minimalize the Command Prompt to see the Welcome screen.
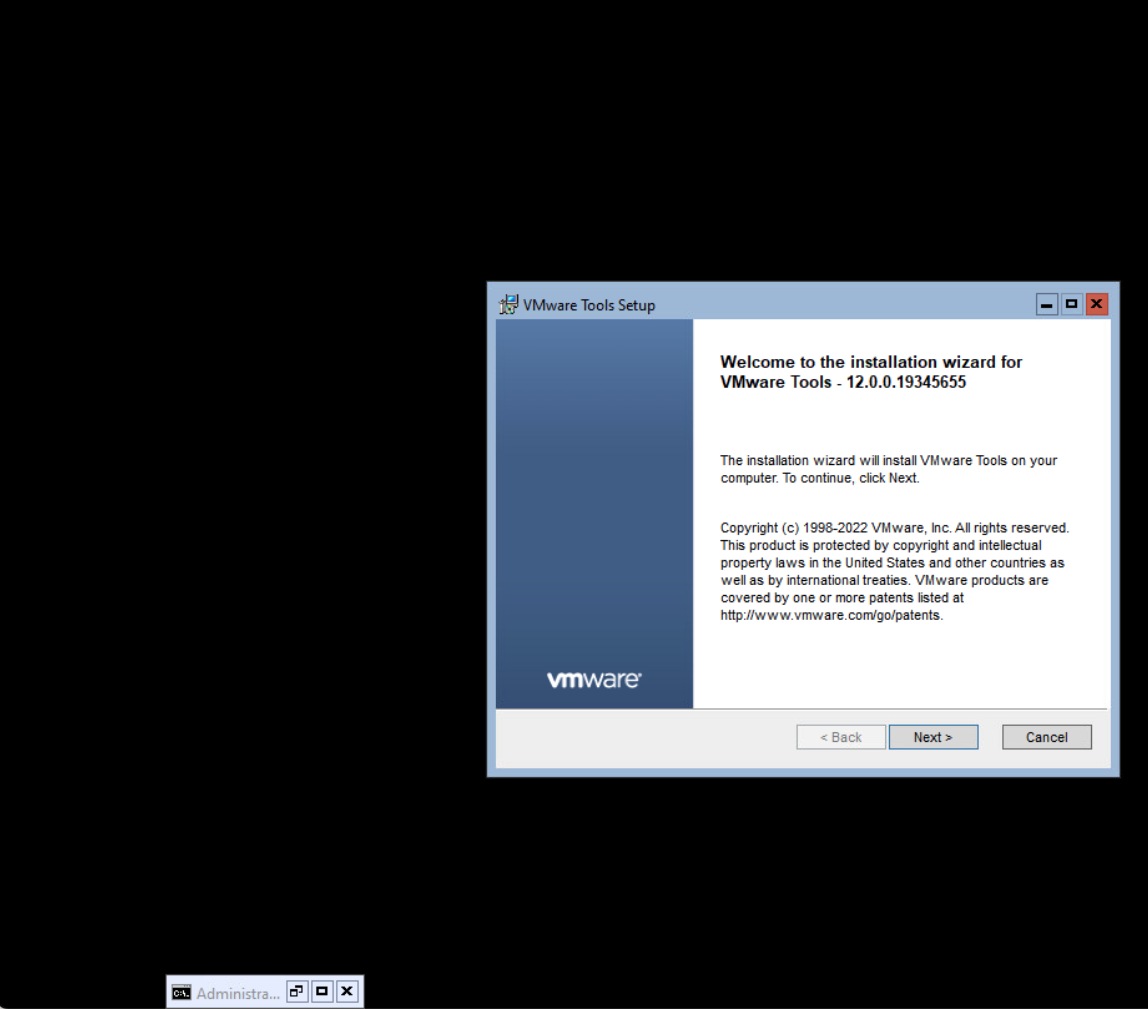
Select Next to continue.
Select the setup type and Next to continue.
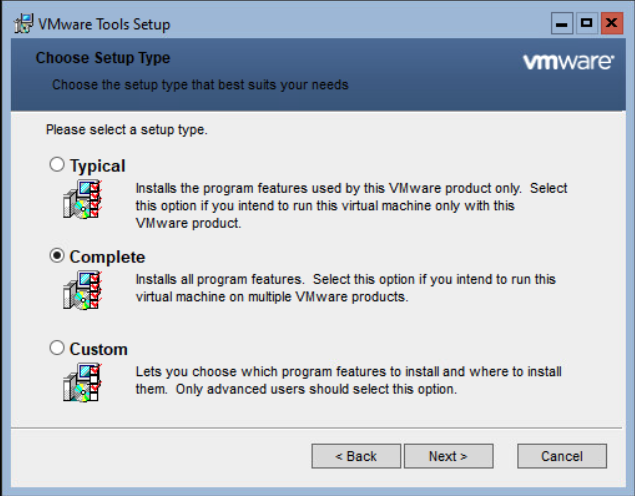
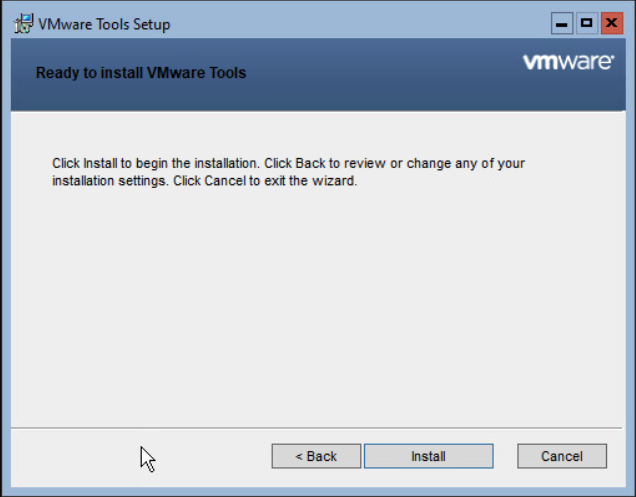
Select Install to start the installation.
When the installation is finished, select Finish and Yes to restart the server.

After restarting, the server is up and running and ready to use.
Be aware that Windows Firewall is default enabled. How to disable the Windows Firewall or open specific ports, check the blog on how to configure the Windows Firewall with PowerShell.
Pingback: Install Ivanti Automation Dispatcher and Agent on Windows Server Core - Automated Vision