Ivanti Identity Broker is a web application that acts as a “broker” for authentication between Ivanti Identity Director (Web Portal and Management Portal), Ivanti Automation Management Portal or Ivanti Xtraction.
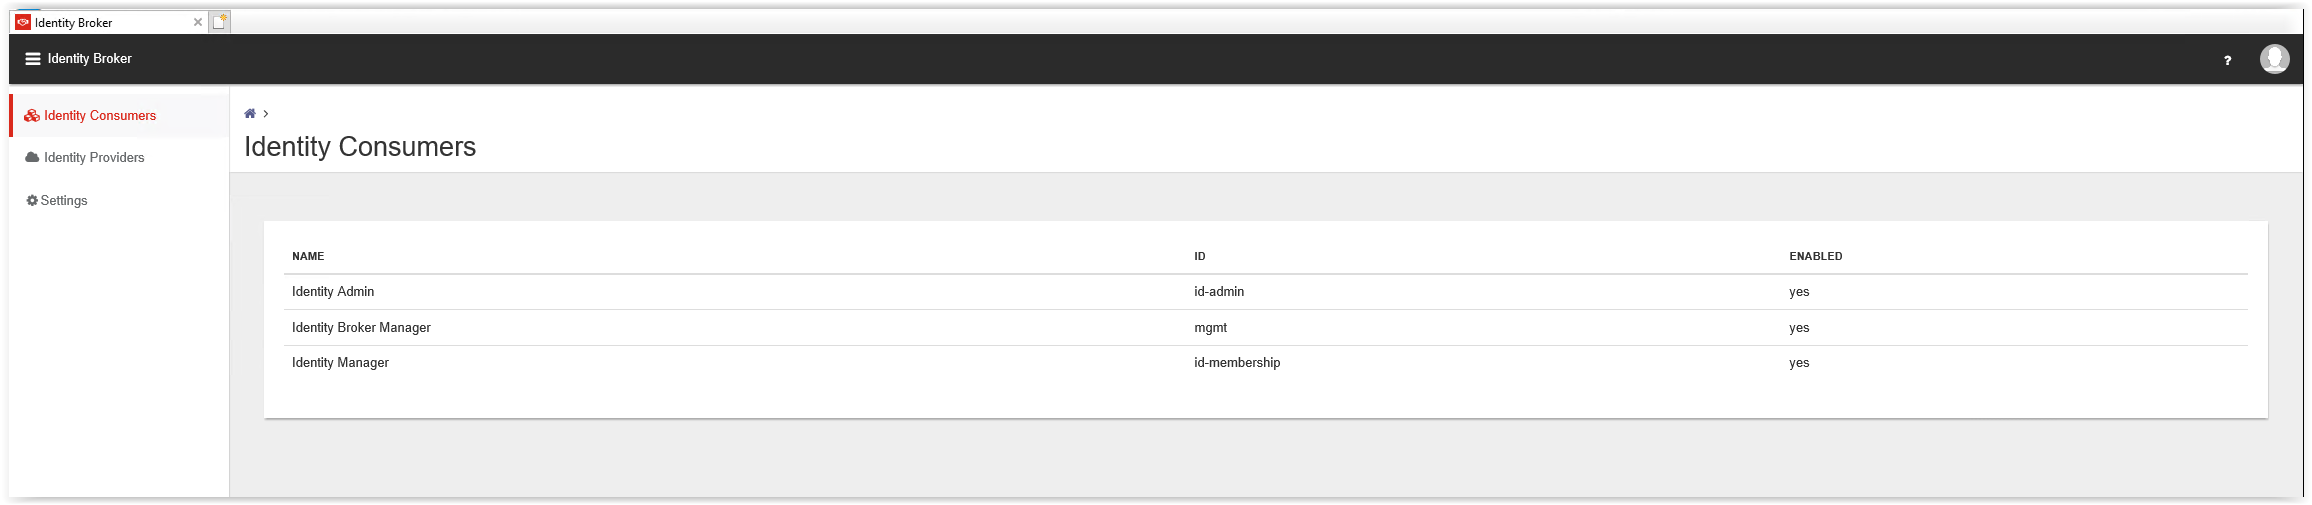
Identity Consumer
An Identity Consumer is a web application (for example a Management Portal or User Portal) for which the Identity Broker handles authentication. Consumers redirected to the Identity Broker using the HTTPS protocol.
To secure communication, a Consumer identifies itself to the Identity Broker by providing an ID and shared secret. A shared secret, such as a password or a private key, is a piece of data known only to the entities involved.
Identity Providers
An Identity Provider is an endpoint that the Identity Broker uses to authenticate a user. Supported Providers are:
- Identity Broker Windows Authentication Provider (part of the Identity Broker installer, also available as a separate installer)
- ADFS (Active Directory Federation Service), using your own ADFS endpoint.
- Azure AD Provider, using your Azure Active Directory
- OKTA, using your own OKTA Identity solution
- Active Directory, using your own internal Active Directory
Identity Broker Authentication sequence
When Identity Broker is used to authenticate users, the following authentication sequence is followed:
- A user browses to an Ivanti Automation or Identity Director Portal, Management Portal or Ivanti Xtraction that is configured as an Identity Consumer.
- The portal (the Identity Consumer) redirects to browser to the Identity Broker for authentication.
- The Identity Broker redirects the browser to the Identity Provider.
- The Identity Provider (ADFS Service) authenticates the user, issues an Authentication Token, and redirects the browser back to the Identity Broker.
- Based on the Authentication Token issued by the Identity Provider, the Identity Broker issues a unified Identity Token and redirects the browser back to the portal.
- Once the portal validates the Identity Token, the requested resource (i.e. a page on the Portal) is returned to the browser.
Download the software and extract the components
Ivanti Identity Broker is part of the Ivanti Identity Director components and can be found in the download file of Ivanti Identity Director.
Go to https://forums.ivanti.com and login with your Ivanti community account.
Select the option All Products in the top menu.

Select Ivanti Director from the Identity and Access Management.

Select the option Product Downloads and Release Notes.
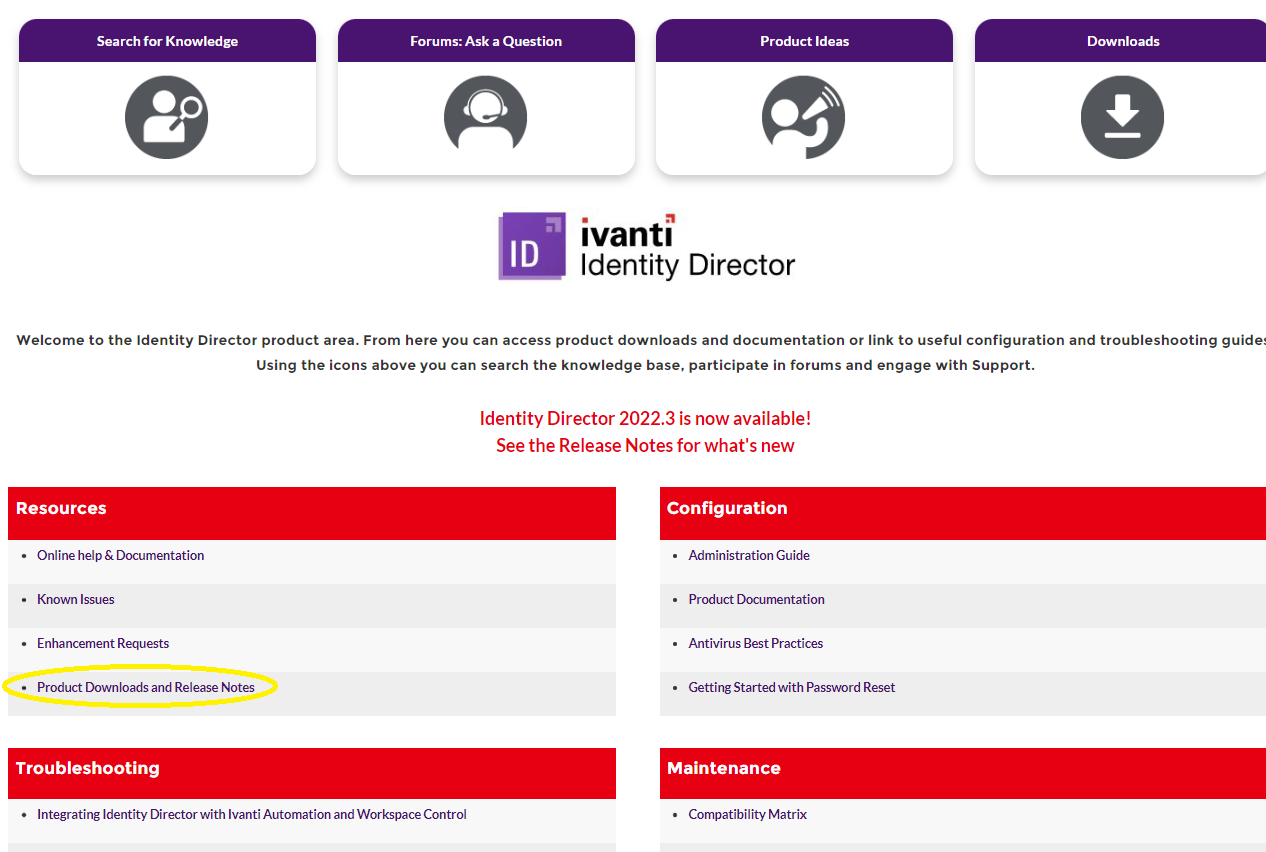
In the next page scroll down to the header Current globally released version and select the latest release Software download link.
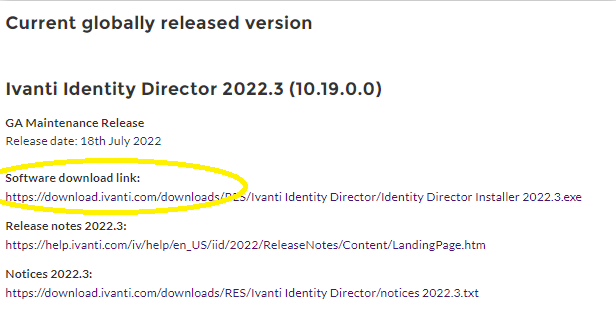
Select the location to download the file.
After the download succeeded execute the file. In the first screen select Next.
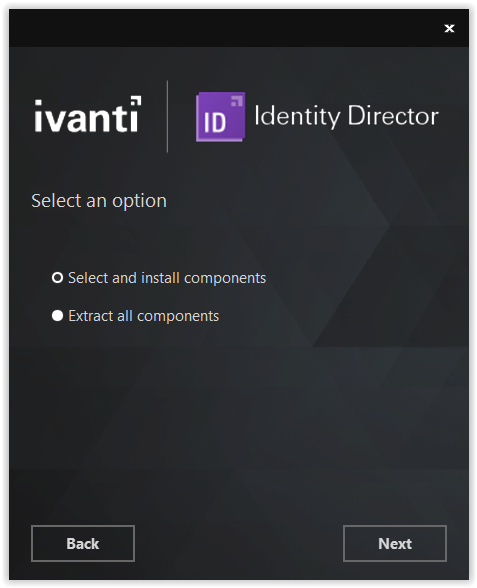
In the next screen select the option Extract all components and select Next to continue.
Select a folder to extract the files/components into and select Next to start the extraction.
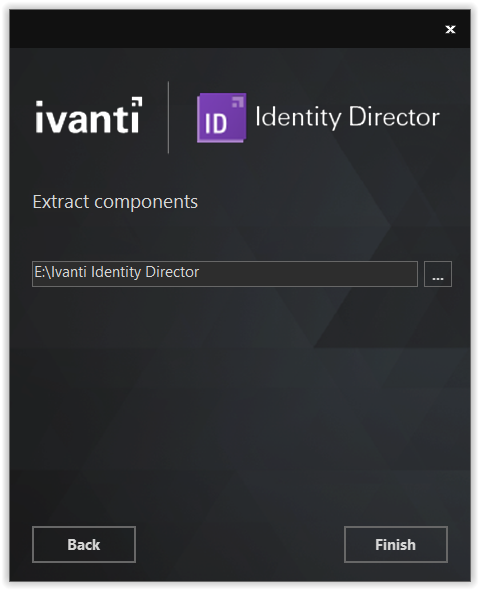
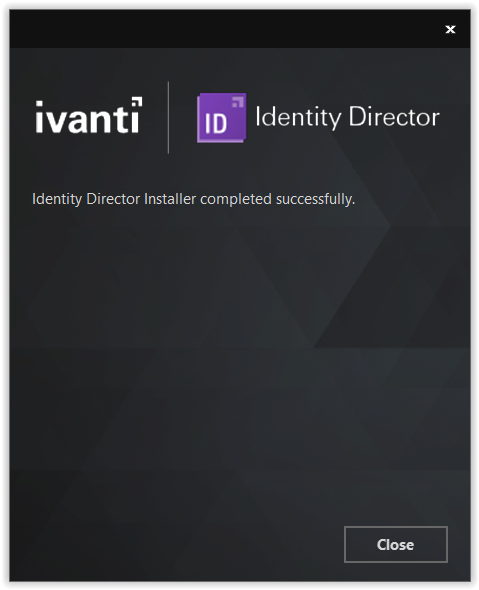
When the extraction is finished close the installer by selecting Close.
After the extraction the folder shows 10 new files.
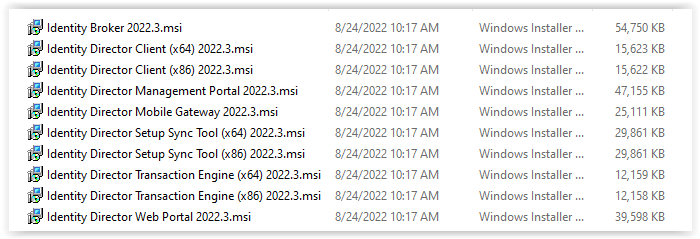
The only file needed for the Ivanti Identity Broker is Identity Broker <release #>.msi.
Example: Identity Broker 2022.3.msi
The Broker software must be installed on a Microsoft Windows Server. Check the prerequisites below.
Identity Broker prerequisites | |
Operating System | One of the following Microsoft Windows Server versions:
|
Software &
|
|
Database | One of the following databases:
|
Installation of Ivanti Identity Broker
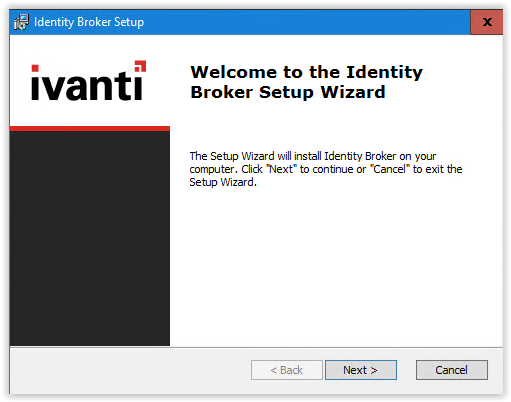
Start the file and select Next in the welcome screen.
Accept the License Agreement and select Next to continue.

Select the installation folder and select Next to continue.

The next step is creating a hostname and port number (Note: Ivanti Identity Broker can only be used with a SSL certificate with port 443).
The option Generate Self-Signed Certificate is not recommended only for test purposes.
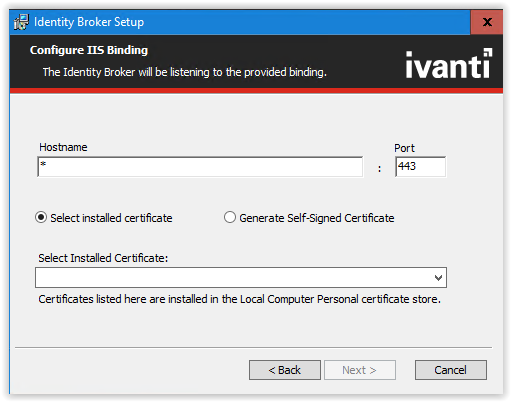
Below an example how to configure the IIS Binding for the Ivanti Identity Broker.

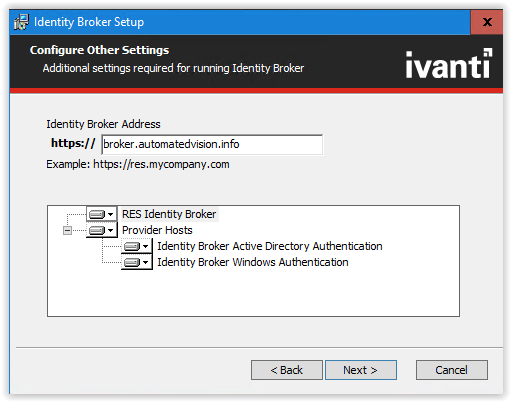
The next screen shows the additional settings. In this screen the installation of the Providers Active Directory and Windows Authentication needs to be selected.
When only using the providers ADFS, OKTA or Azure AD the additional installation is not required but I always recommend installing both Providers.
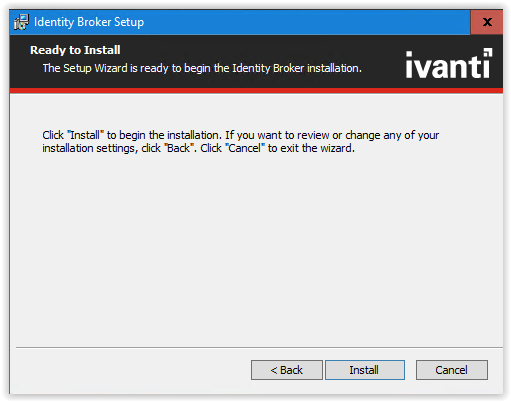
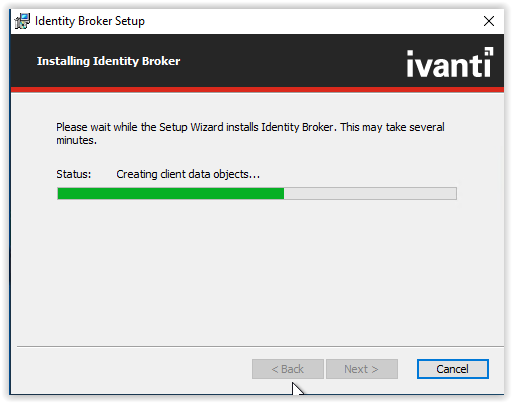
When finished the components select Next to continue. In the next screen select Install to start the installation of the Ivanti Identity Broker and components.
Note: When the Internet Information Services isn’t installed, the feature will be installed by the Ivanti Identity Broker installation.
Next step is configuring the database connection. This screen appears during the installation.
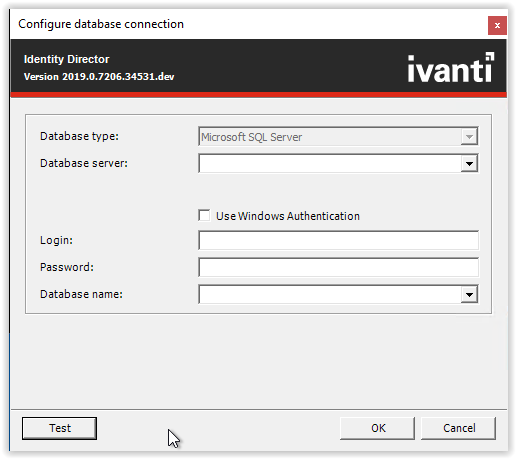
When using this option only the SA account can be used. When another account is required follow the steps below to create a new Broker database and database user in the Microsoft SQL Management Studio.
Open the Microsoft SQL Management Studio and right click on the Databases and select New Database…

Enter a name for the database and configure the Recovery Model to Simple in the Options.
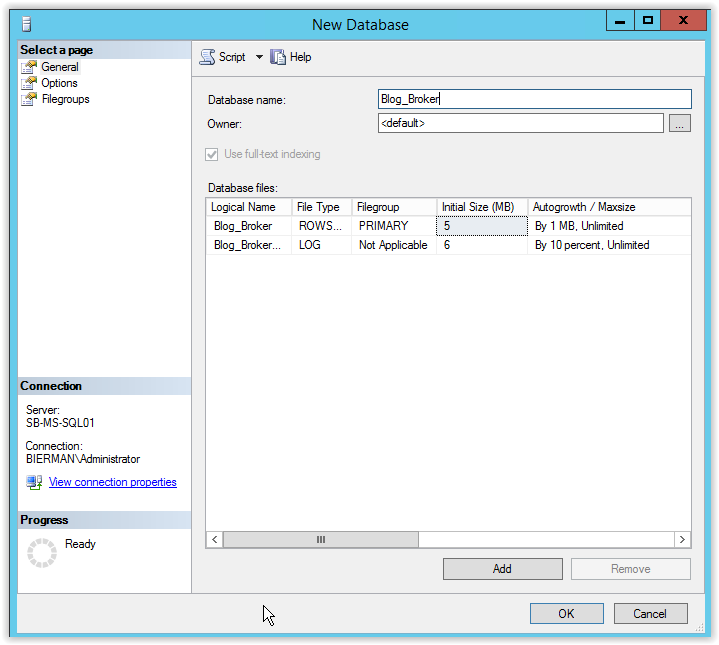

Select OK to store the new database.
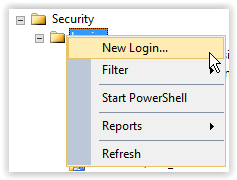
Open the Security – Logins and right click Logins and select New Login…
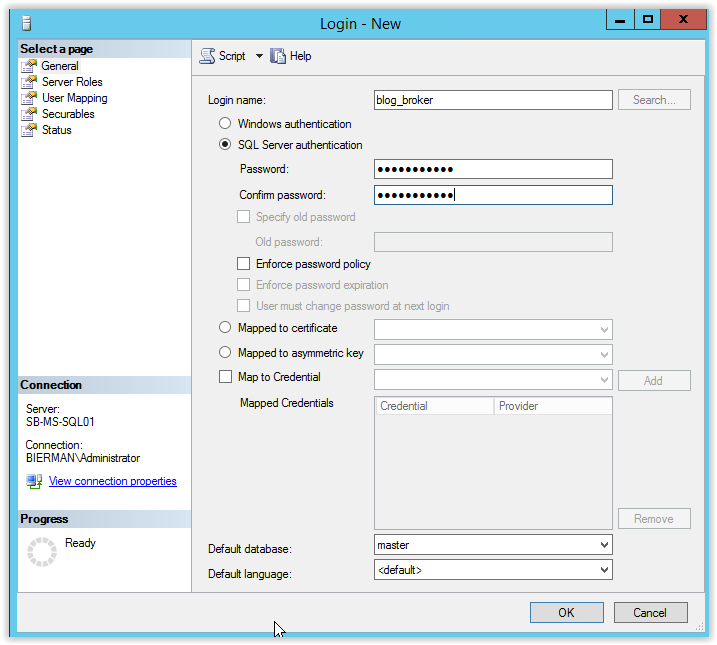
Enter a Login Name and select SQL Server Authentication. Enter a password and deselect the optionsL
- Enforce password policy
- Enforce password expiration
- User must change password at next login
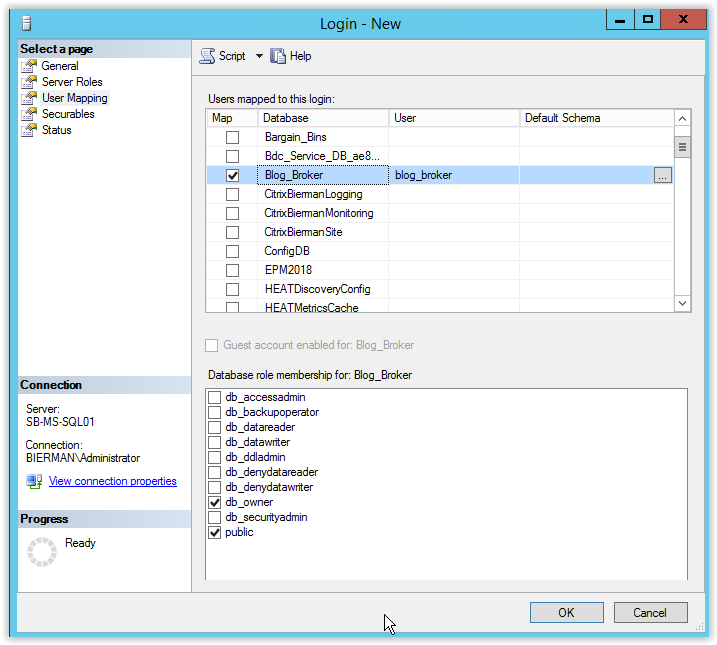
Select User Mapping and select the database and select db_owner.
After creating the new Ivanti Identity Broker database and adding the new SQL Server account to the database enter the information in the database connection screen.
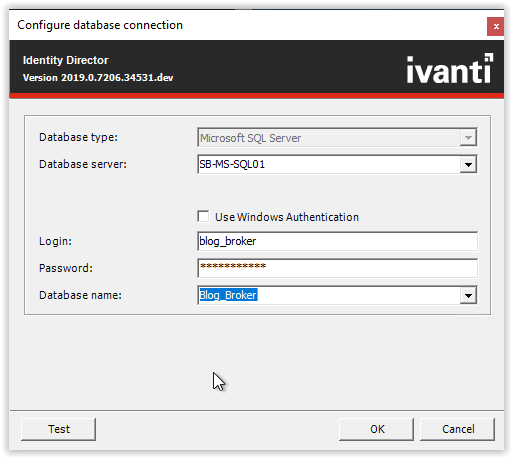
Select the Test button and check if the database connection is made.

Select twice OK to continue the installation.
When the Ivanti Identity Broker is installed the AdAuth Setup screen is shown. The 2 Providers installations are only executed when selected in the Ivanti Identity Broker setup.
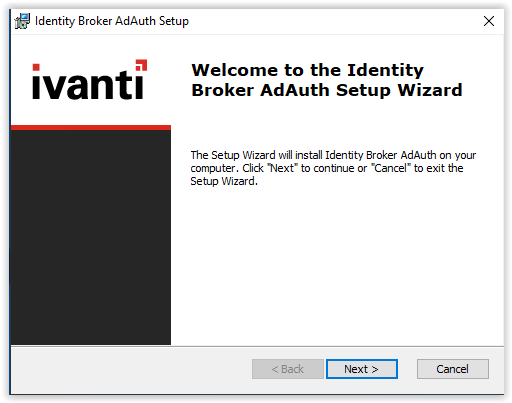
Select Next to continue,
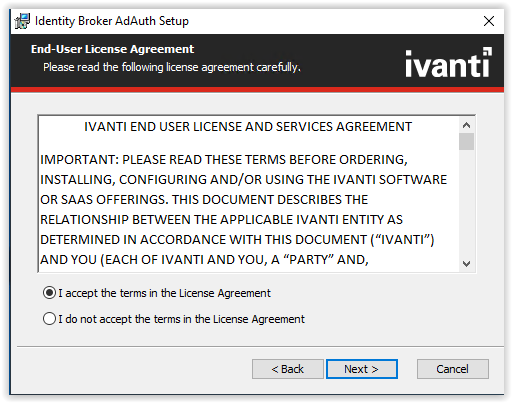
Accept the License Agreement and select Next to continue.
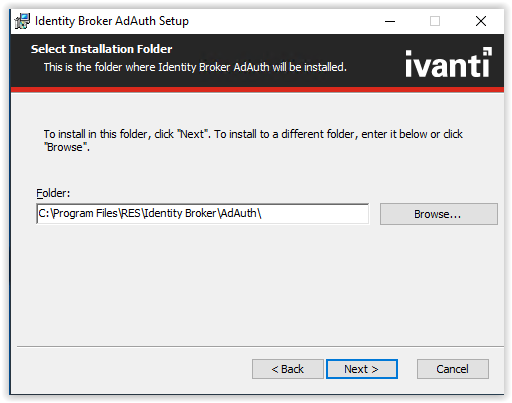
Select the installation folder and select Next to continue.
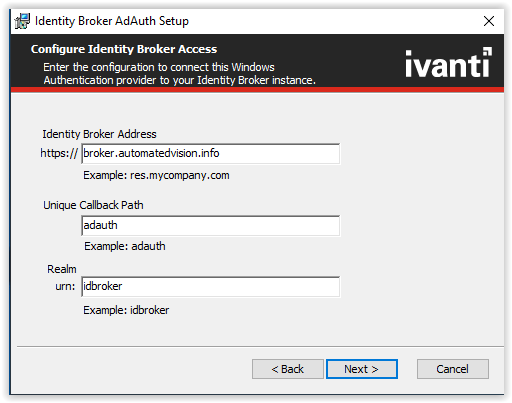
Configure the Identity Broker access. It’s recommended to keep this default and use the prefilled settings.
Select Next to continue.
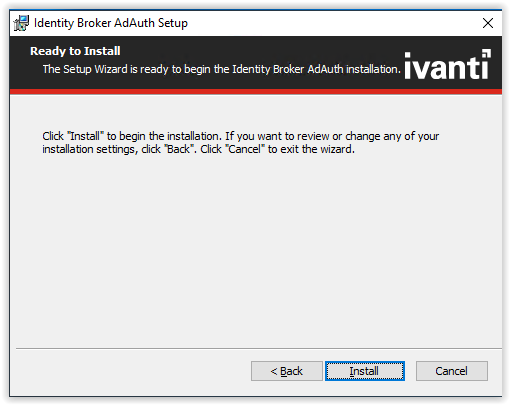
Select Install to start the installation.
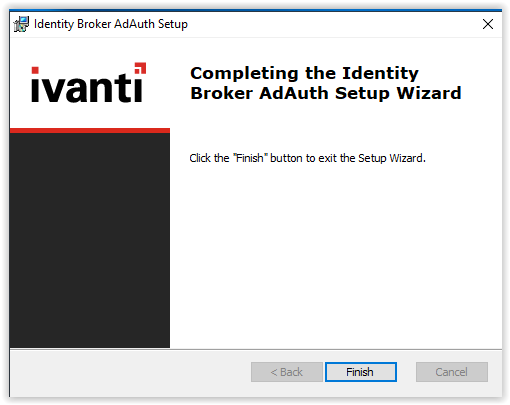
After the installation of the Active Directory Provide select Finish to continue with the Windows Authentication installation.
Select Next to continue.
Accept the License Agreement and select Next to continue.
Select the installation folder and select Next to continue.
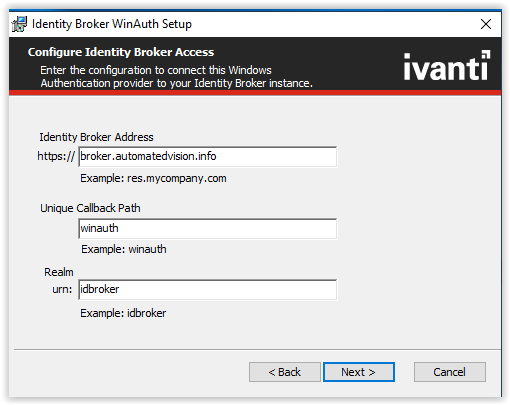
Configure the Identity Broker access. It’s recommended to keep this default and use the prefilled settings.
Select Next to continue.
Select Install to start the installation.
After the installation of the Windows Authentication Provider select Finish to continue and finish the Ivanti Identity Broker installation.
Select Finish to finalize the Ivanti Identity Broker installation.
After the installation a new shortcut is placed on the desktop.
Make sure the FQDN is either entered in the local host file (only for test purpose) or in DNS.
Open the Identity Broker Management Portal. During the first start Ivanti Identity Broker will pre-configure settings. When finished the Logon screen is shown.
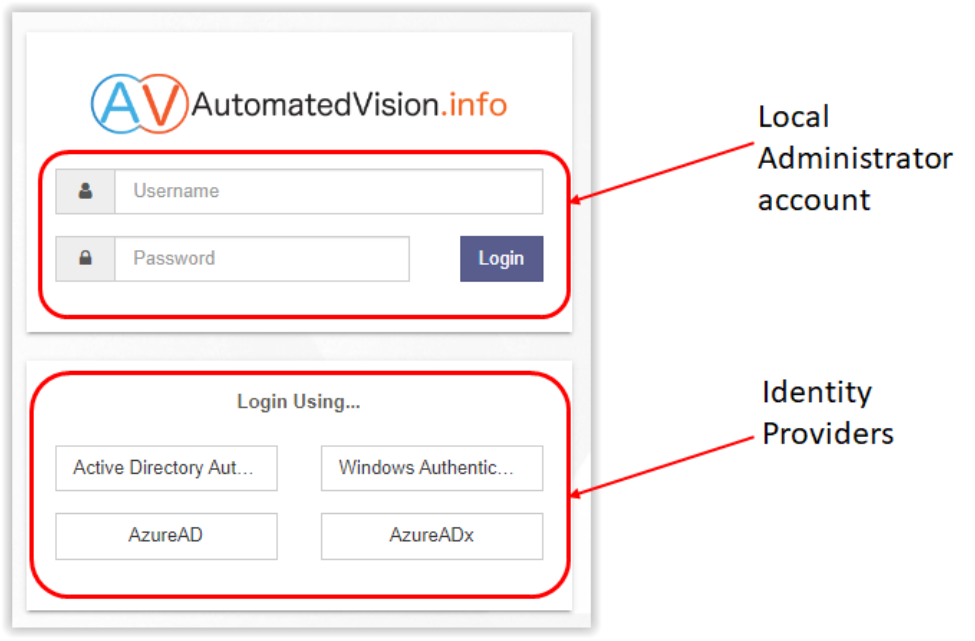
The Local Administrator account is default and can’t be changed.
Username : admin
Password : unsecured
It’s very important to disable the Local Administrator account when one Provider is working correctly.
After logging to the Identify Broker Management Portal select Settings from the menu When one provider is working correctly to logon to the Identity Broker Management Portal disable the Local Administrator Account.

When below screen appears after the Local login the Broker installation is successful finished.
More information how to configure Identity Consumers and Providers are discussed in other blogs.
Pingback: Ivanti Identity Broker with Microsoft Azure AD for Ivanti Xtraction - Automated Vision