This blog describes how to integrate Microsoft Azure AD users with Ivanti Identity Broker. Ivanti Identity Broker is a web application that acts as a “broker” for authentication between Ivanti Identity Director (Web Portal and Management Portal), Ivanti Automation Management Portal or Ivanti Xtraction.
The AzureAD integration in Identity Broker is an Identity Provider. An Identity Provider can process authentications requests by means of external authentication endpoints.
Support Identity Providers are:
- Identity Broker Active Directory Authentication Provider
- Identity Broker Windows Authentication Provider
- ADFS Provider, using an ADFS server
- Azure AD Provider, using Azure Active Directory (M365 also included)
- OKTA Provider, using an OKTA instance
In this blog we discuss the integration between Ivanti Identity Broker and Microsoft Azure AD (also included in M365).
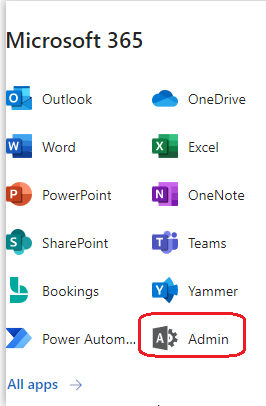
First step is creating an Azure AD App Registration. Login to Microsoft M365 and select the Admin option from the Apps menu.
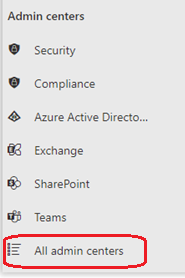
Select Azure Active Directory from the Admin Centers.
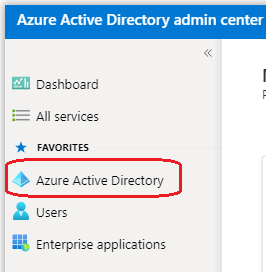
Azure AD is opened in a new tab and select Azure Active Directory.
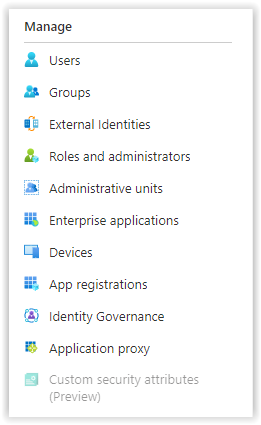
Select App Registrations from the Manage menu.
Select the option New Registration from the top menu.
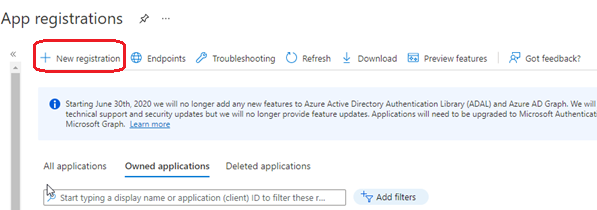
Enter a name for the new app and select the option which accounts can use the application or access the API.
Select the Web option in the redirect API and enter a valid URL. This is only required when using the Ivanti Identity Broker.
I.e. https://store.testing.com/identitybroker/ids/
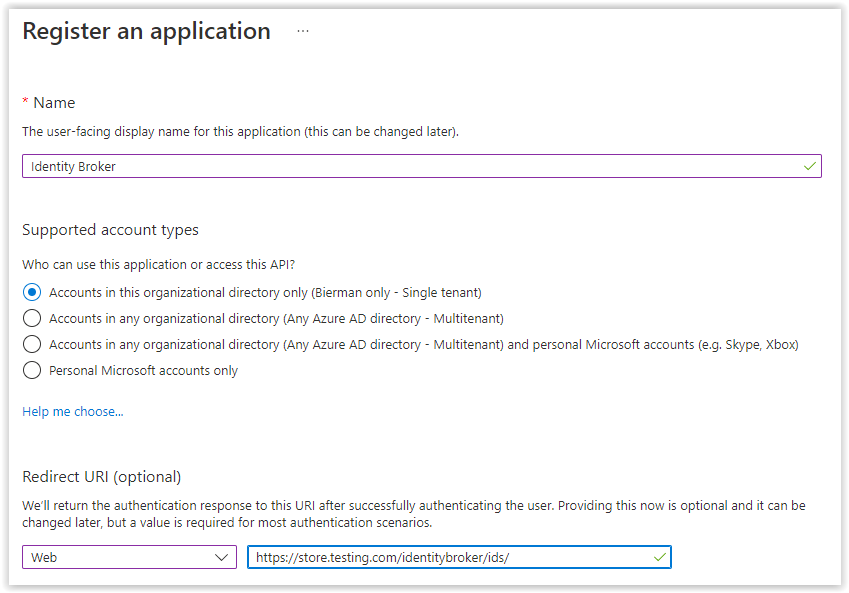
Select Register when finished.
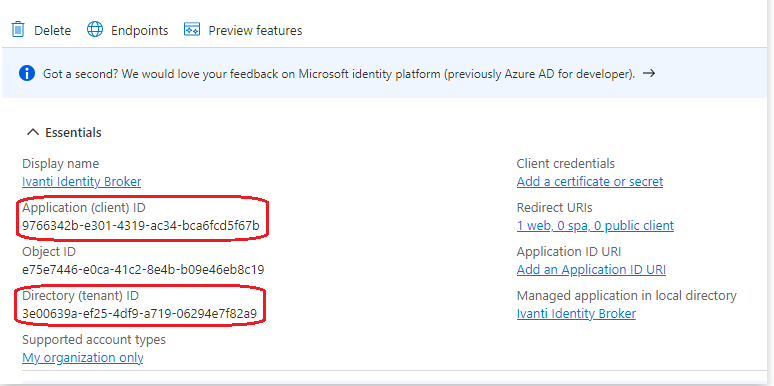
When finished the screen below shows one of the 3 values required. The Directory (tenant) ID and Application (client) ID are needed for the Security Context later in the document.
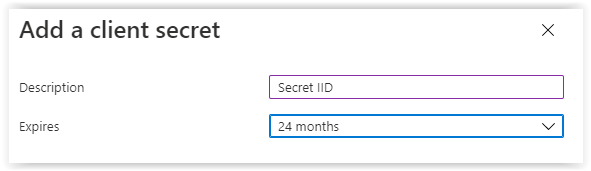
Next step is creating Client Credentials. Select Add a certificate or secret. Next select New client secret.
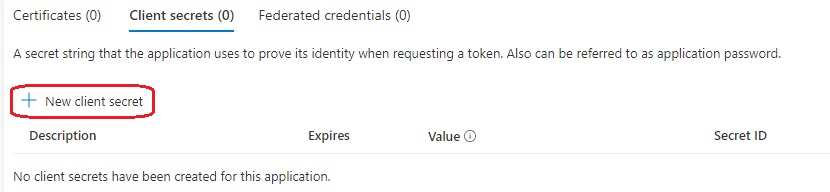 Enter a name and select the months before expiring.
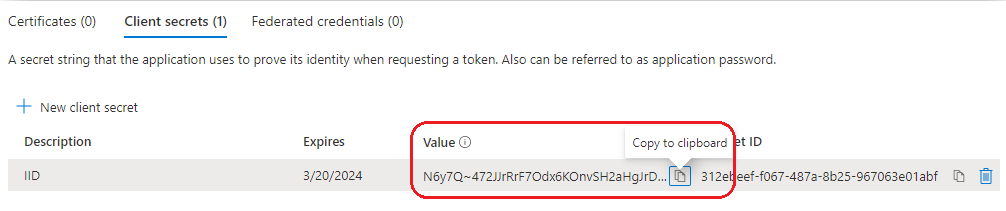
When select Add and save the Value as shown in below screenshot.
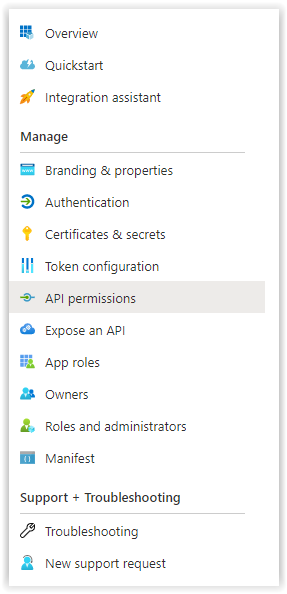
Last step is adding API Permissions to the new created application.
In the menu select API Permissions.
Select Add Permission.
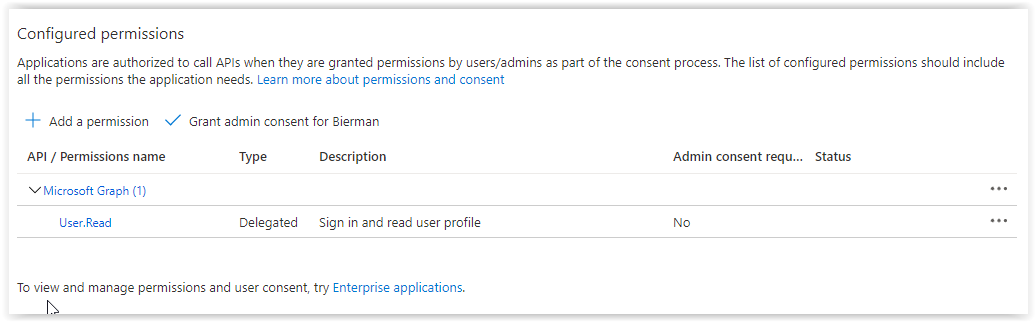
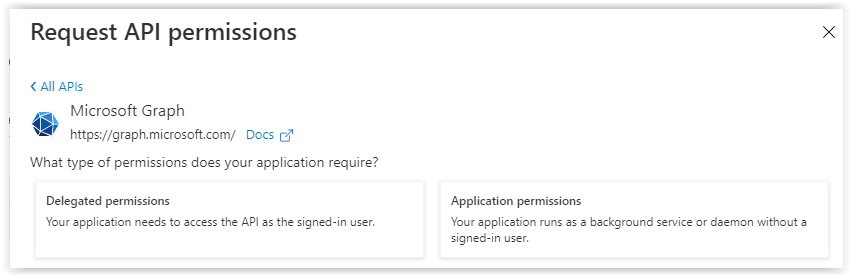
In the menu on the right select the option Microsoft Graph.
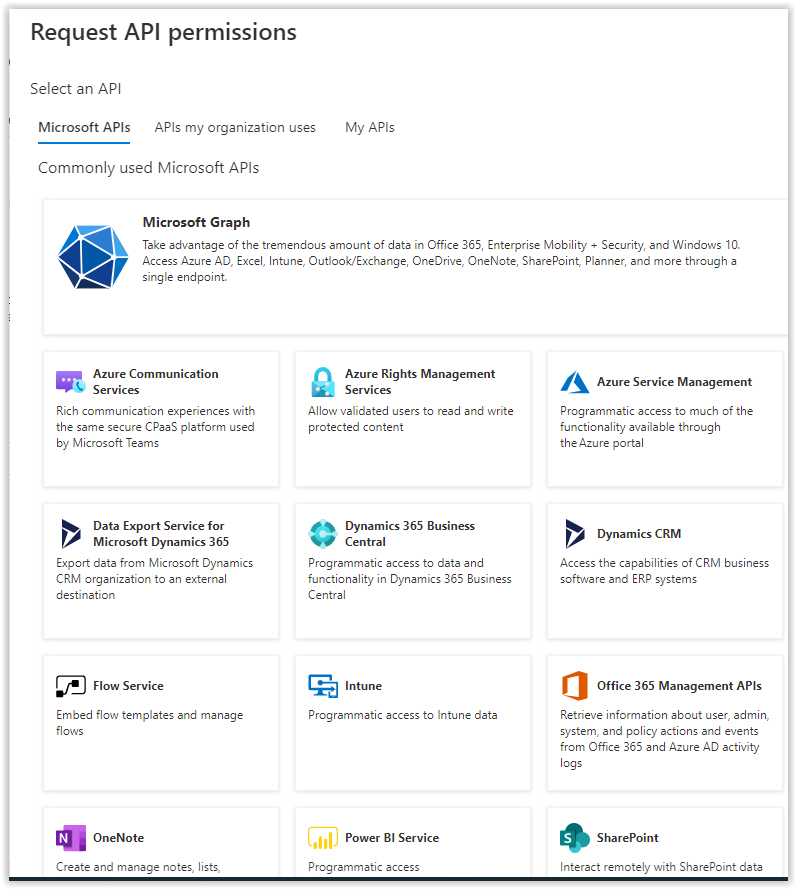
Select Application permissions to add one additional permission.
Enter Directory in de searchbar and open the Directory permissions. Select the permission Directory.Read.All and select Add Permissions.
Last step in the API Permission is Granting the new permission. Select the option Grant admin consent for ….. When finished the permissions are granted.
Now the App Registration is finished we continue with the Ivanti Identity Broker configuration. This blog will not describe the Ivanti Identity Broker Identity Consumers configurations.
Configuration of Ivanti Identity Broker with Azure Active Directory Identity Provider
Open the Ivanti Identity Broker Management Portal
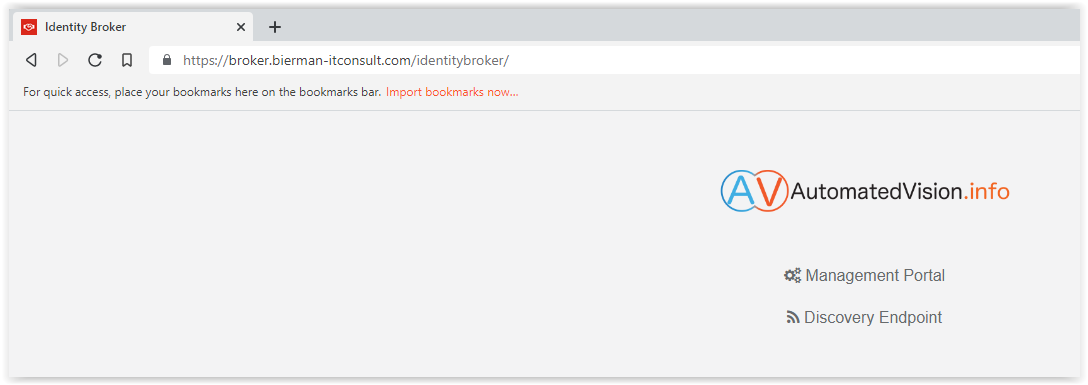
Select the option Management Portal.
In the screenshot below 4 Identity Providers are available and the Local Administrator is still available. Keep the Local Administrator account enabled during the configuration and testing to prevent a locked out of the Ivanti Identity Broker Management Portal.
When the created Identity Providers don’t work and the Local Administrator account is disabled use the following link to enable the Local Administrator account.
After a successful login select Identity Providers from the menu.
In the overview I created some test Identity Providers for ADFS, OKTA and ADFS.
In this blog we will create a new Identity Provider for Azure Active Directory (AzureAD).
Select Add on the bottom of the page to create a new Identity Provider.

A new page to create the new Identity Provider appears.
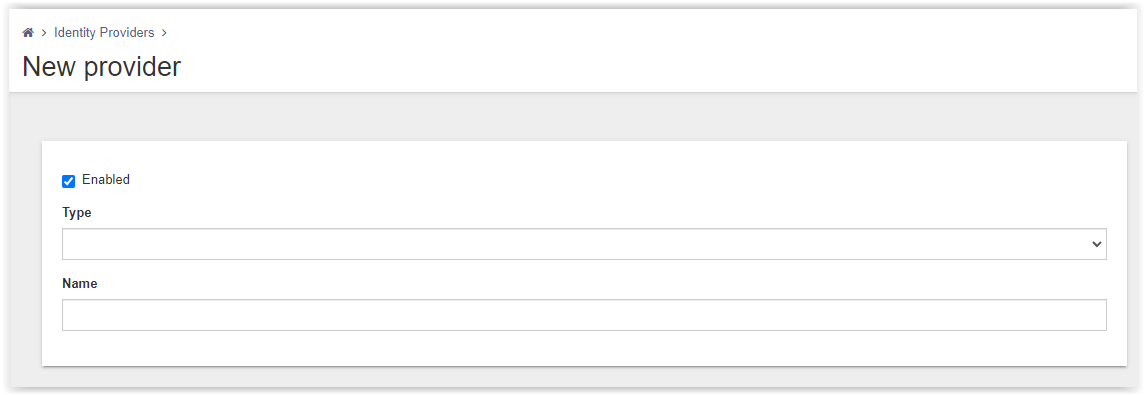
From the drop-down box in the option Type select Azure Active Directory.

After selecting the Azure Active Directory option more fields appear.
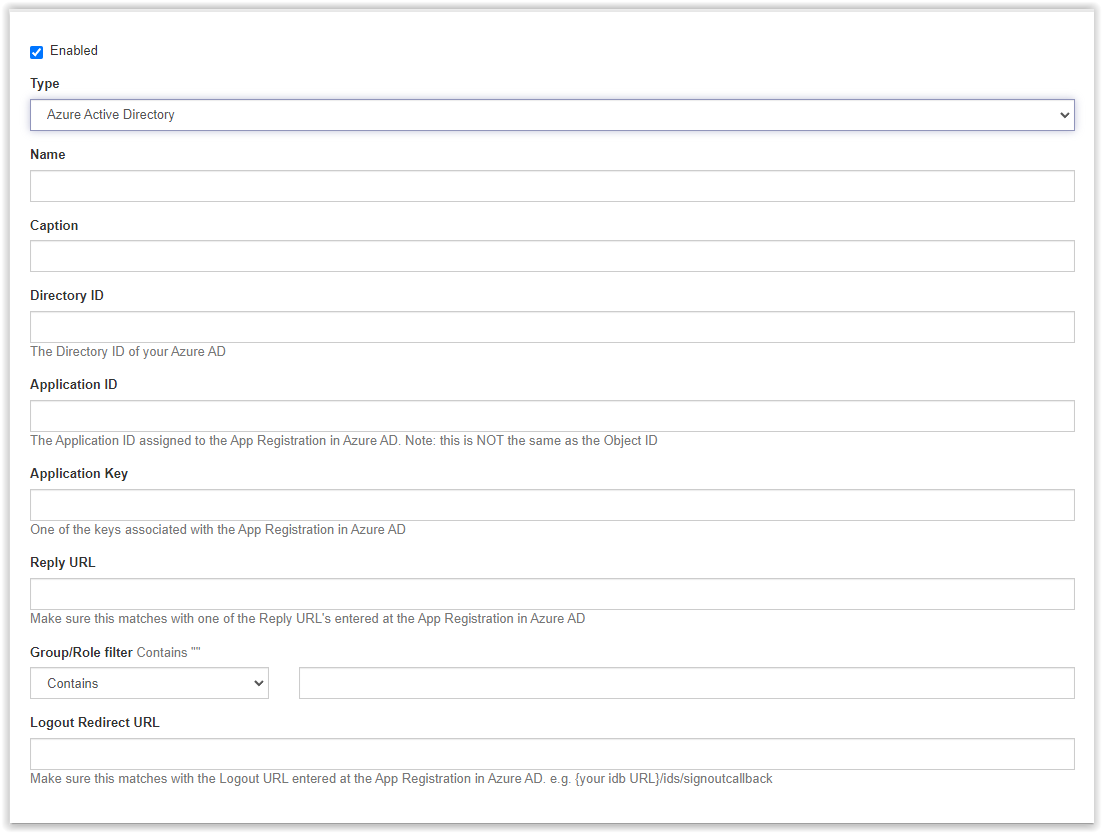
Check below the fields and which value is needed.
- Name – Enter a name of the Identity Provider
Note: when using the Provider option in the Web Portal URL in the Setup – General configuration make sure the name doesn’t include a space!
- Caption – This is the name shown during the login screen. When using the Provider option as shown in the Name option this will skipped and the selected Identity Provider is automatically executed.
- Directory ID – Directory (tenant) ID. Information can be found in the Overview of the App Registration.
- Application ID – Application (tenant) ID.
- Application Key – Is the Client Secret created in the App Registration process. When the Client Secret isn’t copied during the creation a new secret needs to be created as the value can’t be resolved after the creation.
- Reply URL – Enter the same value as entered in the Reply URL of the App Registration.
I.e. https://store.testing.com/identitybroker/ids/ - Group/Role filter – Keep this value empty
- Logout Redirect URL – Enter the logout redirect URL. This URL is used to return after a logout.
I.e. https://<fqdn>/IdentityBroker/ids/signoutcallback
After entering all values the configuration should look like below:
When finished select the Save button on the bottom and the new Identity Provider is created.
Next step is configuring the Ivanti Identity Director Management Portal configuration to use the AzureAD Identity Provider.
Open the Ivanti Identity Directory Management Portal (https://<fqdn>/IdentityDirector) and select Setup – General.
Because Azure Active Directory doesn’t hold a Windows User Account we need to use the UPN (User Principal Name) or Primary E-mail Address as Default People Identifier.
Default the People Identifier is configured to Windows User Account (domain\username). When synchronizing users from the onprem Active Directory make sure the Primary E-Mail Address is equal to the UPN in Azure Active Directory.
When using the Ivanti Identity Director Setup & Sync Tool map the Primary E-mail Address to either People Identifier Primary E-Mail Address or a new created People Identifier UPN. An example of a People overview with identifiers in below screenshot.
In the Setup – General select either UPN or Primary E-mail Address in the People Identifier.
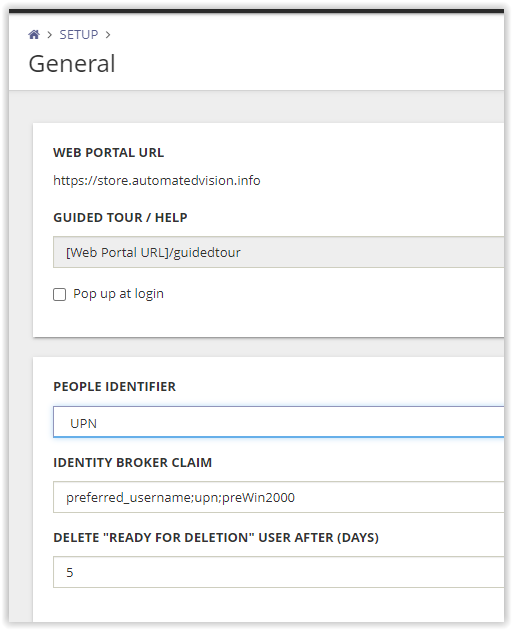
The Identity Broker Claim needs to be configured to upn. The Identity Broker Claim is used to map the People Identifier and allows the Identity Broker to authenticate people in the Identity Director environment by matching the claim with a valid people identifier value.
When configuring Identity Broker the need to map the people identifier that is used for user authentication to a valid Identity Broker claim.
Valid claims are:
preWin2000 for the identifier Windows user account (when no claims are entered this is the default value)
upn for the identifier Primary E-mail Address
preferred_username for any valid JSON string used as a shorthand name for the end-user by OpenId.
When configuring multiple claims use the semicolon (;).
Save all the changes by selecting the Save button on the bottom of the page.
Next and last step is testing the authentication. This blog assumes the Web Portal and Management Portal Consumers are already created and configured in both Portals. For more information how to create Consumers check blog …
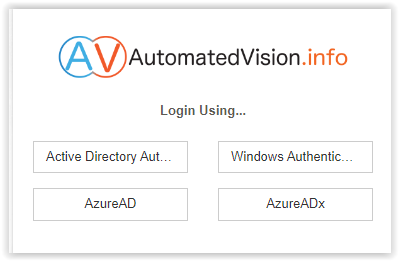
Open the Identity Director Web Portal (https://<fqdn>, i.e. https://store.automatedvision.info). When Password Reset is enabled the Sign In is shown. When the Password Reset is not used the authentication will automatically start.
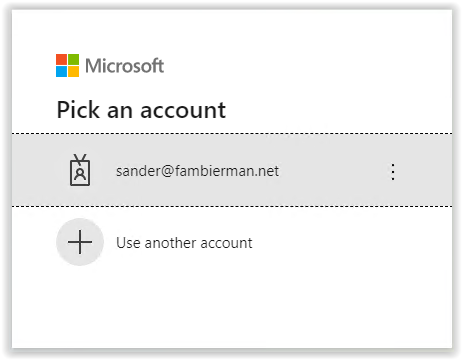
When the Azure AD E-mail address is used before for login just pick the account from the list otherwise type your E-mail address.
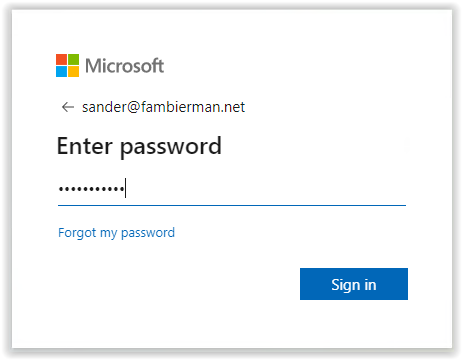
Next enter your password.
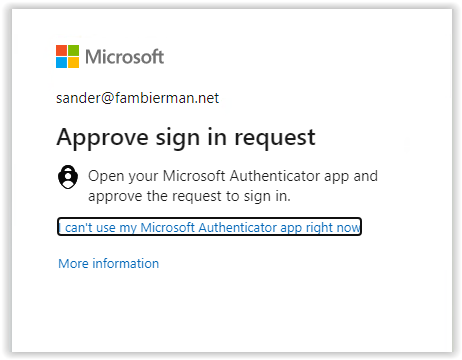
With Multi Factor Authentication enabled approve the authentication.
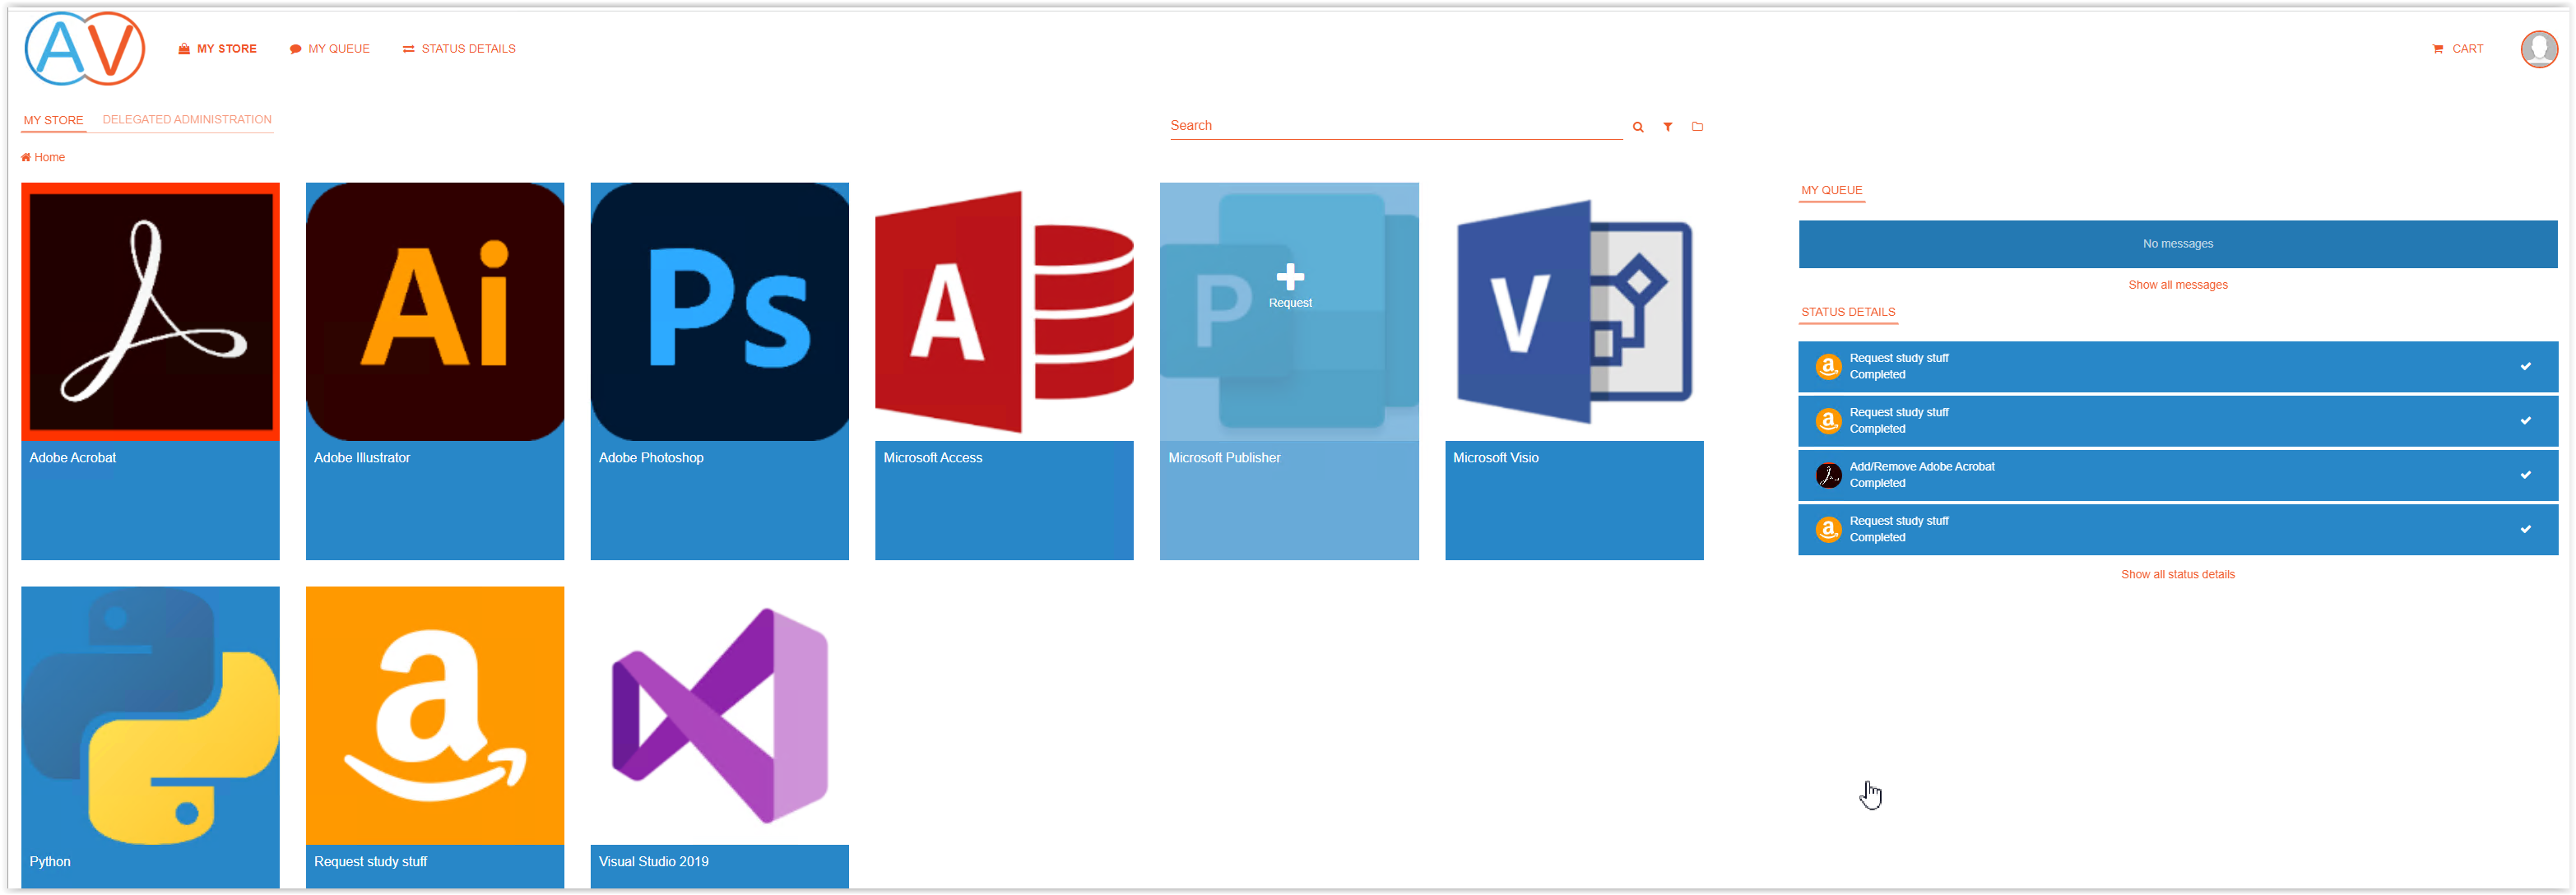
After a successful authentication with your AzureAD account the Web Portal will show.
This finalizes the setup for the Identity Broker with Azure Active Directory.
Thank you for reading this blog and don’t hesitate if you have questions.
Pingback: Ivanti Identity Broker with Microsoft Azure AD for Ivanti Xtraction - Automated Vision