
Ivanti Automation provides a WebAPI for the Dispatcher component. This feature needs to be enabled when building integrations with Neurons for ITSM (also known as Ivanti Service Manager ISM).
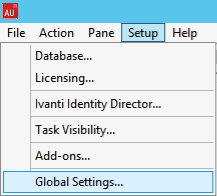
Ivanti Automation Dispatcher WebAPI can be enabled in the Global Settings in the Ivanti Automation Console (Setup – Global Settings).
A list with Global Settings is shown. Search for the option Dispatcher WebAPI and select the option WebAPI State. Default the setting is disabled.
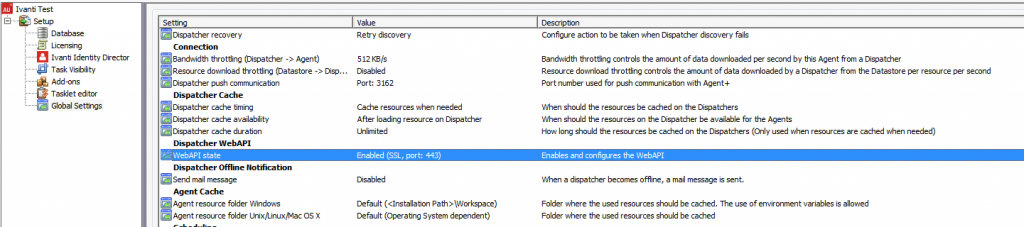
The Dispatcher WebAPI can be used with and without SSL. When enabling the Dispatcher WebAPI without SSL the default port is 80.
Note: When Internet Information Service role is installed default port 80 is used by IIS. Make sure to change the port number in the Dispatcher WebAPI configuration.
For more information about Windows IIS and Dispatcher WebAPI check the link below.
Create Ivanti Automation Authentication account
When using the Ivanti Automation Dispatcher WebAPI only an Automation Authentication account can be used.
- Open the Ivanti Automation Console
- Select the option Administration – Security
- Select New from the menu
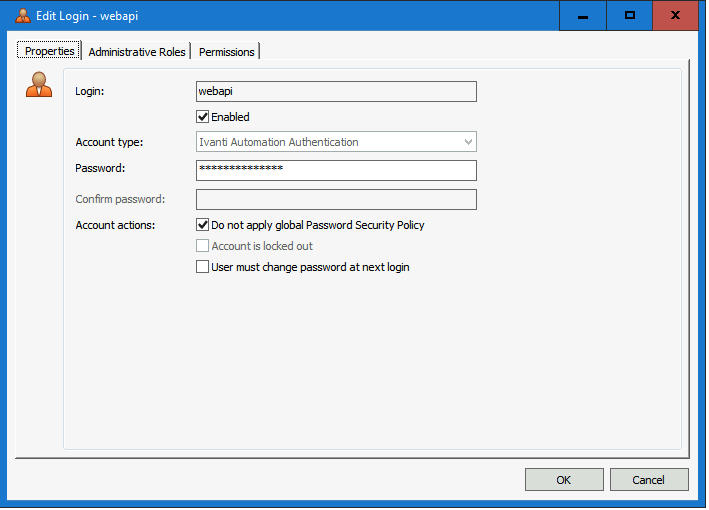
- Enter a login name (i.e., webapi)
- Make sure the Account type is Ivanti Automation Authentication
- Enter twice the password and store the password in for example KeePass
- Select the option Do not apply global Password Security Policy (not selecting this option requires a password conform to the Password Security Policy settings in the Global Settings (one of the options is the Password Age). It’s not recommended to change this password after a period.
- The last step is adding an Administrative Role to the new account
- The role Full Access is default created during the installation. This role has access to all options
- In this blog, we add the Full Access role to the webapi account
- Select the tab Administrative Roles and select Add.
- Select the Full Access role and select OK to continue
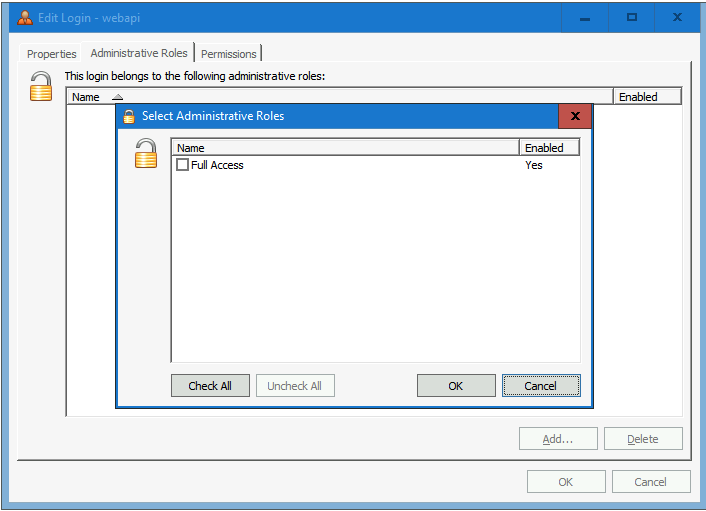
- Make sure the role is added and select OK to continue.
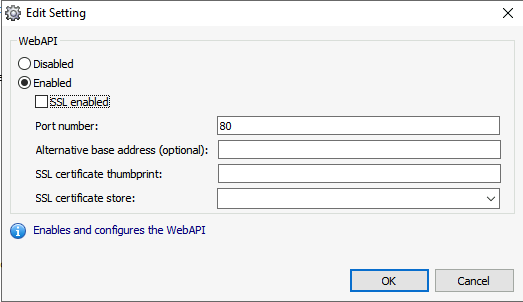
Enabling Dispatcher WebAPI without SSL
Enable the Dispatcher WebAPI and change the port number if needed.
The configuration should be like the screenshot below.
Enabling Dispatcher WebAPI with SSL
The Dispatcher WebAPI can either use 3rd party certificates or self-signed certificates.
3rd party certificate
When using a 3rd party certificate, a wildcard can be used for the Dispatcher WebAPI.
Check the steps below to import the 3rd party certificate and how to configure the Dispatcher WebAPI.
On the server with Ivanti Automation Dispatcher installed execute the following actions:
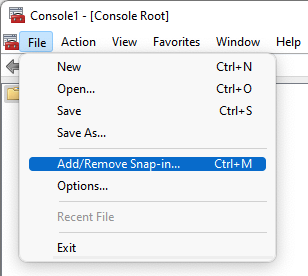
- Start MMC
- Select Add/Remove Snap-in from the File menu

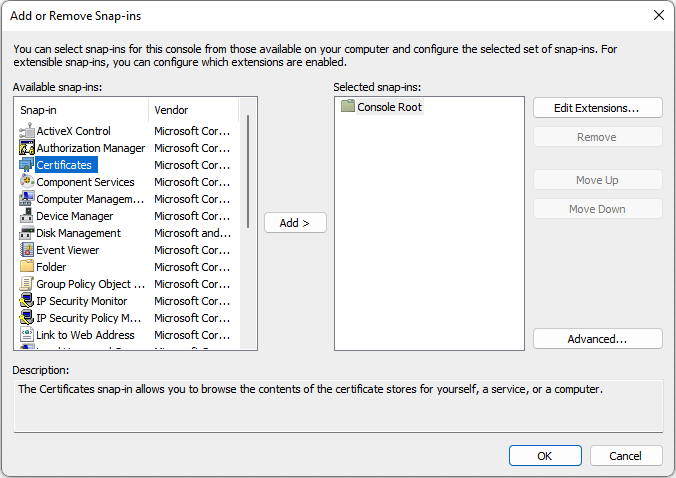
- Select Certificates from the list

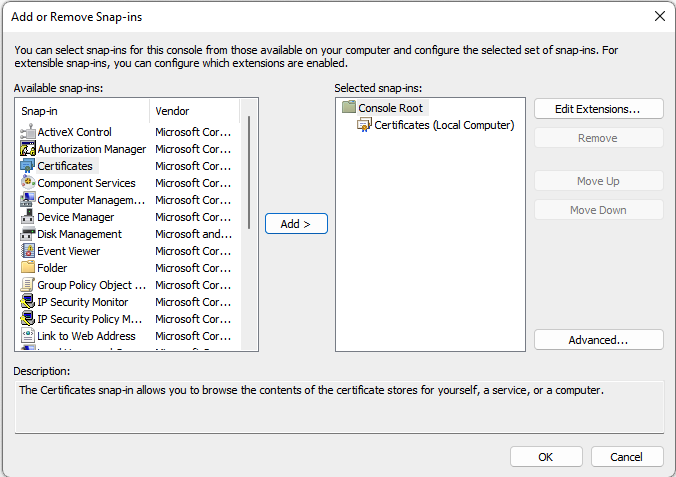
- Select Add to move the Certificates to the Selected snap-ins
- After adding the Certificates snap-in the Certificates Snap-in configuration is shown
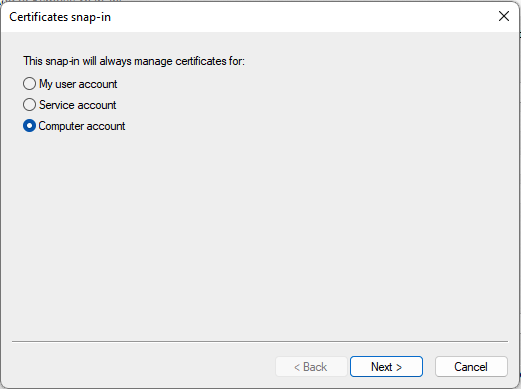
- Select the option Computer account and select Next to continue
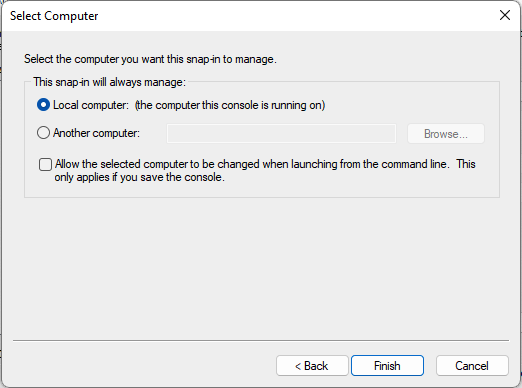
- In the next screen select Local Computer and select Finish to continue
- After the Certificates Snap-in configuration is finished select OK to close the Add/Remove Snap-in.
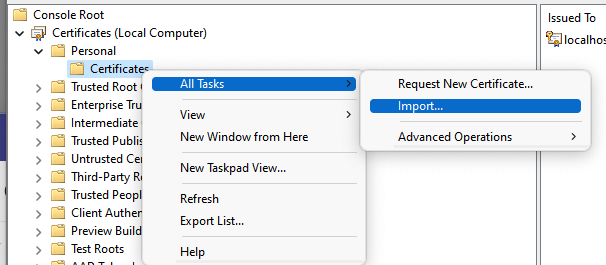
- Open the folder Personal – Certificates and right-click Certificates
- Select Import from the All Tasks menu

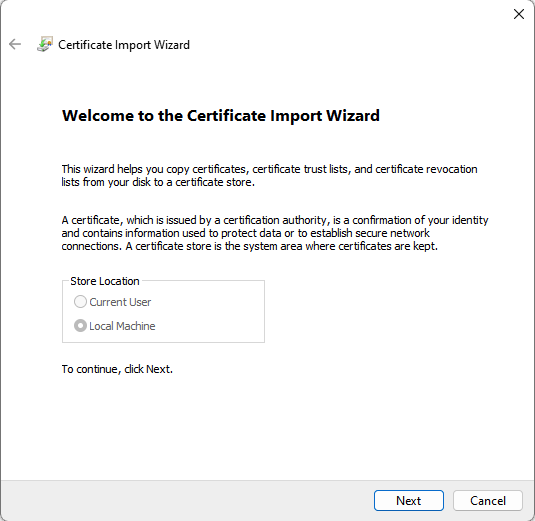
- The Certificate Import Wizard is started.
- Make sure the Store Location is Local Machine (default greyed-out)

- Select Next to continue
- Select Browse and select folder and file (i.e., a PFX file)
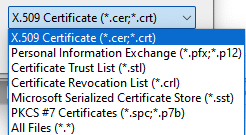
- Make sure to change the file type when a PFX file is used.
- After selecting the file select Open.
- The full path and filename are added in the File Name field

- Select Next to continue
- When the certificate holds the Private Key enter the password and make sure the Private Key is exportable.

- Select Next to continue
- Make sure the certificate is stored in the Personal folder
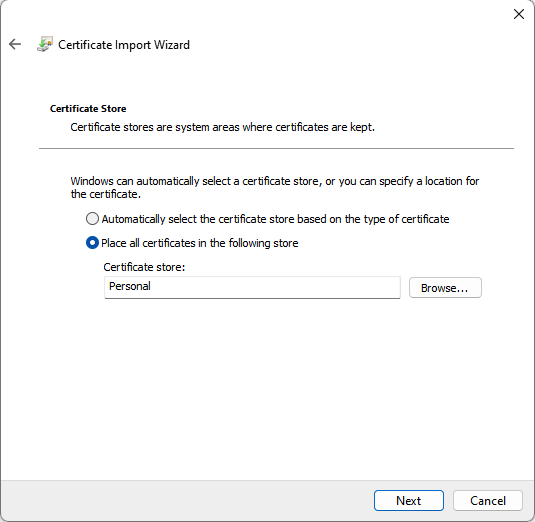
- Select Next to continue and check the configuration in the next screen
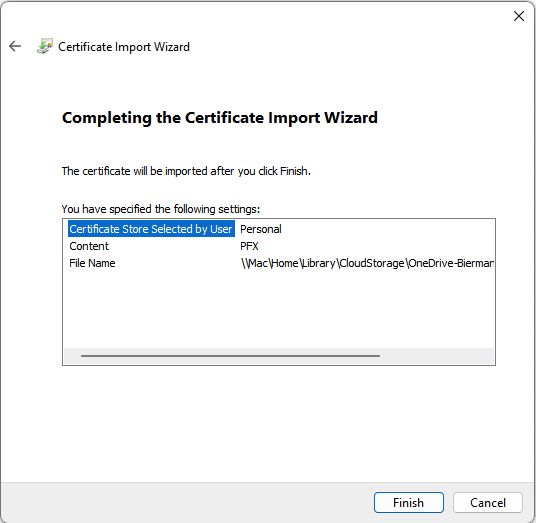
- When finished select Finish to import the certificate
- Select OK to continue
- The certificate should be visible in the Personal – Certificates folder

After the import of the 3rd party certificate execute the steps below to enable the Ivanti Automation Dispatcher WebAPI.
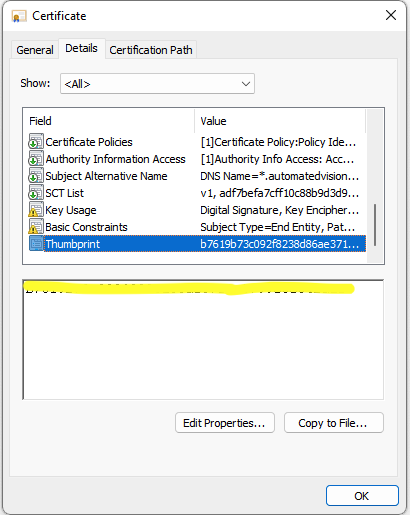
- Open the certificate and select the Details tab
- Scroll down till Thumbprint. Select the Thumbprint value
- Select the value shown and select CTRL+C to copy the Thumbprint value. This value is needed in the Ivanti Automation Dispatcher WebAPI configuration.
- Open the Ivanti Automation Console and select Setup – Global Settings
- Search for the setting Dispatcher WebAPI
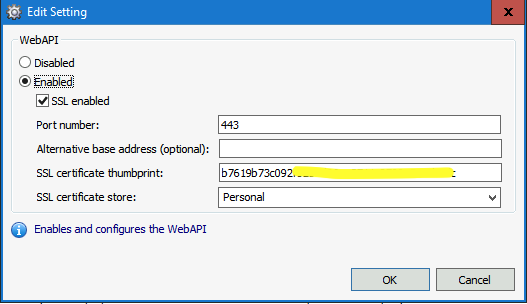
- Select the option Enable SSL and paste the Certificate Thumbprint value in the SSL certificate thumbprint field
- Select the SSL certificate store to Personal as we imported the certificate into this store
- If another application (i.e., Internet Information Server) is using port number 443 change the port and make sure Firewalls allows the newly created port
- Optionally enter an Alternative base address
- Make sure the address used for the Dispatcher WebAPI is either known in the local DNS or in the Host file on the server which connects to the Dispatcher
- When finishing the configuration select OK to store the config
- Restart the Dispatcher service(s)
- When using a 3rd party certificate create a new zone in the local DNS and enter the name with the IP Address of the Dispatcher

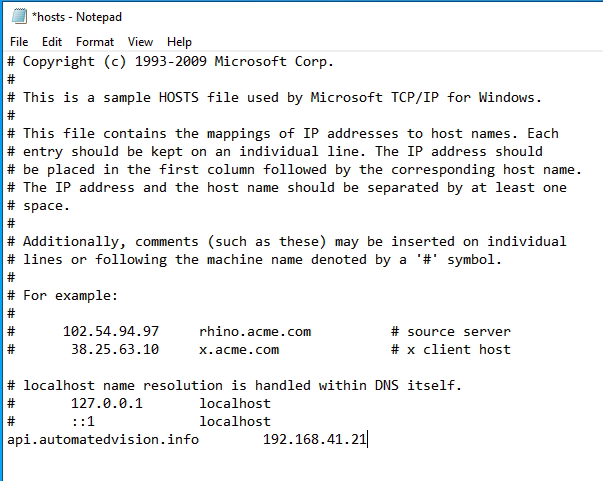
- Another option is adding the FQDN and IP Address to the Host file on the server which needs to access the Ivanti Automation Dispatcher WebAPI.
- The host file can be found in the folder c:\Windows\System32\Drivers\Etc. Make sure to open the file with Notepad (as Administrator)
- The last step is testing if the Dispatcher WebAPI is working
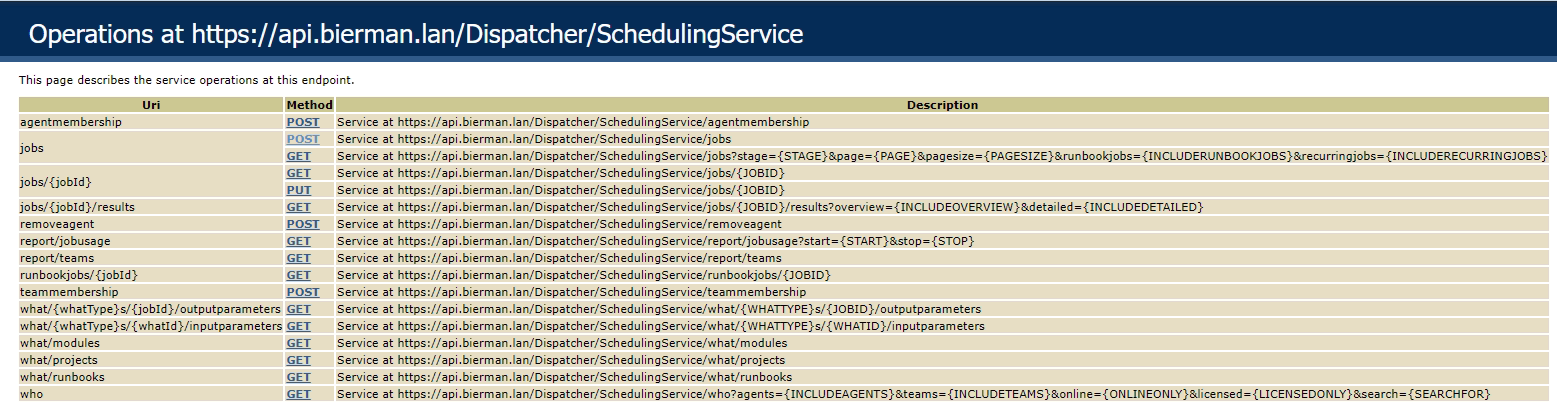
- Open a web browser and enter https://<fqdn>/Dispatcher/SchedulingService/Help
- A login screen appears when all settings are configured correctly
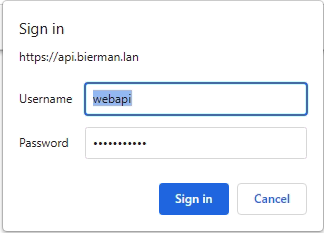
- Enter the username and password created earlier in this blog
- When the login is successful the API information below appears
Self-Signed certificate
Ivanti Automation Dispatcher WebAPI can also work with a self-signed certificate. But there are some important notes to consider.
The certificate created needs to be available on the Ivanti Dispatcher server in both the Personal and Trusted Root Certification Authorities.
The certificate also needs to be installed in the Trusted Root Certification Authorities on the servers which need to access the Ivanti Automation Dispatcher WebAPI.
This is not recommended when using the Neurons for ITSM in the Ivanti Cloud because it’s not possible to install the certificate on the server in the cloud.
To create a self-certificate I used the script below. Change the DNS name and Subject if needed.
New-SelfSignedCertificate -Type Custom `
-Subject "CN=IA Dispather API" -KeyExportPolicy Exportable `
-DnsName "api.bierman.lan" `
-HashAlgorithm sha256 -KeyLength 4096 `
-KeyUsage "KeyEncipherment", "DigitalSignature" `
-NotAfter (Get-Date).AddYears(5) `
-CertStoreLocation "Cert:\localmachine\My"
When the certificate is created it’s added to the Local Machine – Personal – Certificate folder.

Execute the actions below to copy the certificate to the locations as discussed earlier
- Start MMC
- Select Add/Remove Snap-in from the File menu

- Select Certificates from the list

- Select Add to move the Certificates to the Selected snap-ins
- After adding the Certificates snap-in the Certificates Snap-in configuration is shown

- Select the option Computer account and select Next to continue
- In the next screen select Local Computer and select Finish to continue

- After the Certificates Snap-in configuration is finished select OK to close the Add/Remove Snap-in.

- Check the folder Personal – Certificates folder if the certificate with the name as entered in the Subject of the script (i.e., IA Dispatcher API)
- Right-click the certificate and select Copy
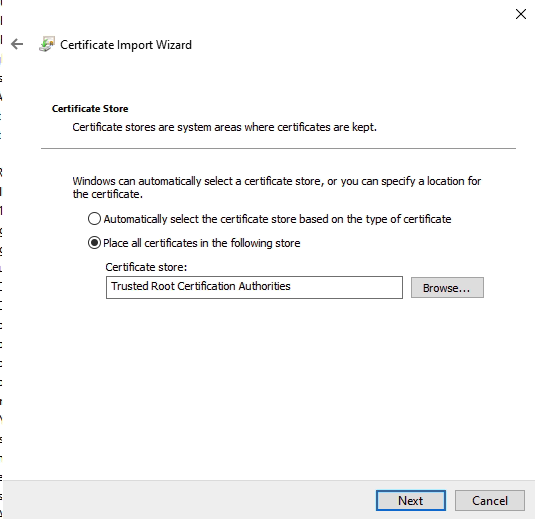
- Select the folder Trusted Root Certification Authorities – Certificates and paste the certificate
- The same certificate is now in both folders.
- The next step is to export the certificate and import to other servers
- Right-click the certificate and select All Tasks – Export
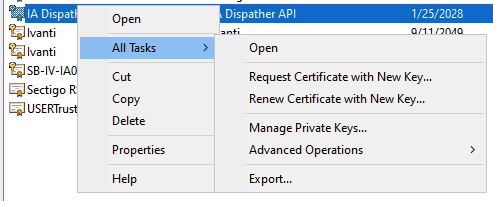
- The Certificate Export Wizard starts
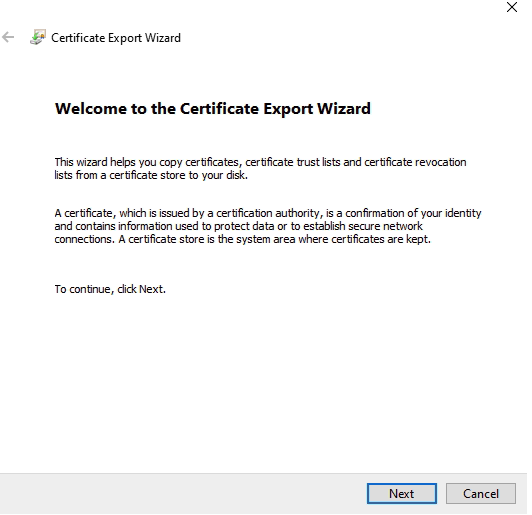
- Select Next to continue and start the process
- In the next screen select to export the Private Key

- Select Next to continue
- Select the Personal Exchange – PKCS #12 (.PFX) option and leave all options default
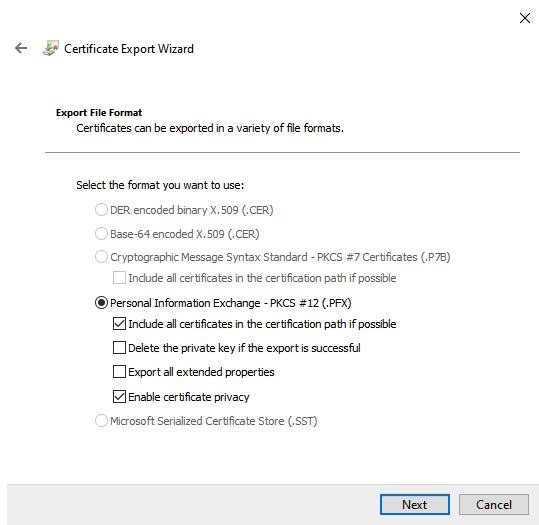
- Select Next to continue
- Select Password as a security option and enter a password twice
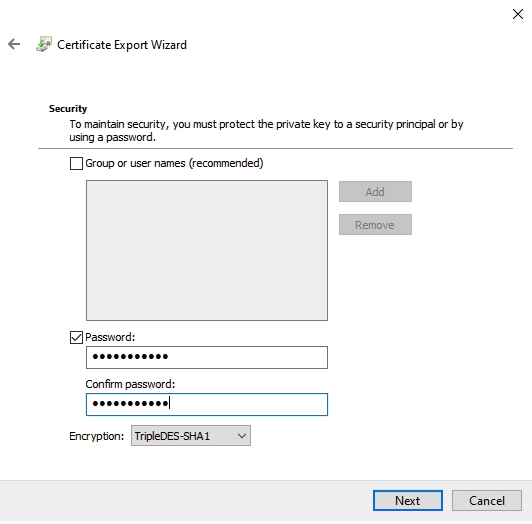
- Select Next to continue
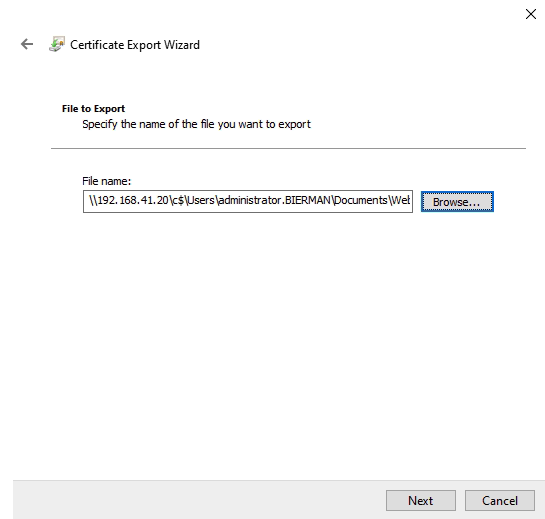
- In the next screen select a location to store the certificate. Make sure the location is available for all servers to install the certificate. In this example the certificate is directly exported to the server which needs to access the Dispatcher WebAPI
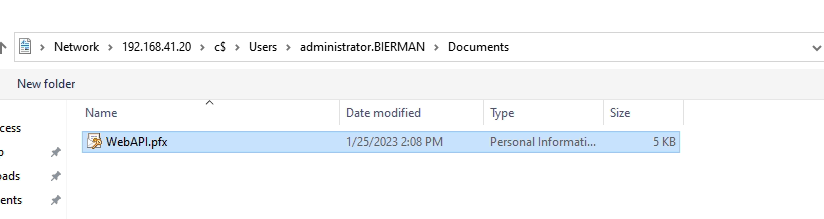
- Select Next to continue
- Check the config and select Finish to export the certificate
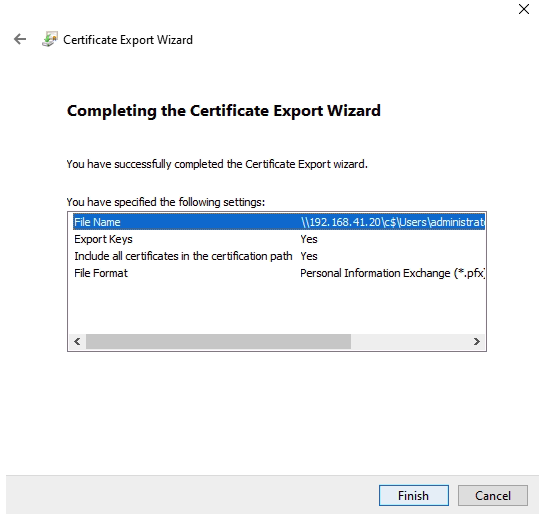
- Select OK to finish the Certificate Export Wizard.
- Import the Certificate on other servers in the Trusted Root Certification Authorities – Certificates folder
- Start MMC
- Select Add/Remove Snap-in from the File menu
- Select Certificates from the list
- Select Add to move the Certificates to the Selected snap-ins
- After adding the Certificates snap-in the Certificates Snap-in configuration is shown

- Select the option Computer account and select Next to continue
- In the next screen select Local Computer and select Finish to continue

- After the Certificates Snap-in configuration is finished select OK to close the Add/Remove Snap-in.

- Open the folder Personal – Certificates and right-click Certificates
- Select Import from the All Tasks menu
- The Certificate Import Wizard is started.
- Make sure the Store Location is Local Machine (default greyed-out)
- Select Next to continue
- Select Browse and select folder and file (i.e., a PFX file)
- Make sure to change the file type when a PFX file is used.

- After selecting the file select Open.
- The full path and filename are added in the File Name field

- Select Next to continue
- When the certificate holds the Private Key enter the password and make sure the Private Key is exportable.

- Select Next to continue
- Make sure the certificate is stored in the Personal folder
- Select Next to continue and check the configuration in the next screen

- When finished select Finish to import the certificate
- Select OK to continue

- Make sure the DNS Name added to the certificate is either added to the local DNS or to the server host file. This is described earlier in the blog.
- When the creation of the certificate and export is successful the logon to the Help of the Dispatcher API is working without certificate errors
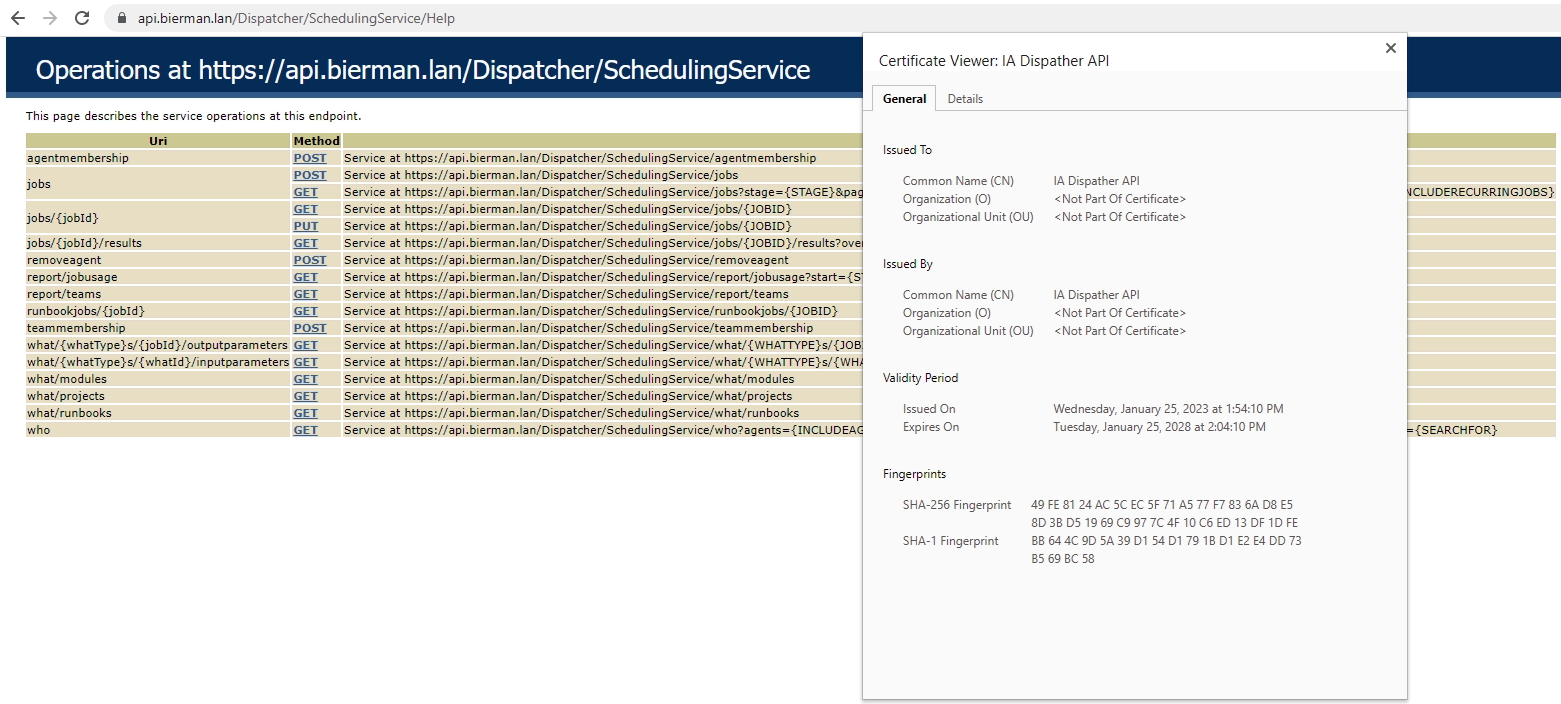
It worked like a charm
Pingback: Ivanti Automation Dispatcher WebAPI Tool - Automated Vision
Pingback: Ivanti Endpoint Manager software distribution requested through Ivanti Neurons for ITSM self-service portal - Automated Vision